
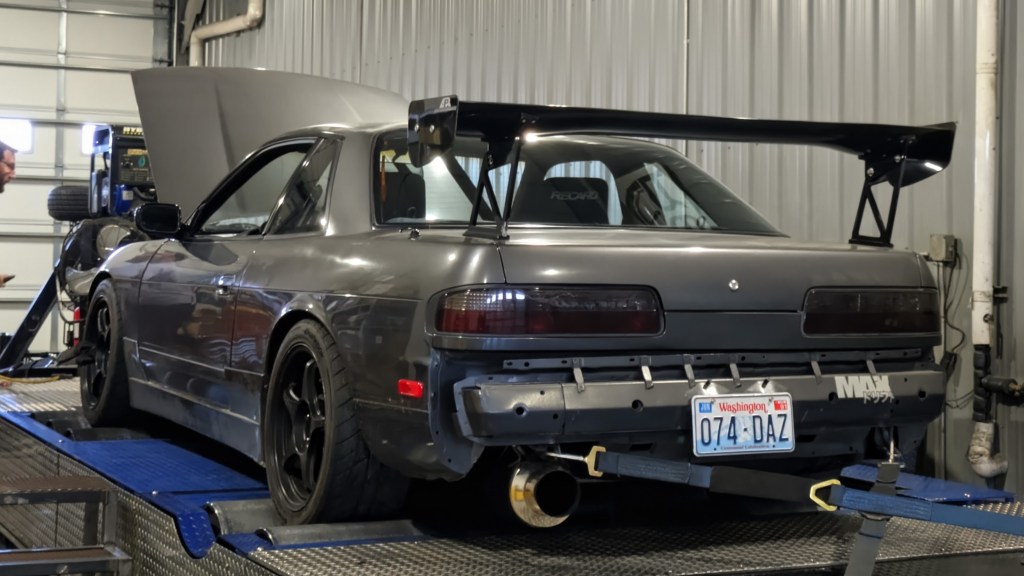
8 months, 800+ hours, and tens of thousands of dollars invested.
Let’s finish this thing.
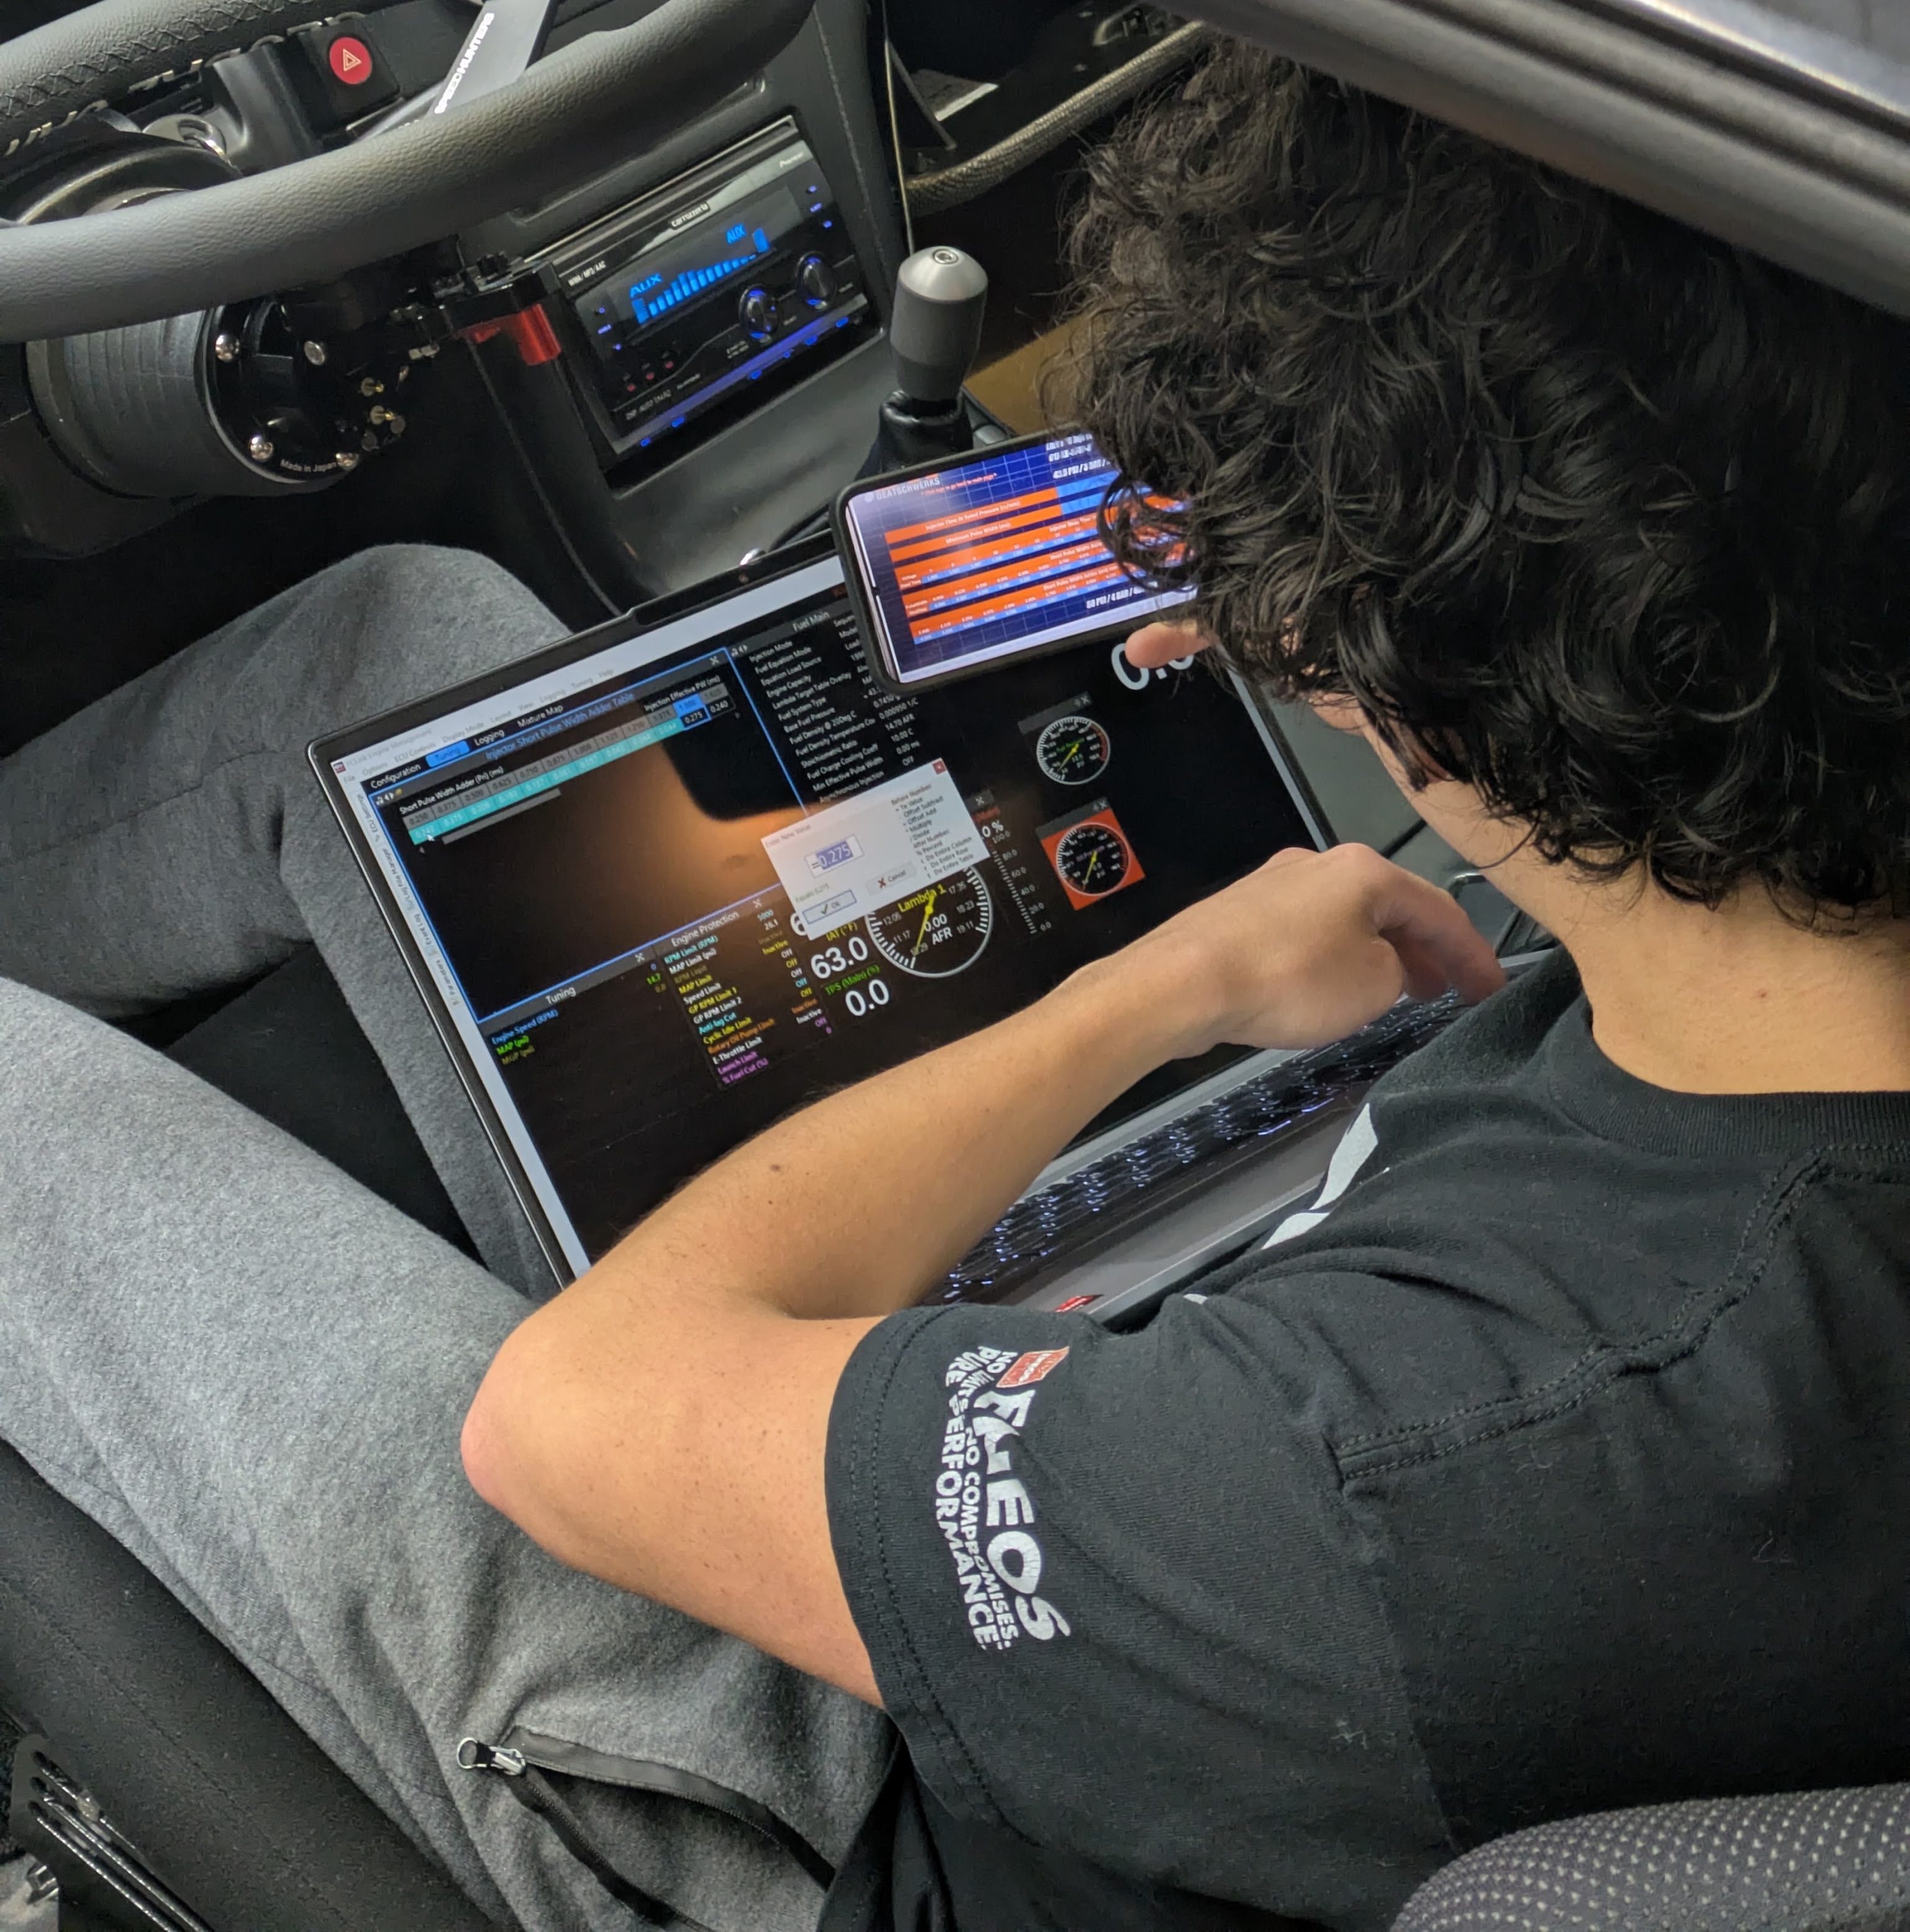
First startup had it’s hiccups, but was fairly kind to us. The hurdle was getting the trigger settings to agree with the geometry of the AEM trigger wheel. With a combined 3 people looking at forum posts, we were able to find a configuration that the car was satisfied with, and it fired right off. There were incredibly minor weeps from a few fittings, but they were resolved in a few minutes. The motor sounded amazing and all the numbers on the computer were very happy. Will spent some time on a base tune with the help of Dan, and we had a “drivable” car. I use that term loosely as it could start and move, but I was by no means comfortable with the idea of driving it yet.
Despite that, I putted the car around the neighborhood to find that the speedometer wasn’t working. After checking the connections, I narrowed it down to the gauge cluster itself being faulty. Not an uncommon issue, but annoying since the car was now in one piece. The other bummer was that my Defi Link Display that previously sat on my cluster trim was illegibly dim. This is a very common failure mode on these, and as they are very uncommon and quite old, there isn’t documentation on how to fix them.
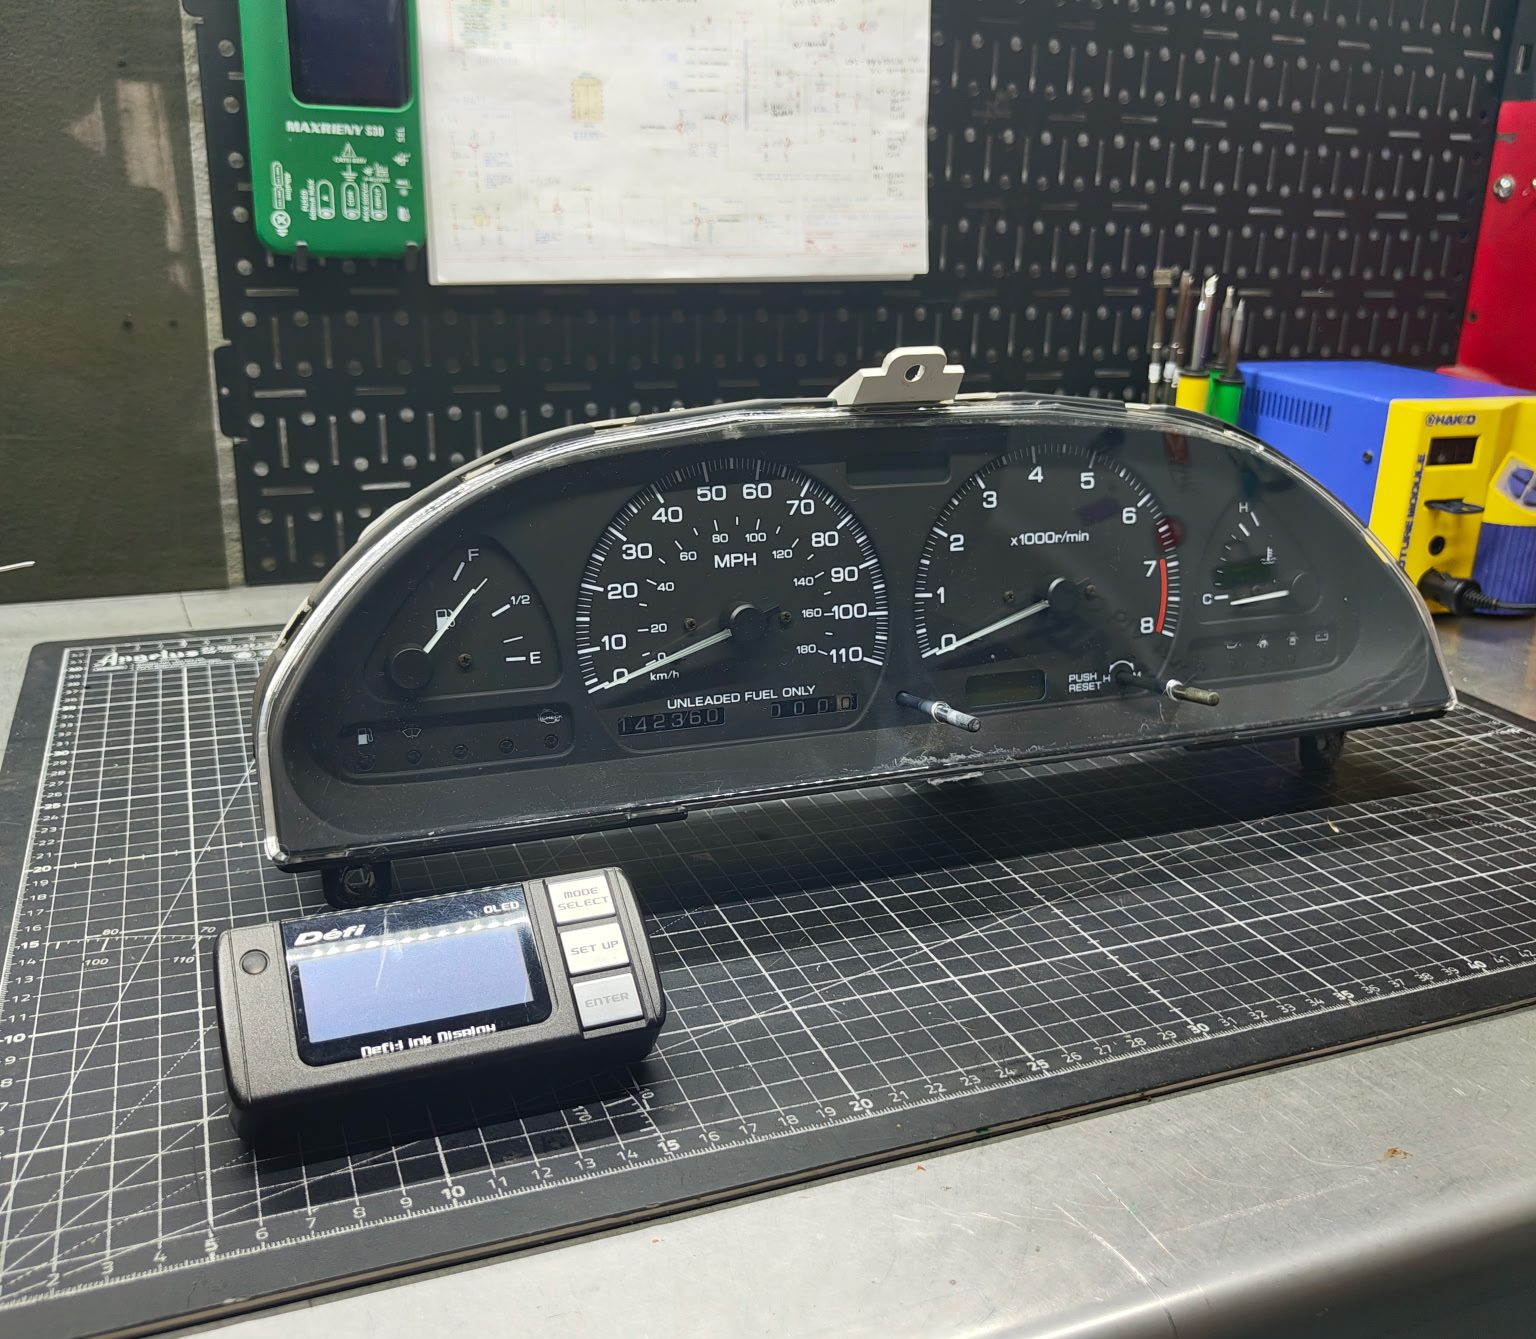
Fortunately, Julio at Gee Spec Automotive exists. He has cornered the market (merely by existing) on gauge cluster rebuilds for S13s, but also other Japanese cars. After a few emails back and forth with him, I sent my cluster and Defi Display down to California for mending. I knew he could tackle the speedo with ease, but the Defi was a test to see if he could spot an easy solution.
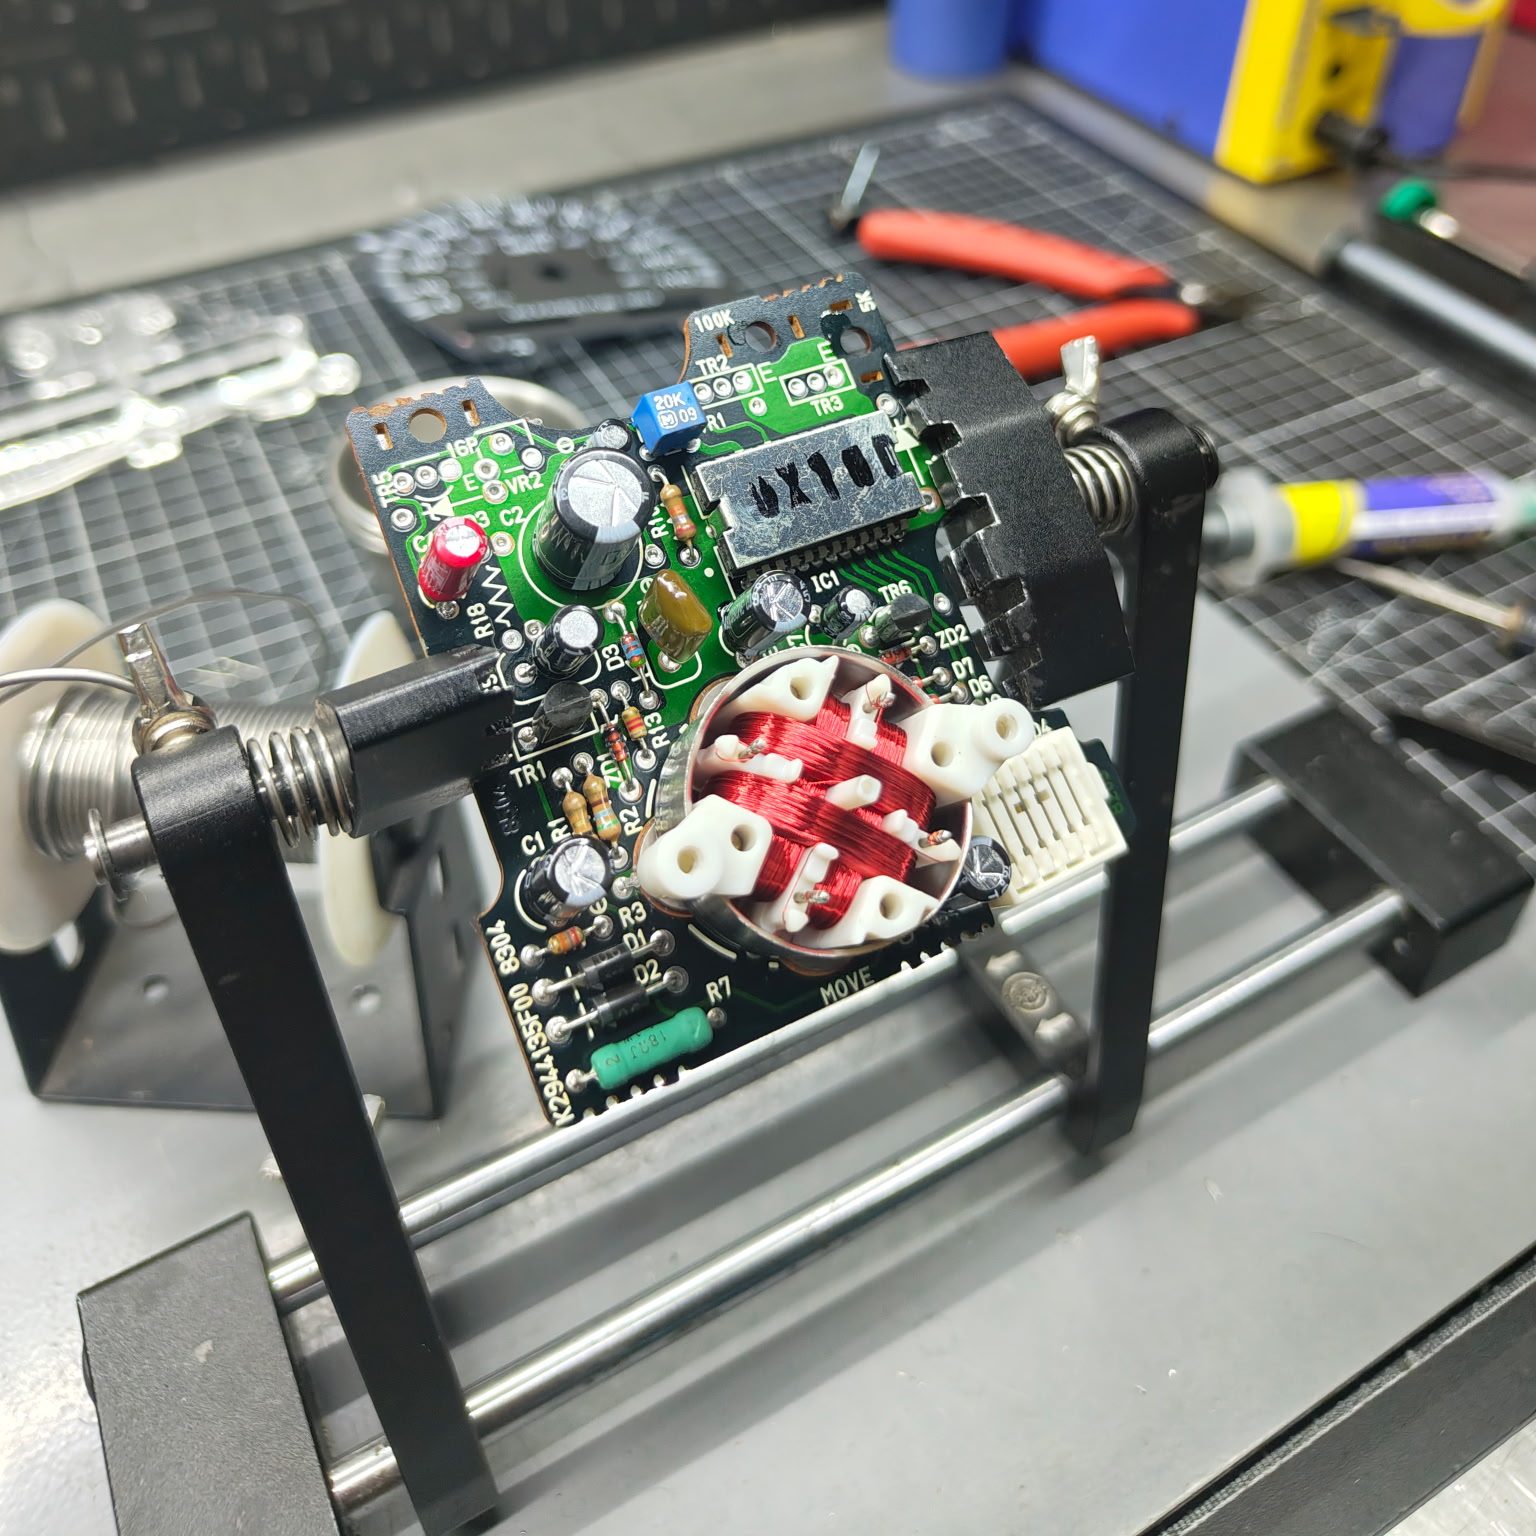
His documentation and customer communication was insanely good. Live texting my photos of what he found, and he did a killer job recapping and re-soldering my 35 year old speedometer board. I gave him carte blanche to go through the entire cluster to see if there were any other compromised components, and luckily nothing else raised any flags. He also went through the Defi and found a few joints to touch up, but as he couldn’t power it on, it was unclear whether it would be the solution we were both looking for.
At the end of the process, I told him to raise his prices. He is far too cheap to be the only guy in this space, and he is doing a killer job with it. Highly recommend him if you need any of his services performed.
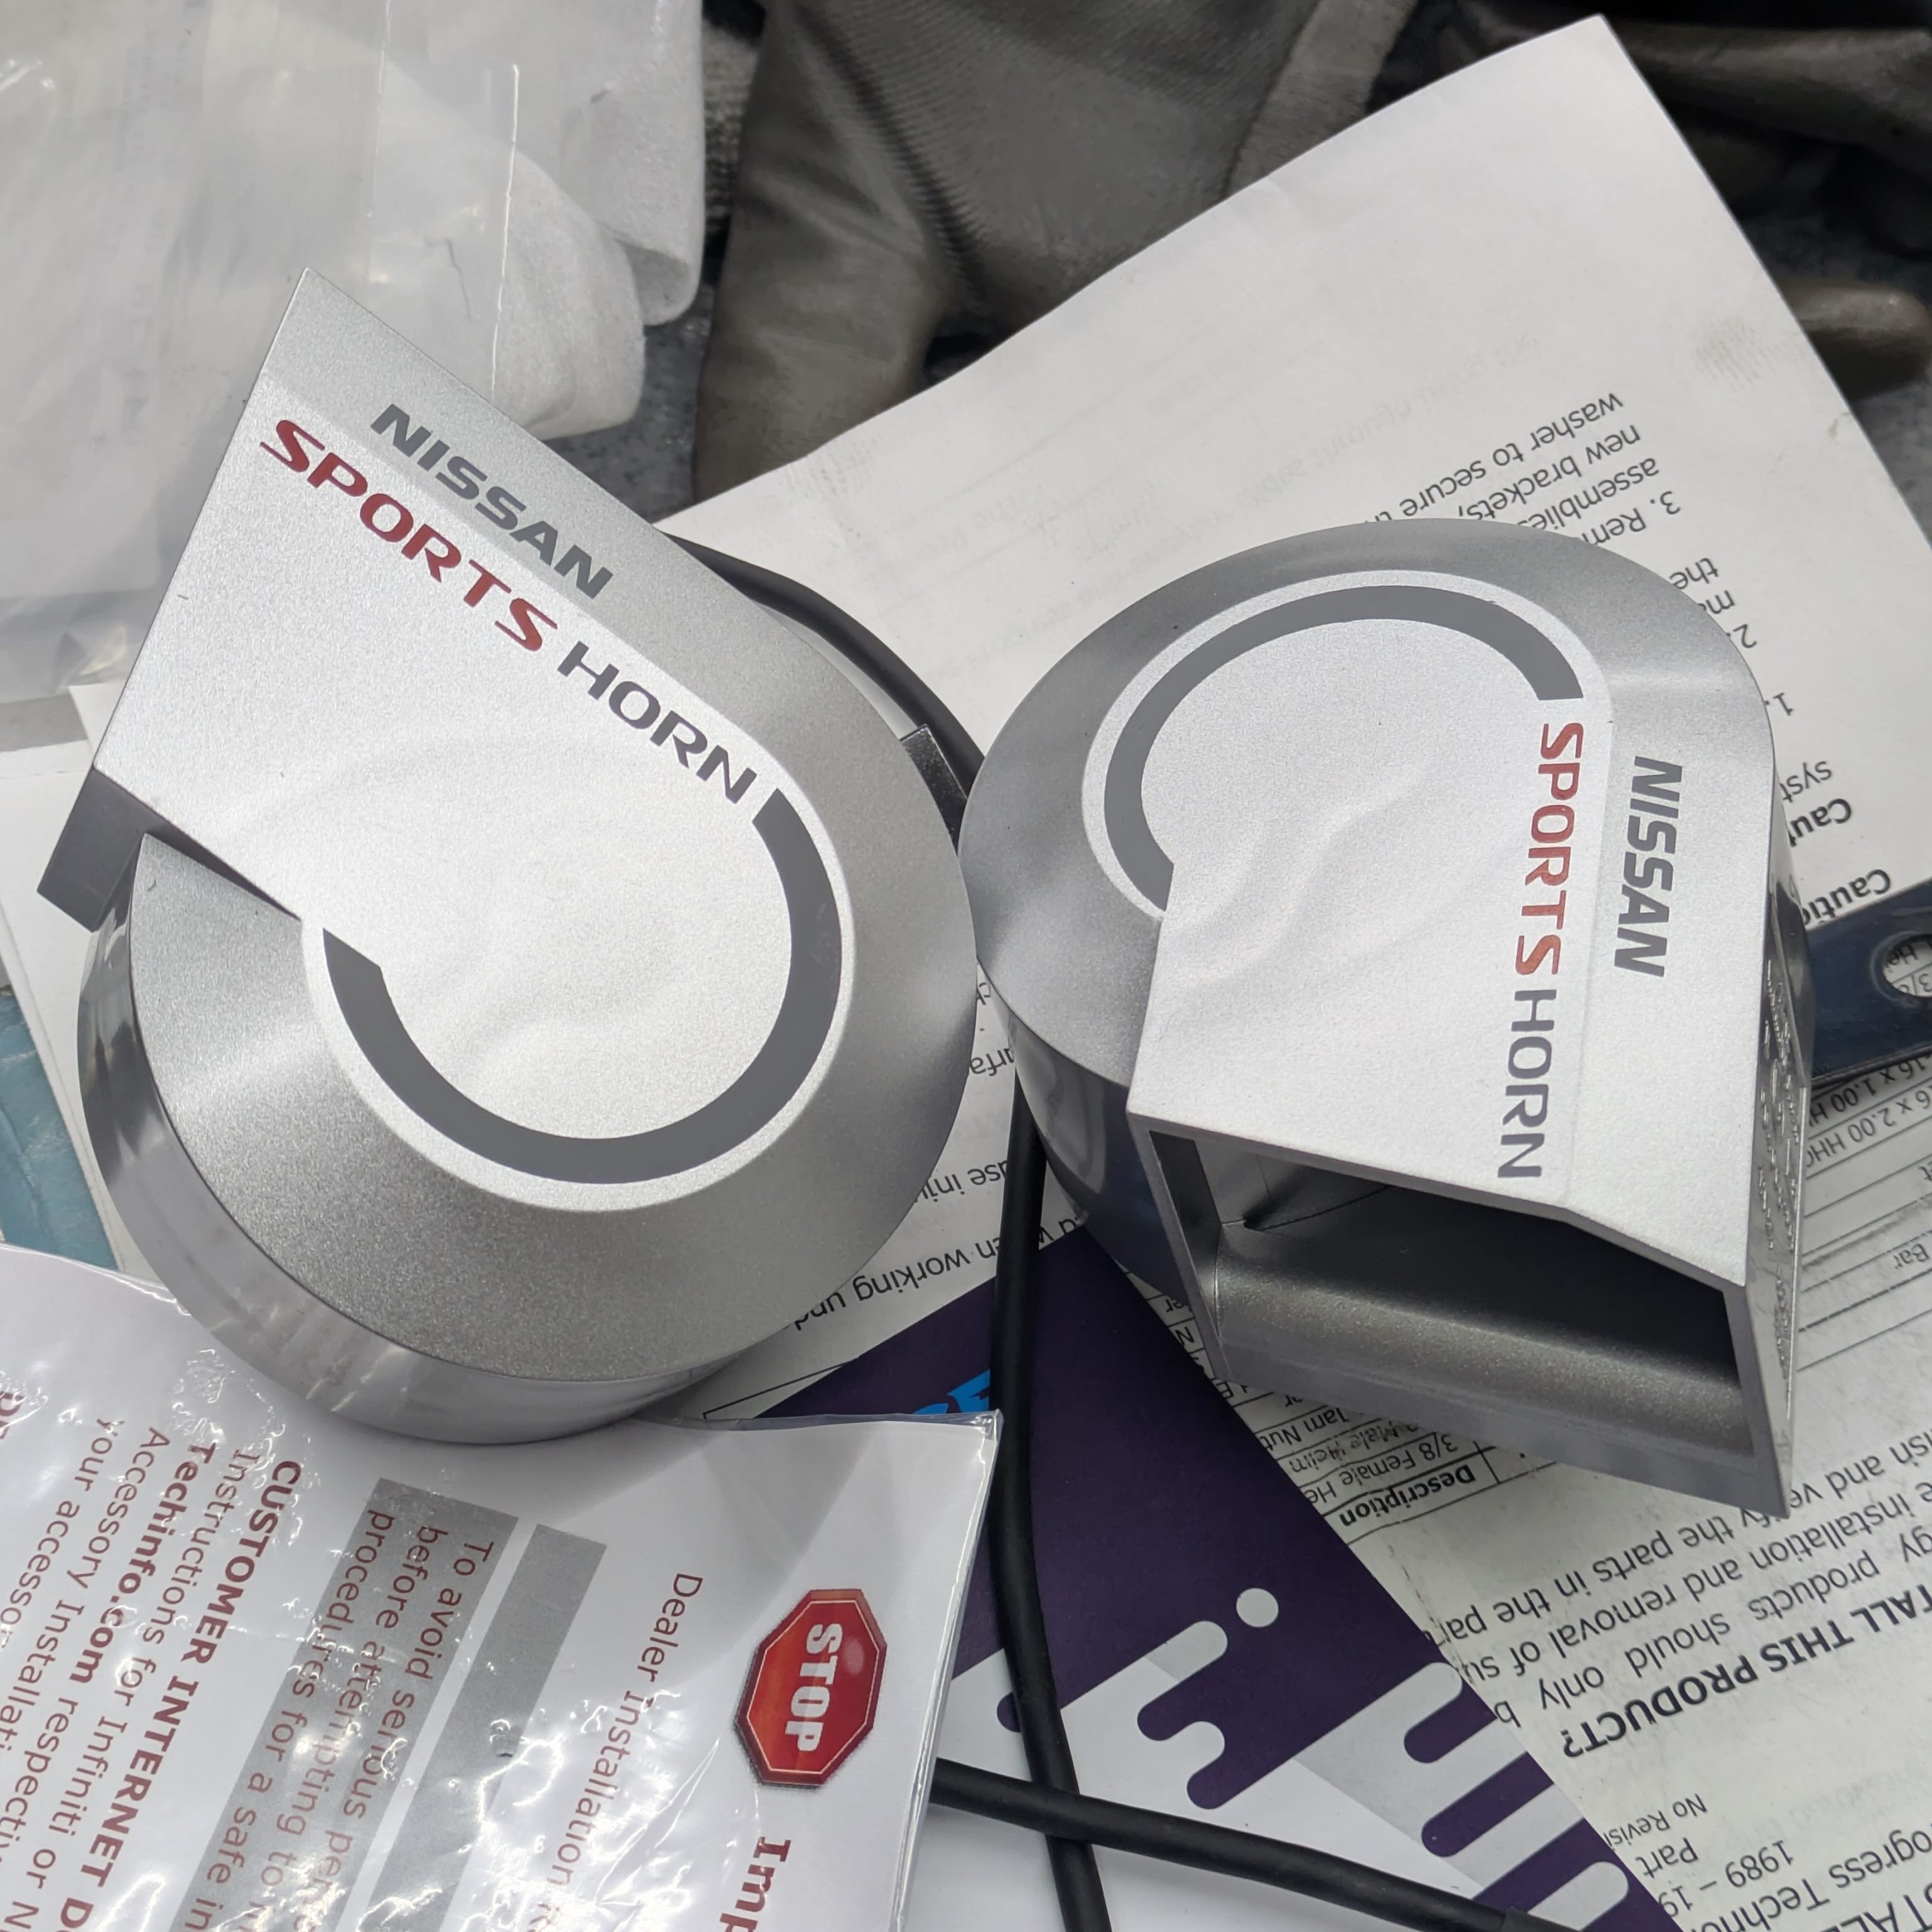
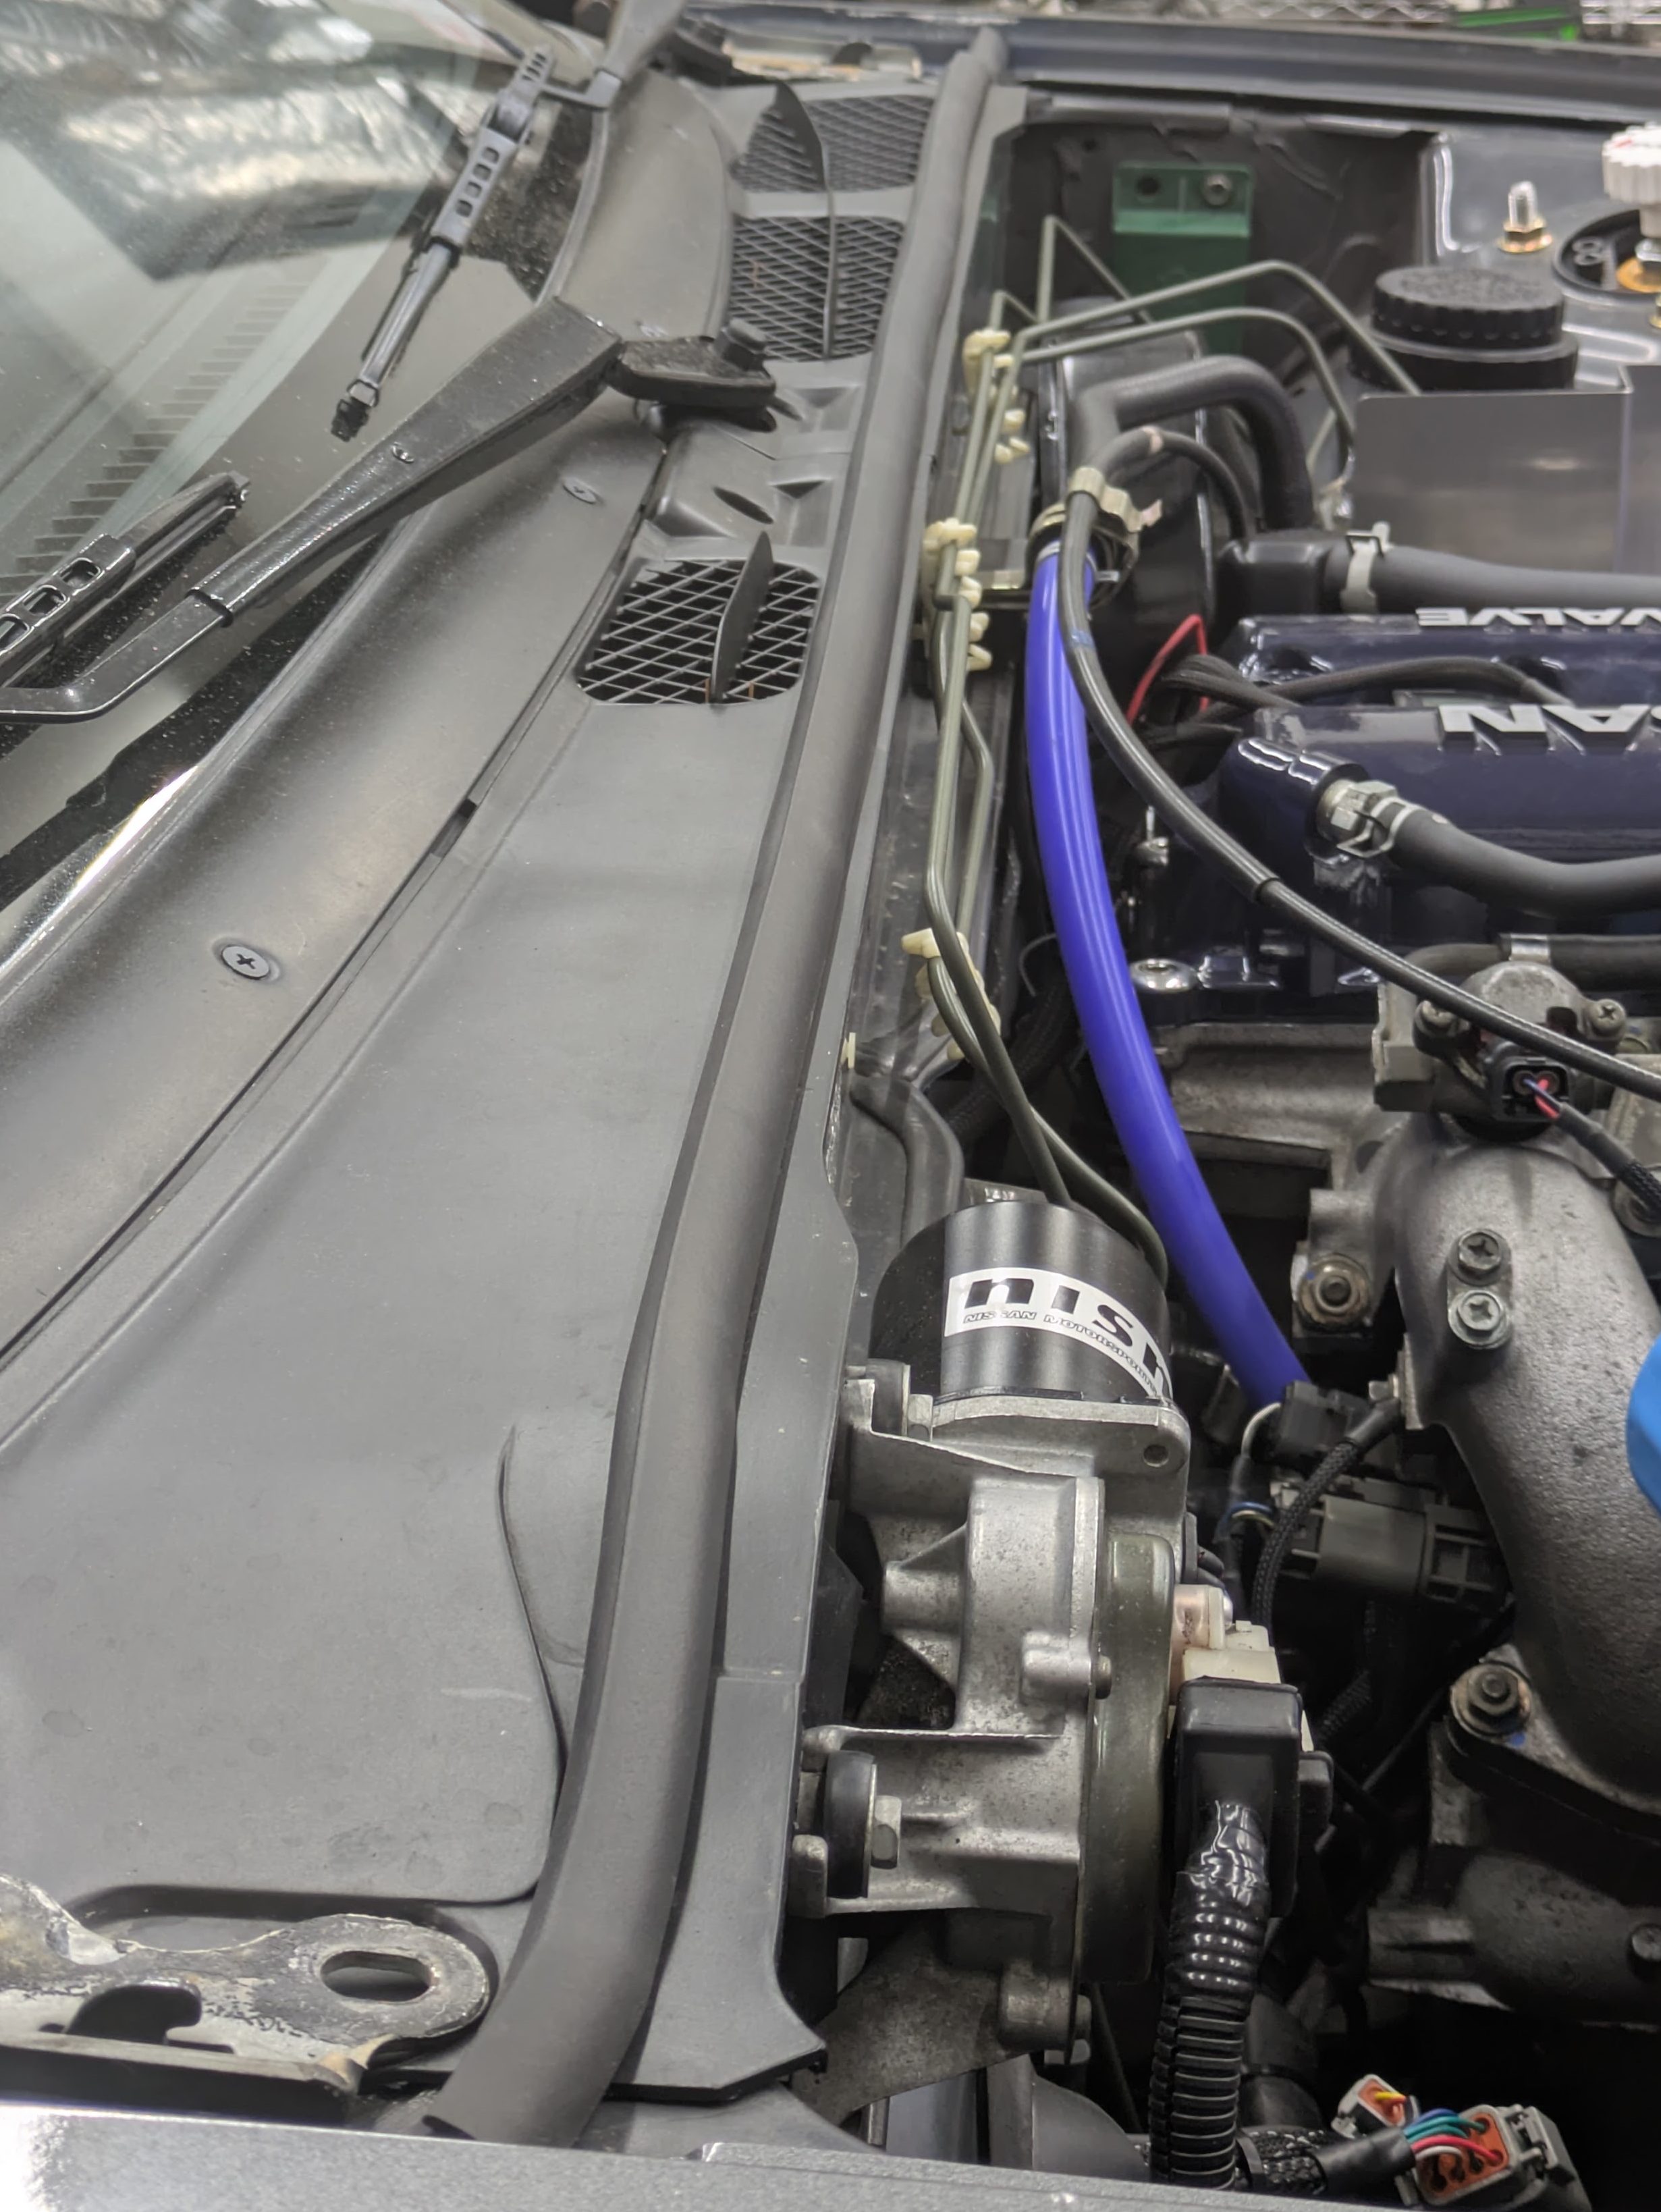
As the project was solidly in the “final touches” phase, one of those ended up being horns. While something I’ve tended to delete from vehicles, there is something to be said for a project car having all of it’s basic features restored and present.
This car was missing horns for a long time, I’m guessing when the Silvia front end swap was performed. I was shopping on eBay for some OEM horns, but while I was scrolling Nissanparts.cc, I came across these Nissan Sports Horns that fit the bill of being weird and brand new for [$27], which was cheaper than rusty used ones.
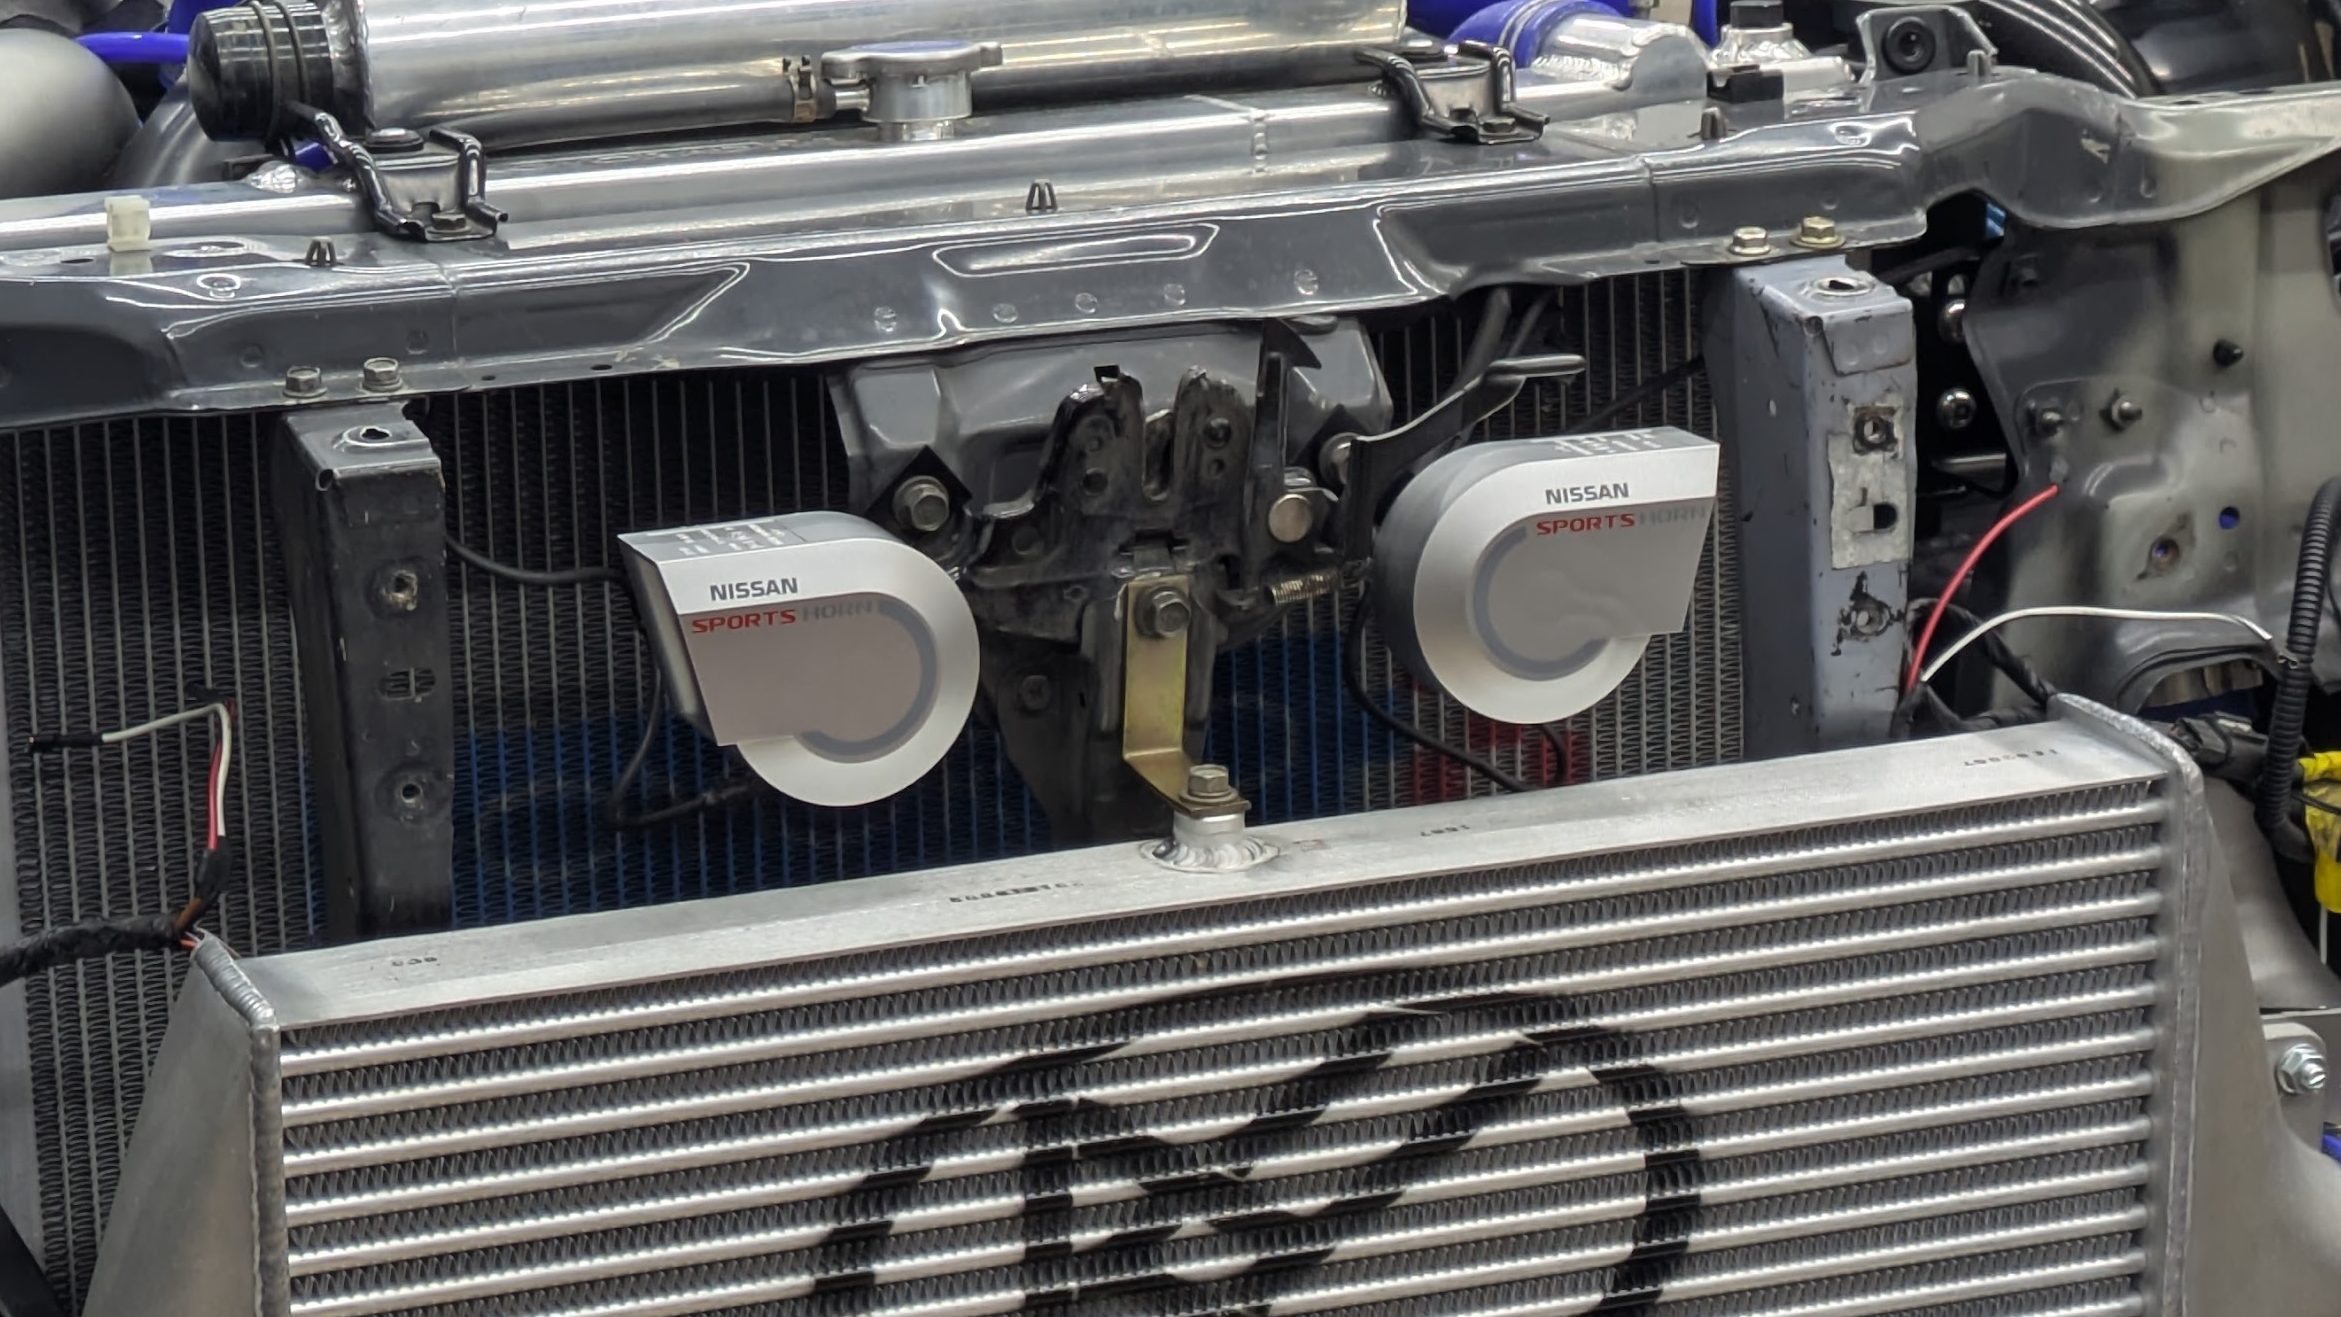
These fell into place exactly as I would have hoped. I was able to use existing mounting locations for the hood latch, and the included brackets cleared everything with no issues. The factory wiring plugged right in, and after chasing down some gremlins in my OEM horn wiring, which turned out to be a steering hub contact issue, I had functional horns, on the Works Bell Rapfix GTC.
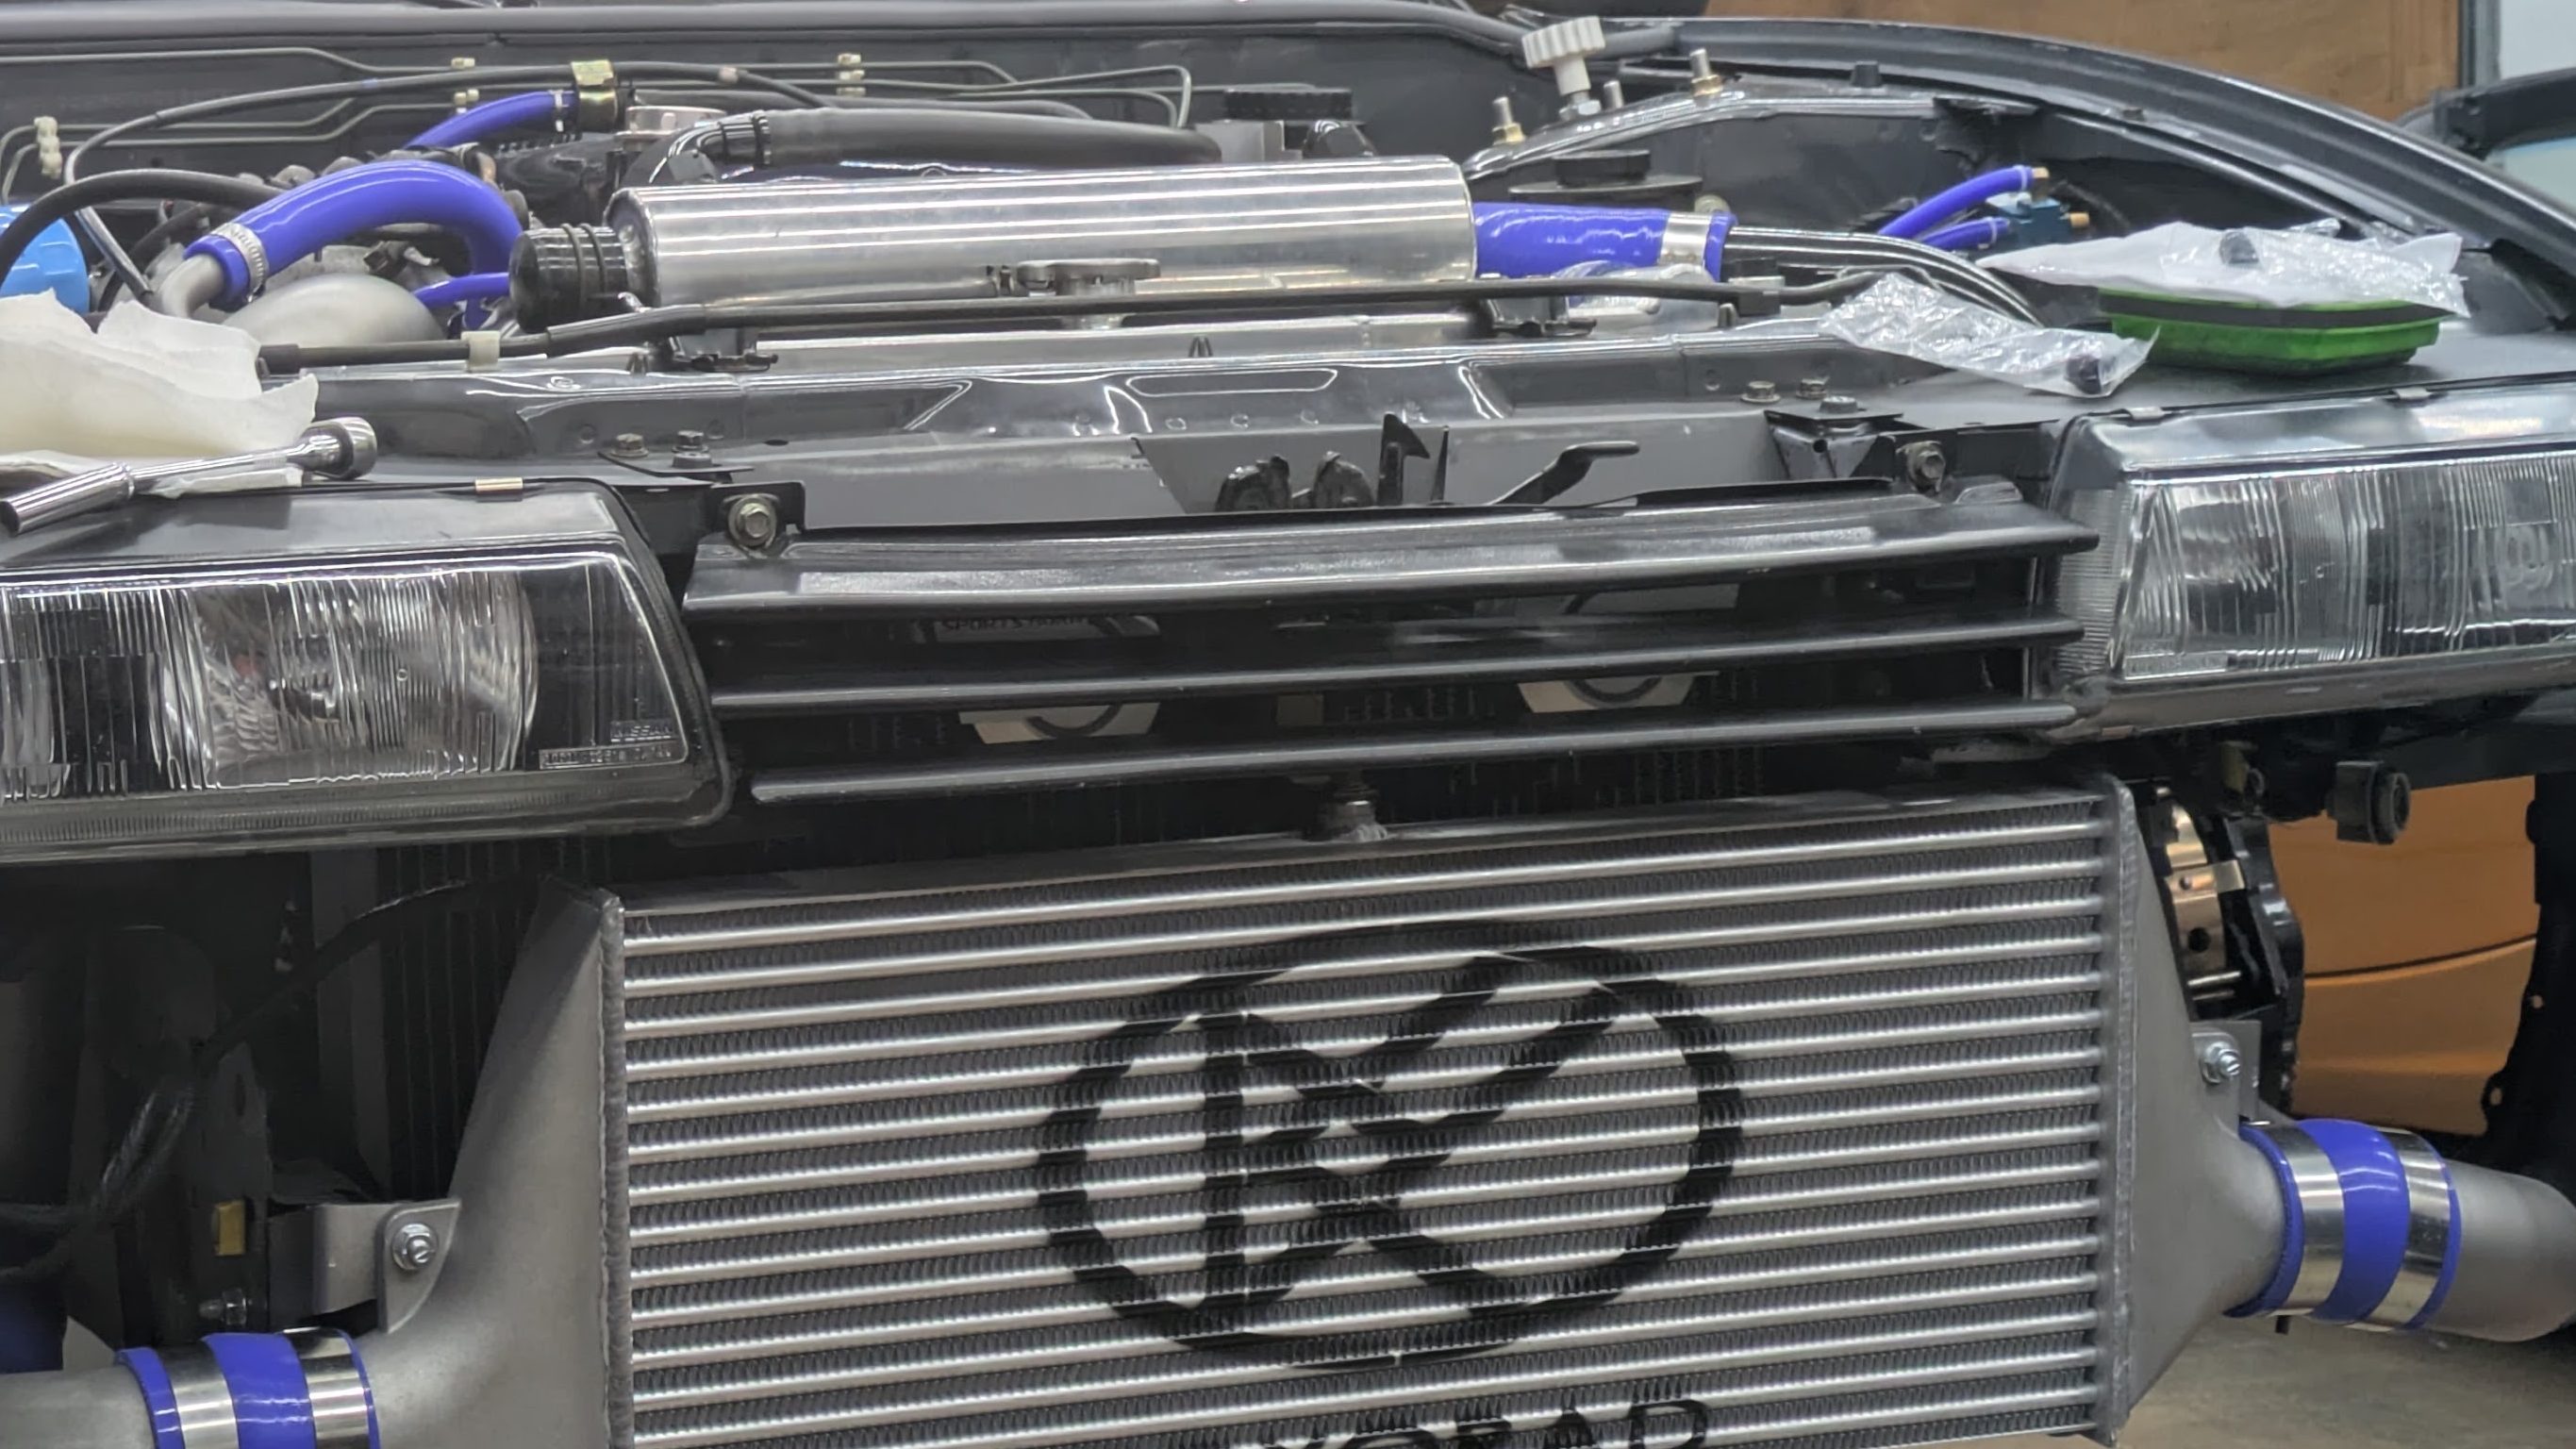
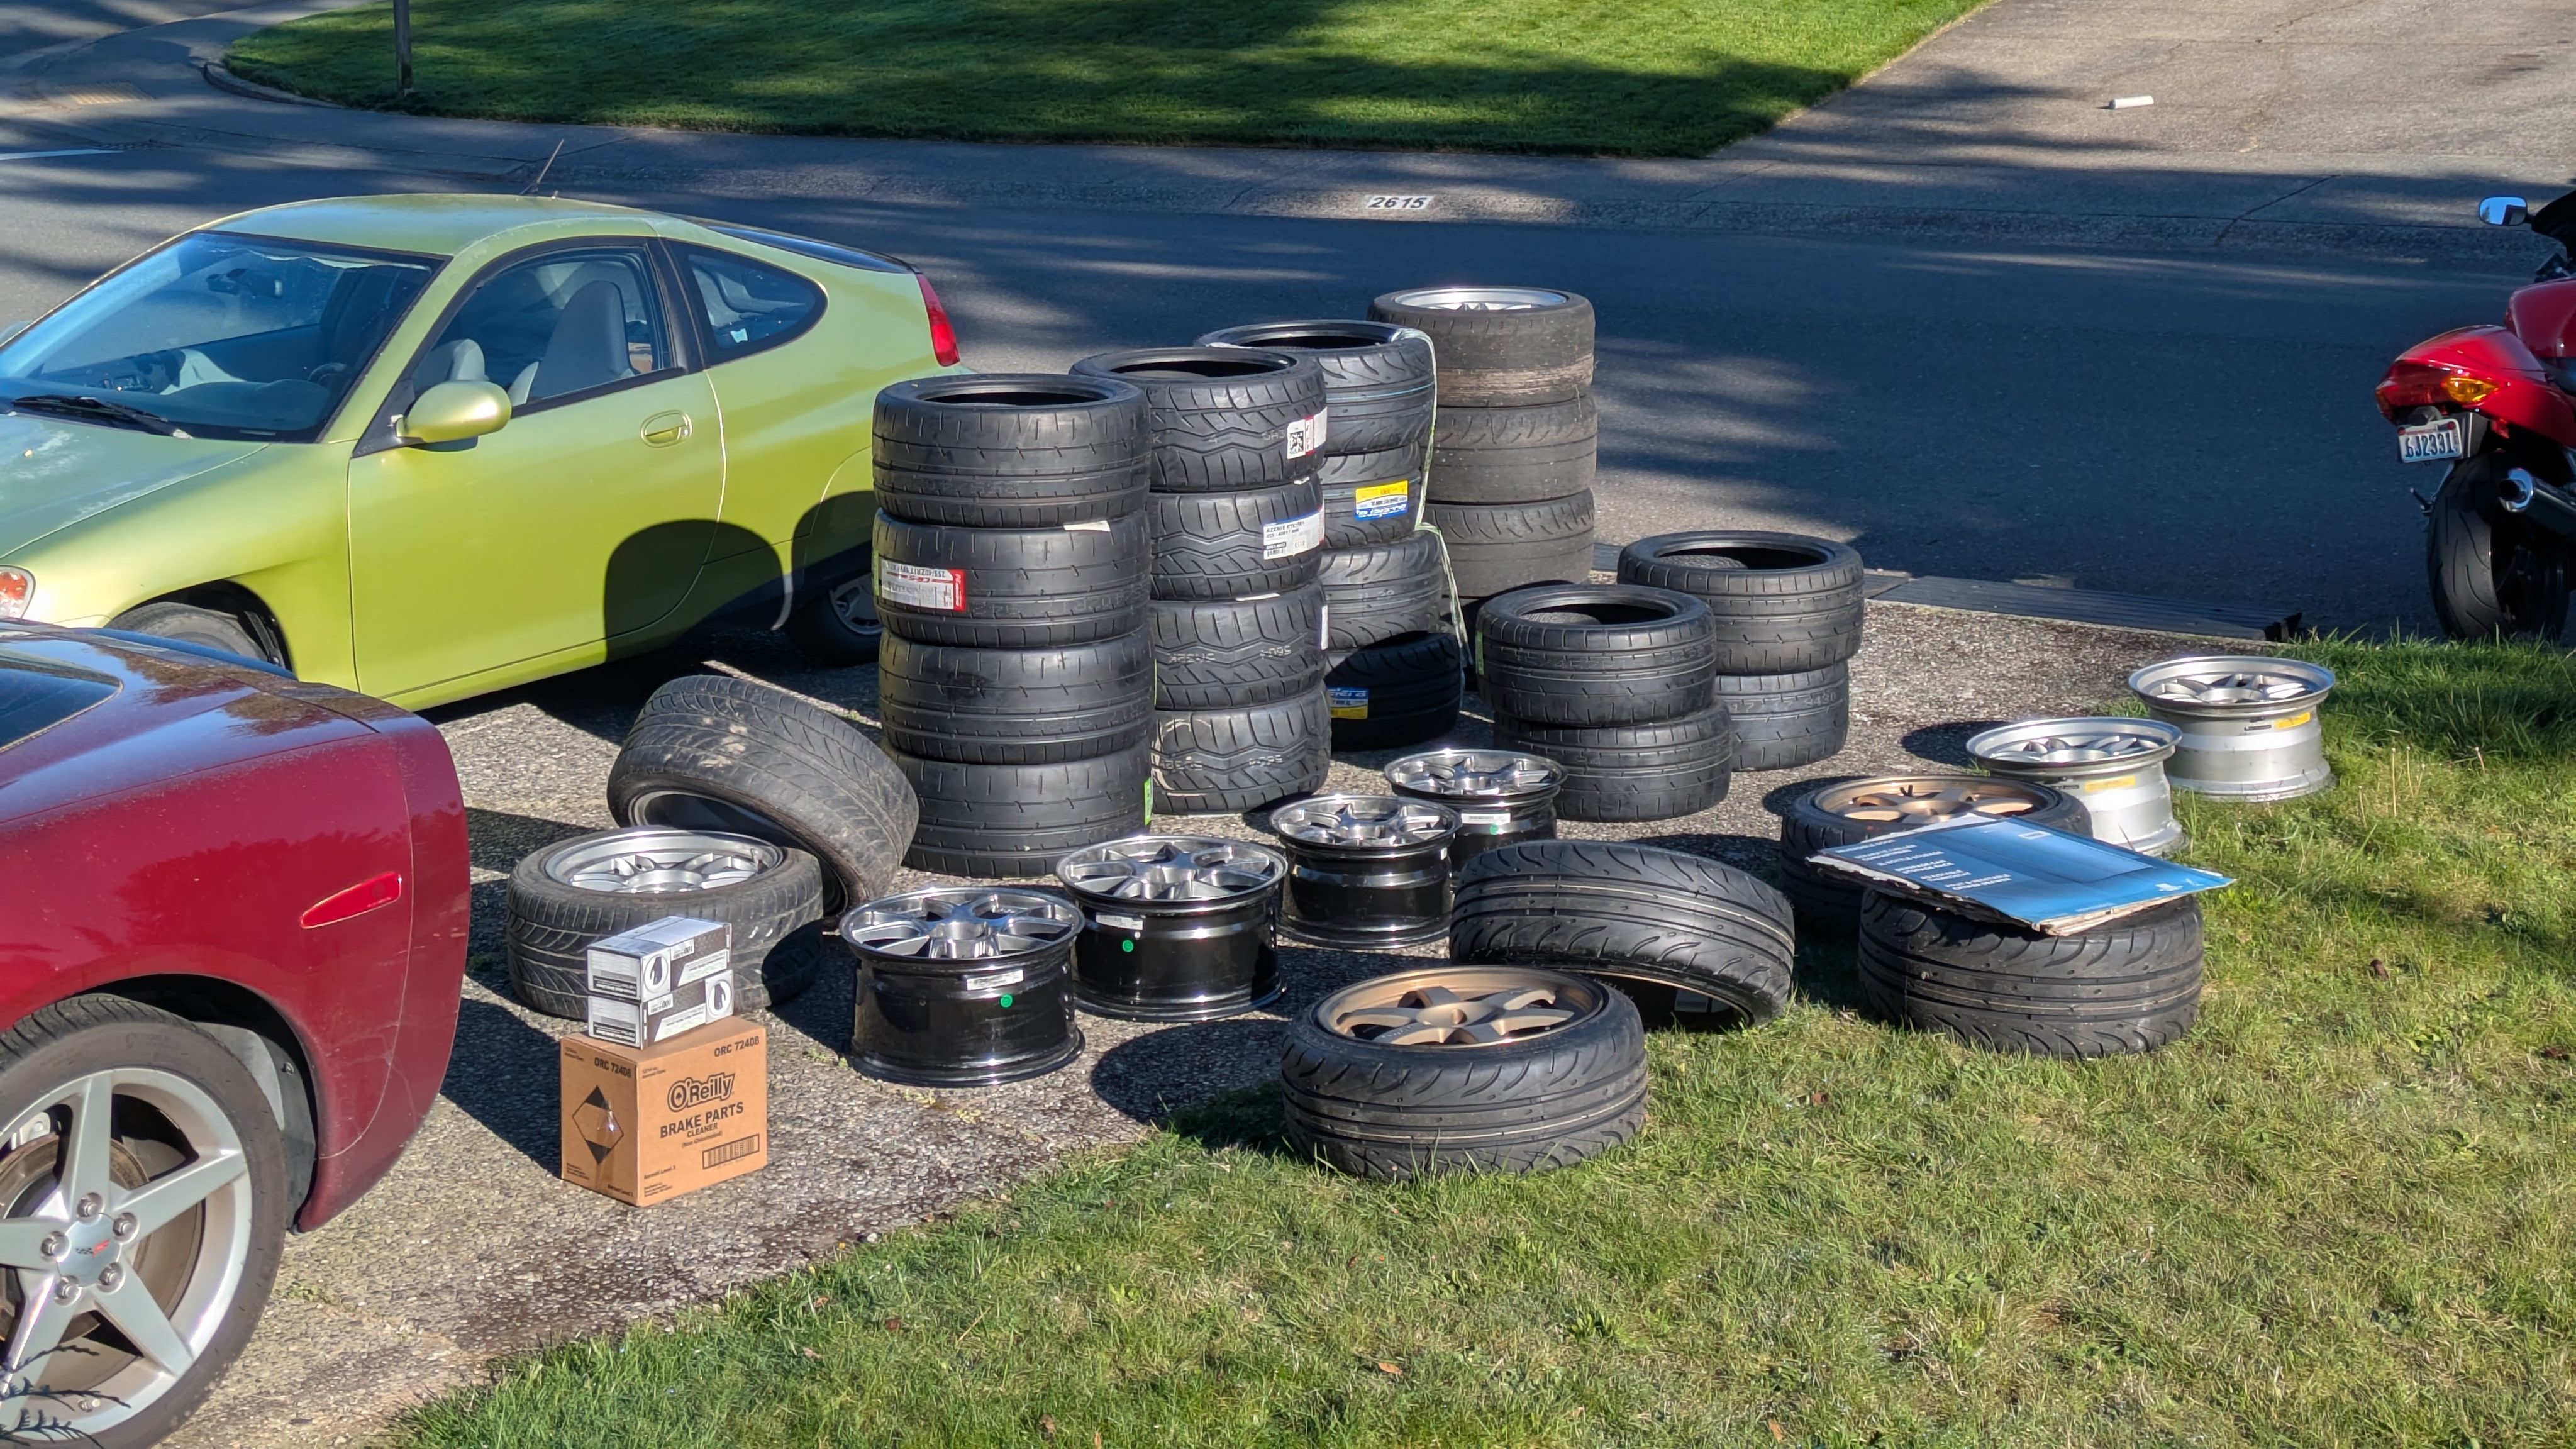
While in limbo waiting for parts, I arranged a time with a family friend Jared to use his tire mounting capabilities. I had amassed many wheels and tires for this car, but none of them were actually assembled.
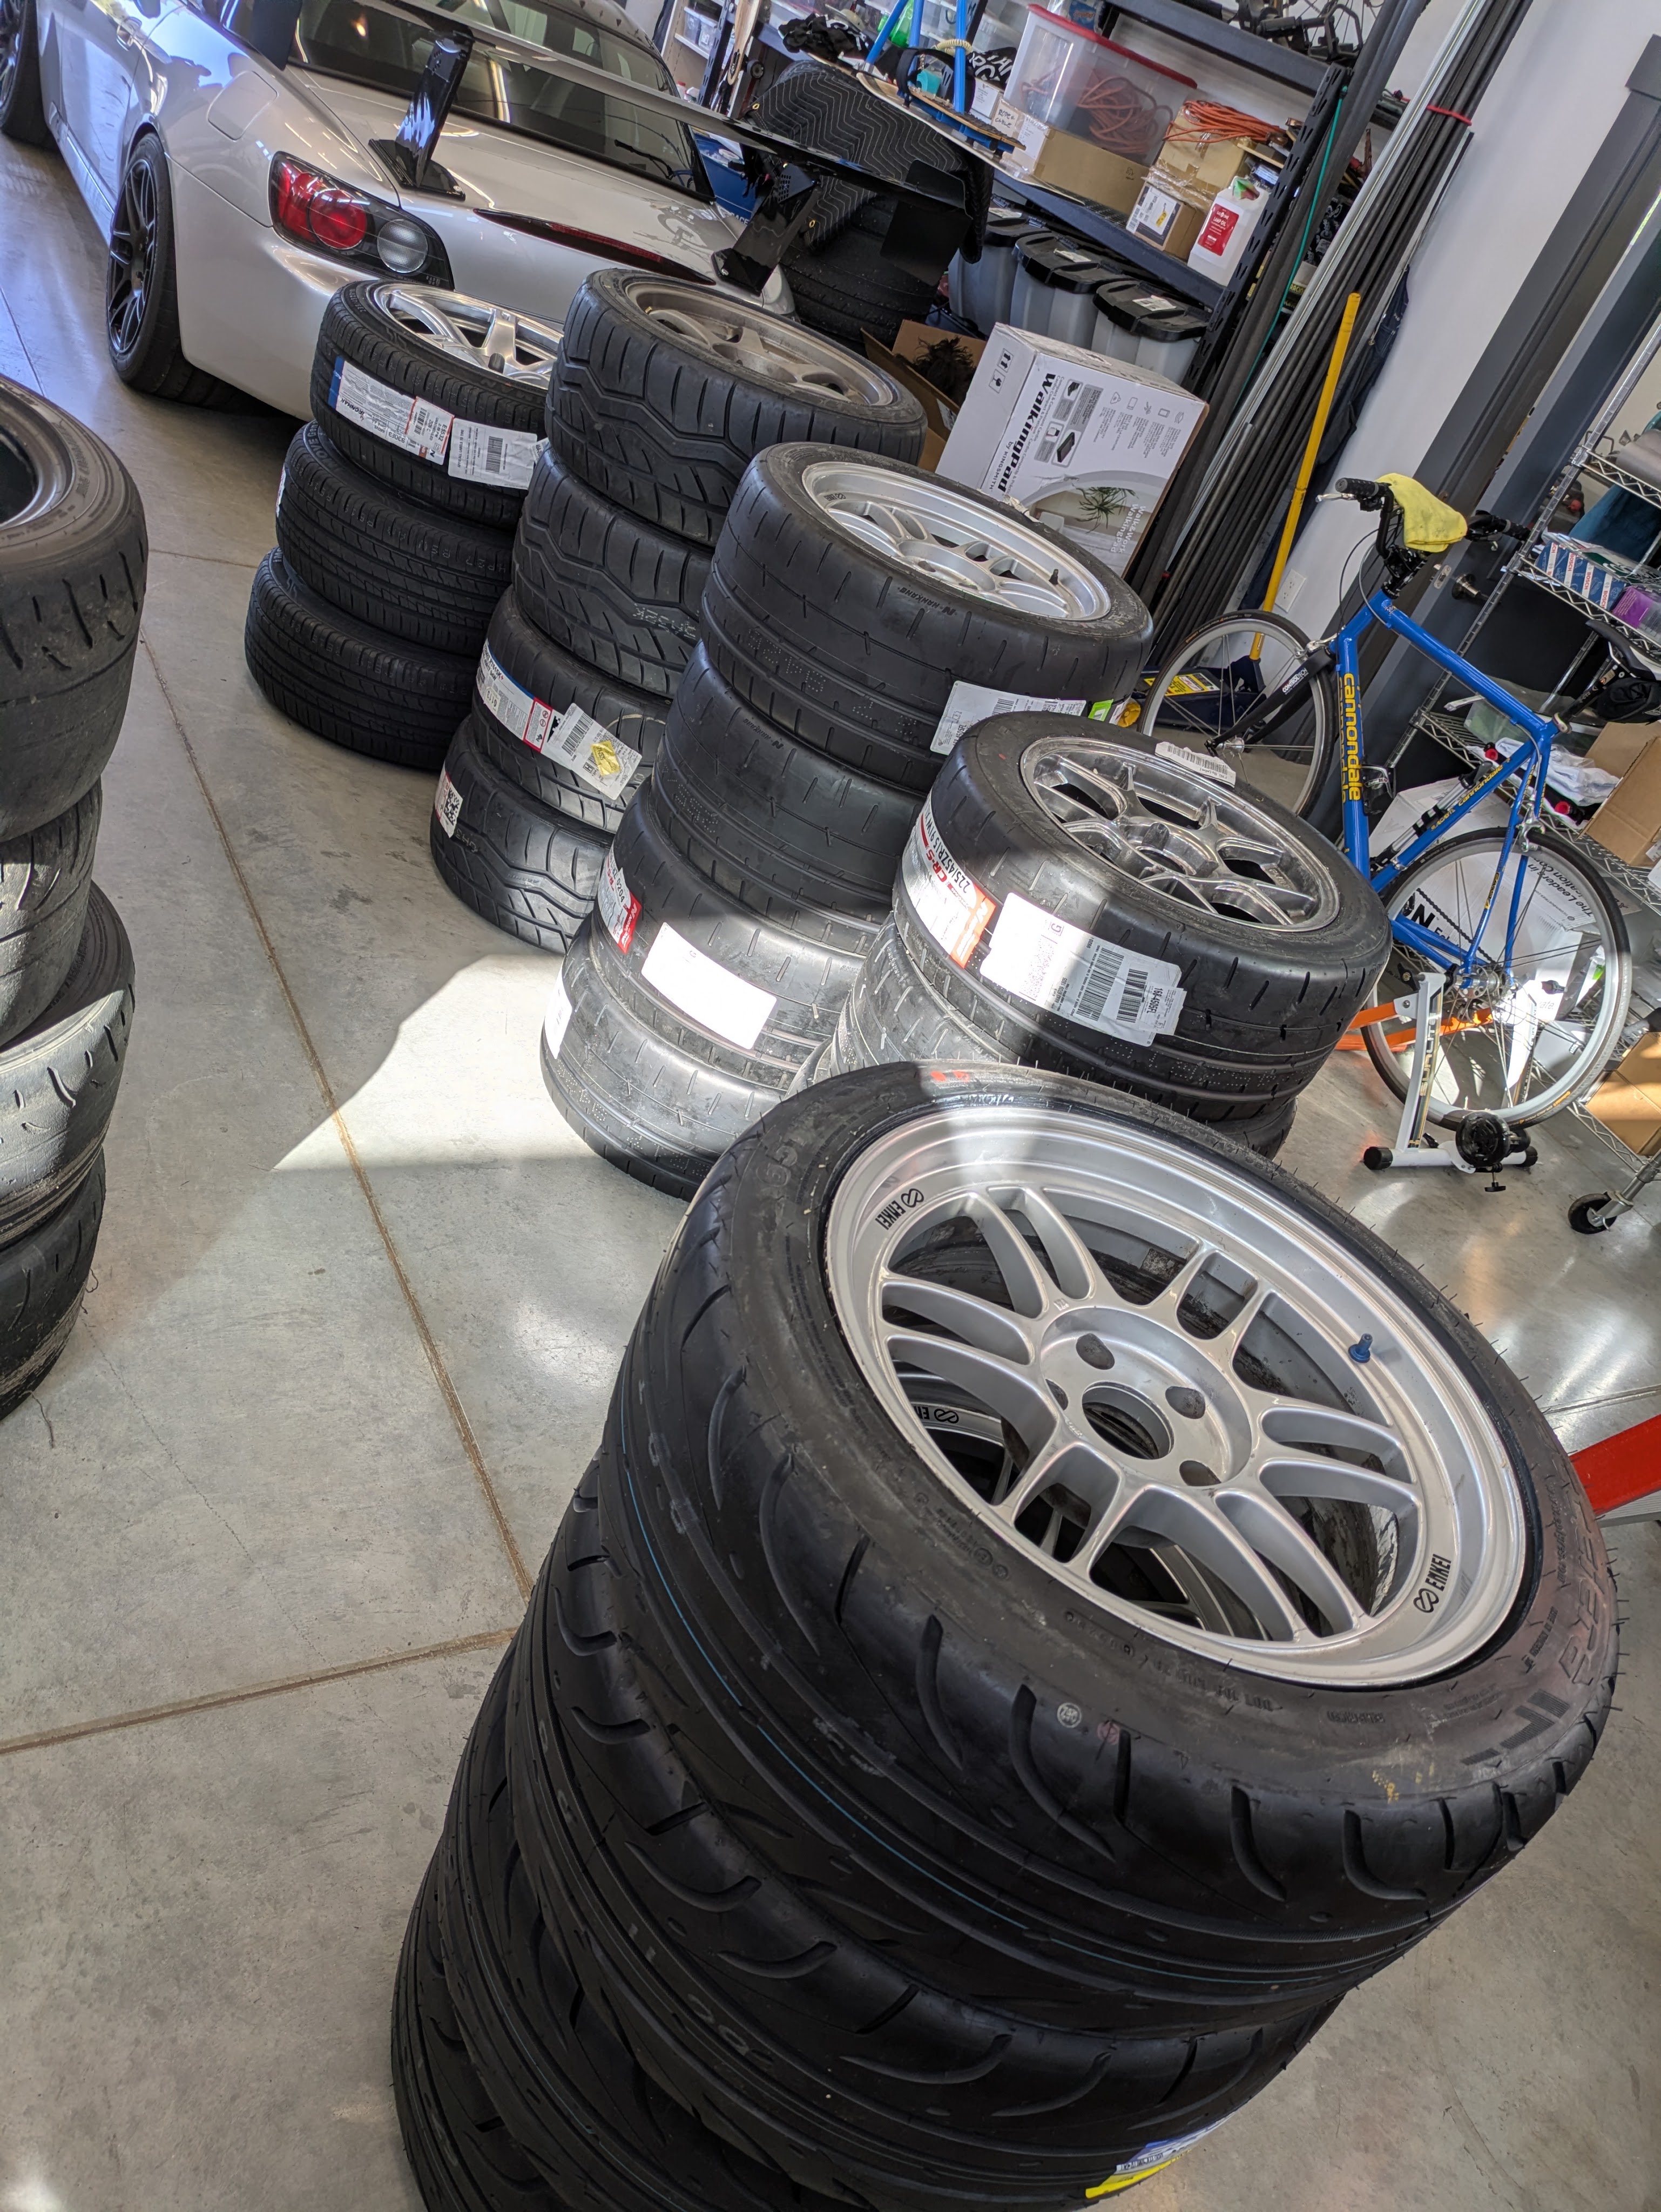
We did 5 sets in total: 3 for me, and two for friends. Overall worth the trek, and it significantly reduced the bulk sitting around in my shed and behind my house.
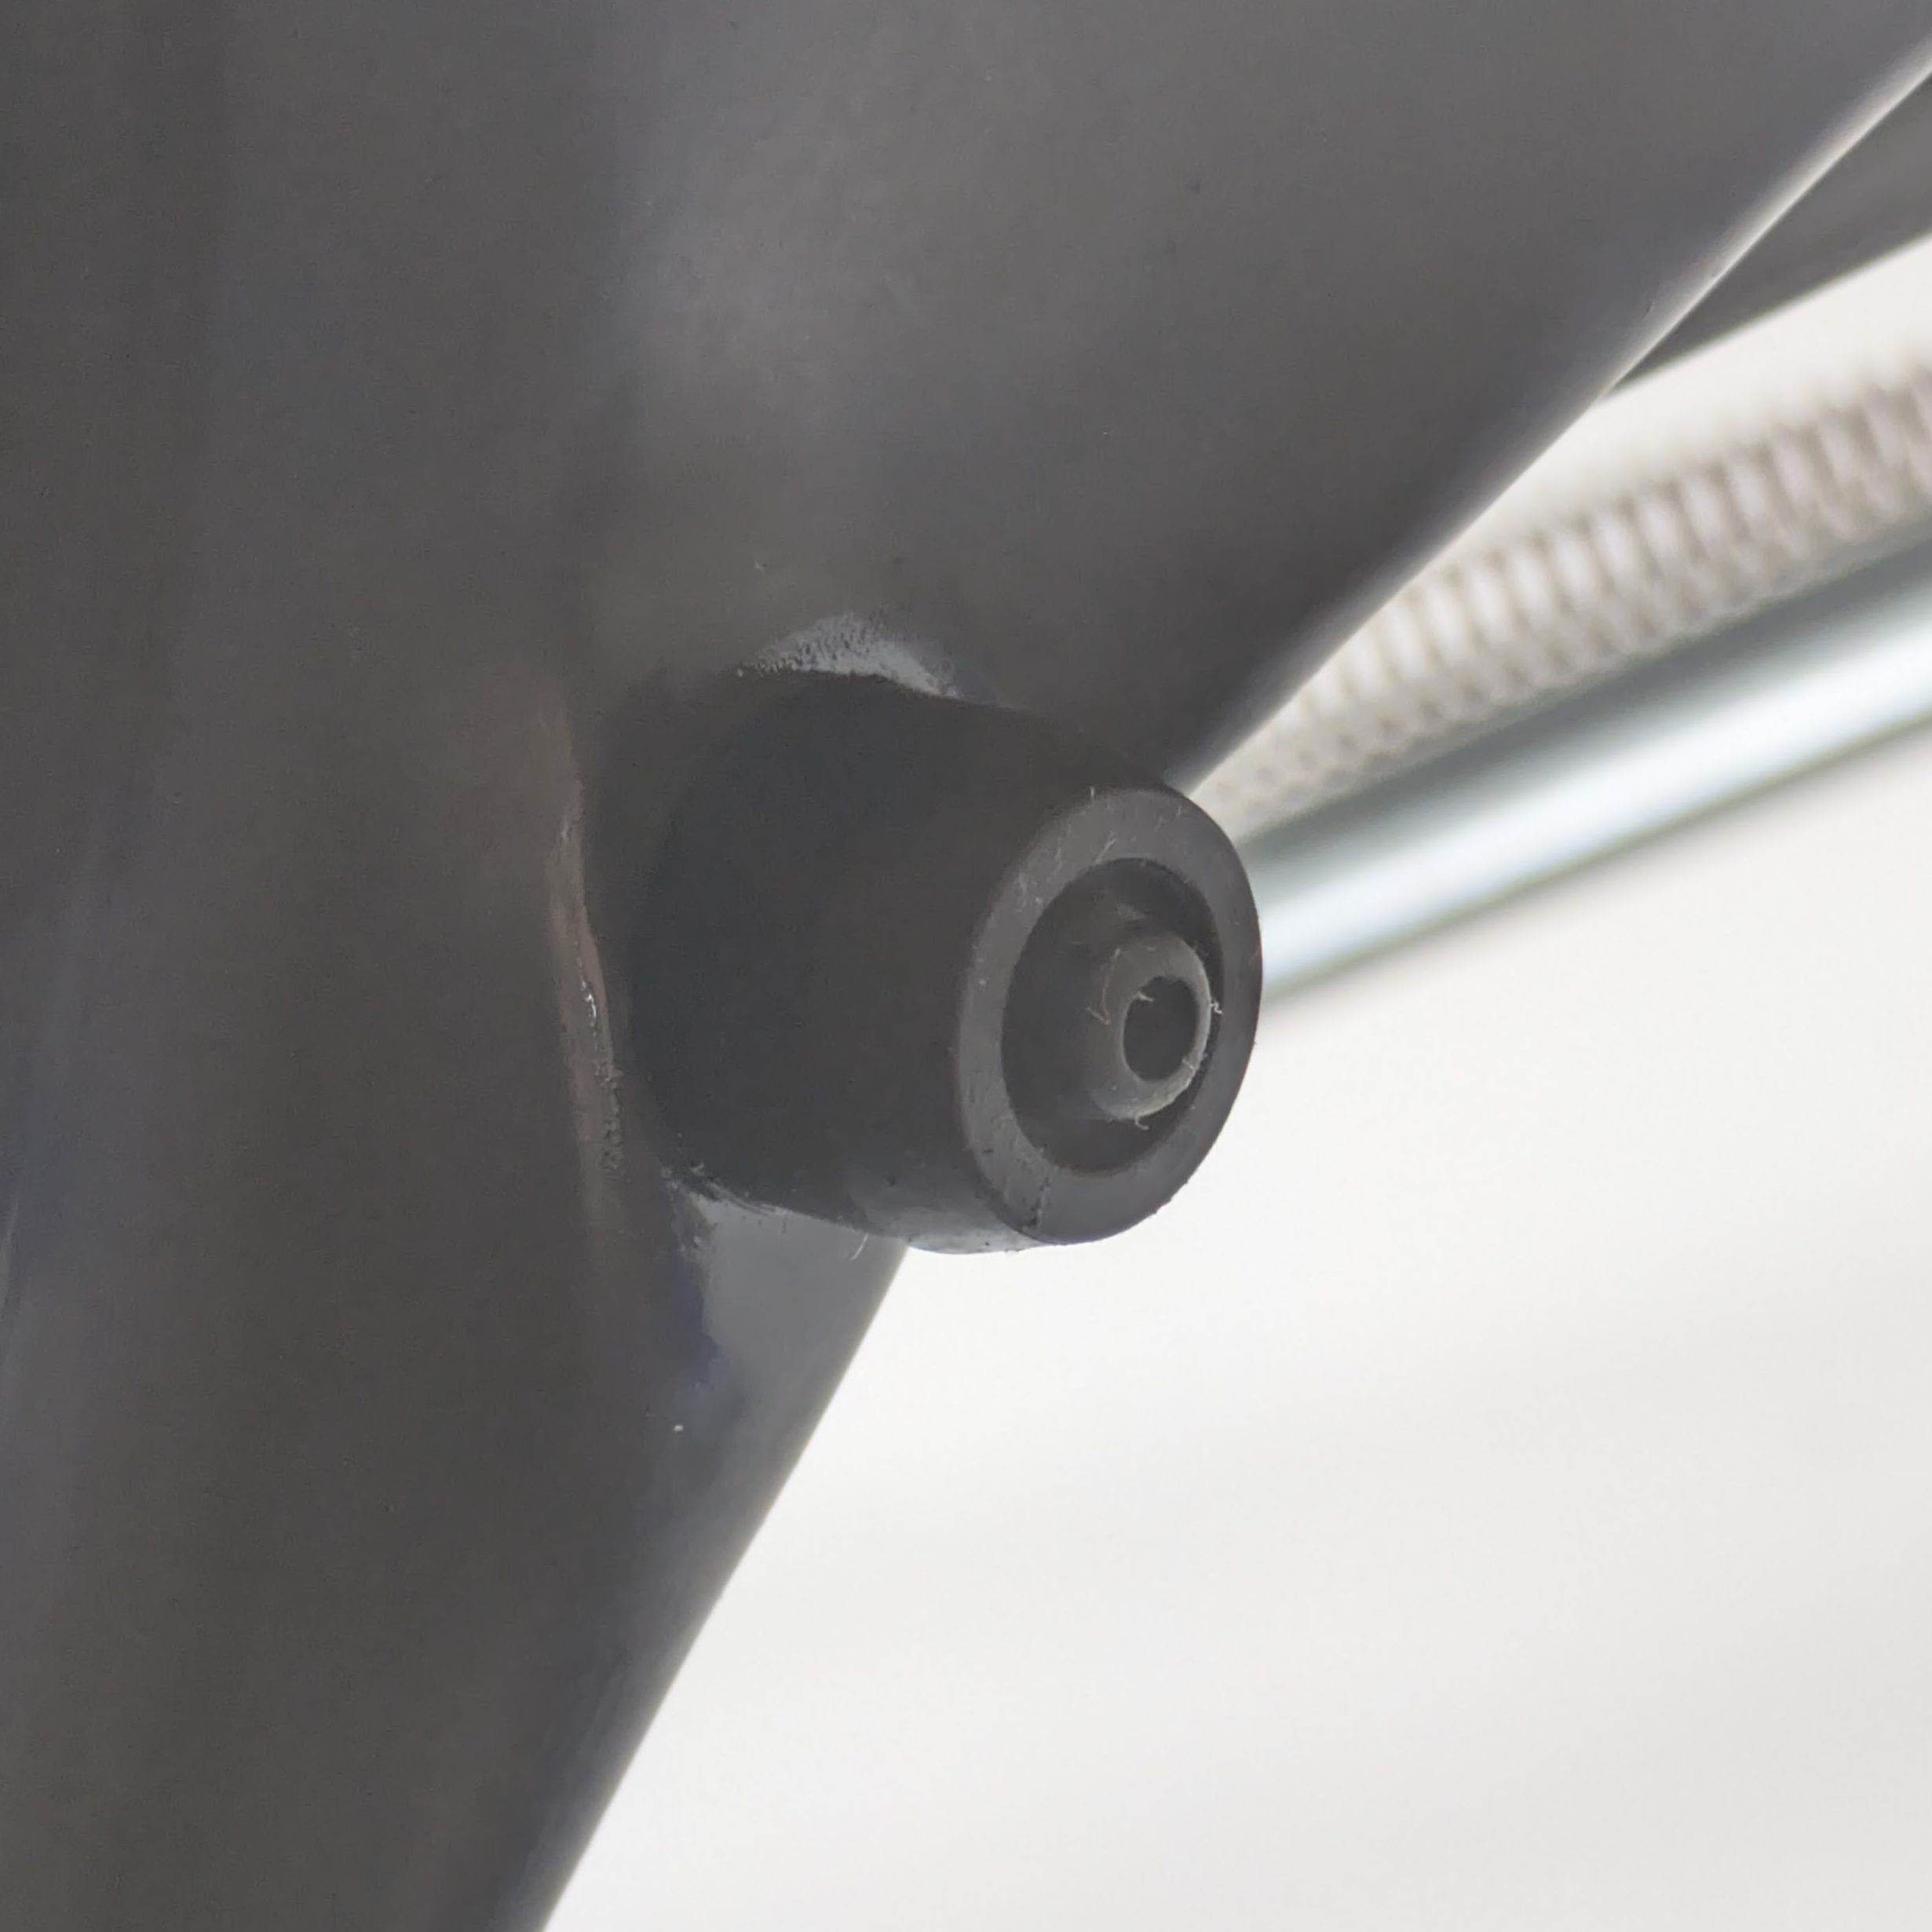
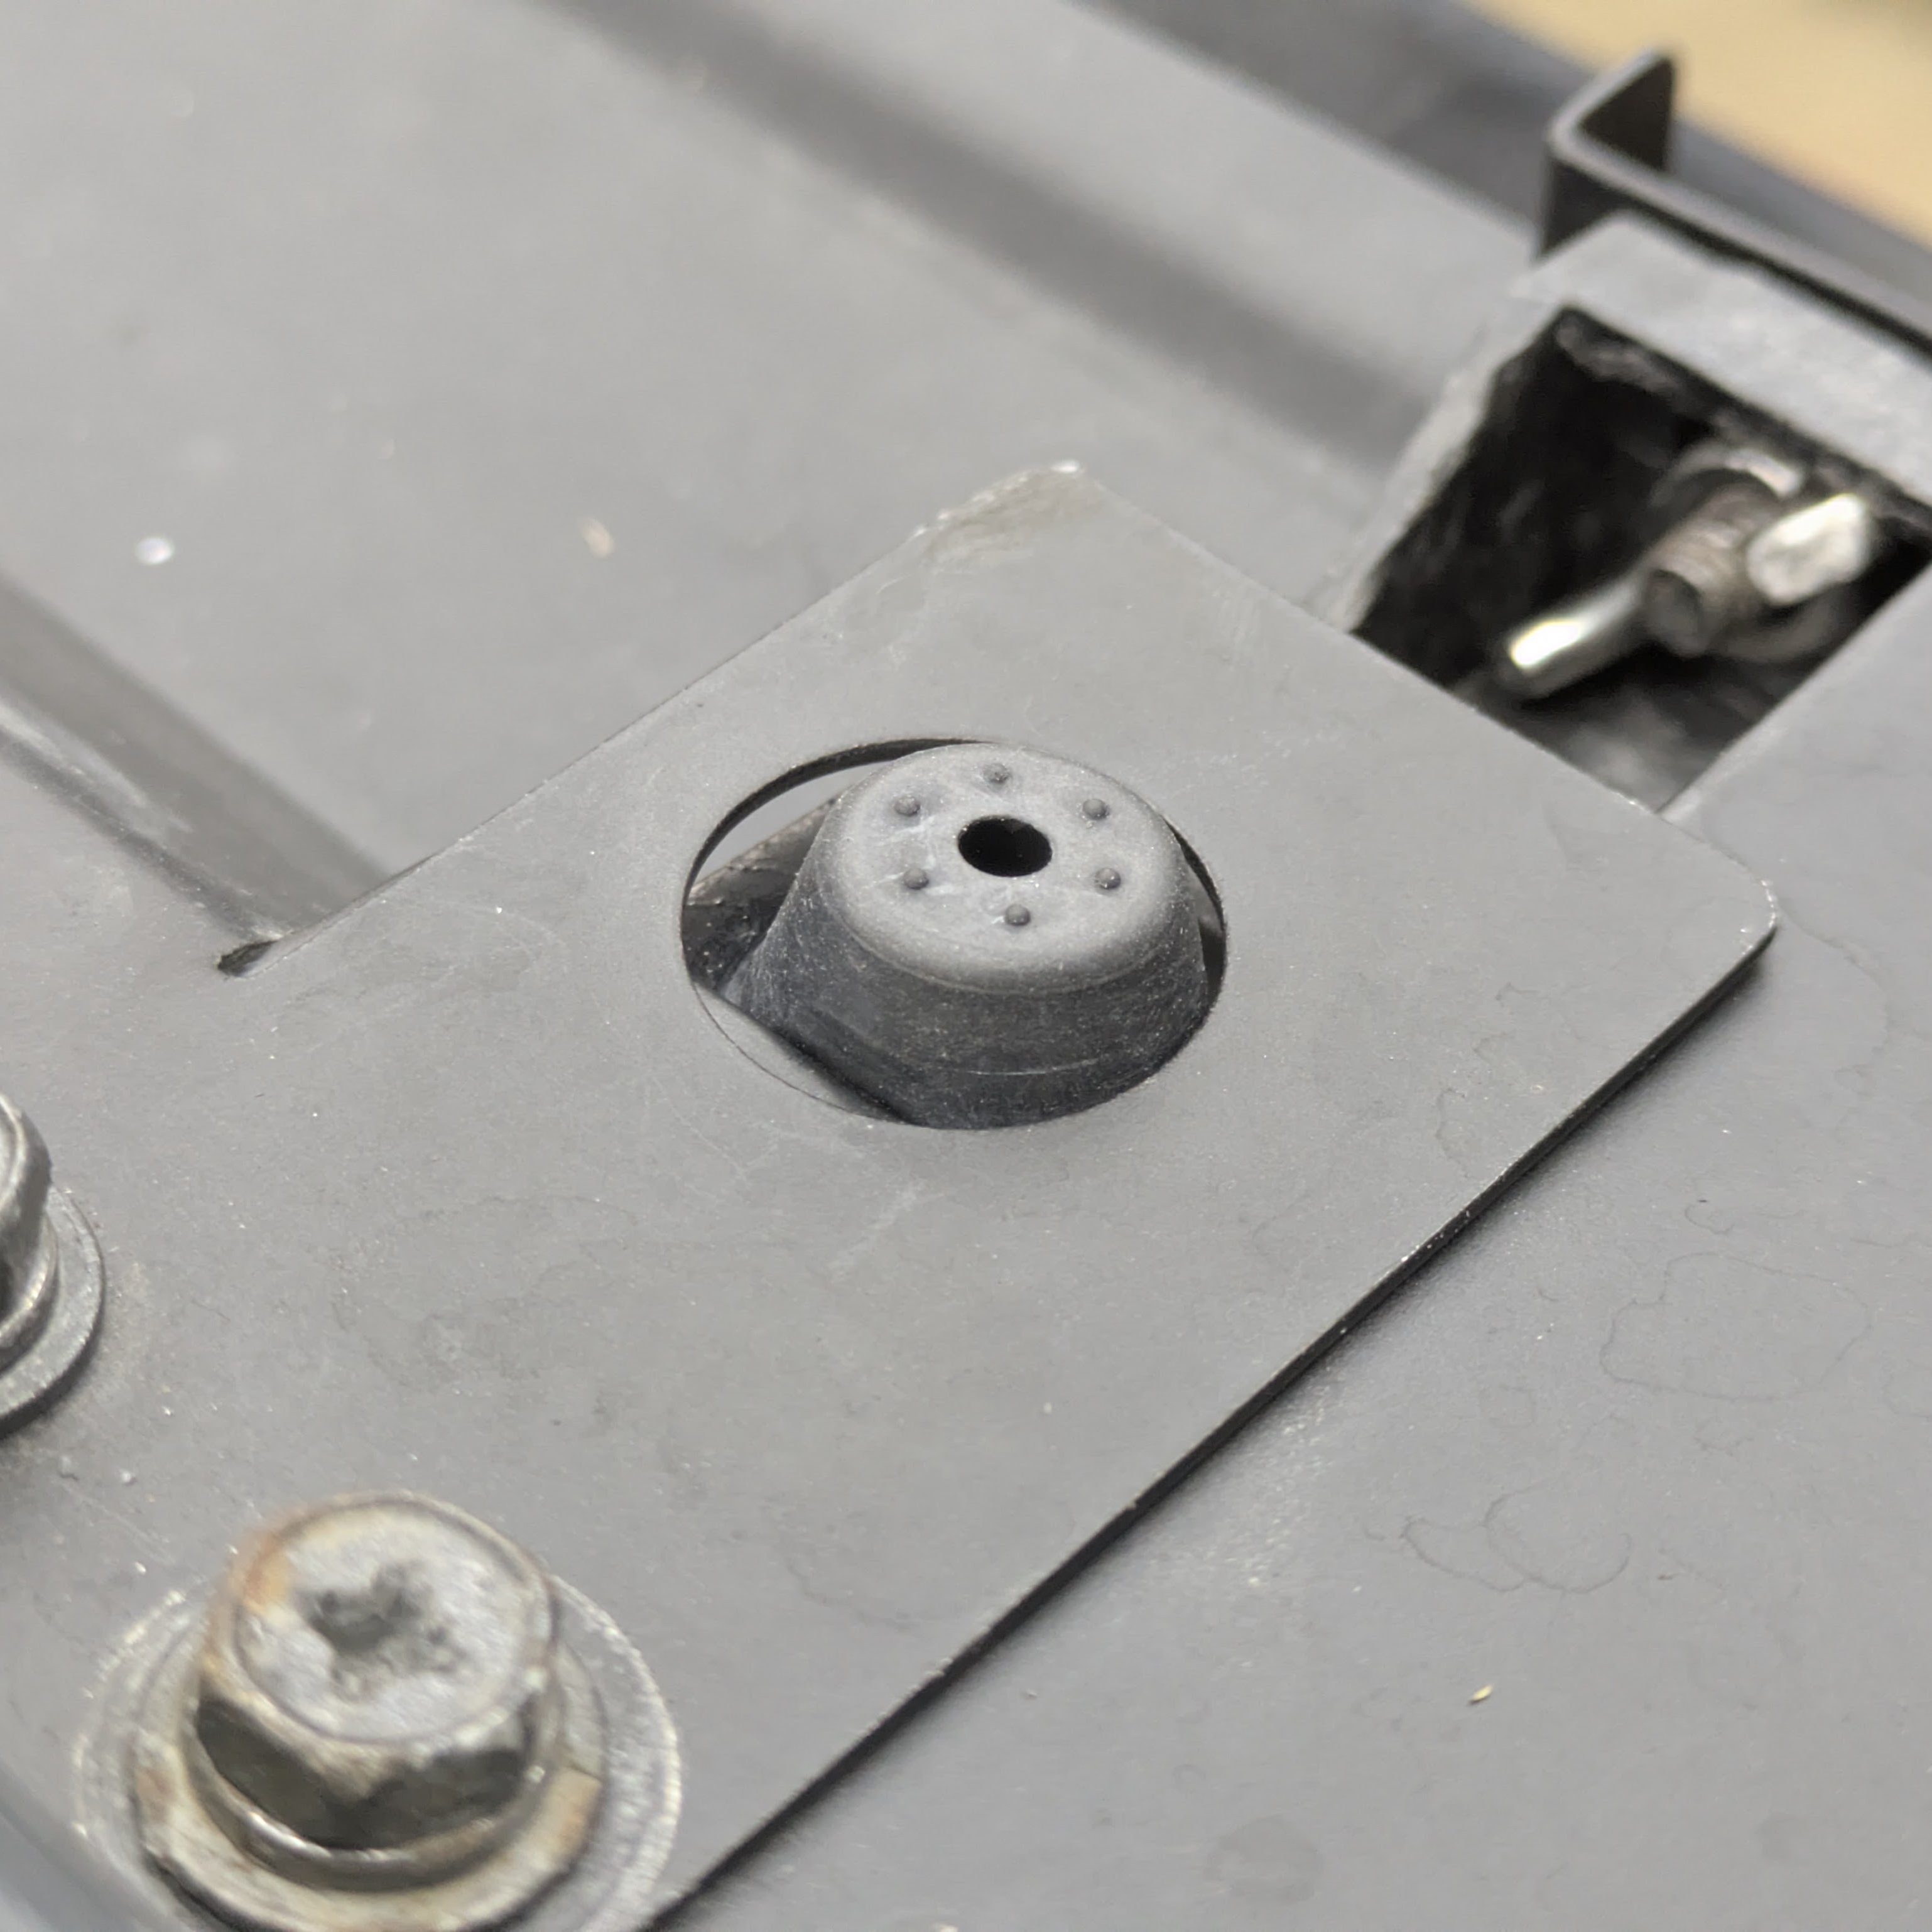
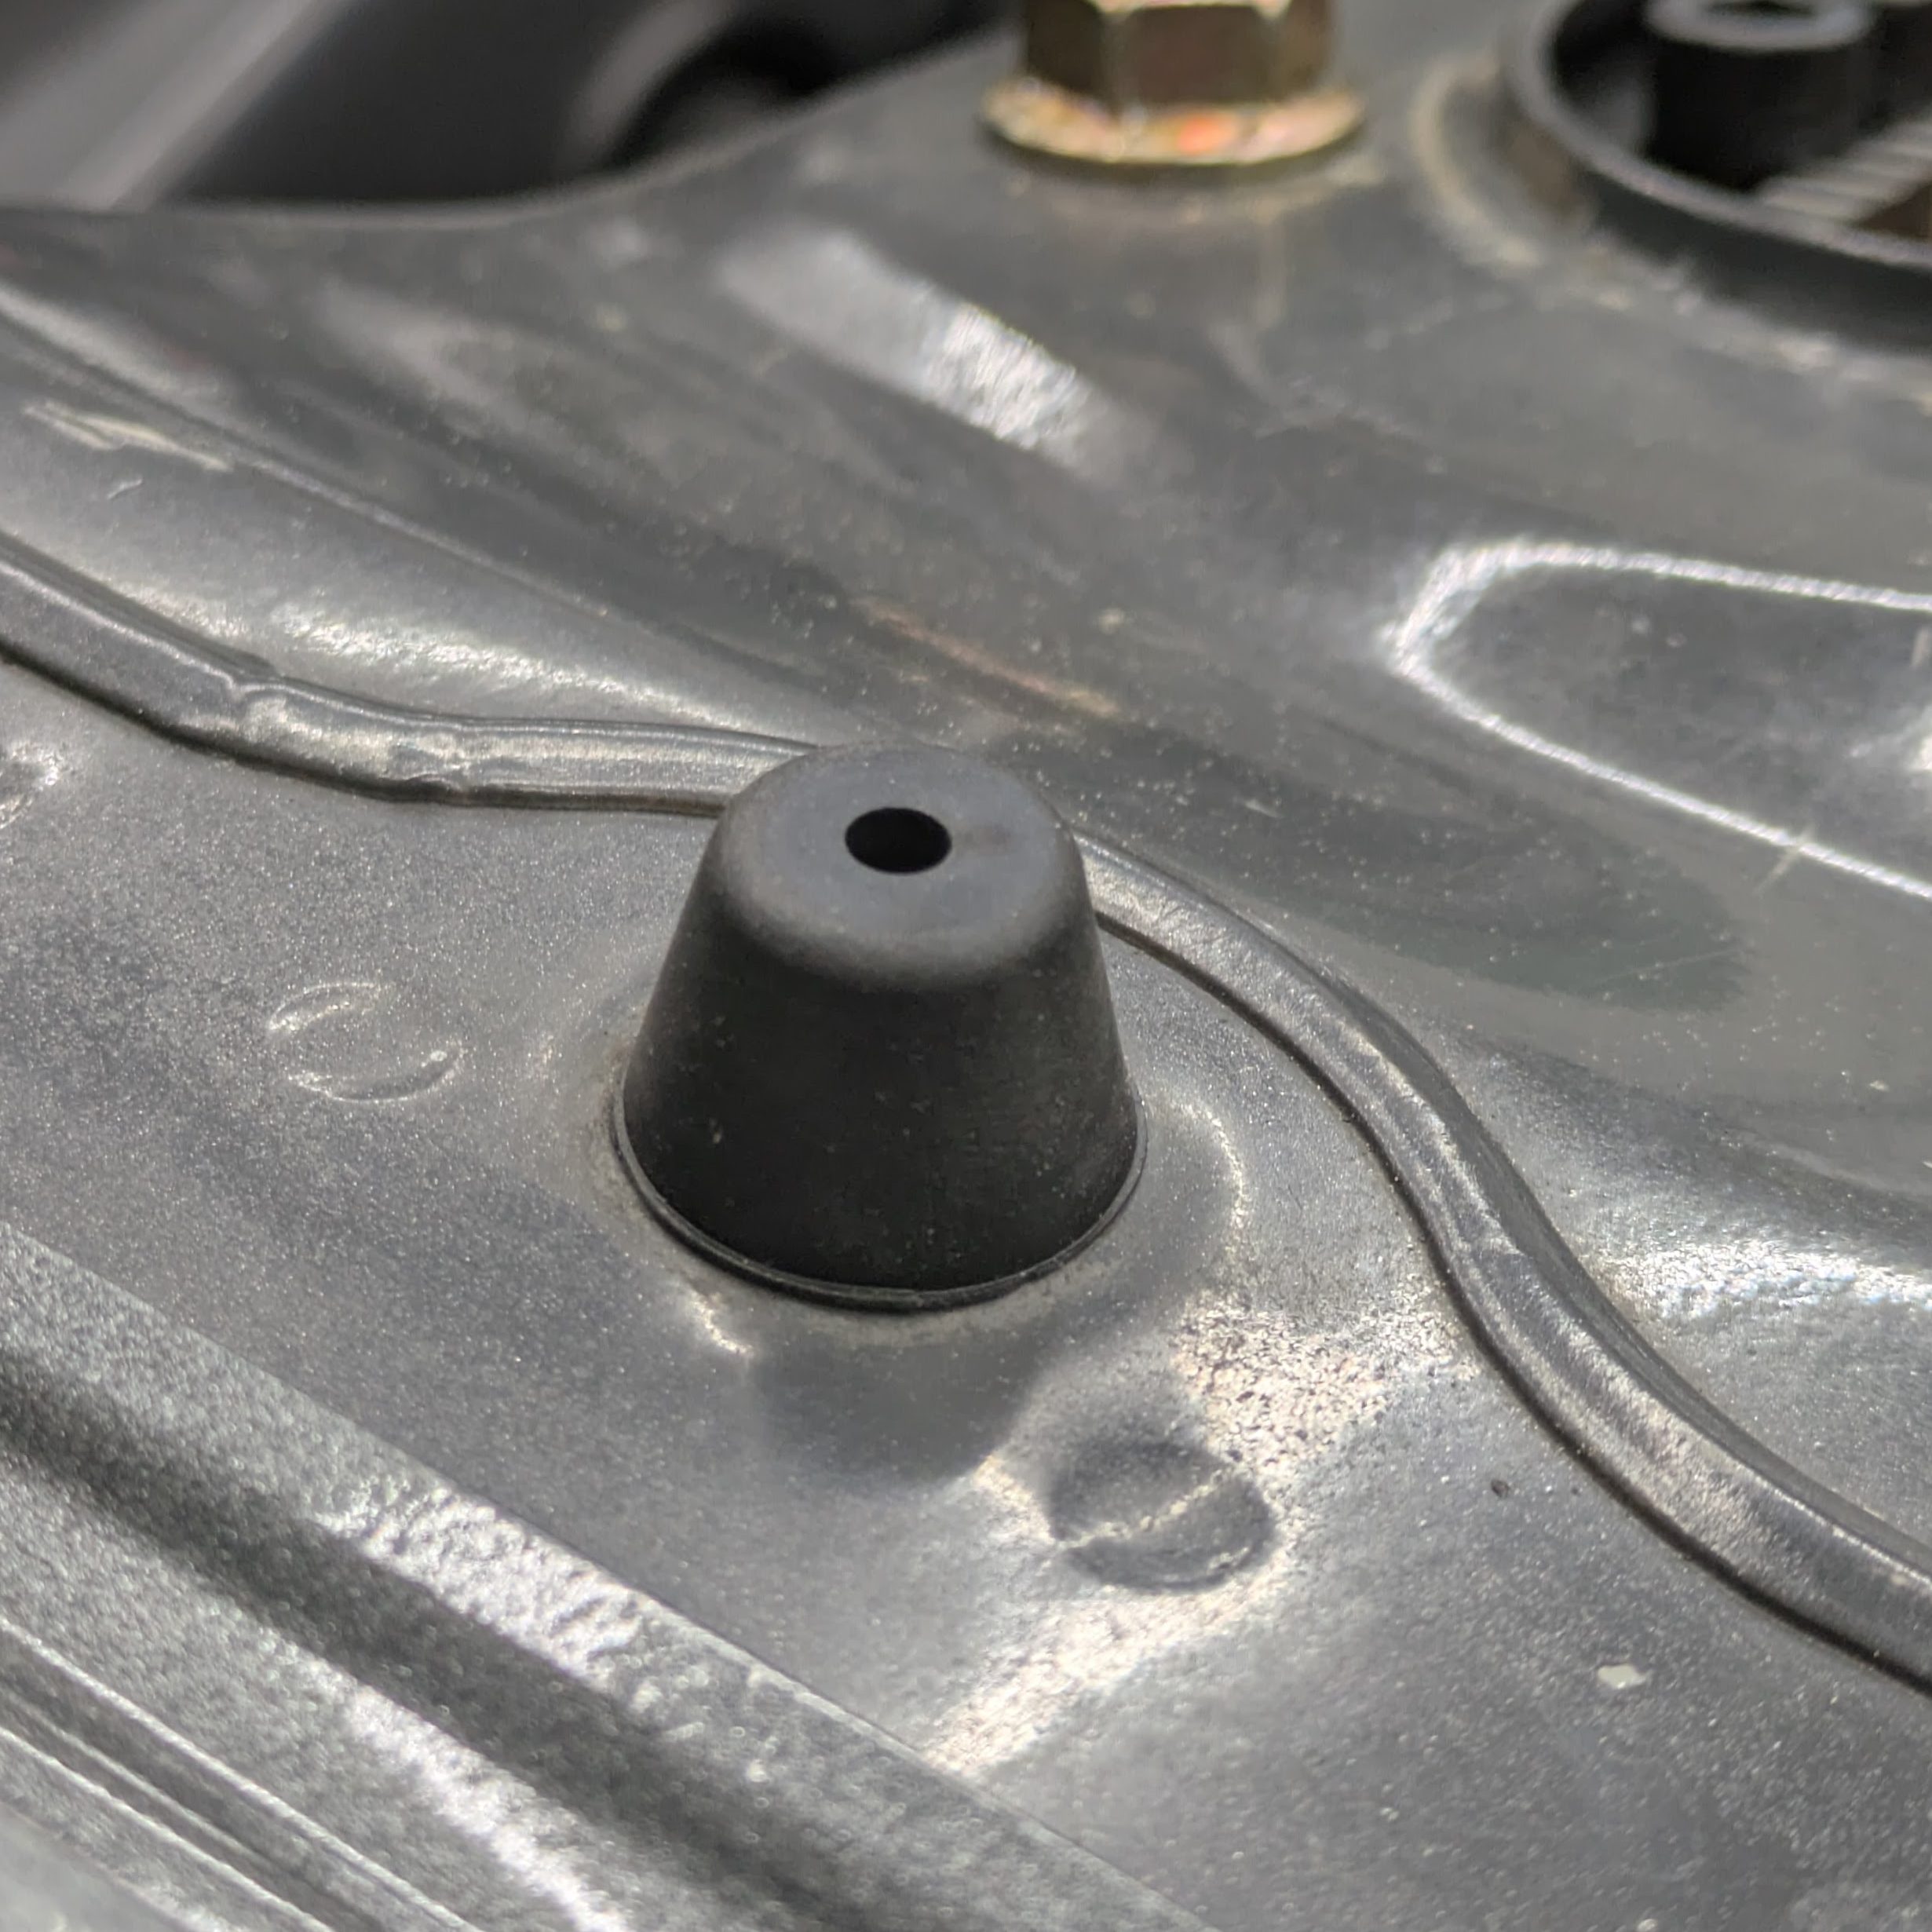
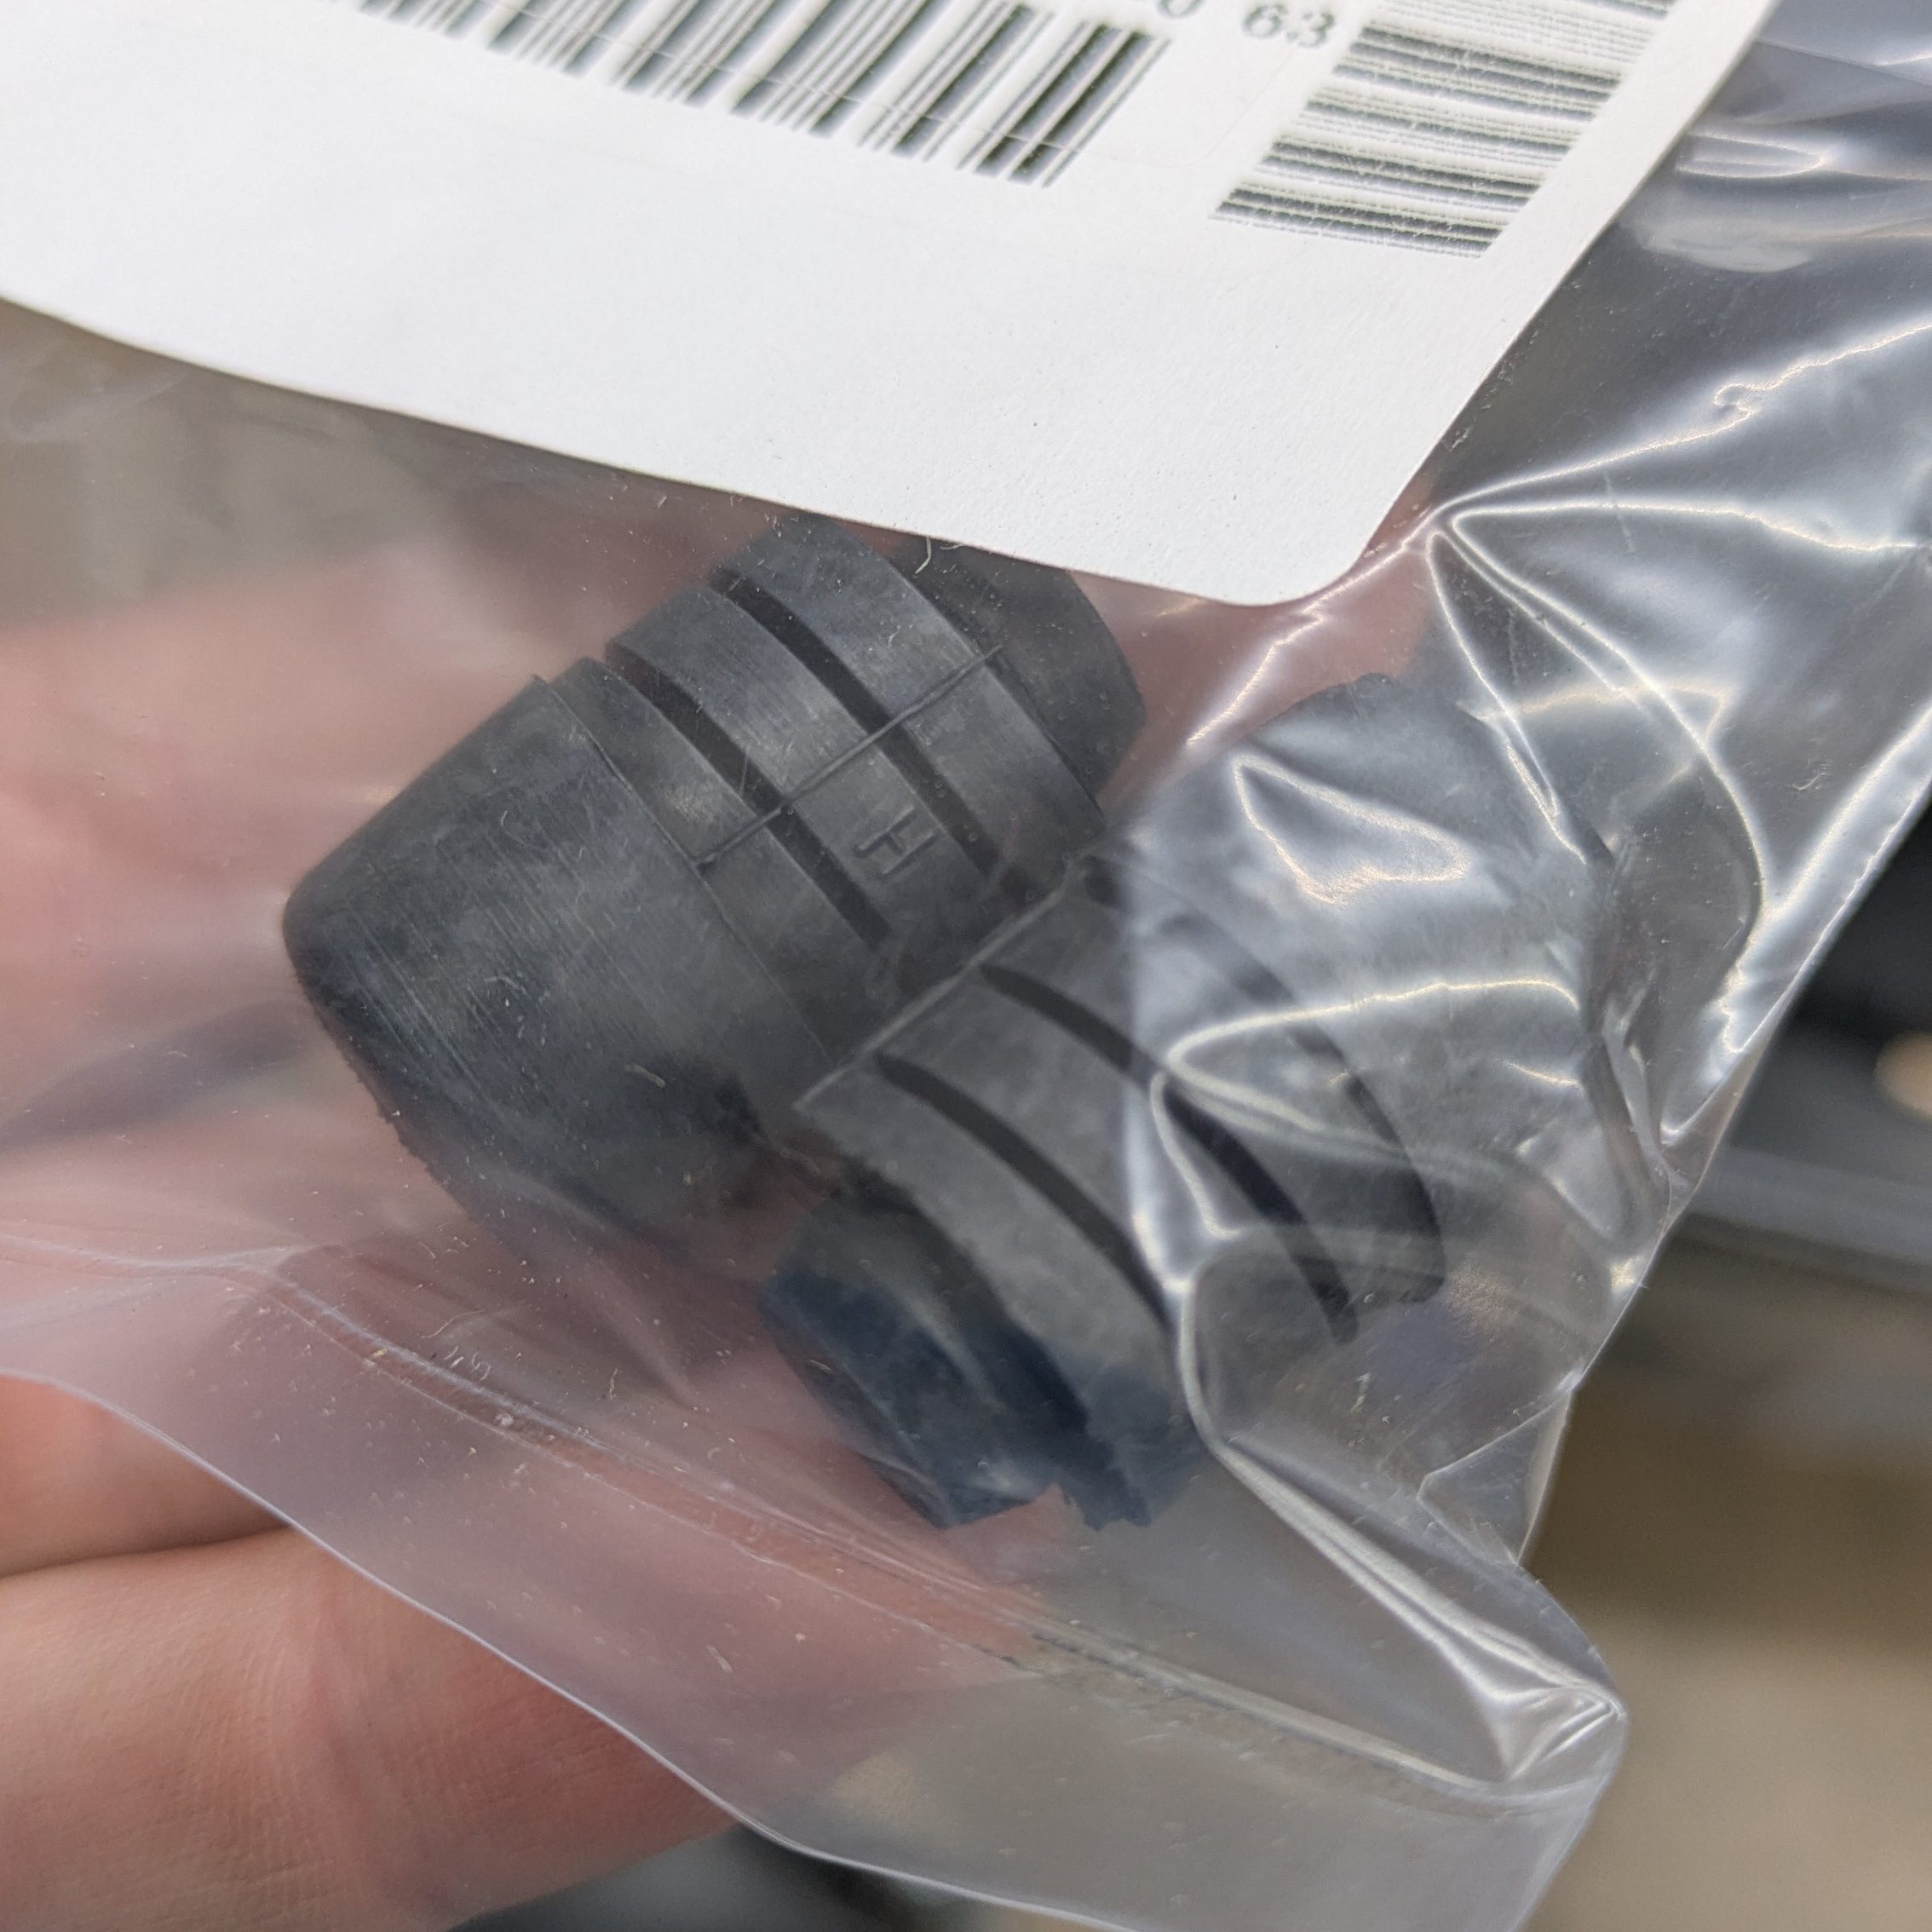
With more exterior assembly came more seemingly innocuous parts emerging from the parts room. I had ordered basically every rubber bumper related to body panels, as mine were all quite perished by this point.
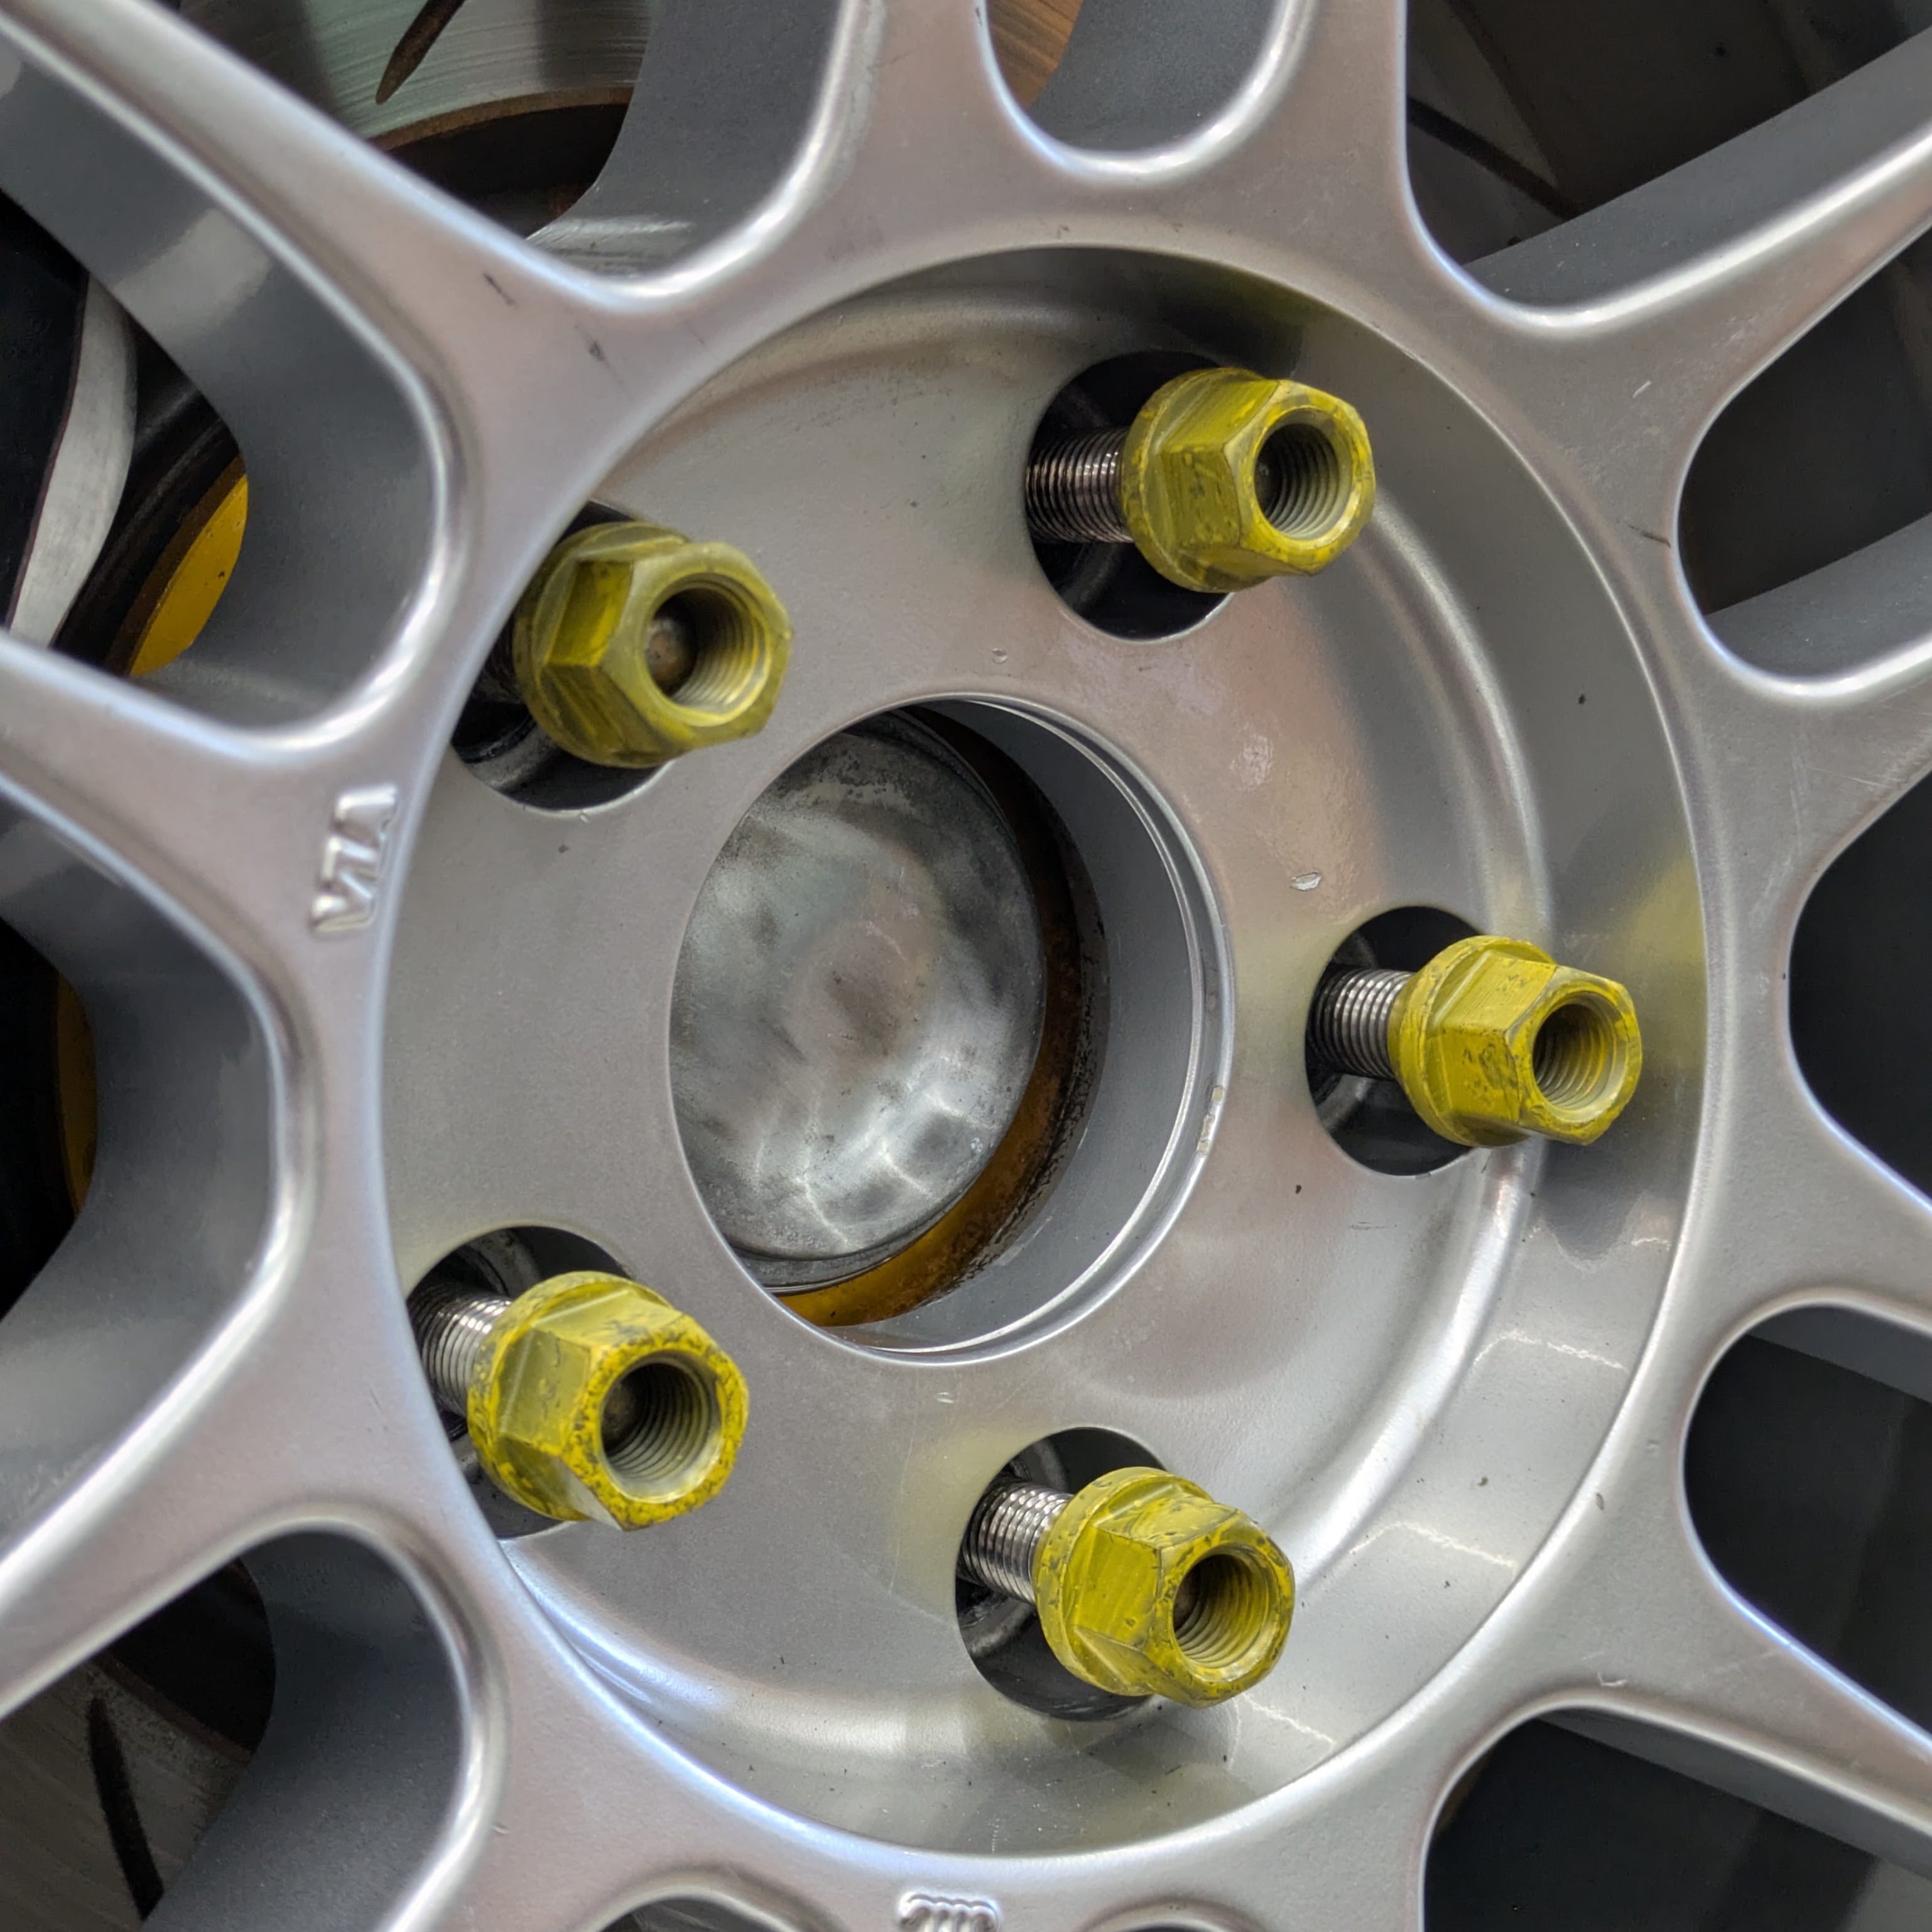
Tangent: I have previously had either Muteki SR48s or their Dorman replicas (faithfully referred to as DorTekis). I had had my eye on these MSI lugnuts for a long time, but never had an excuse to order them as it didn’t match the ethos of any of the previous cars. With this car being very track focused, I figured I could live out my race lug nut dreams, so I ordered a set plus a few extras to have in the track spares box.
While I am not the target customer for an endurance racing lug nut, motorsport nerd me has always wanted them. Not only are they a high quality nut in general (I’ve had some serious runout/parallelism issues with DorTekis in the past), the yellow coating is a molybdenum dry lube to reduce galling and friction, which is vital in race environments when everything is nuclear hot during a race.
While they are offered in black, I wanted to remain true to what I had always seen, which was the classic NASCAR yellow. This is purely for visibility when you are moving quickly in the pits, but the inclusion of them on my pseudo street car is just a nod to what they are for the other mega dorks. If I wanted black acorn lugs, there are a lot cheaper options.
I ended up ordering these through ECS, as their Lifetime Replacement program to compete with FCP also covers these. If they get smoked over a season or two, I can just send them back during the offseason and have fresh ones by spring.
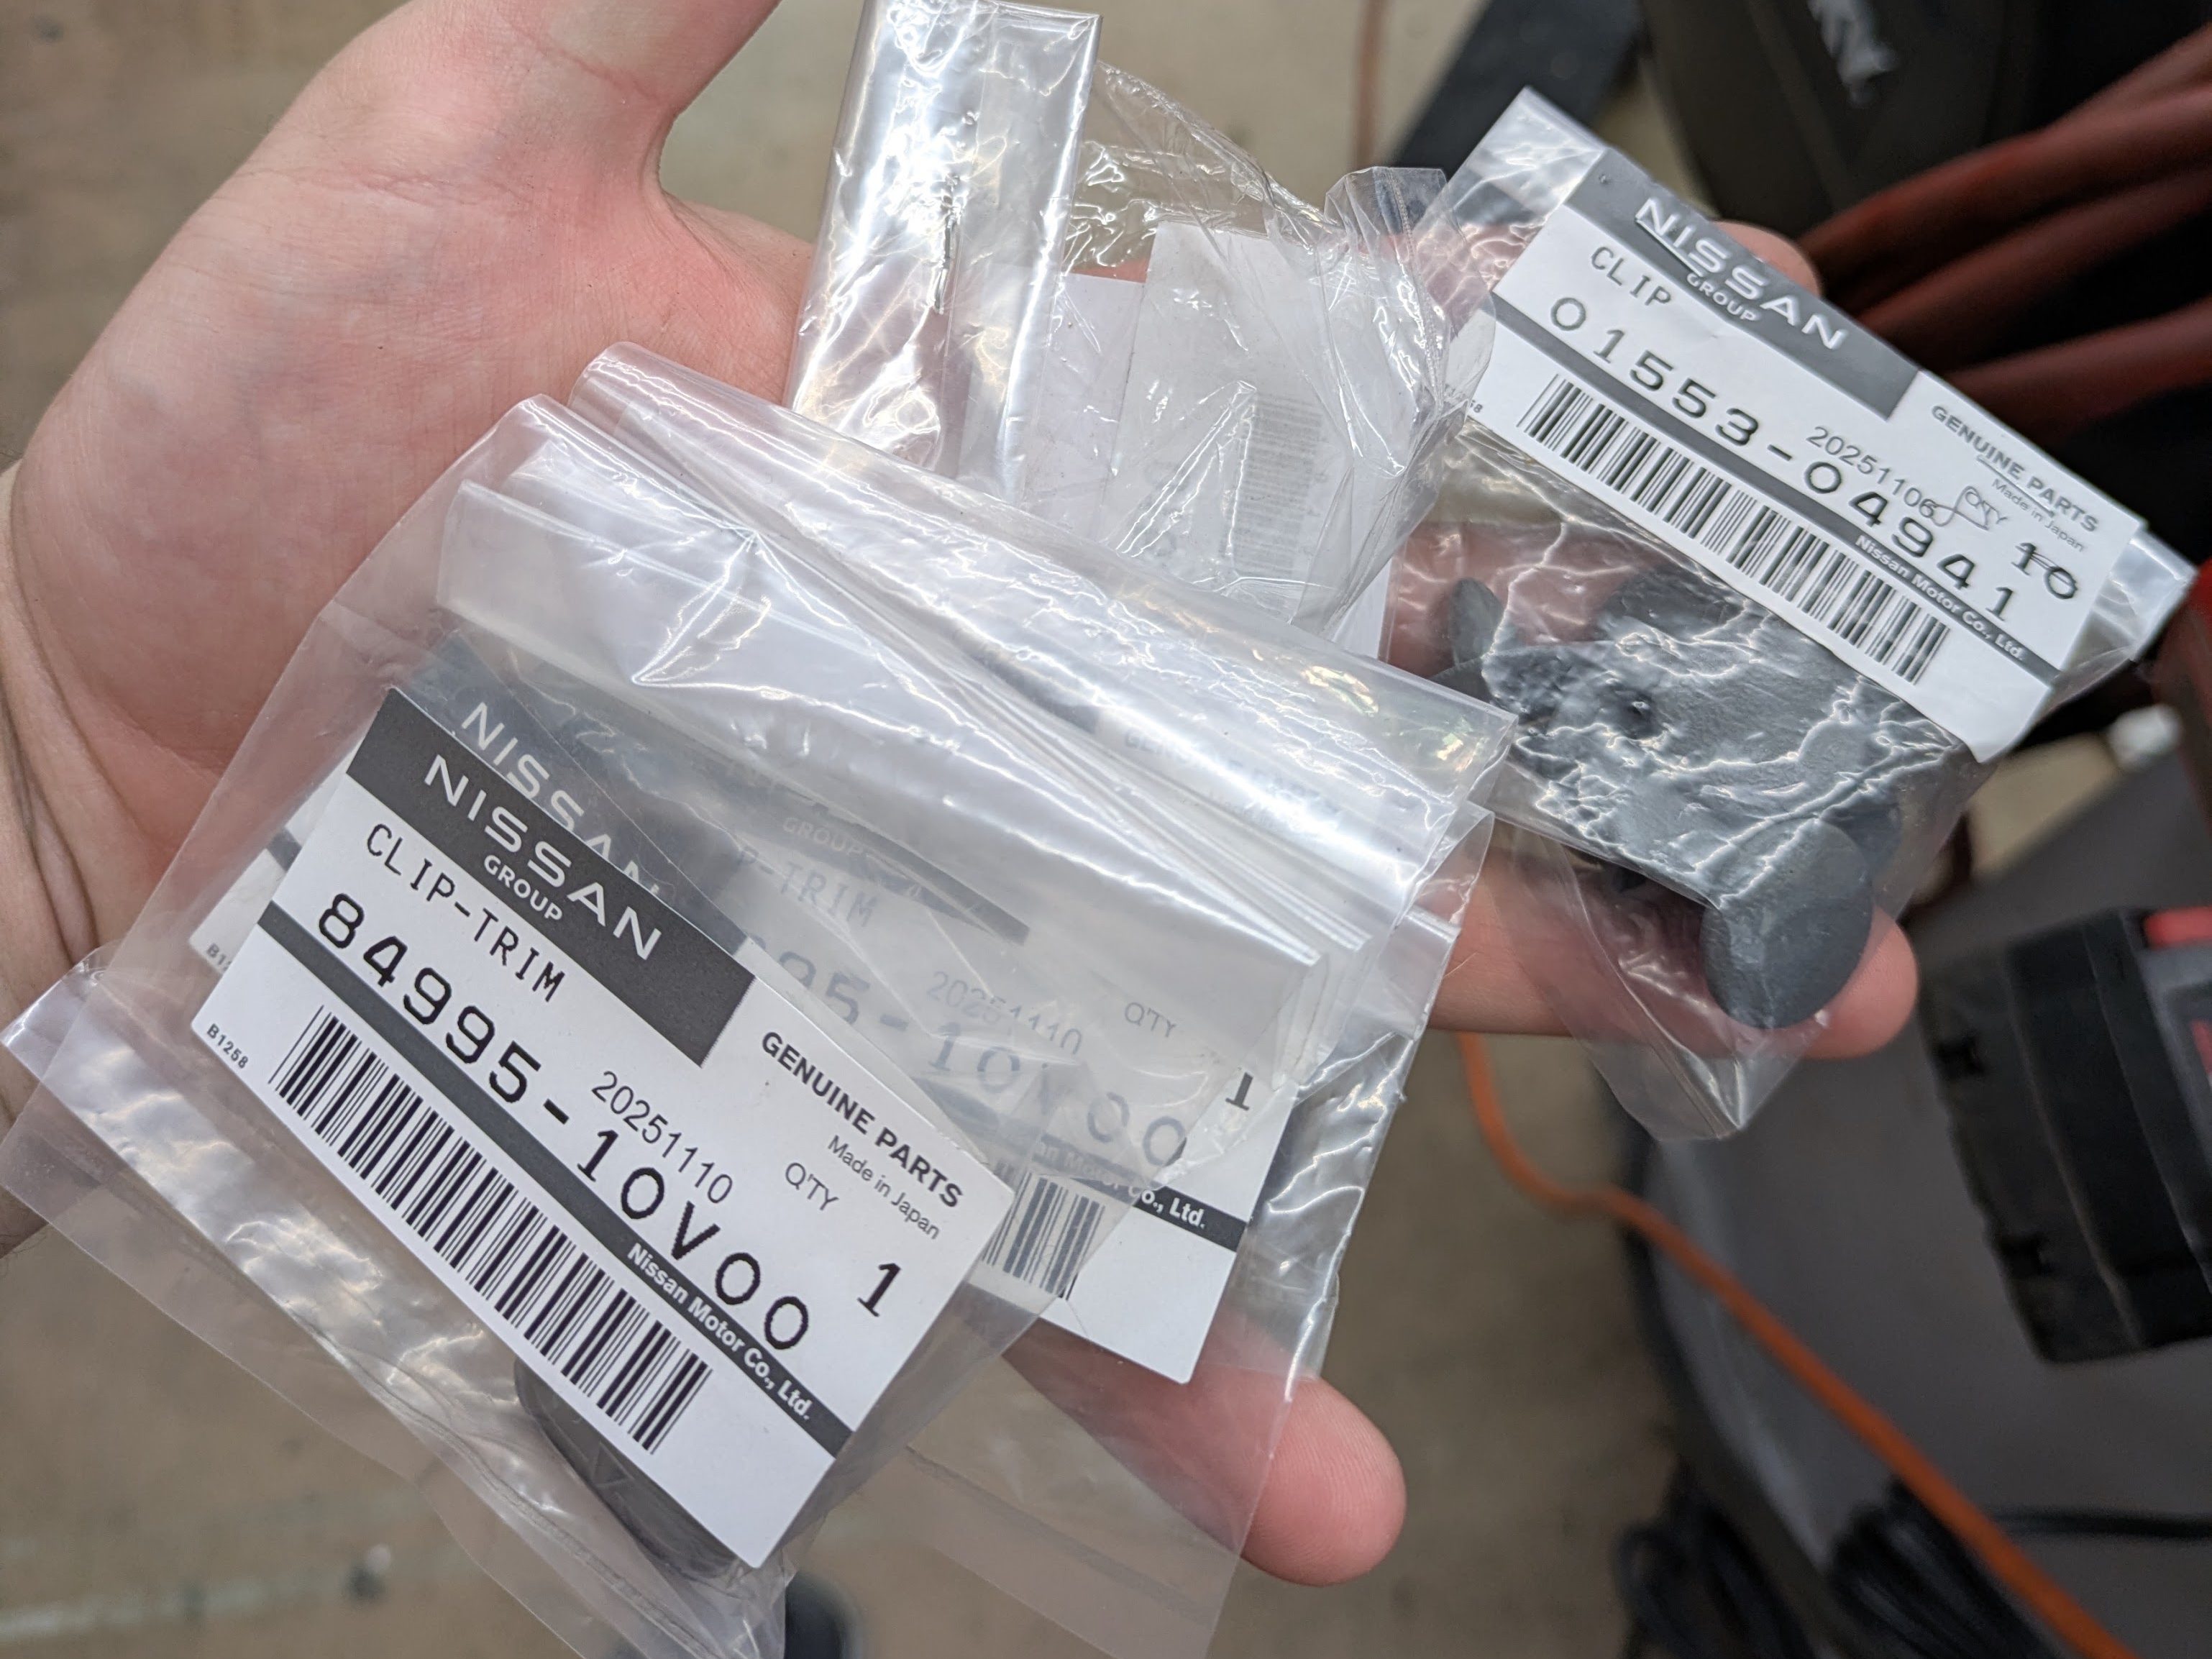
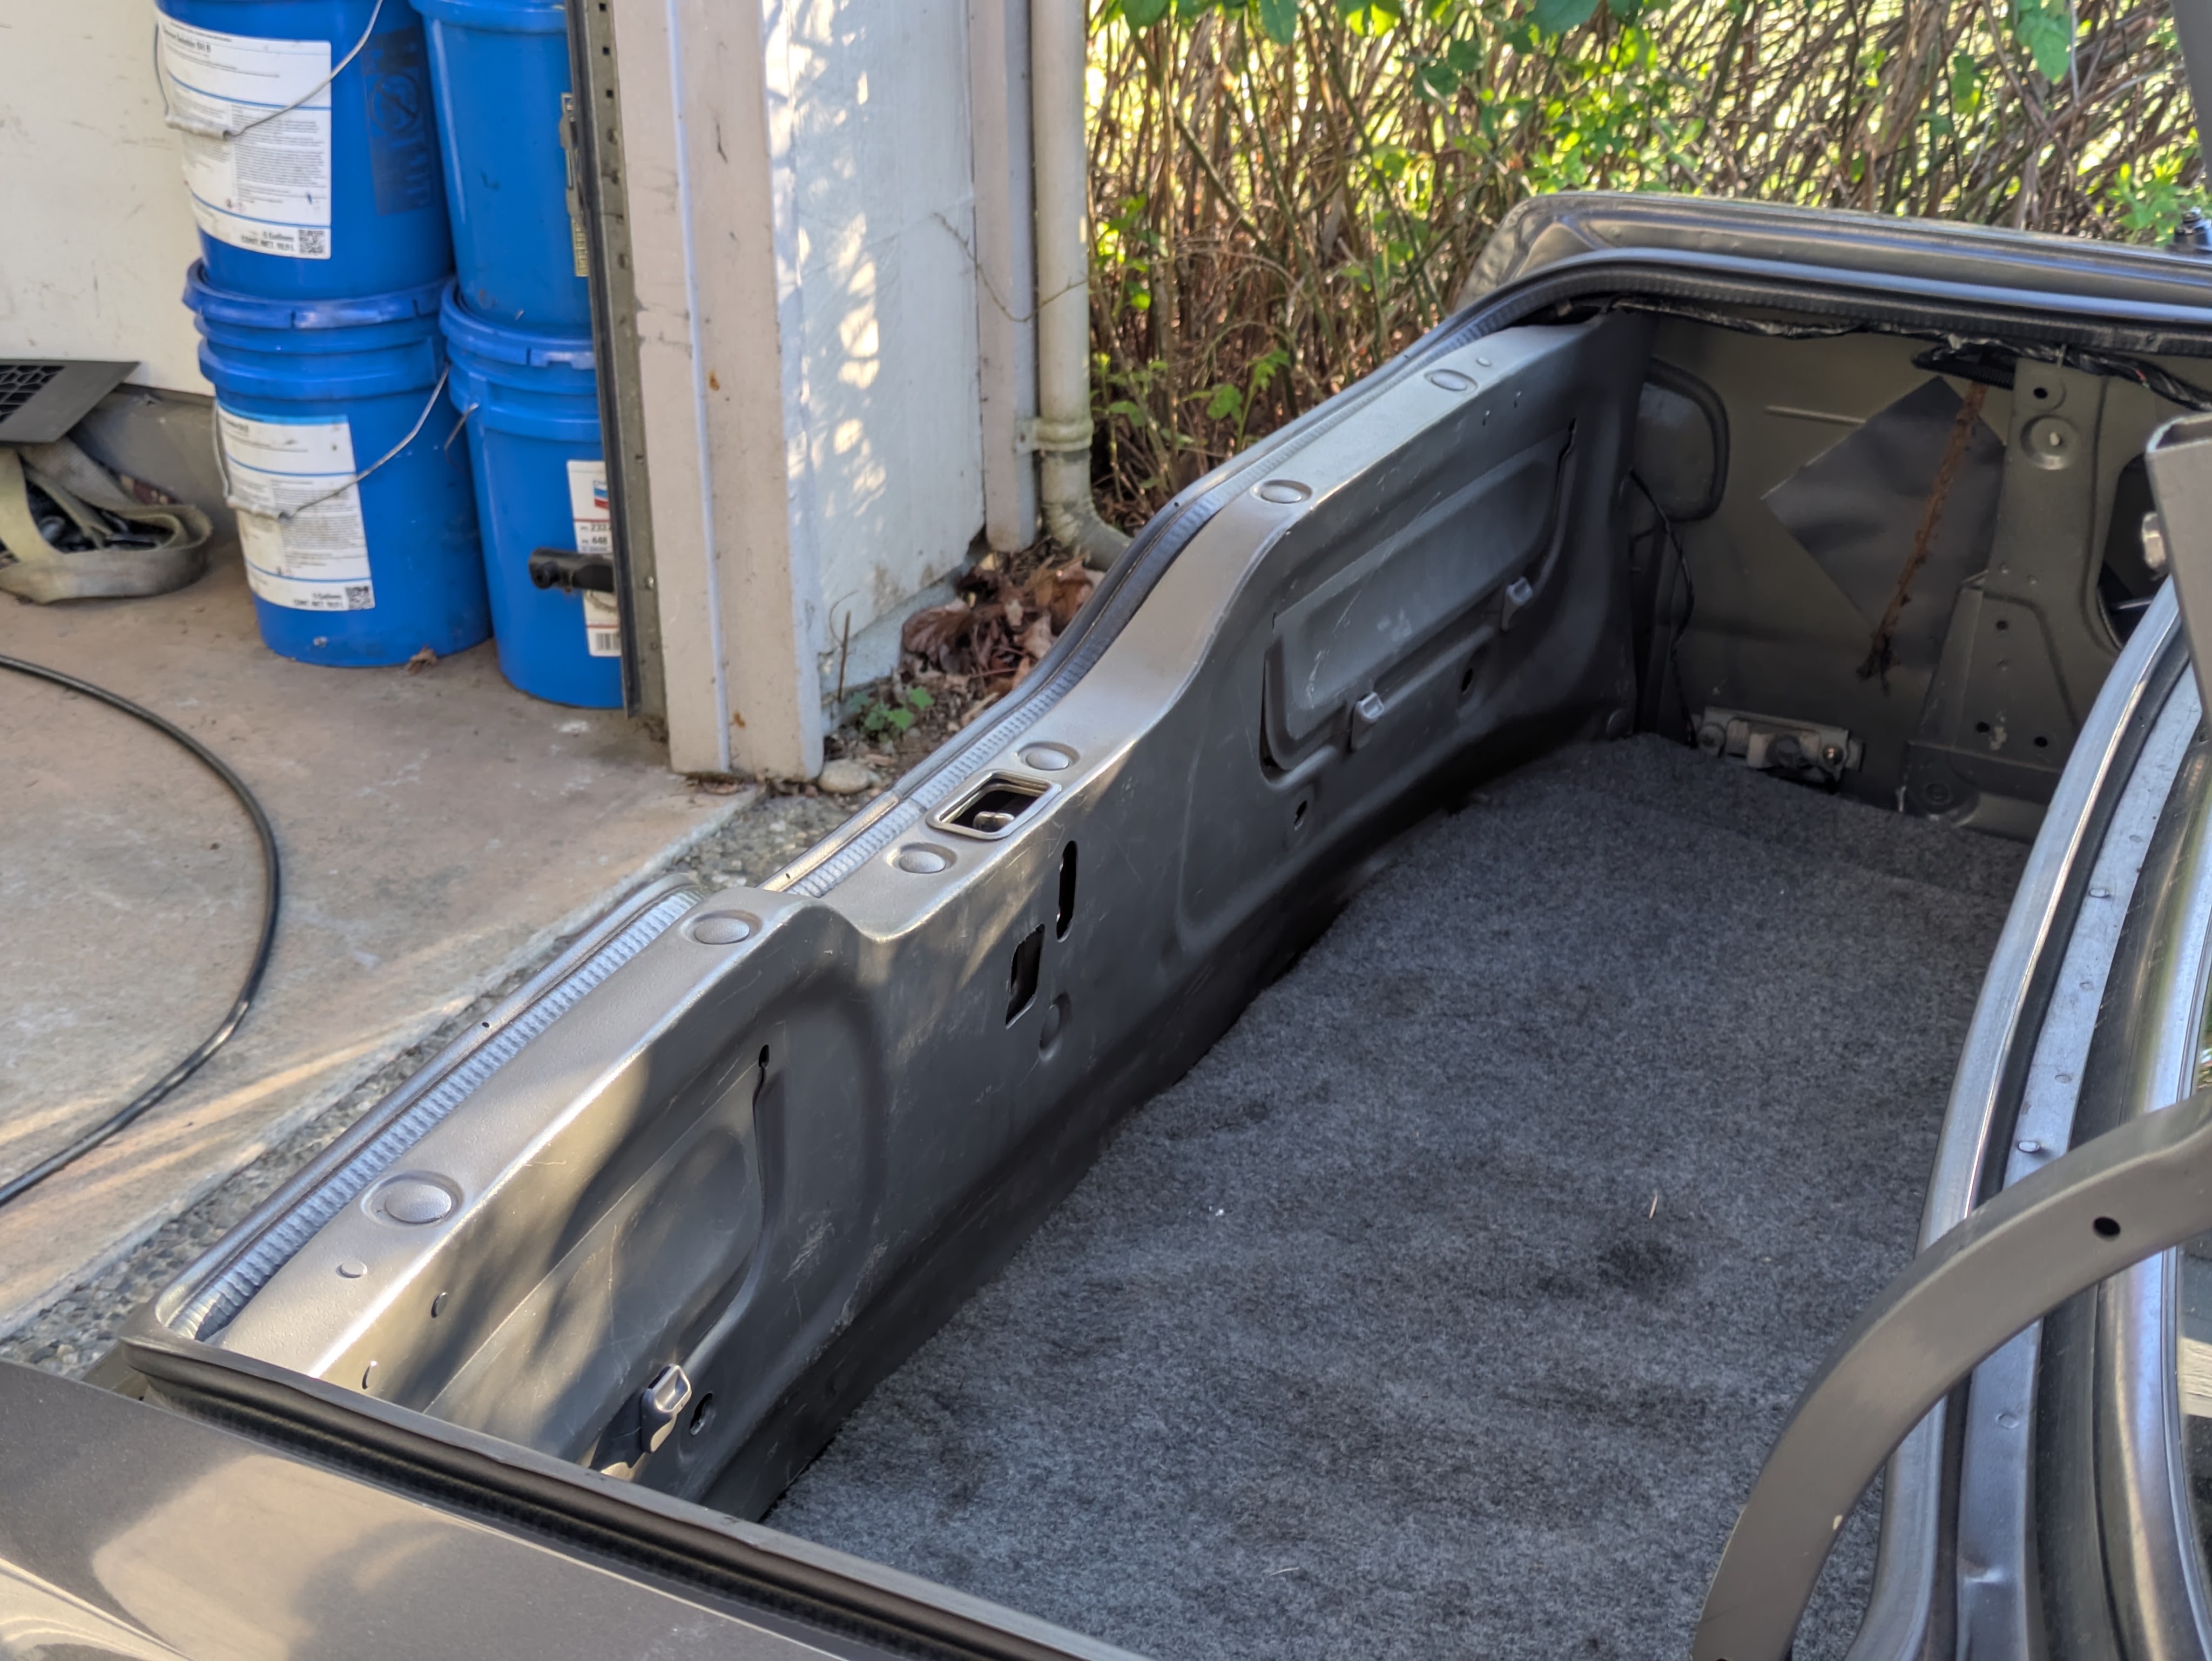
With the final clips pulled from storage, I was able to properly install the only piece of trunk interior I have outside of the carpet. I do still need to fabricate some side panels to protect loose parts sliding into the quarter panels, however this is the bare minimum/acceptable amount of trunk interior for me as I have been used to Miatas up until the point.
With all those little pieces installed, and the end nearing, the project went cold for a while…
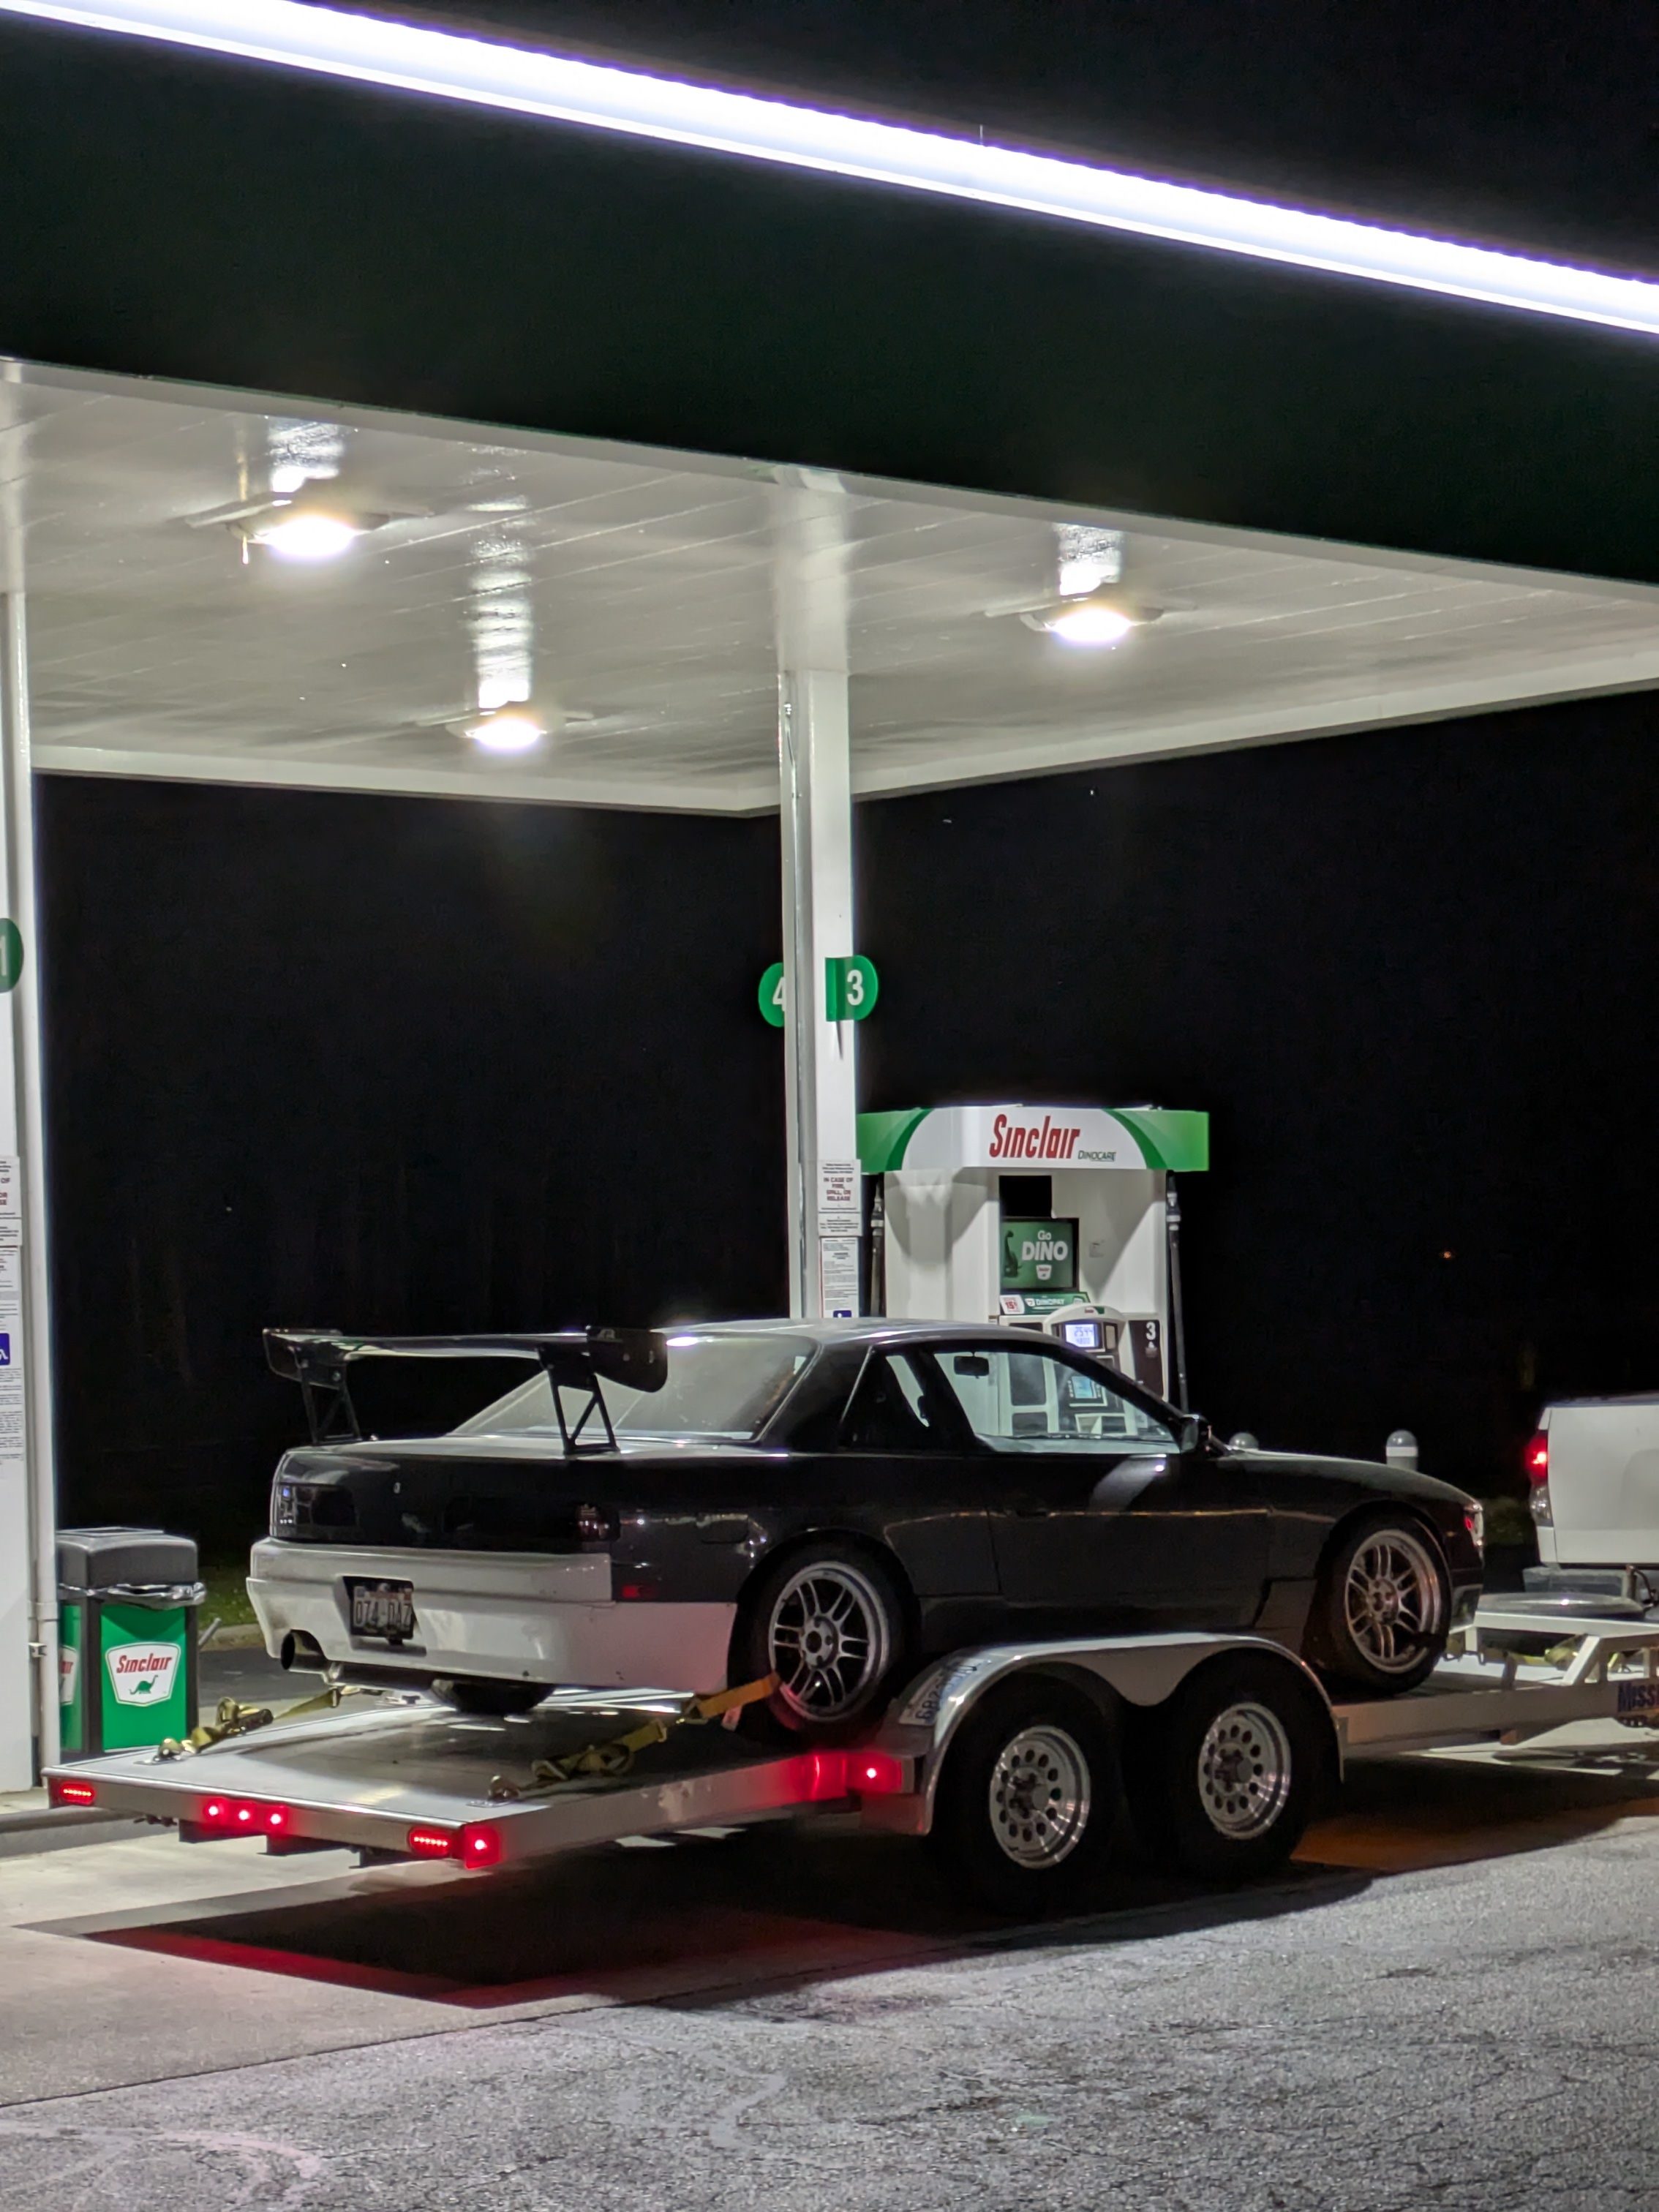
Not for lack of motivation, but one of logistics and time. By this point, I was running up against a few pre-scheduled trips out of state and country (that will be showcased in a different post). With the sequencing and time commitments of those, plus the Civic being required for one of those trips, I elected to cut the final sprint off at a mostly assembled/functional state and shove it into storage at my father’s house for about 6 weeks. The above photo was the retrieval of the car from storage after my free time was restored.
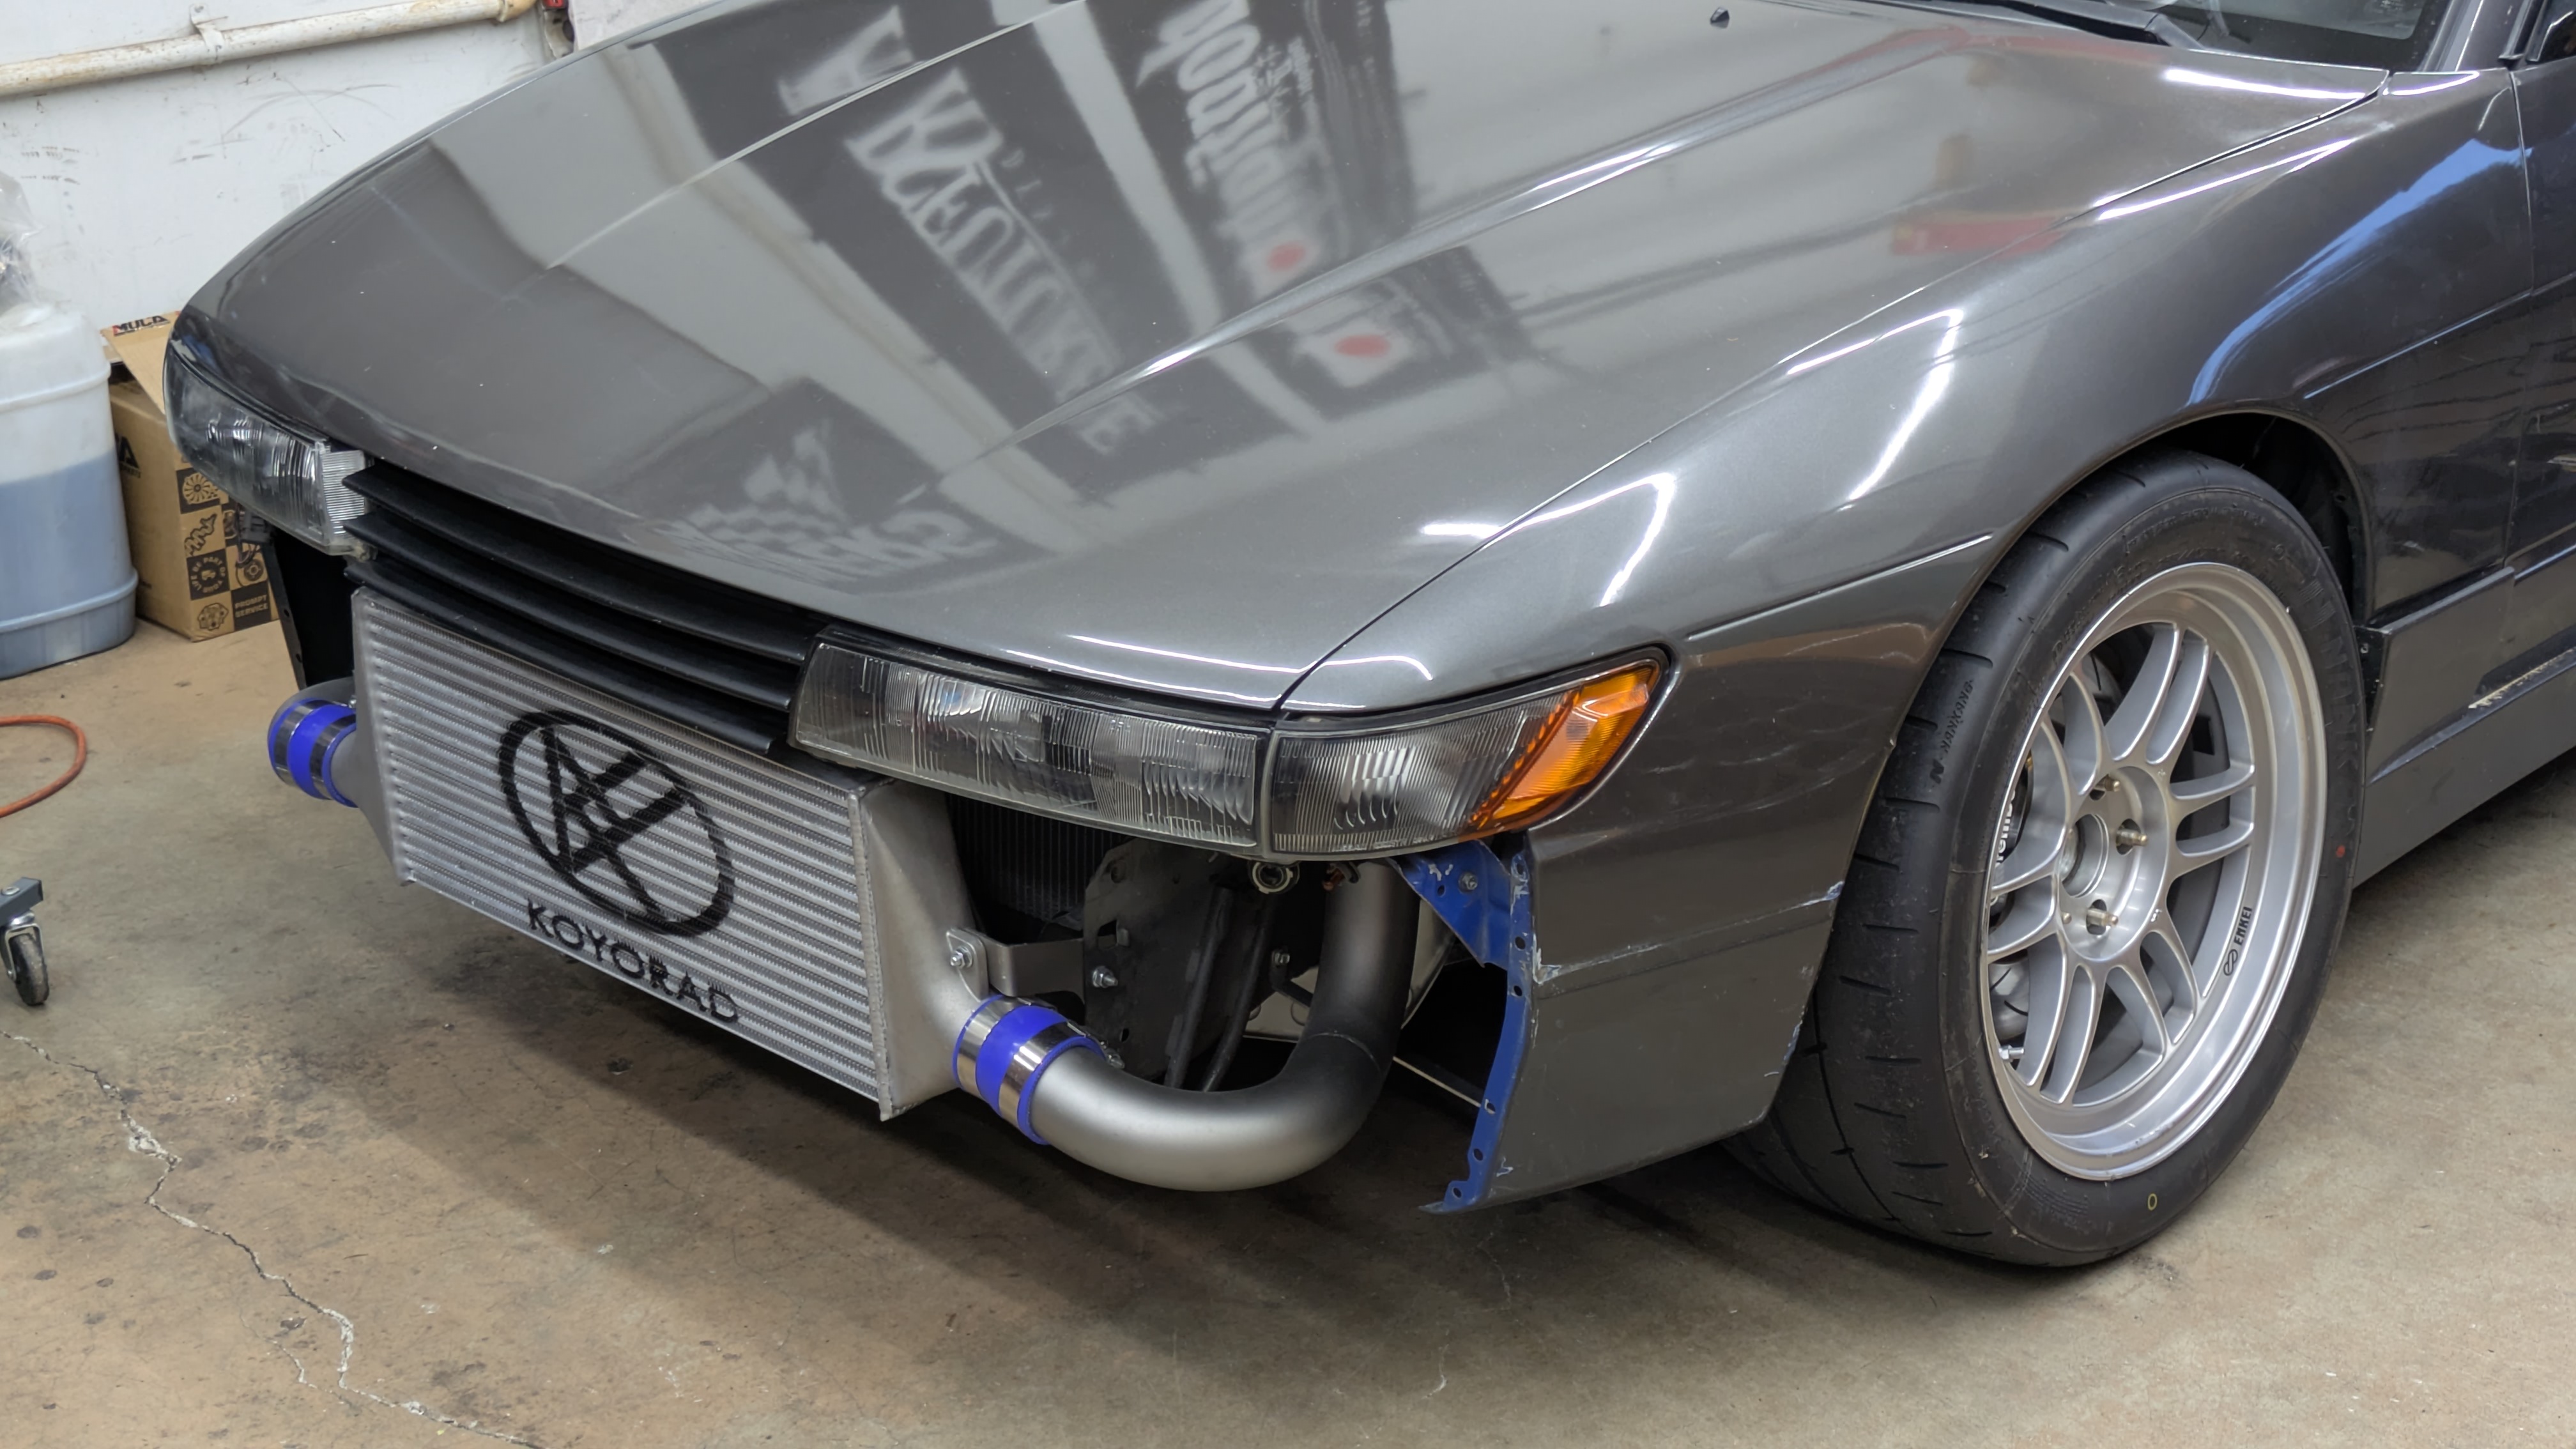
With it back in my home garage, it was time to actually “finish” the car. I had acquired some OEM corner lights to replace the DMAX ones that were on the car for many years as I prefer them visually, plus the car has them in some of the old photos.
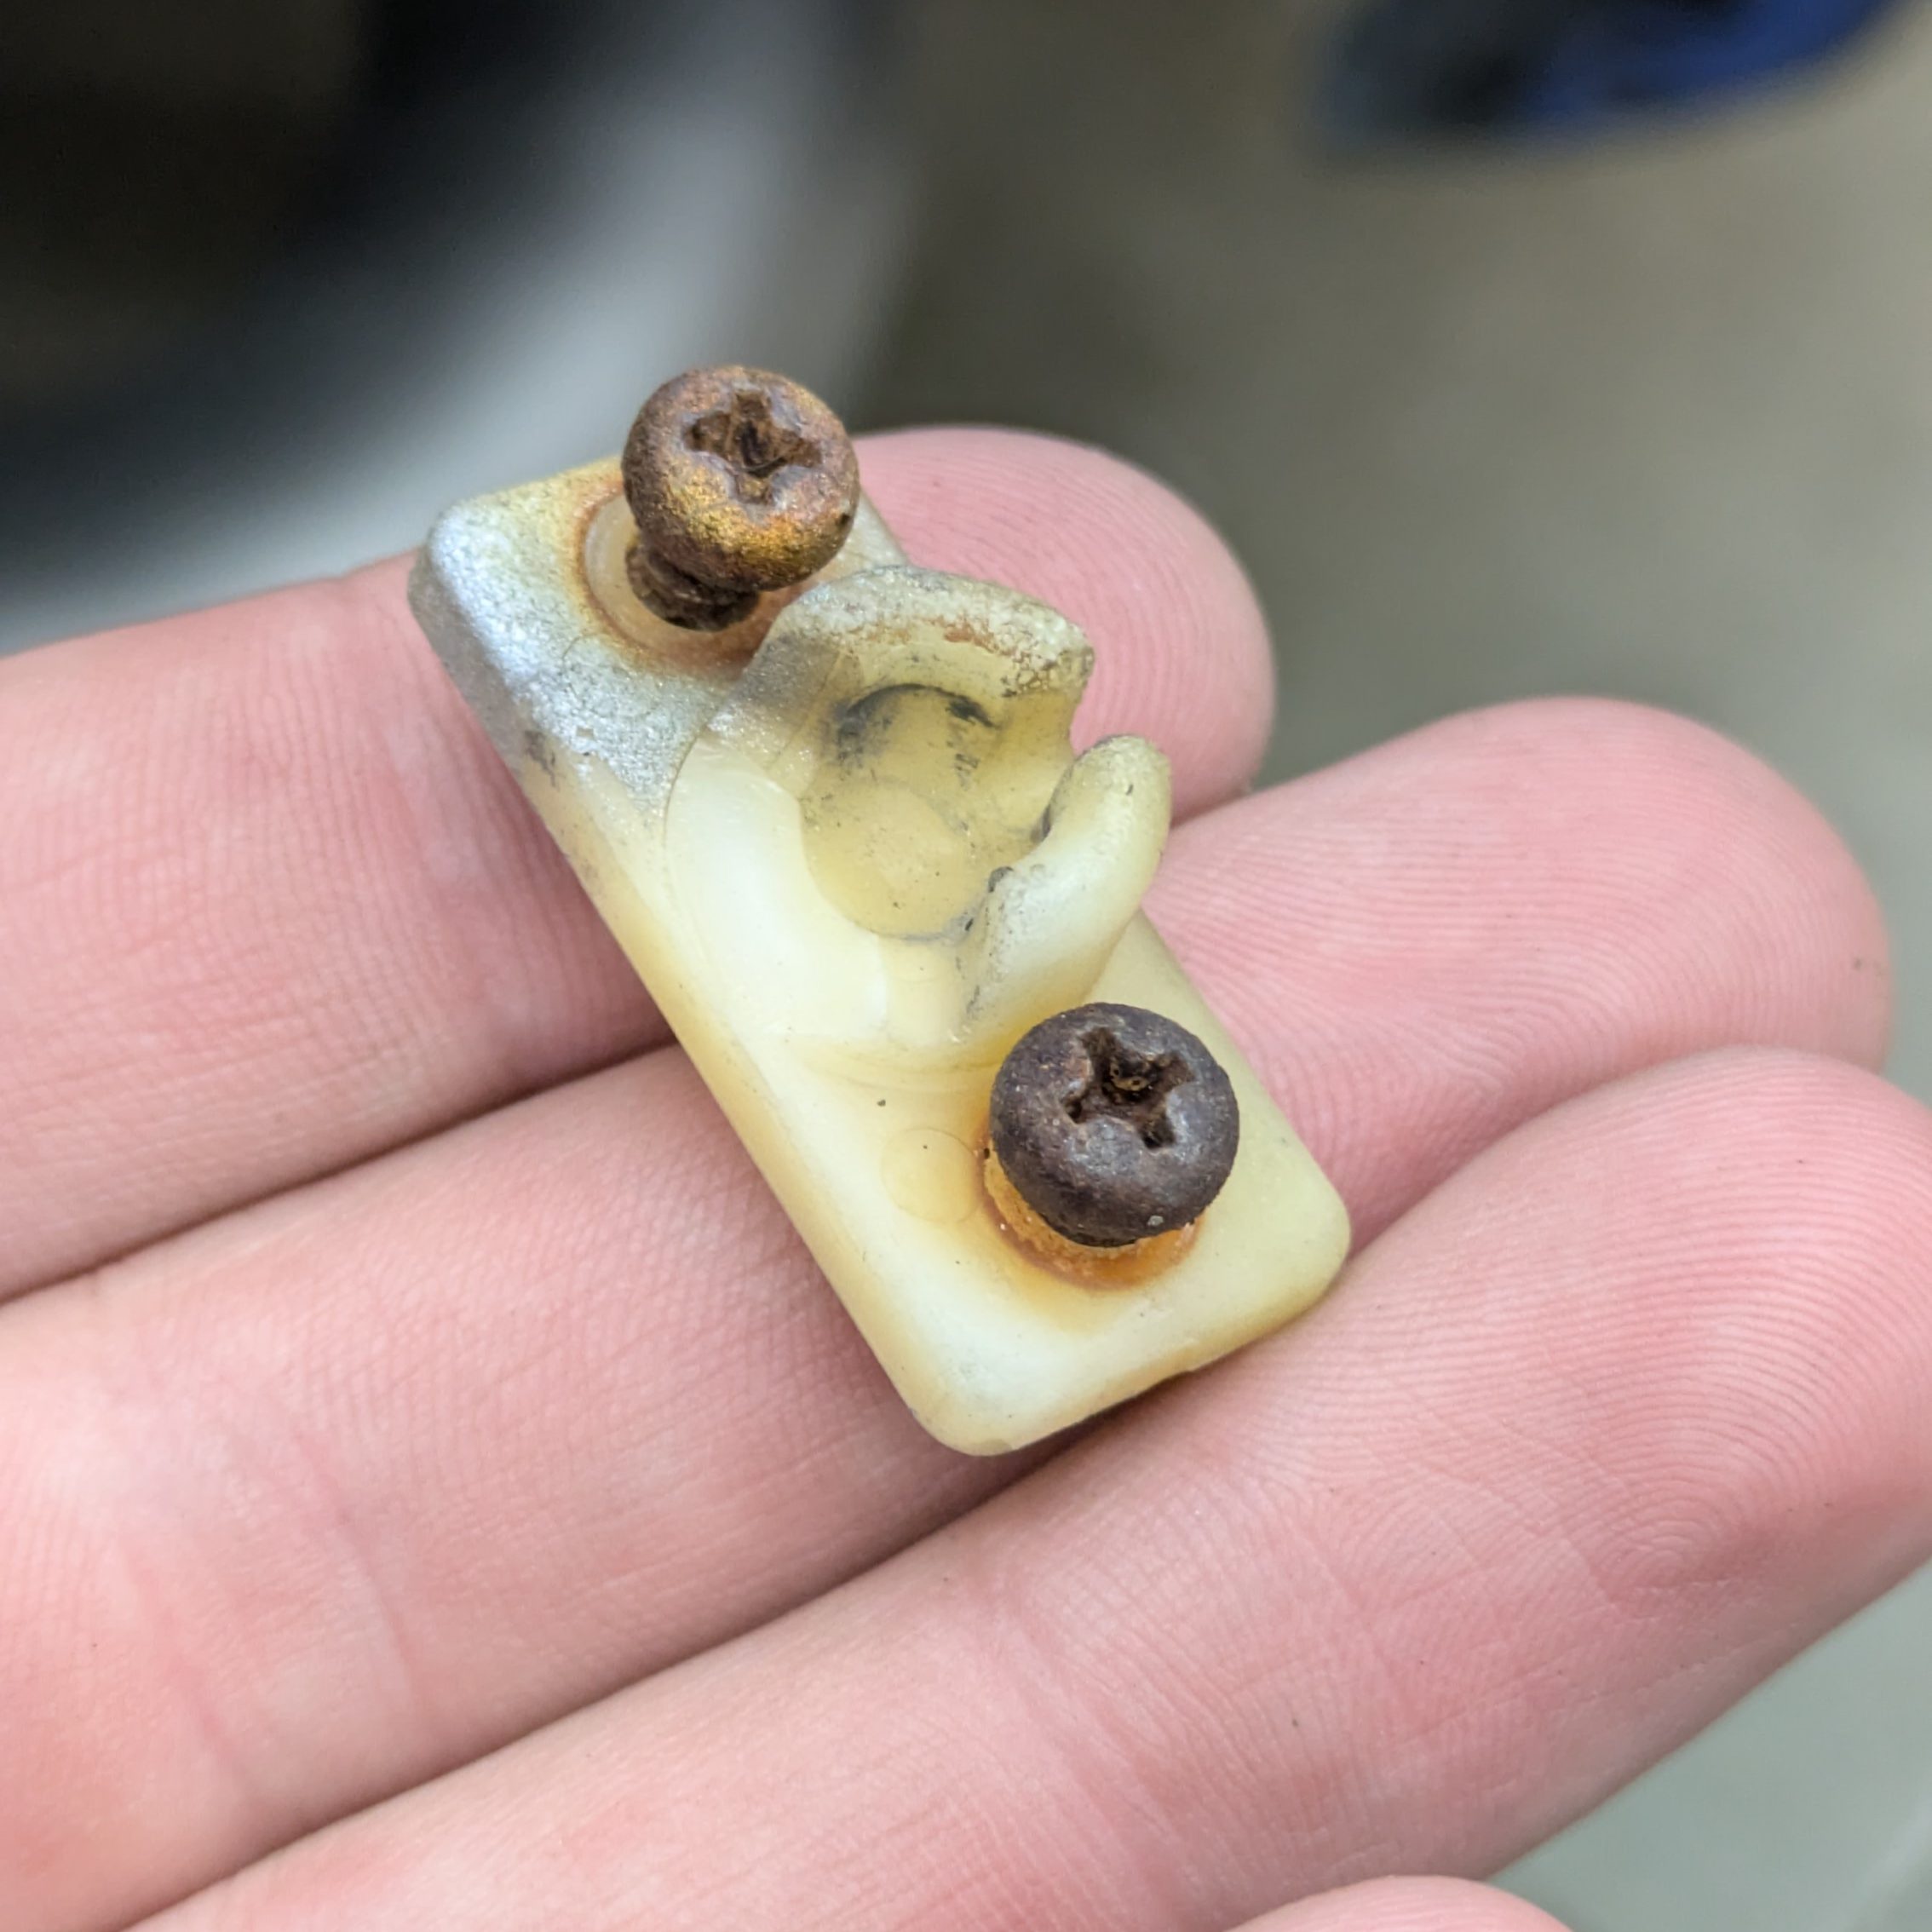
Unfortunately both of my headlights have had busted corner light bushings since I bought the car, which cause the corner lights to want to pop out/not sit flush. Luckily there was a solution, and one more local than anticipated.
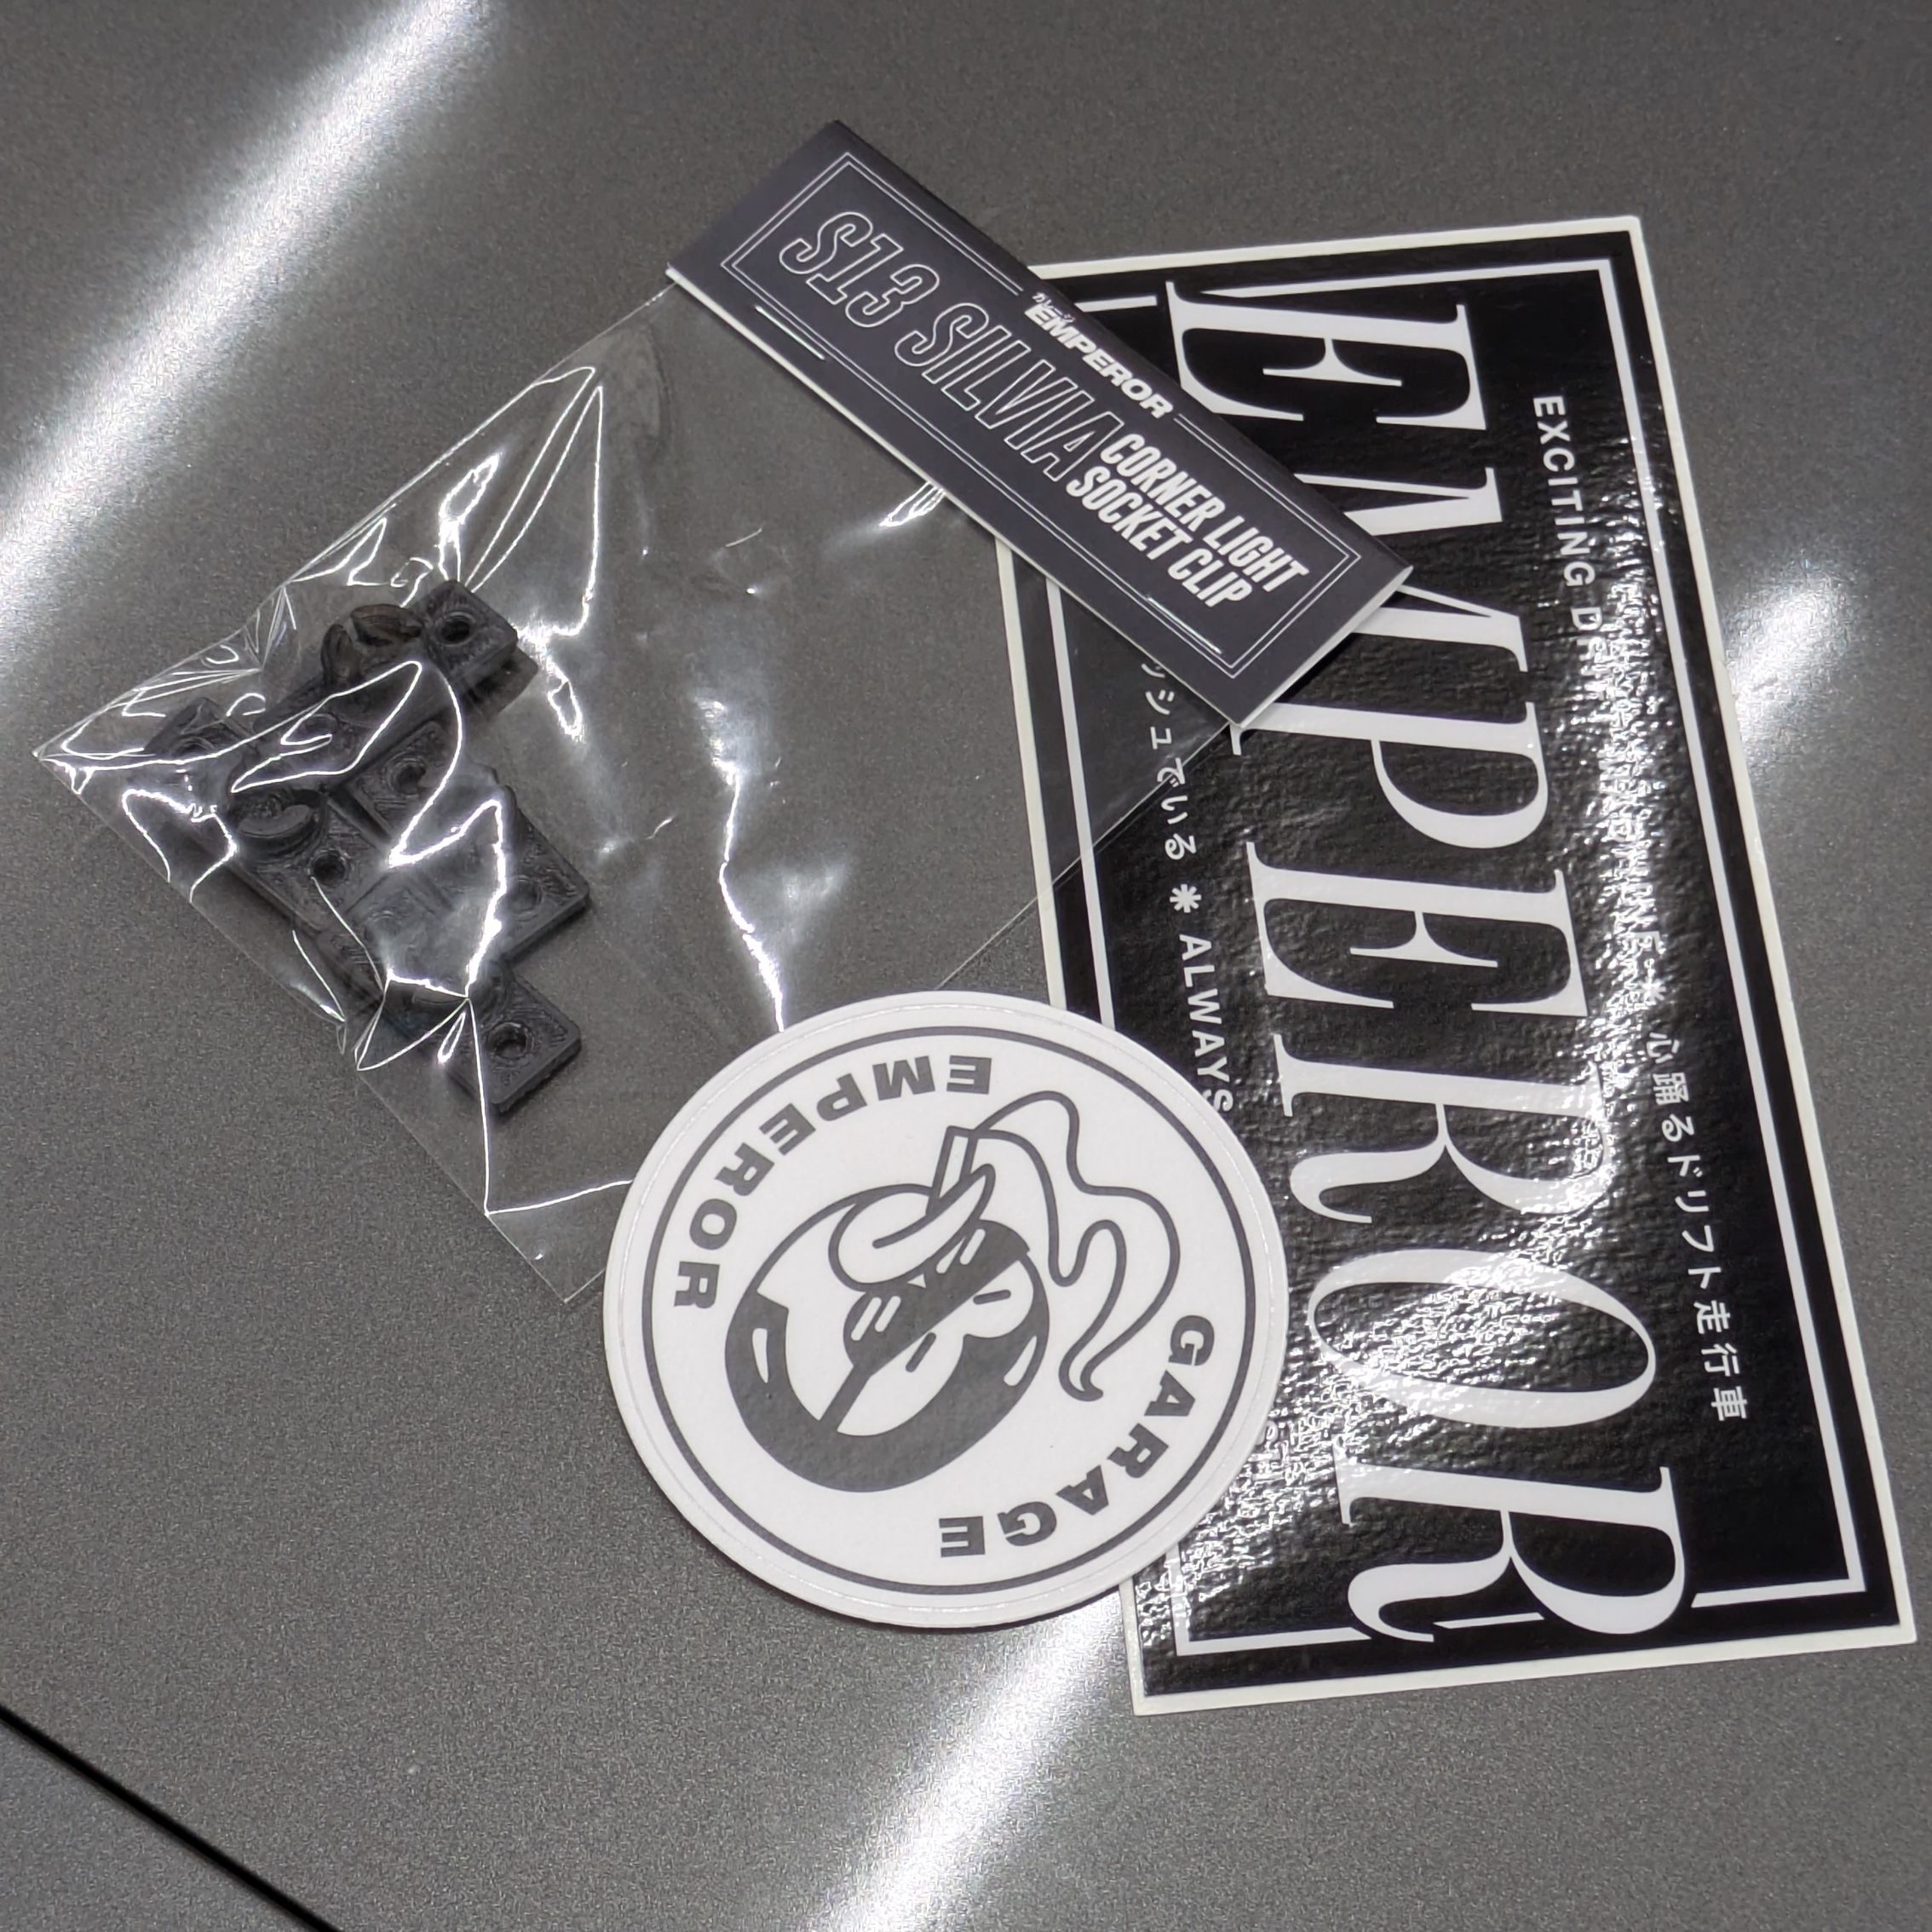
Mark at Garage Emperor has been reproducing niche S chassis parts for a while, and I’ve had the link to this part saved for almost as long as I’ve owned the car. I finally ordered them, and Mark emailed me asking if I wanted to pick them up. Turns out, he had moved locally for work, and after meeting in a parking lot and having an hour long Nissan dork fest, I had parts in hand, made a new friend, and didn’t have to pay for shipping. Win Win Win.
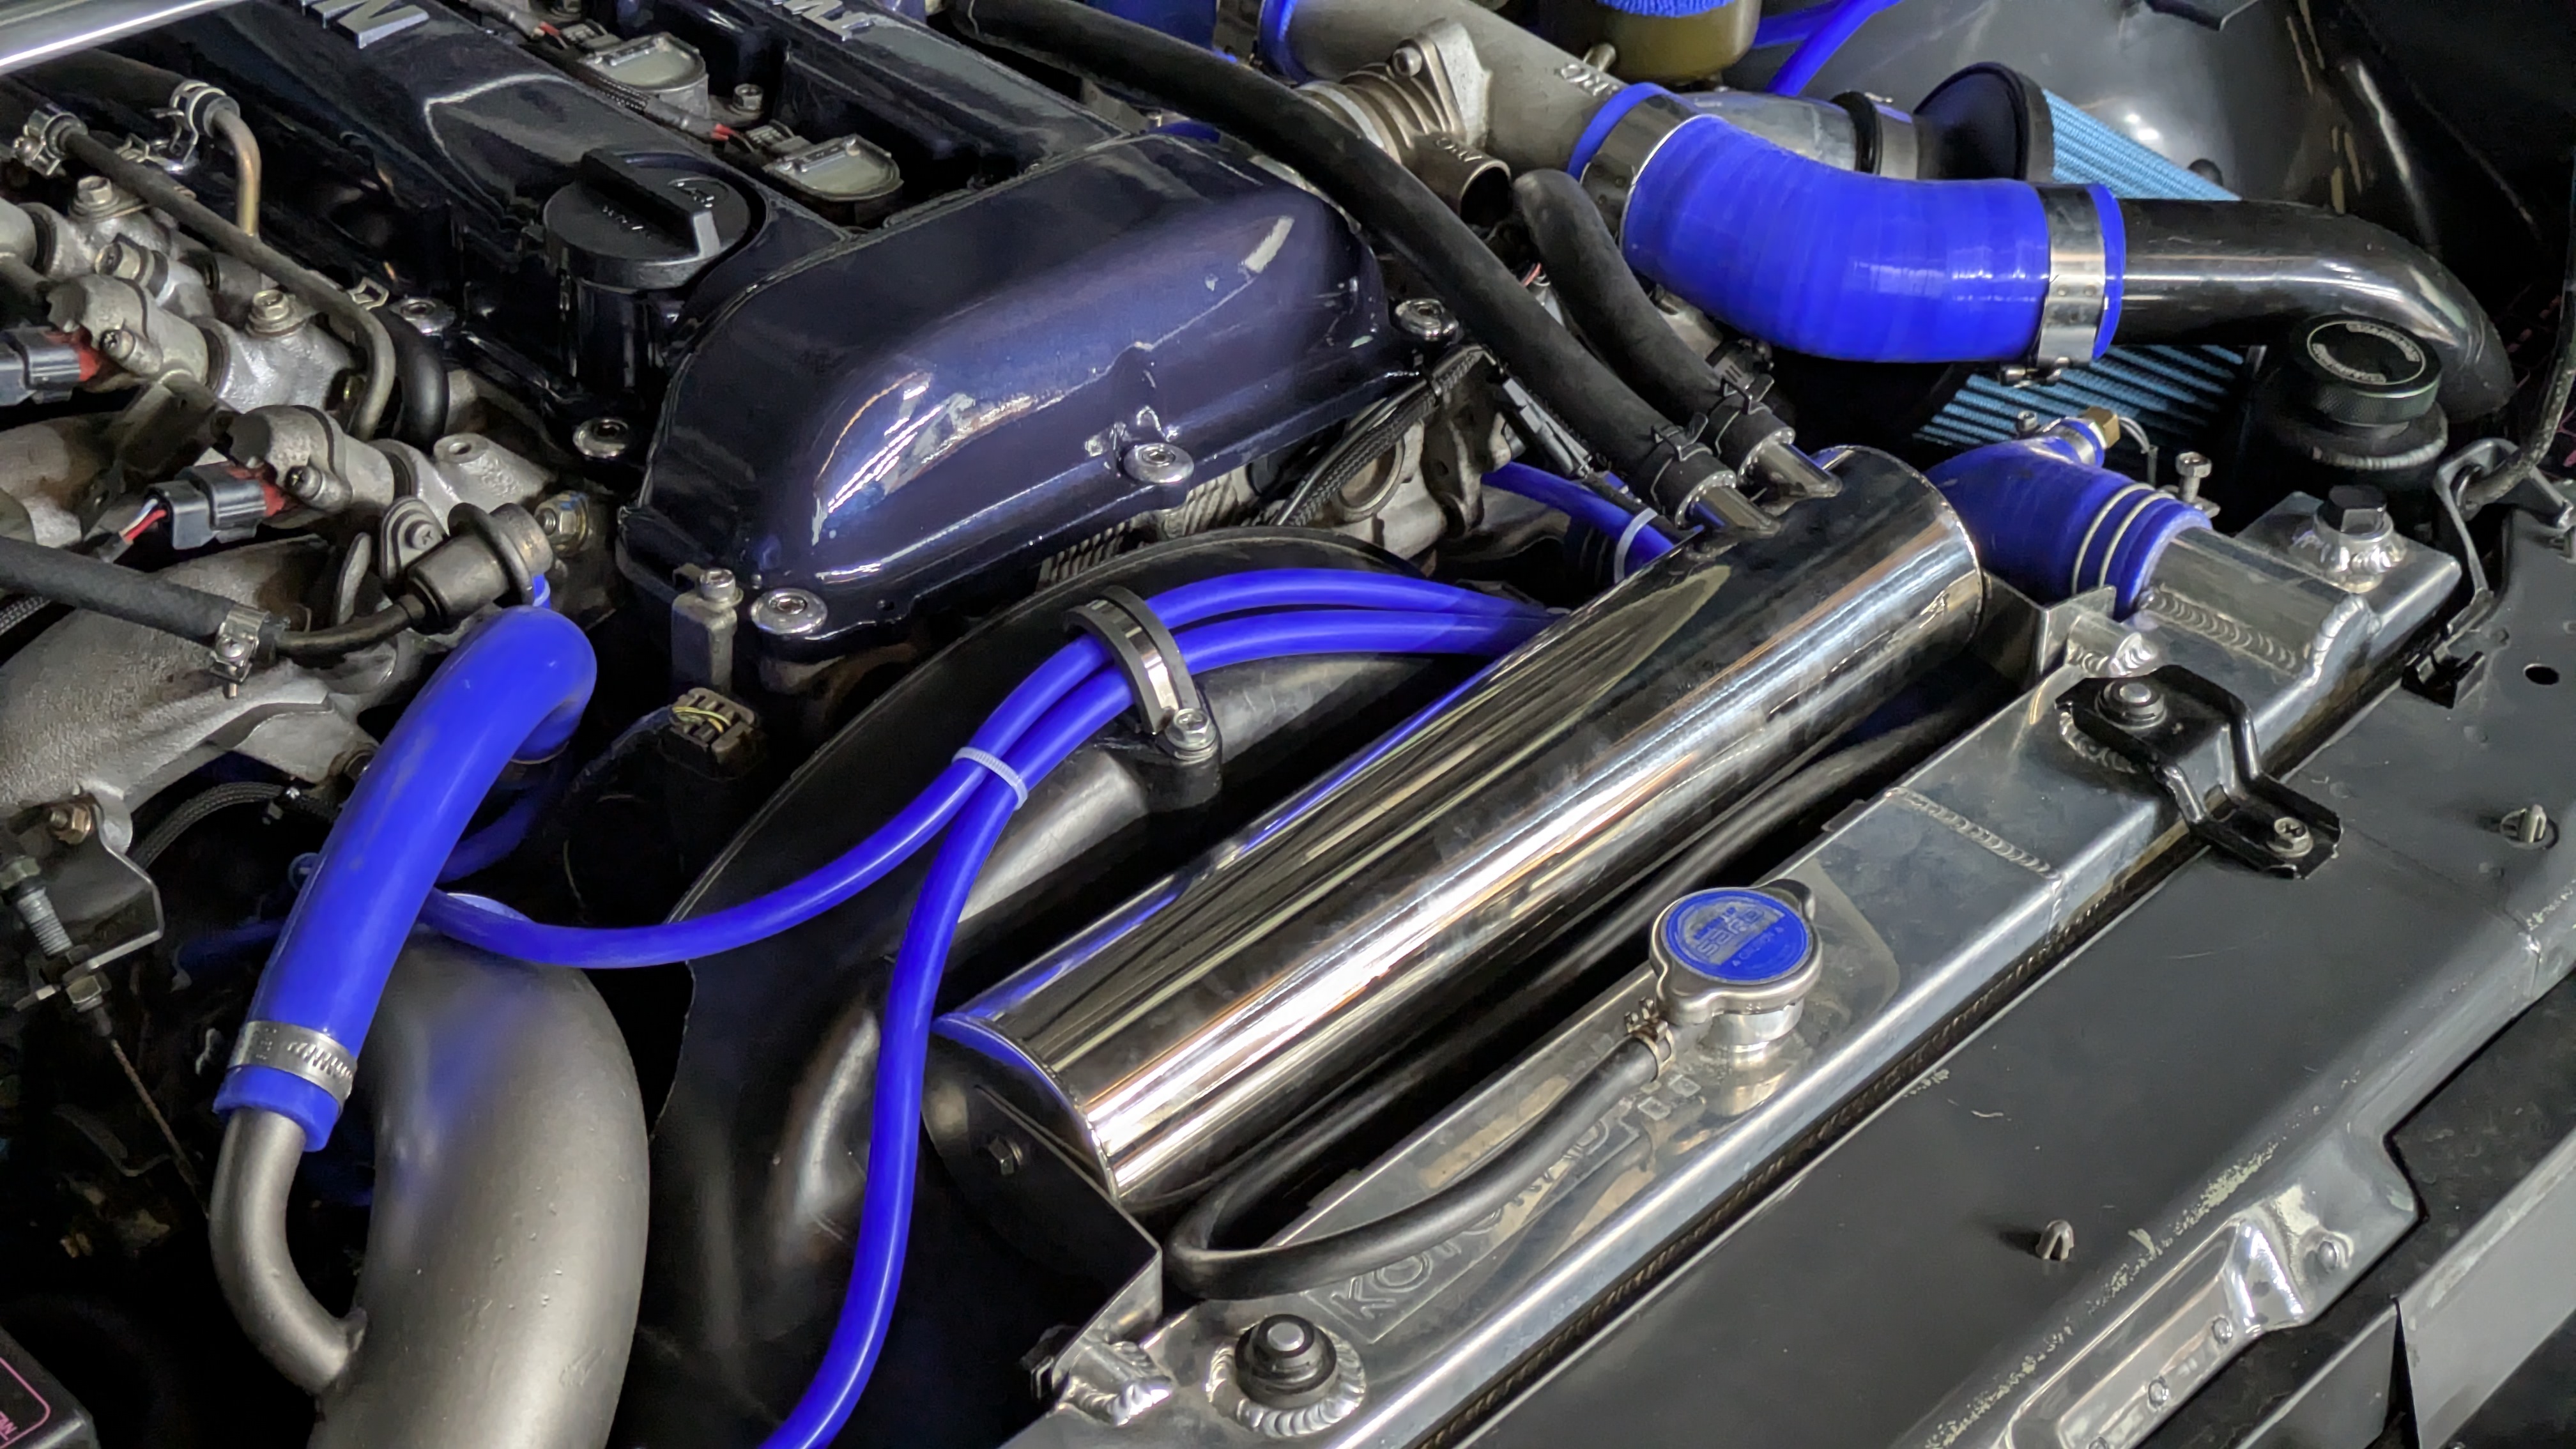
I previously had this custom over-radiator catch can that I was all proud of, that unfortunately upon the reassembly of my front end, collided with my OEM Silvia hood. While a mega bummer, I knew there was a solution that would clear just fine, so I bought it.
Another GKTech part on the car. Womp. I spent an evening throwing it in with new hose plumbing and clamps, and after some re-routing of previous vacuum hoses, I’m actually very pleased with the function and aesthetics.
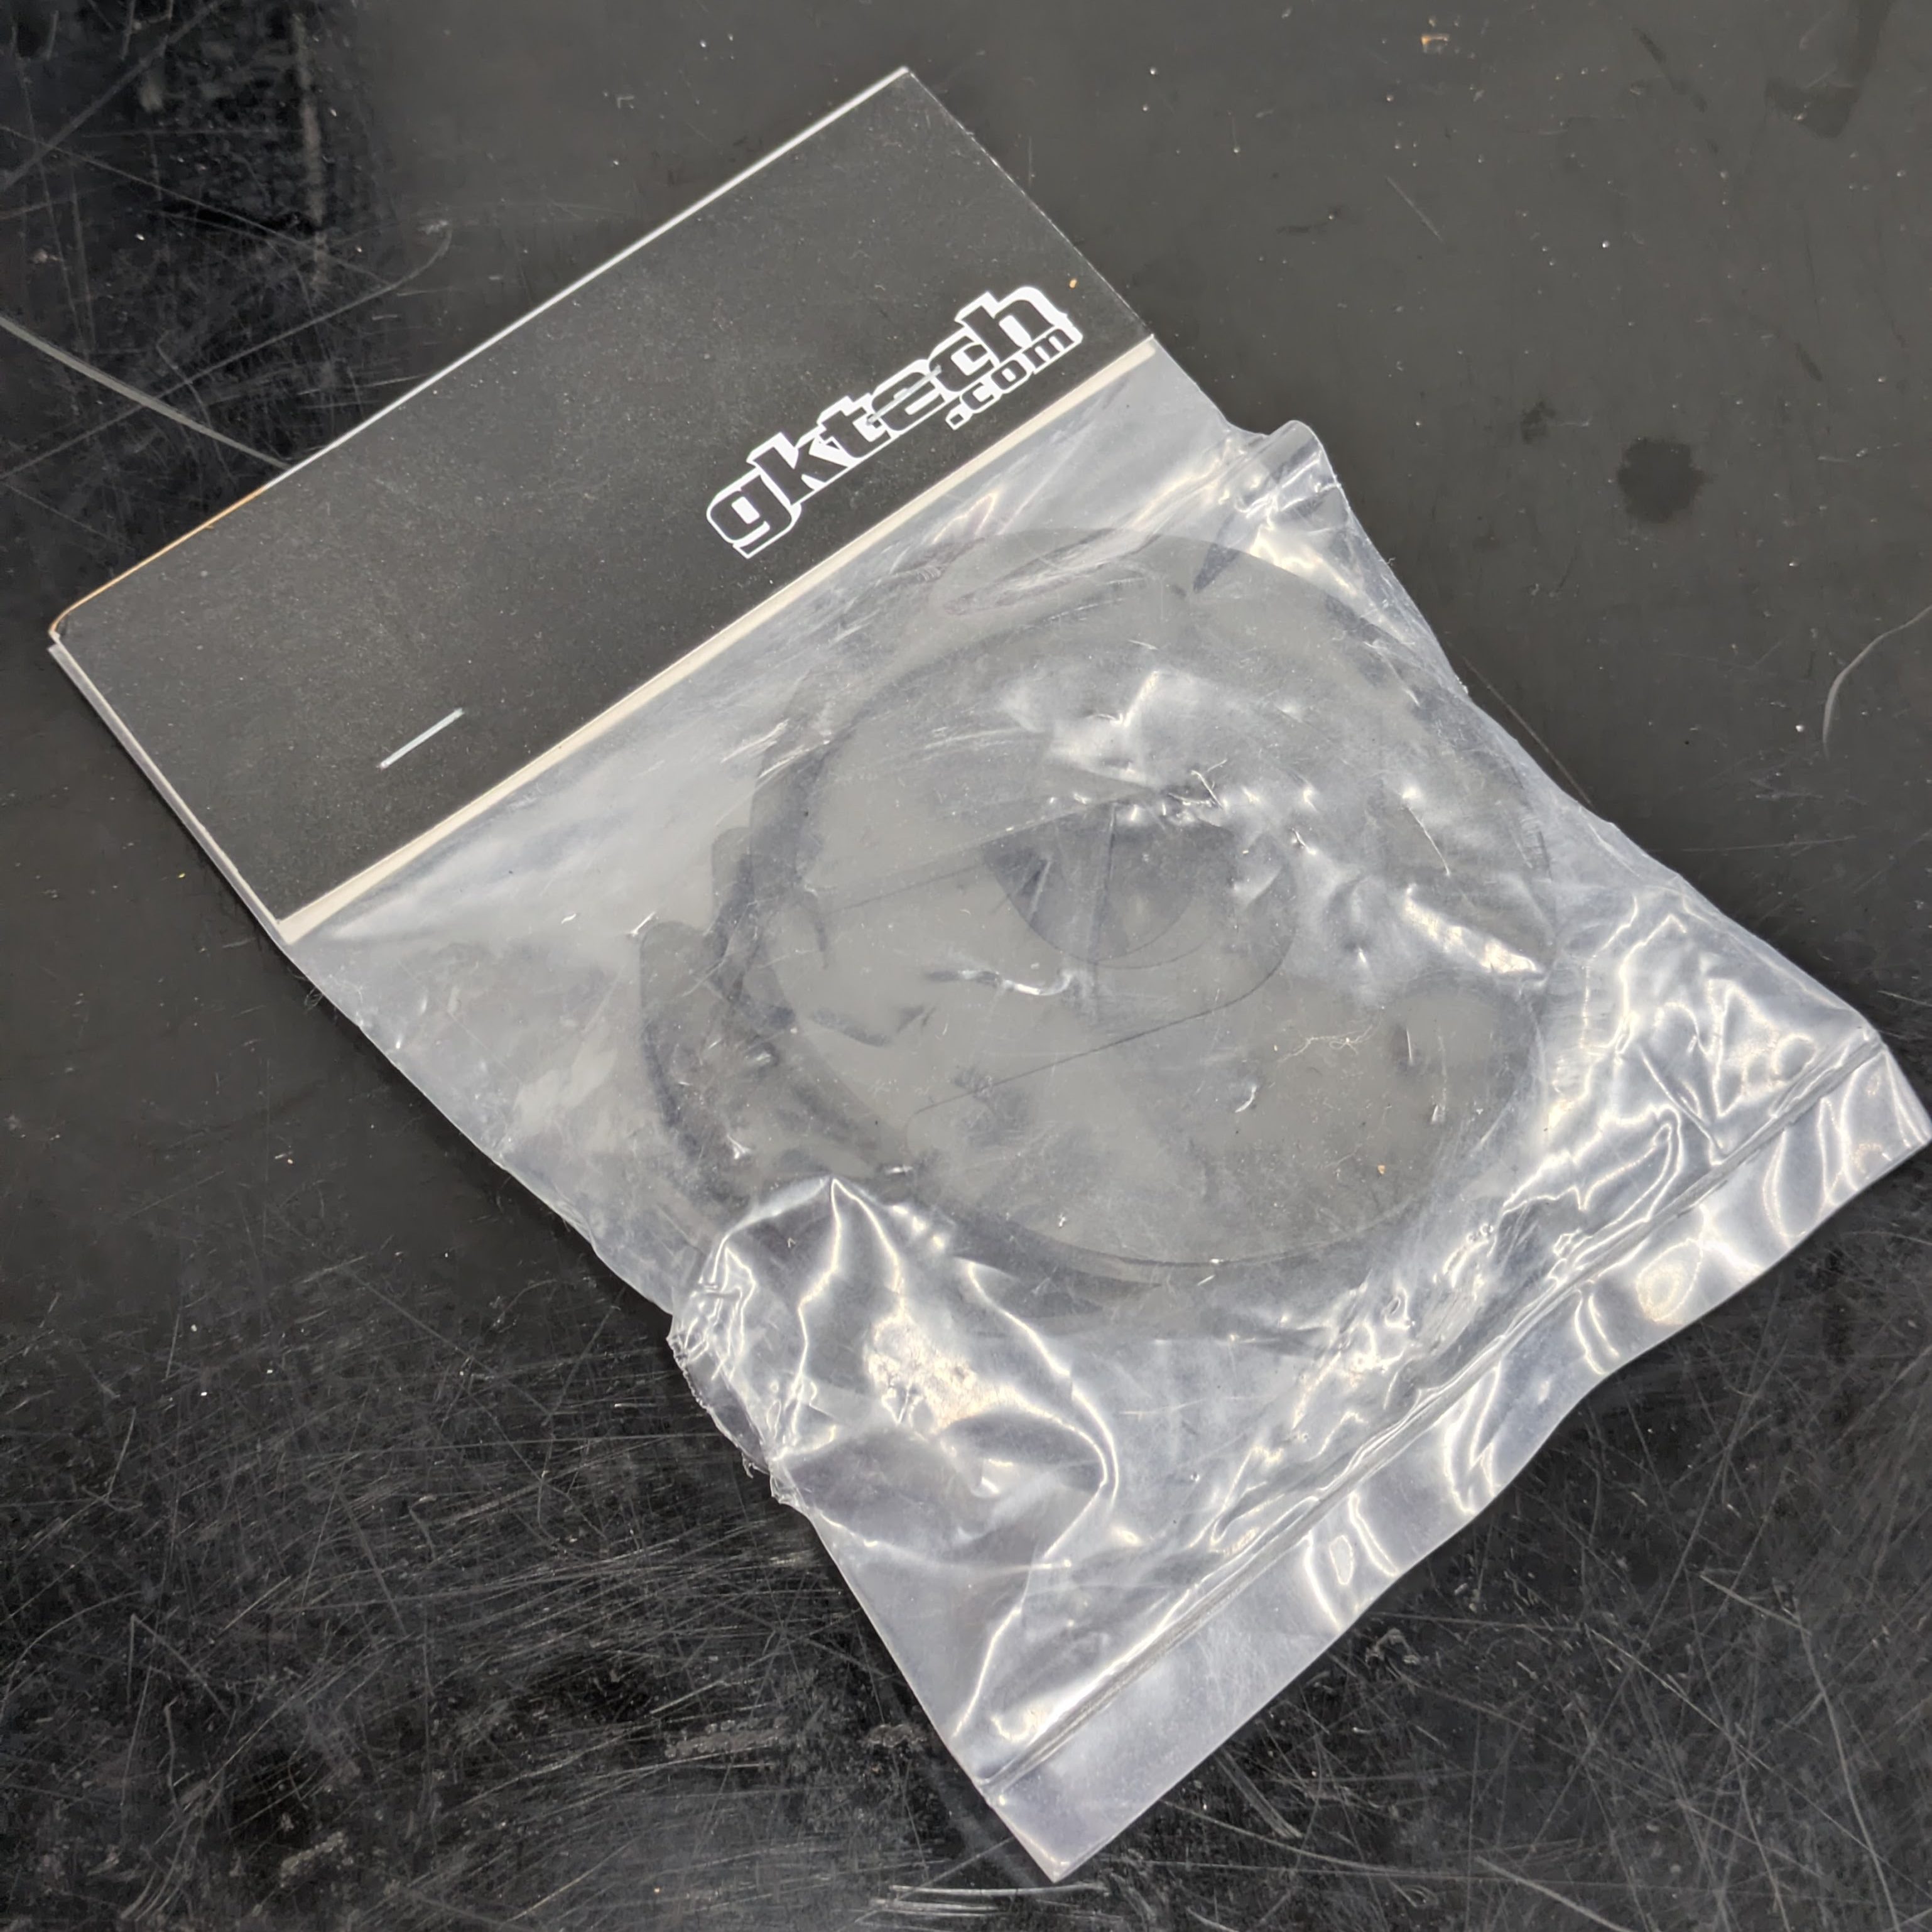
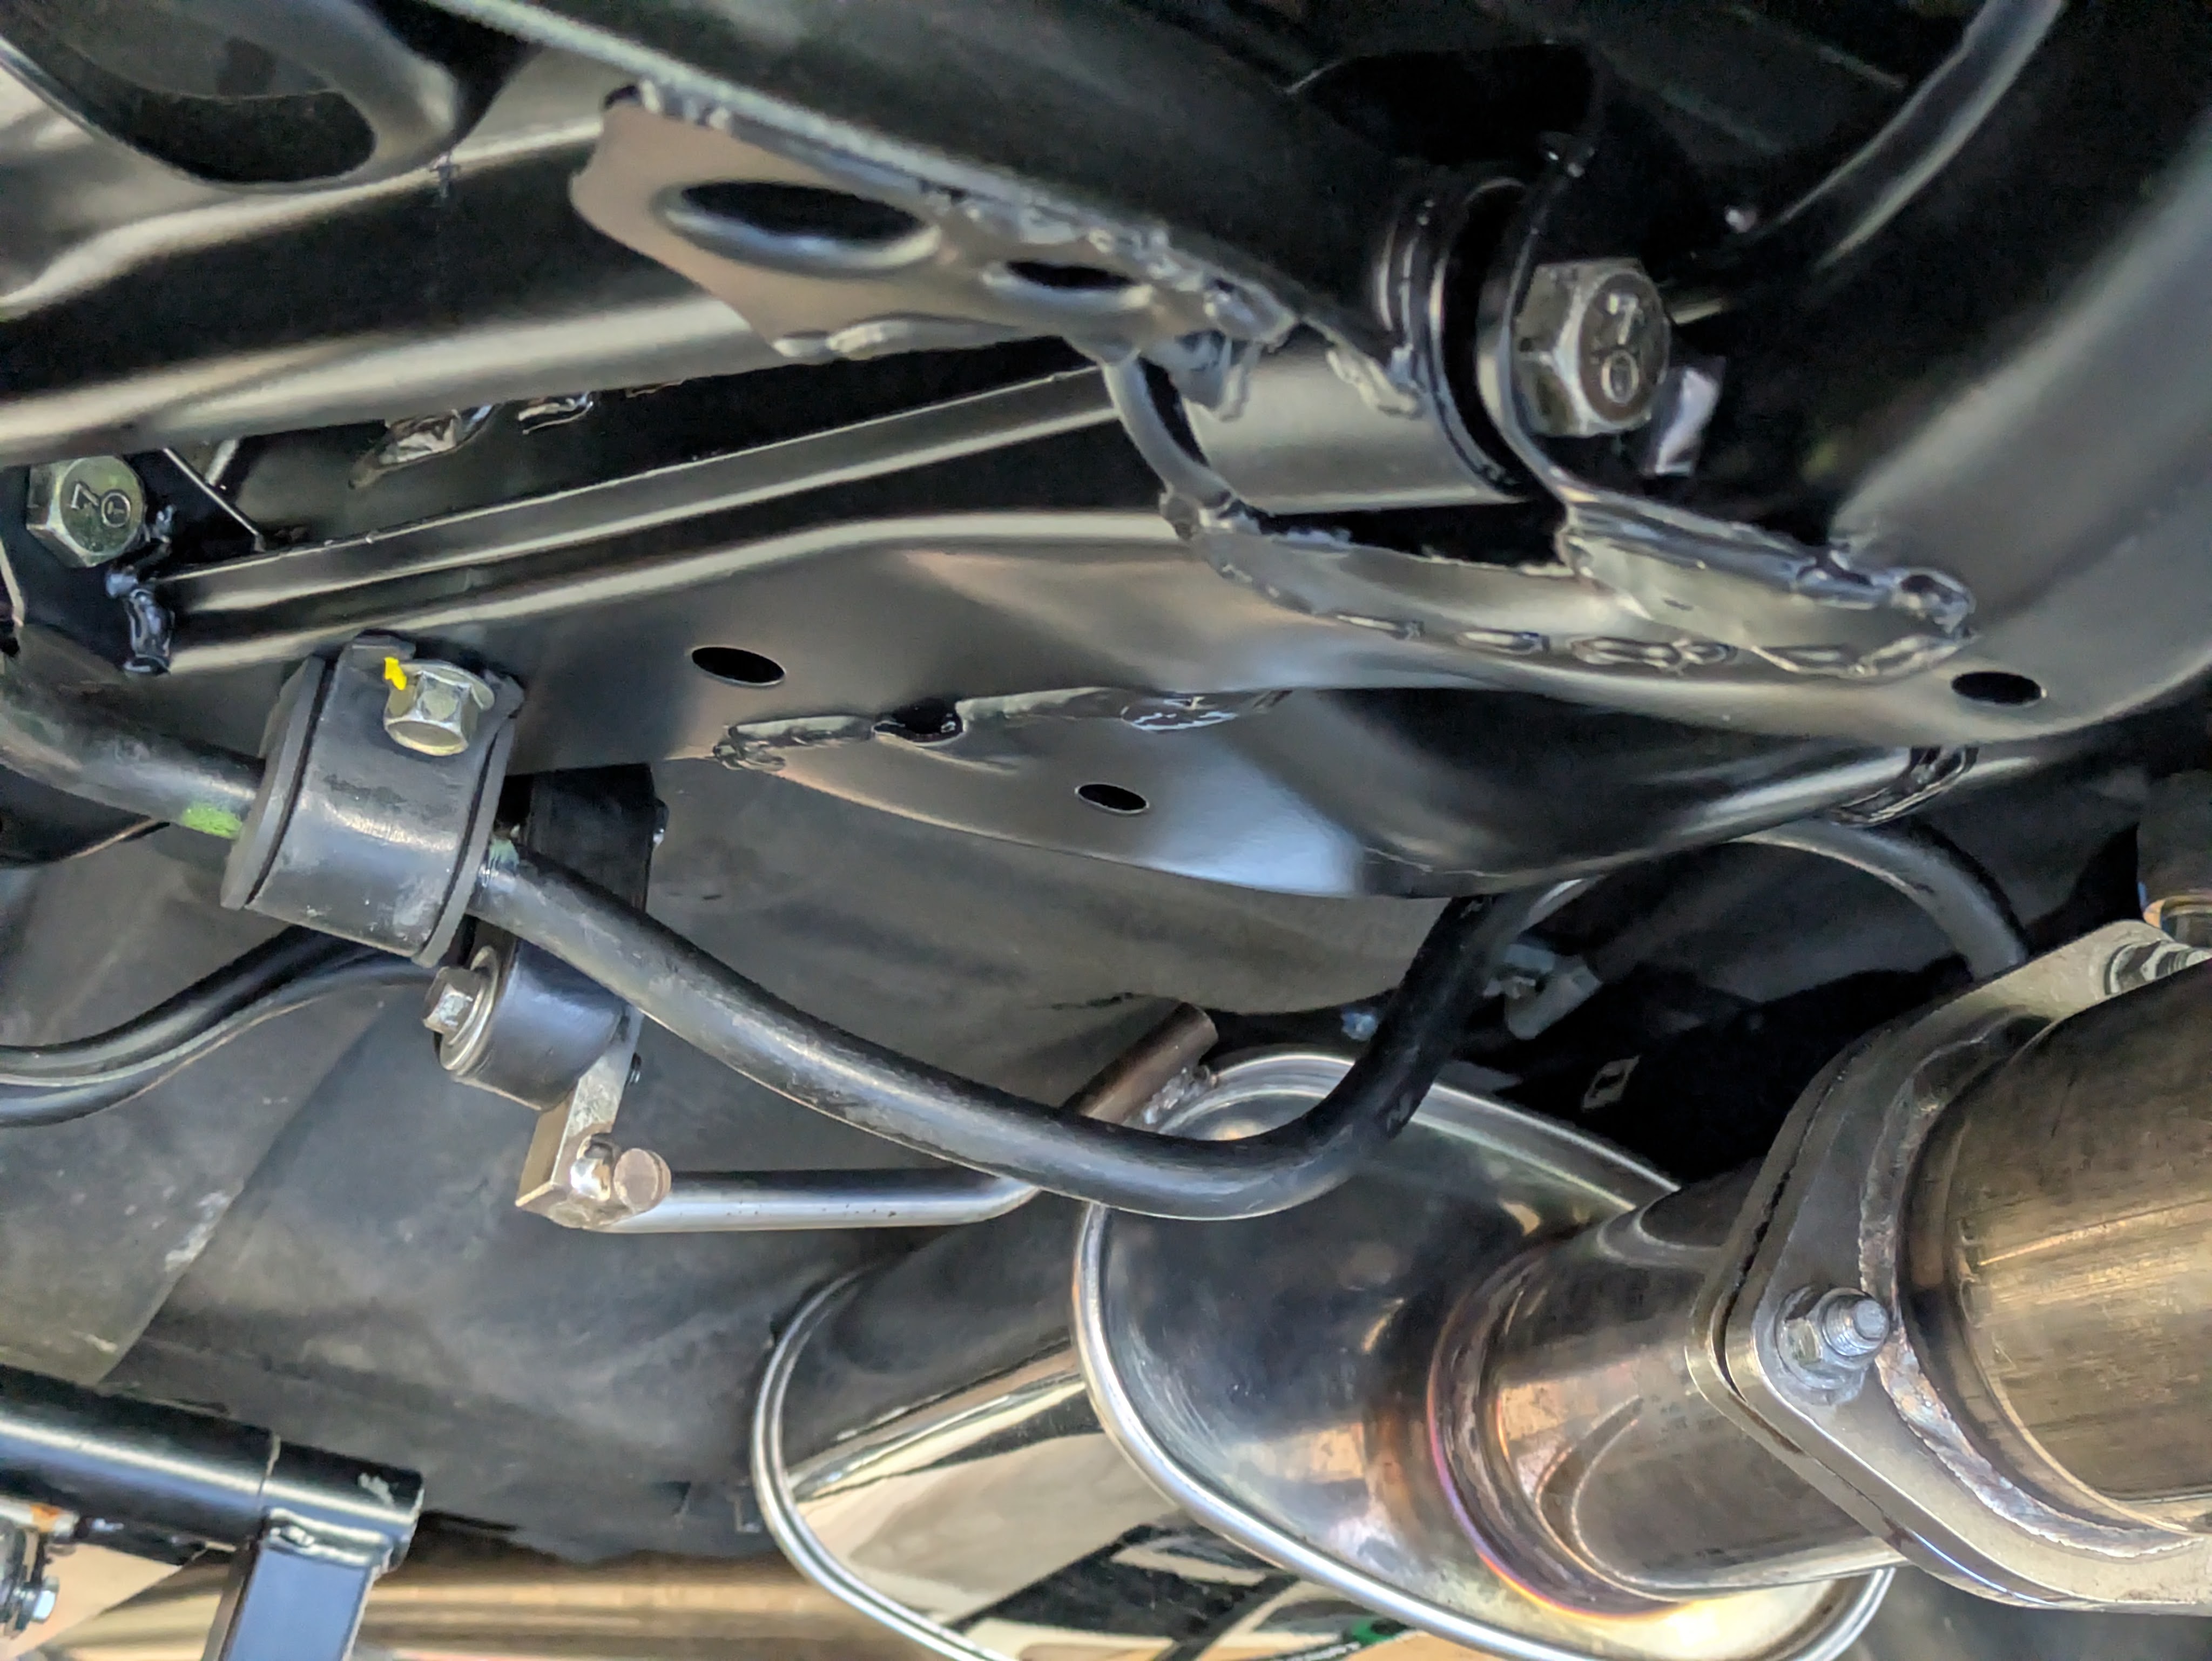
This GKTech part was far more annoying, mostly because of what it represented. In the previous article “More Roots Than Trees”, I documented the extreme measures I went to to clearance the body for a 15mm rear subframe raise, involving many large hammers and many test fits. While I thought I had cleared plenty of space in any of the susceptible points, the Nissan noodle chassis exceeded my expectations once again, and with the car on the ground, the body physically deformed and hit the subframe. I knew this immediately when not even 50 feet into driving it around my neighborhood, there was this big, boomy drone coming from the rear end.
I debated pulling the subframe back out (now fully assembled) and going at it again with an air hammer, however the time/cost/risk didn’t pencil out, especially when GKTech sells subframe spacers that will get me that space back and take a fraction of the time to install. This is a bit of a “selling the problem and the solution from the same source” situation, which I was rather irked by in the moment. The saving grace is that I had spent so much money with them that my store credit covered the cost of these.
With my free.99 spacers in hand, I loosened the nuts on the subframe to give me just enough room to lower it down without having to disassemble the whole back end of the car. 3 of the 4 mounting points came down with some motivation from The Chief Negotiator (my largest prybar), however one of the front corners was giving me hell. The prybar was elastically deforming the body, and no amount of levering or hammering was working.
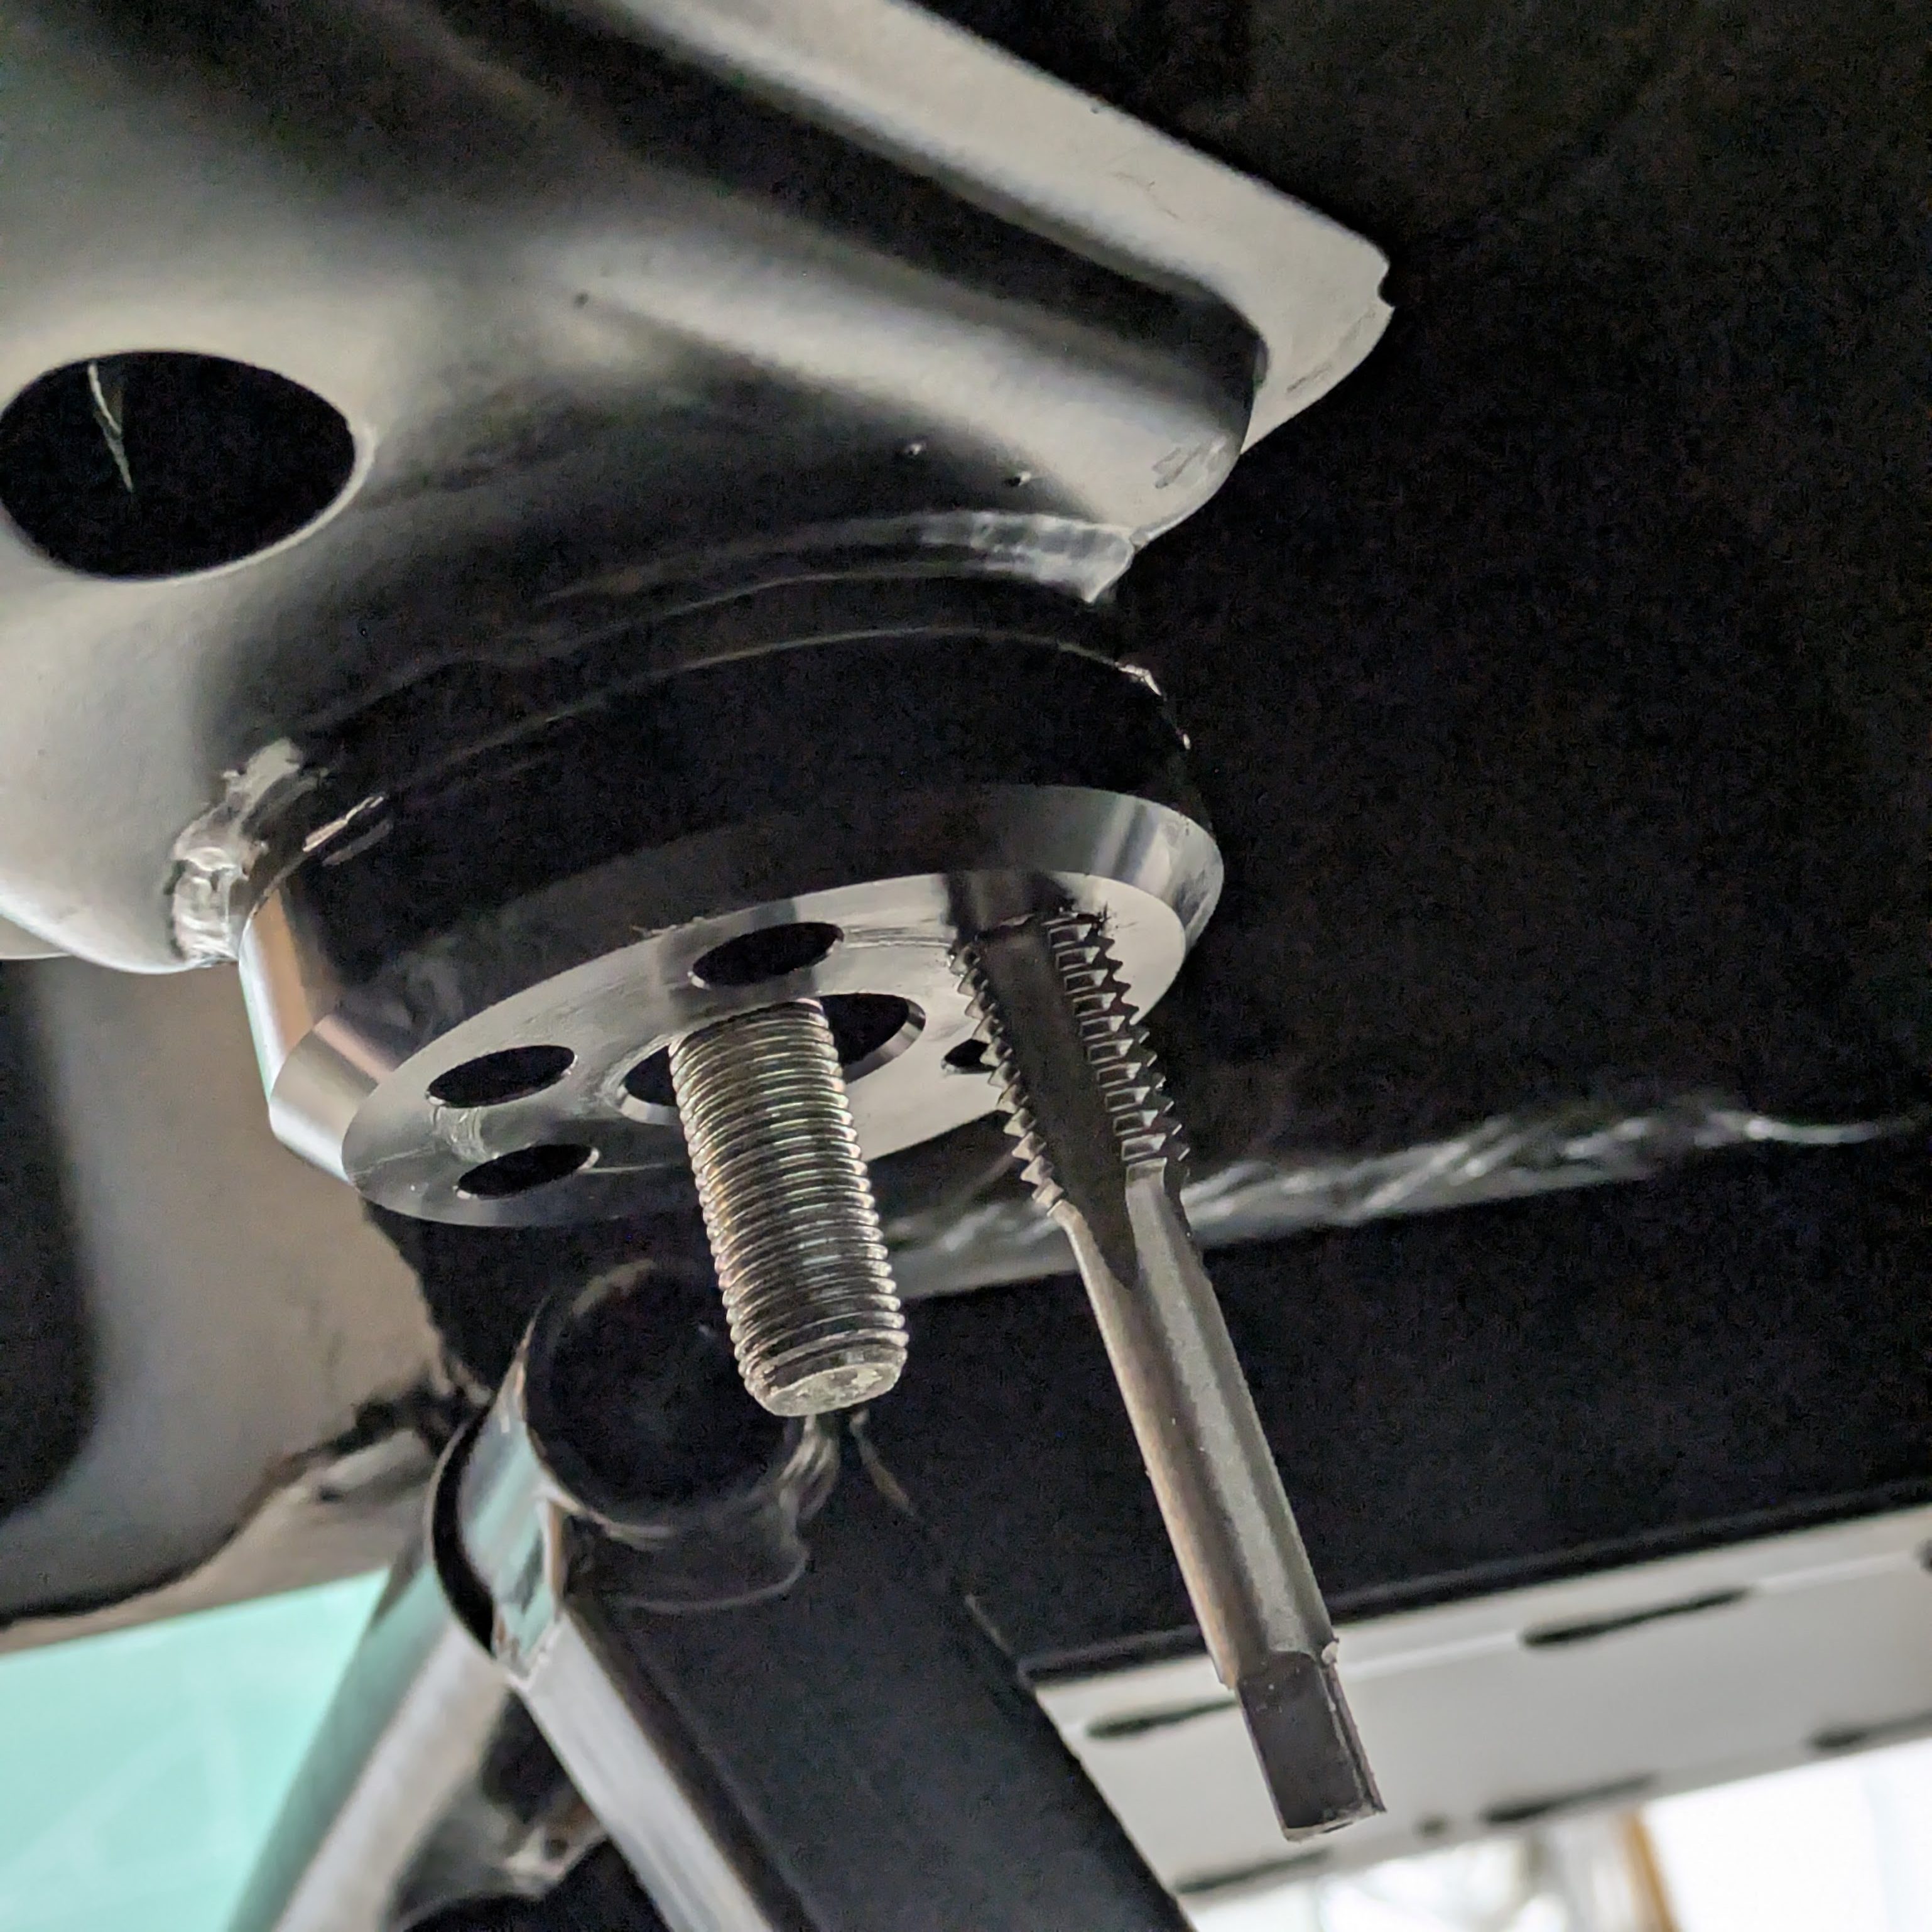
After a water break and a ponder, I came up with a solution. The GKTech solid subframe bushing have holes drilled in them for weight reduction that happen to be the perfect starter hole for an M12 tap. While this alone would give me something to yank on, I had another tool to make it even easier.
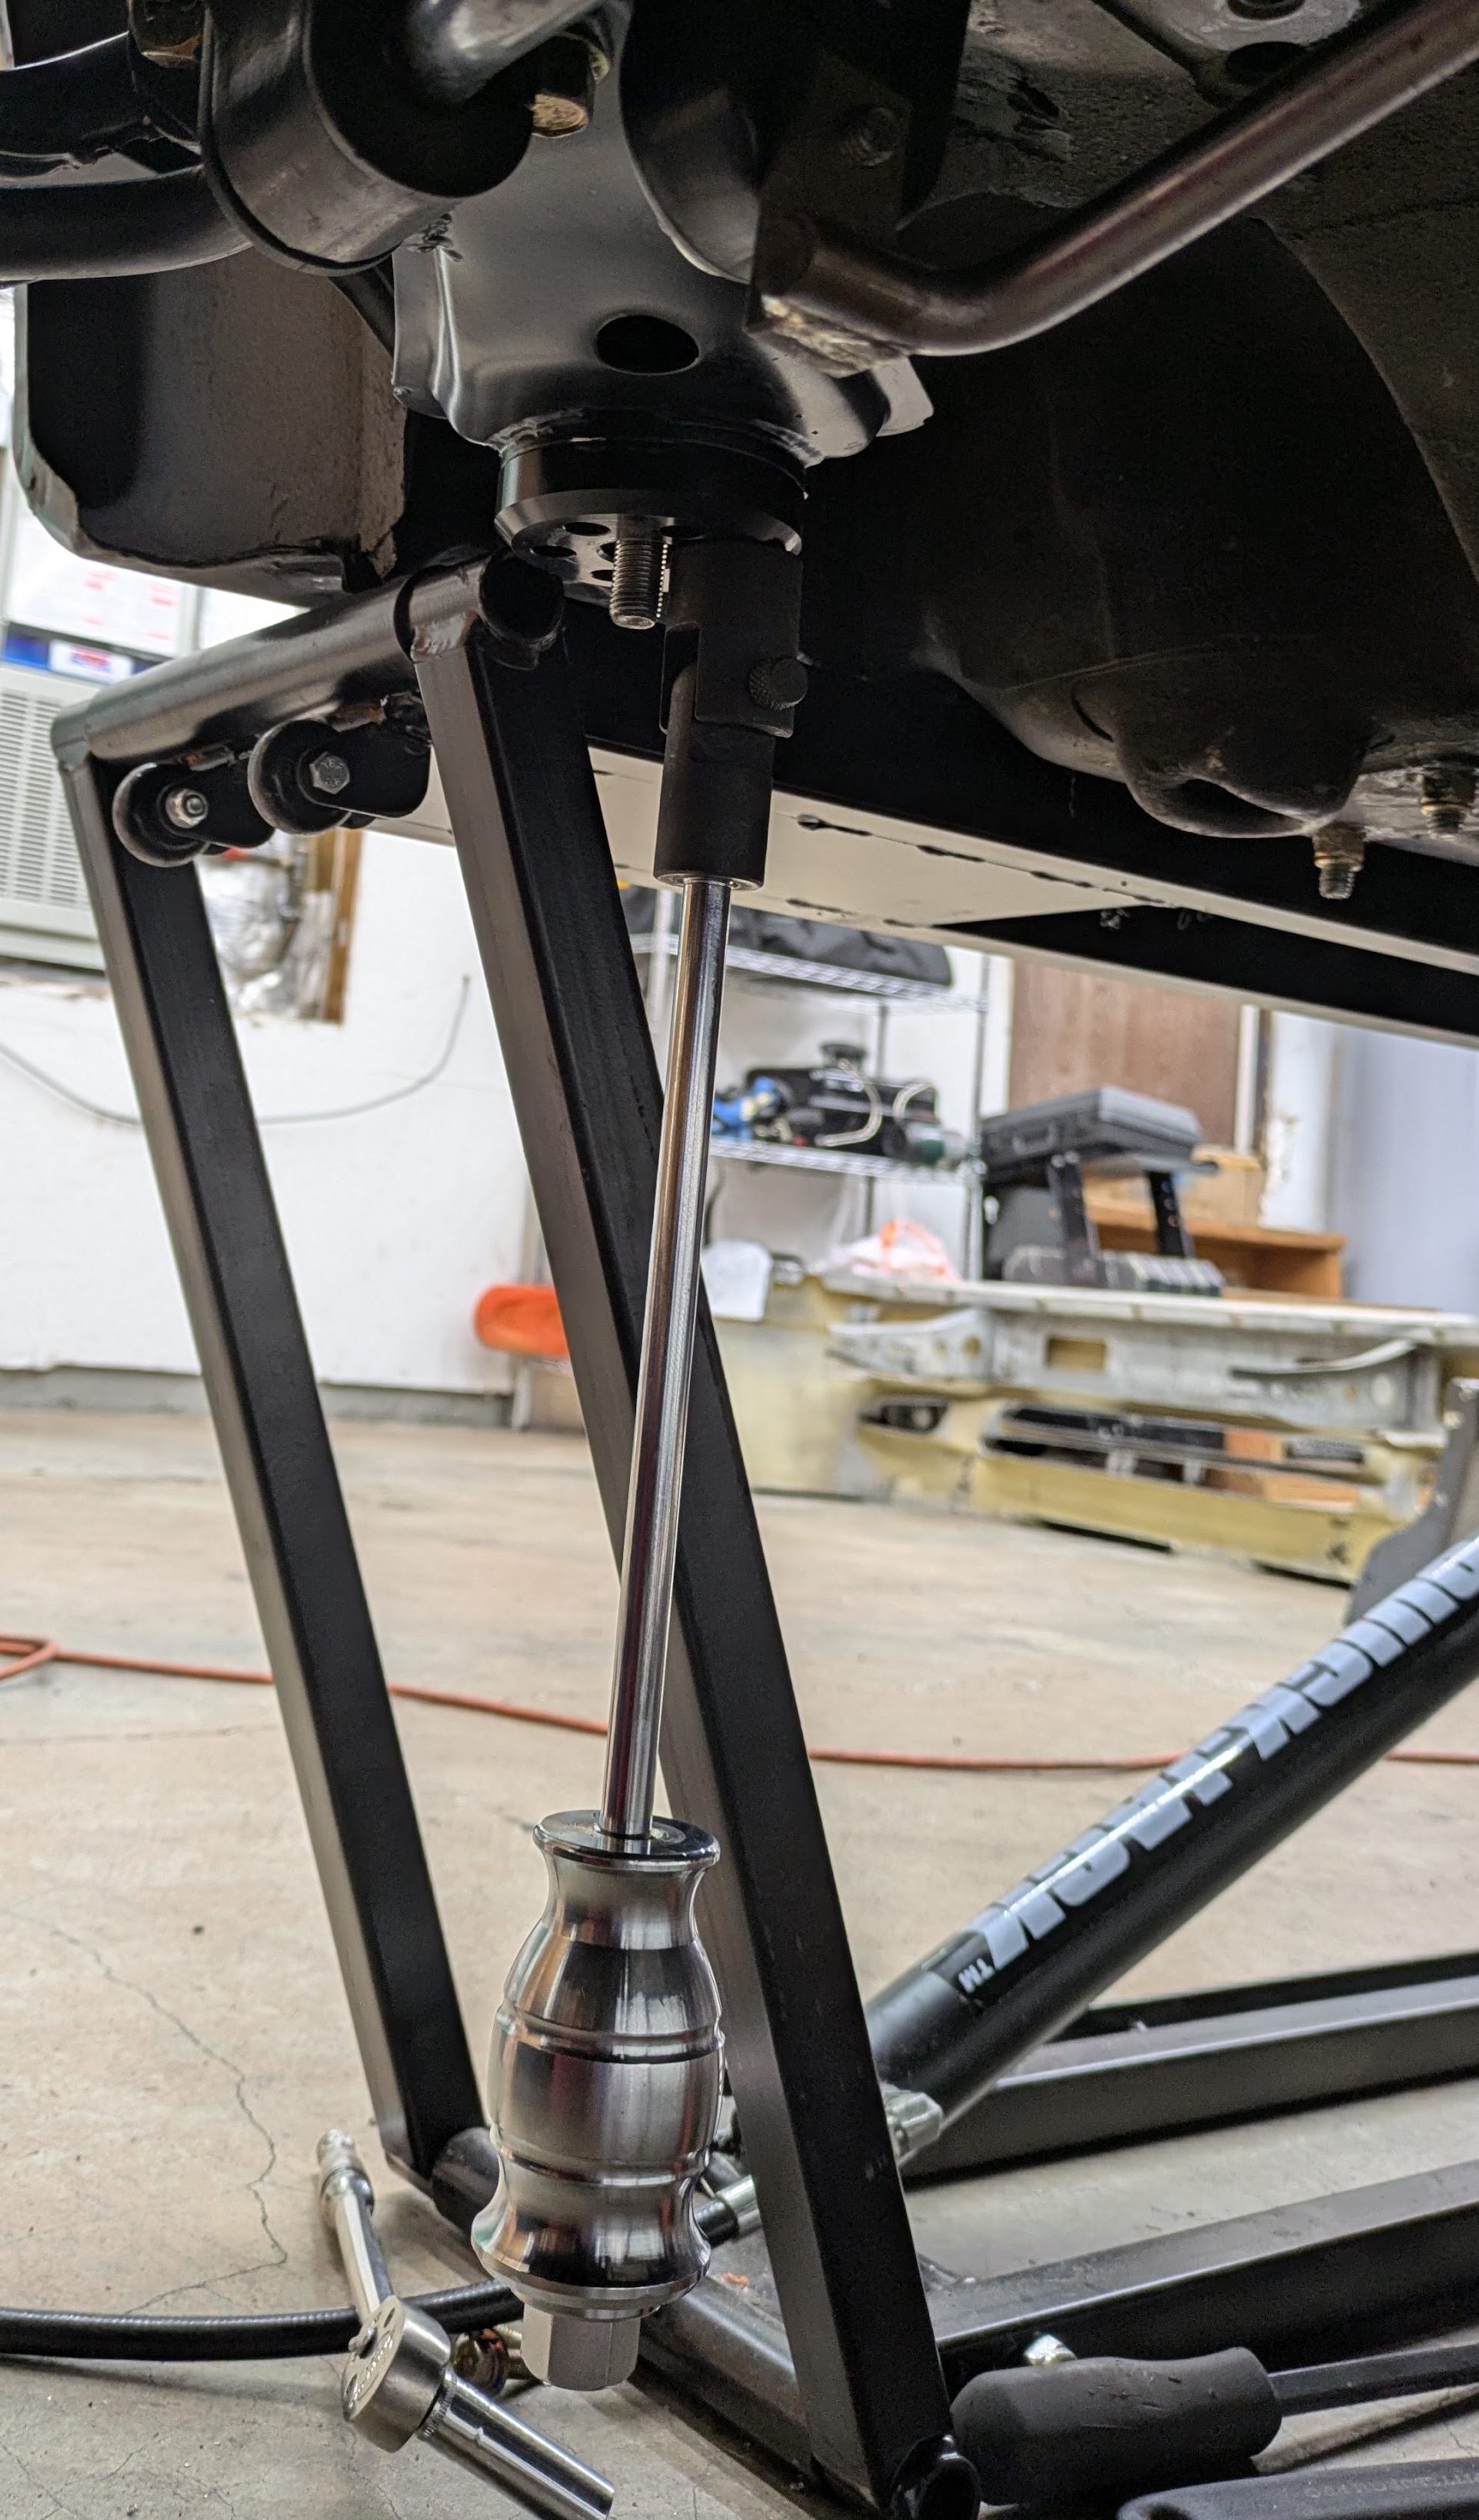
This Astro slide hammer is mainly meant to be mounted on a set of locking plyers, however after unscrewing the main tension screw, it was an M12x1.25 thread. With my freshly tapped hole, I was able to screw my slide hammer directly into the bushing, and the Quick Jacks at full lift gave just enough height to fit this whole stackup. It took 3 whacks of the slide hammer before it was down enough to slide the spacer in. Pretty stoked with that one. With that corner freed up, all 4 subframe spacers were in and torqued down.
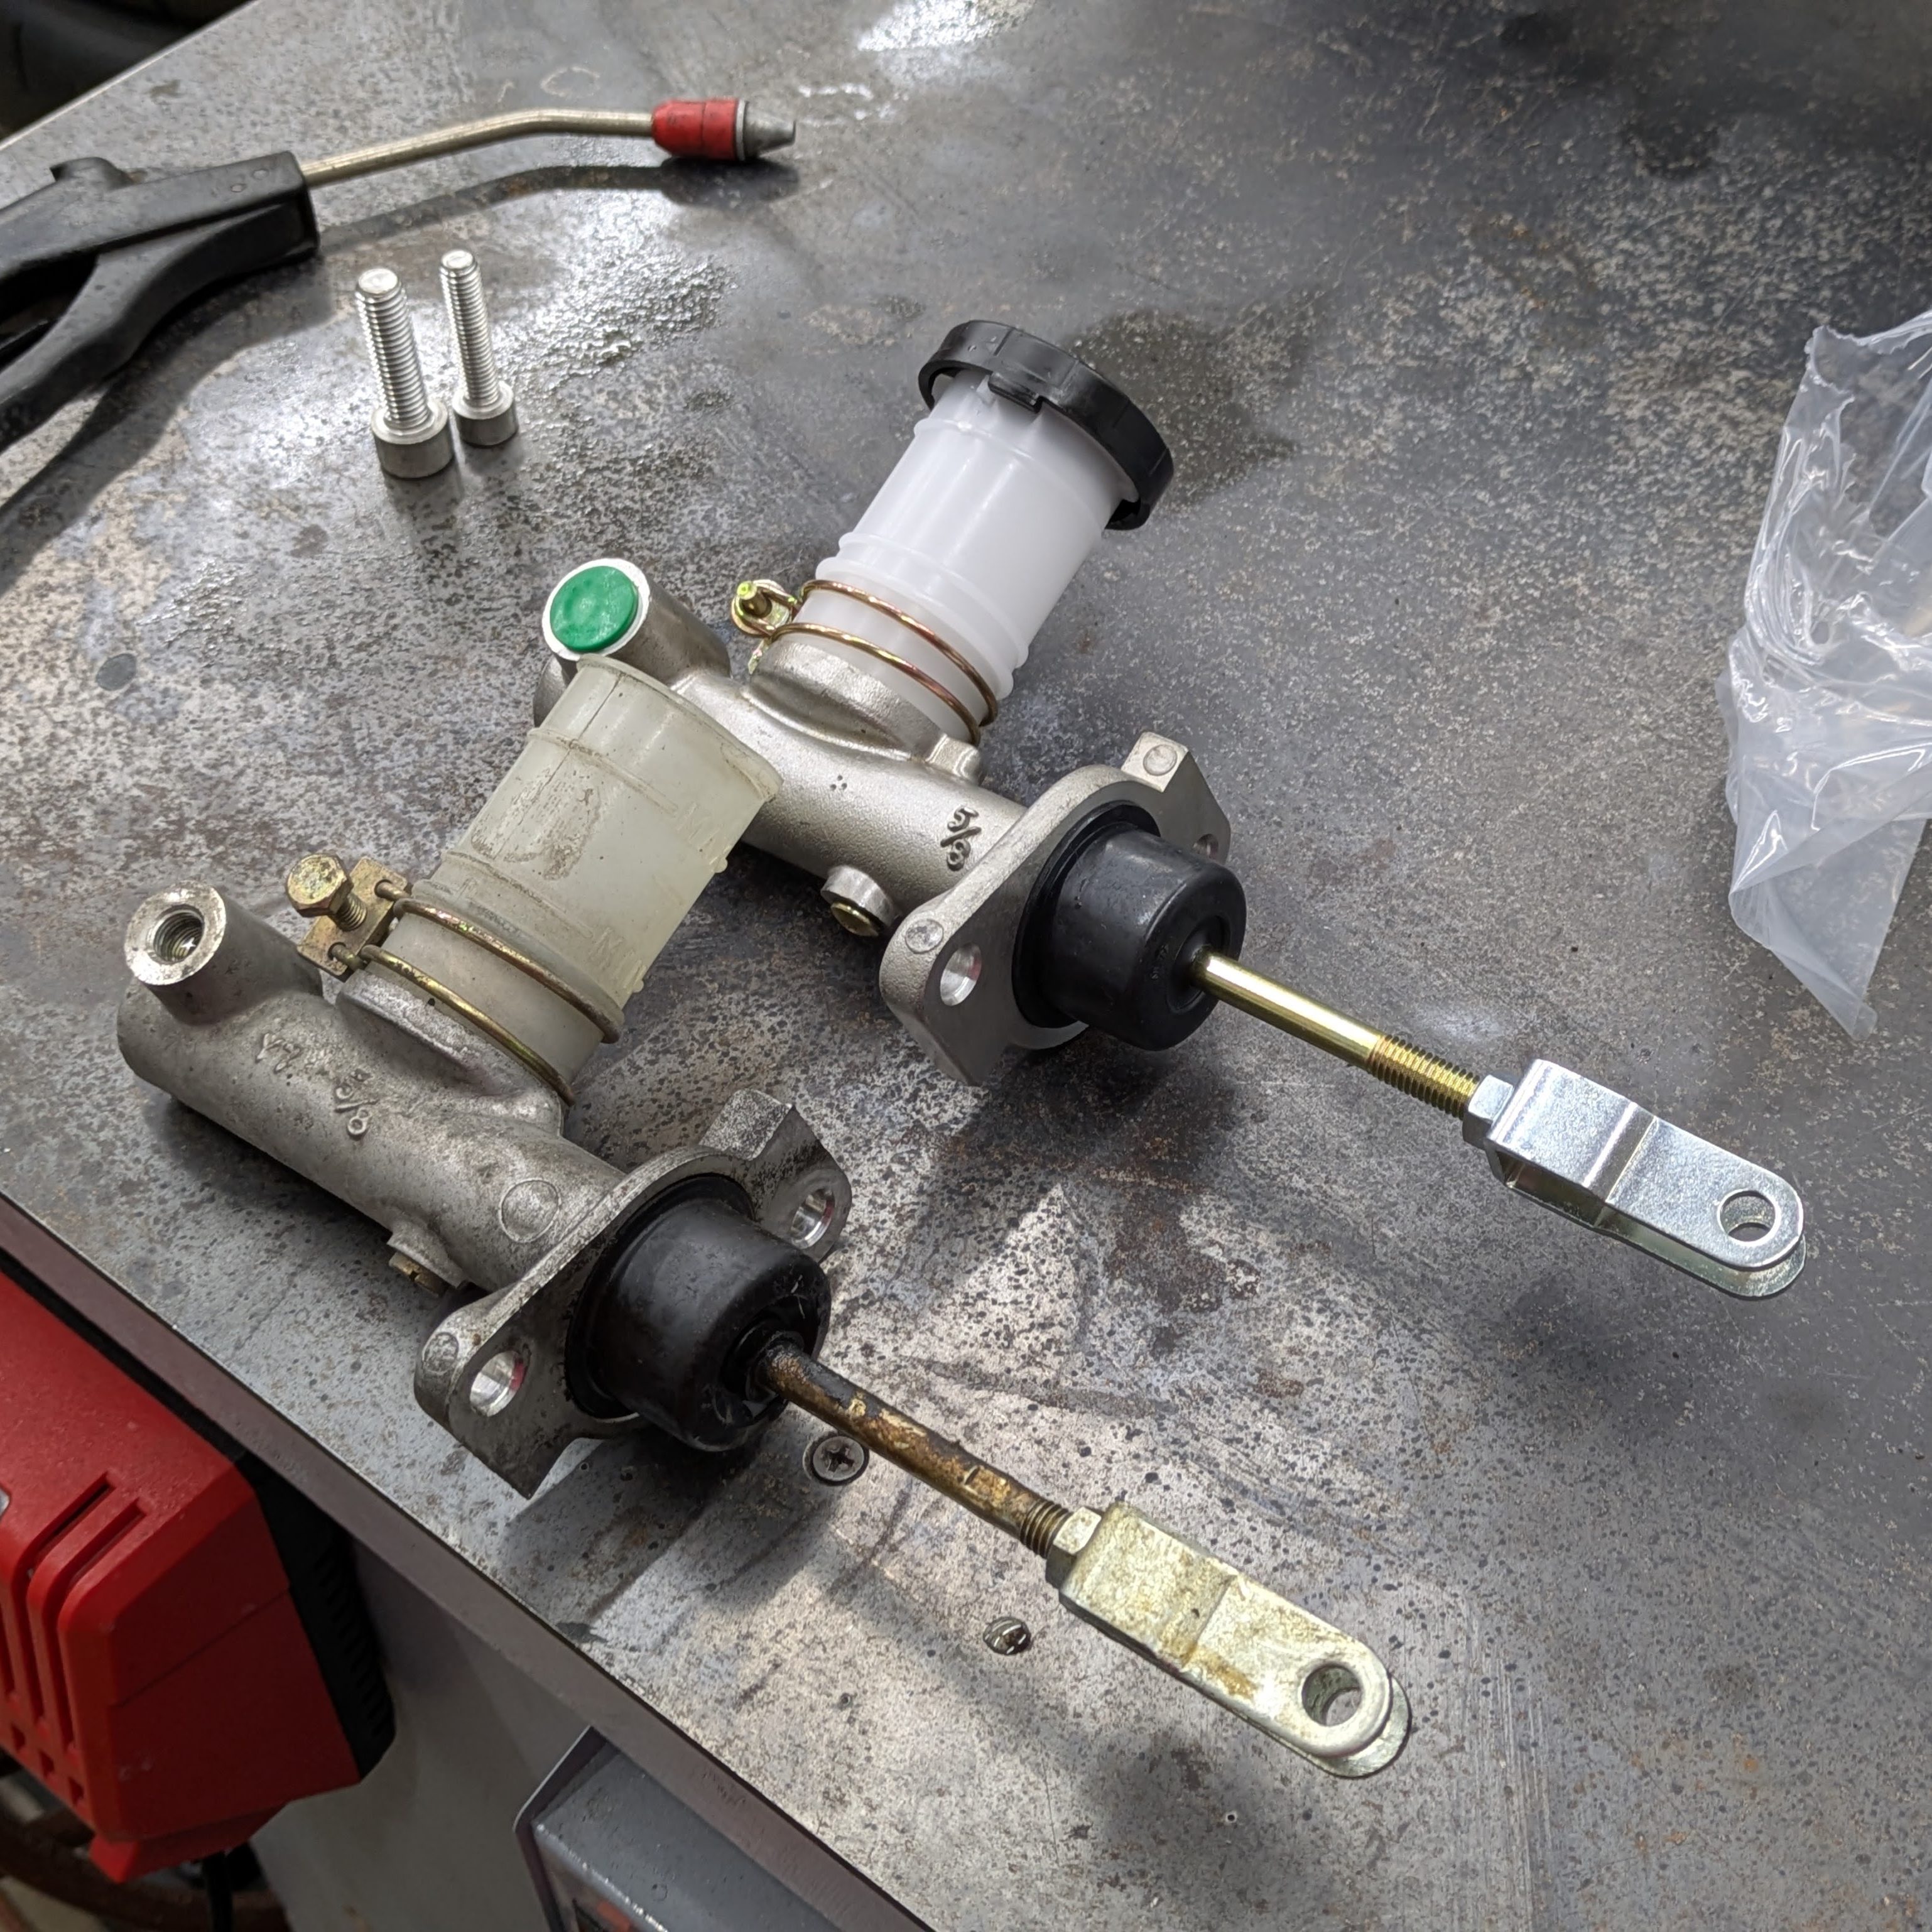
The other post test drive discovery was that the clutch master cylinder, one of the components on a very short list of things I didn’t replace, started leaking into the interior. As this is unacceptable, a pair of new Exedy units was ordered (one as a spare since they are cheap) and with a bench bleed, I had a fluid tight system. This brand new one ended up lasting about 2 weeks before it started to be highly inconsistent/leaking internally, so it has been swapped for the OTHER spare. Not stoked, but glad I had two.
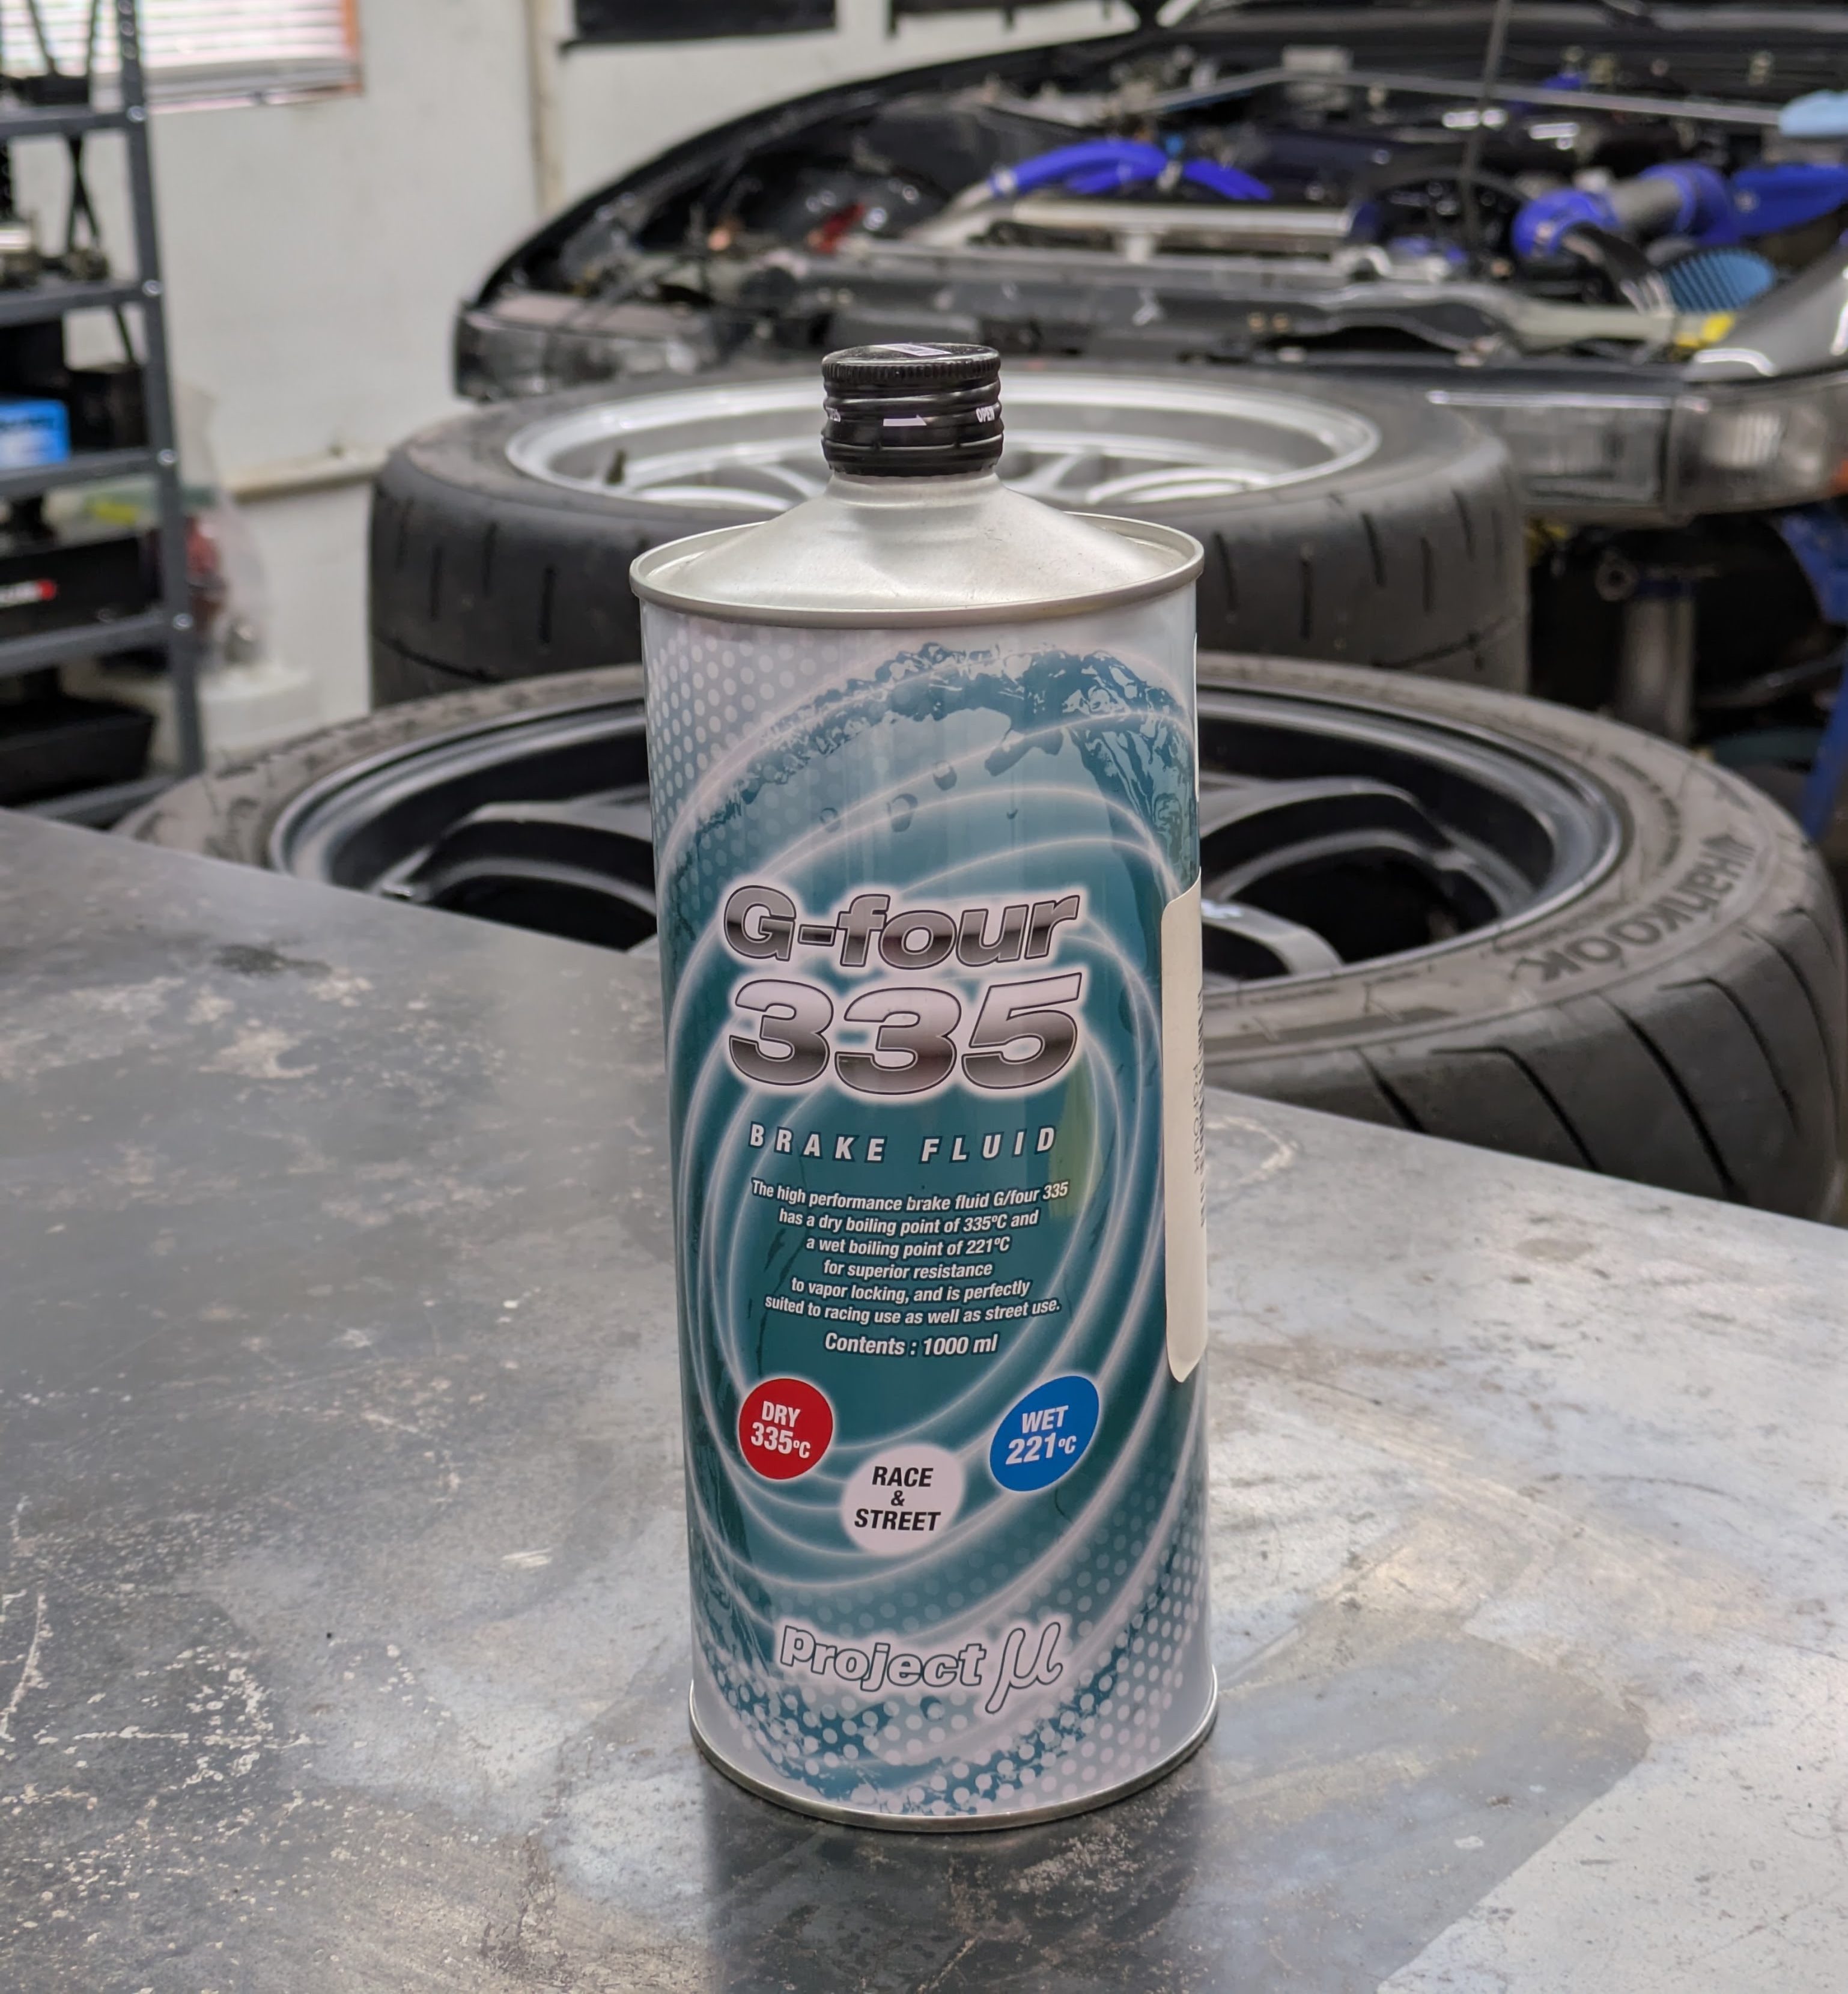
With the final part installs and bolt checks wrapping up, I started to play with aestetics now that the car could touch the ground consistently. I had lowered the front 3/8″ since the corner balance (which you can do without messing with balance, you just need to do it evenly on the same axle), and started to play with the wheels I had been slowly amassing during the course of the build.
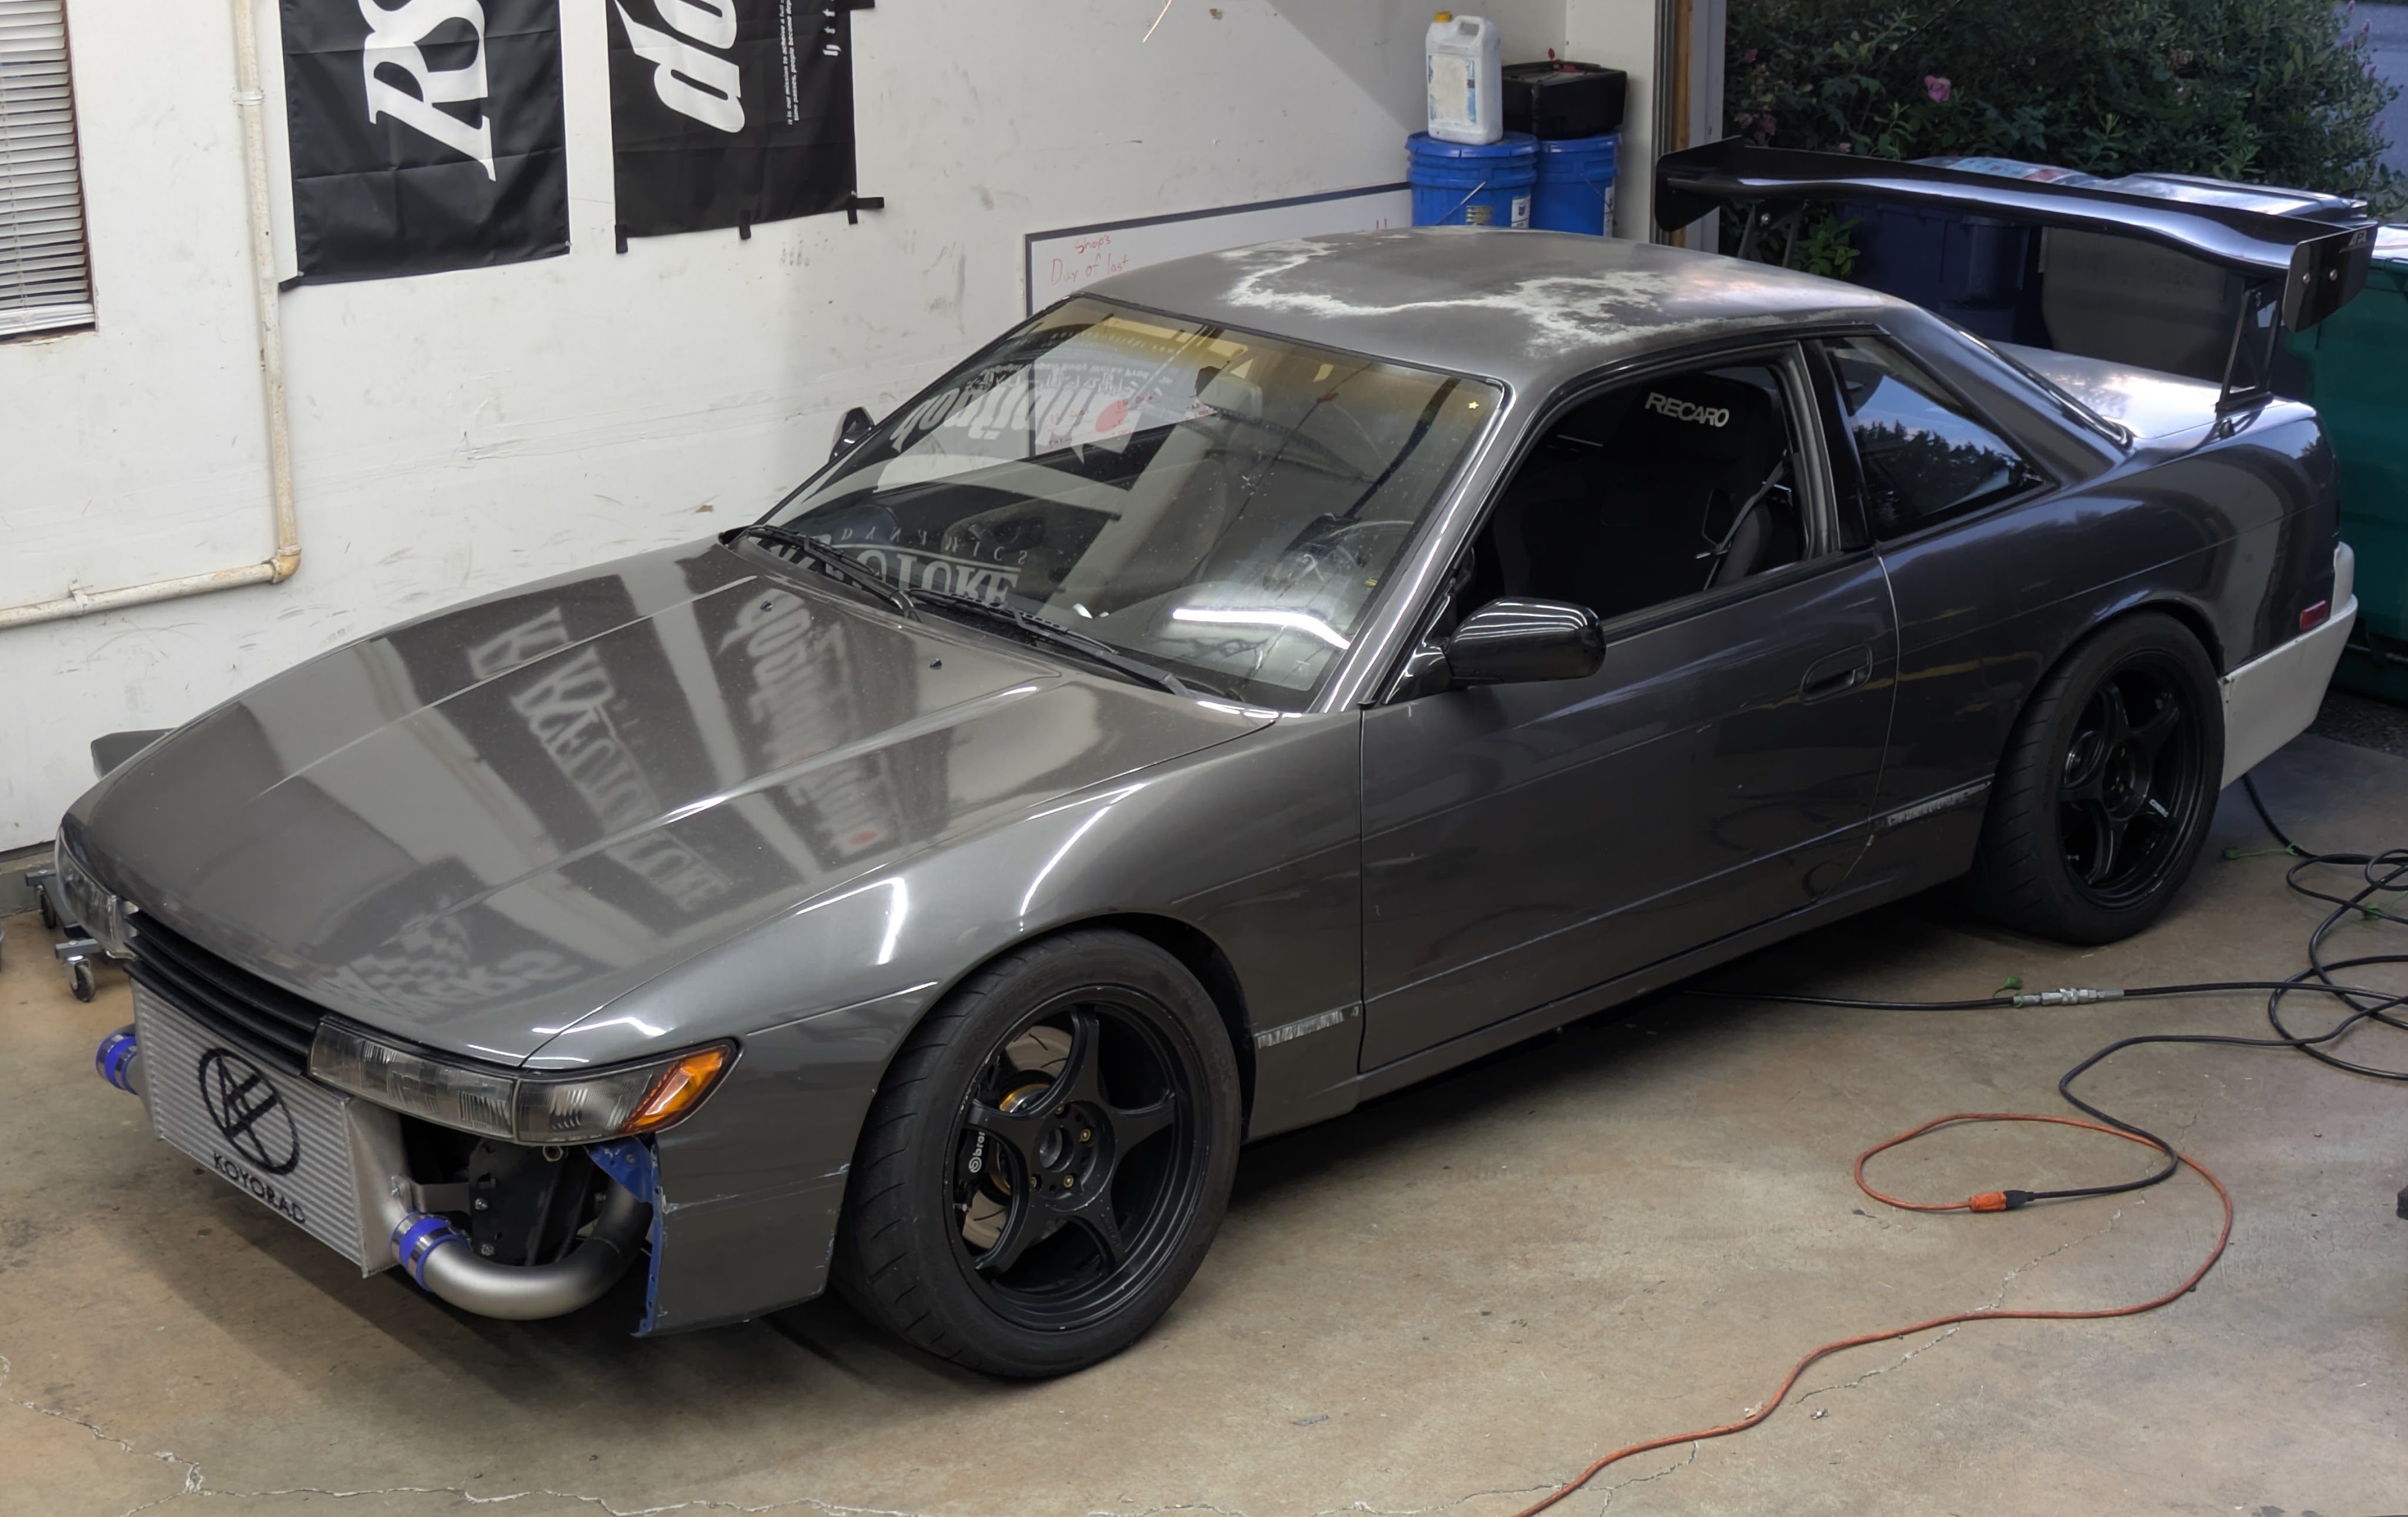
While the cheap/light/replaceable/beloved RPF1s have adorned this car up until this point as they were the wheel the car was set up around, I knew my D1 Street Legal aesthetic end goal needed some other supporting elements.
This set of 17×9 +35 5Zigen FN01R-Cs found their way to me via Luis. Despite being his track wheels that had lived a hard life, they cleaned up very well with some wheel acid and scrubbing. I’m usually a black wheel hater, but once this car is all one color, I think it wears it well. You never see these damn things anymore despite being one of the most common wheels back in the day. Cool piece of history, and the price was more than right. The 2021 Hankook RS4s will be turned into smoke at some point, but they can be my street setup for now.
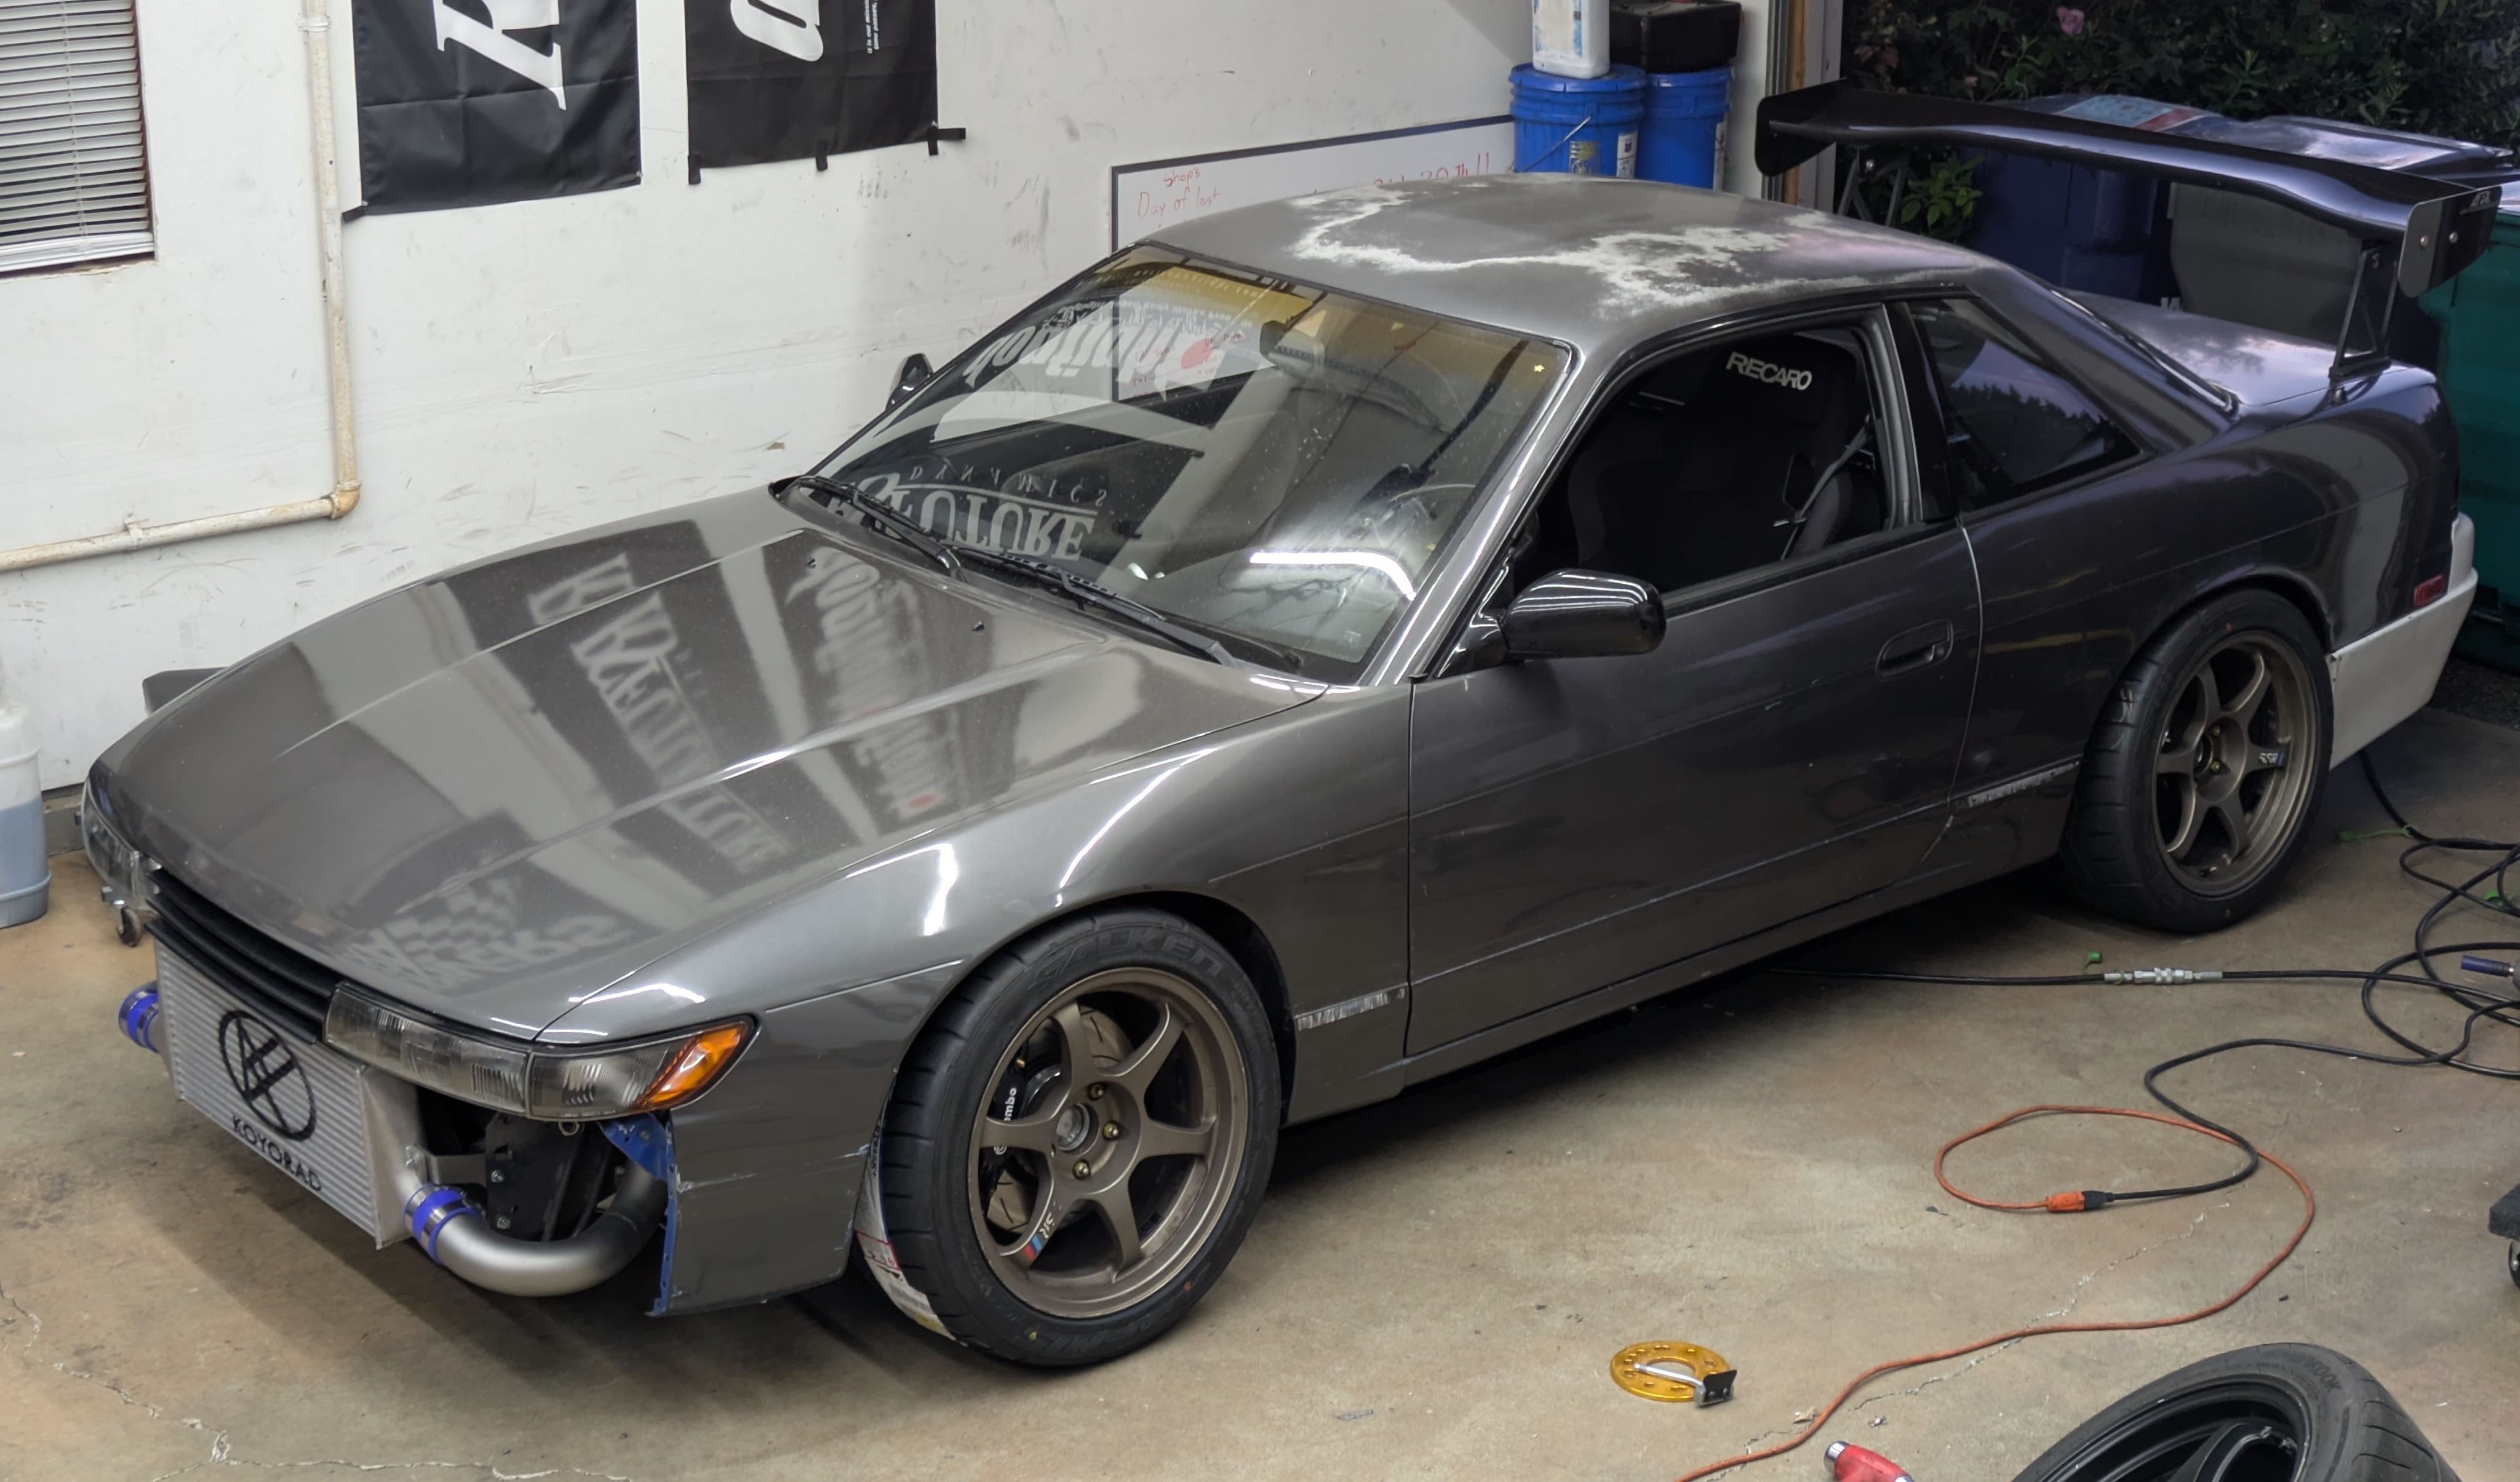
The second set should be no surprise if you know me. My affinity of the SSR Type C is no secret. While somewhat of time bomb as they are so light they can be bent easily, they are one of my favorite wheels visually, and have driven many modern designs to the point where I’m waiting for a broccoli haired kid to ask if these are 57DR reps.
I purchased this set of OG SSR bronze 17×9 +28s off Marketplace pretty quickly after buying the car, but after some fitment issues with the strut, and with no extended studs to add a spacer, I turned around and sold them to a friend and almost instantly regretted it as I had just concepted the idea to follow the style of early 2000s D1SL. After some negotiation and helping him get back into a set of 18s, they made their way back to me, and I’m glad they are. They are not perfect, but their patina matches the car’s weathering, and with a brand new set of 255/40 RT615K+s that were impulse purchased on Black Friday, this will be my actual street setup once the tires on the FN01s are dead.
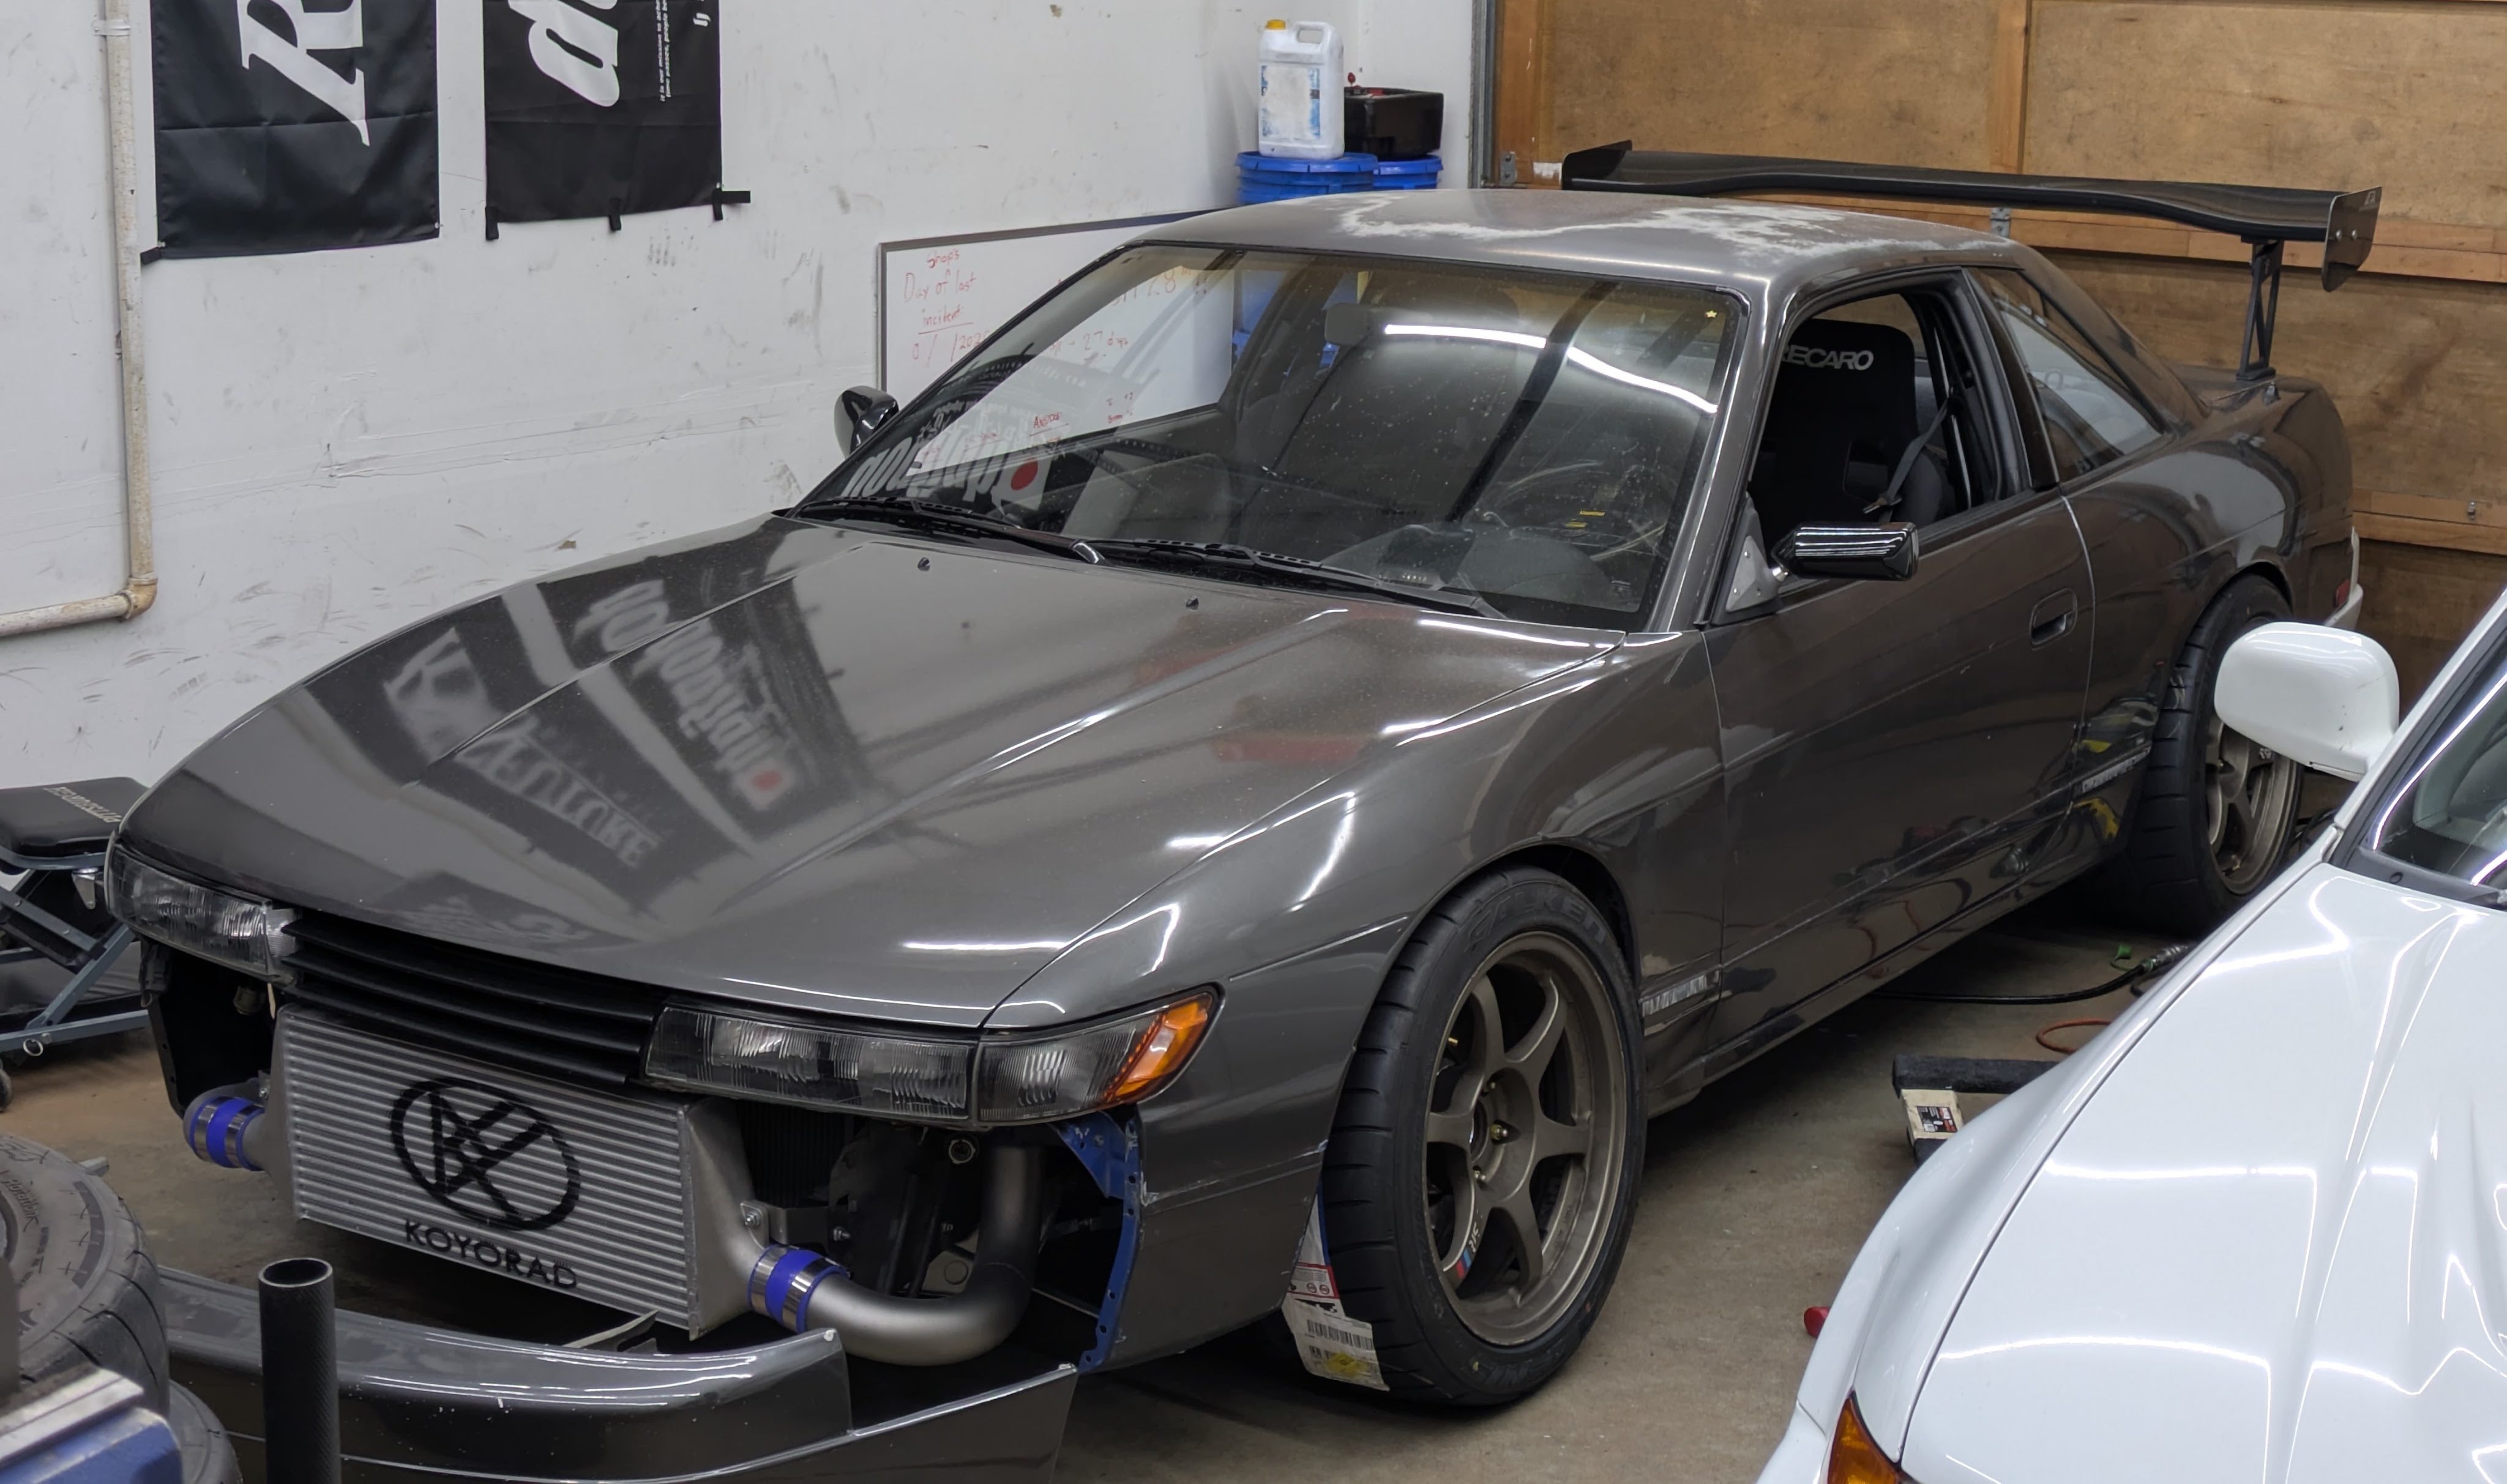
And then we tried on some mirrors, oh boy the mirrors.
The story I was told is that these Craft Square replicas, that you can buy on eBay for $50 dollars, were legitmate Craft Square tooling that found it’s way to China after J’s Racing bought all the IP. China did what China does, and now you can just buy what CS would be, straight out of the mold. The bases are rough castings, and the mirrors themselves are the fiberglass versions, not carbon, however these are crazy nice for the money, and do include real CS stickers.
I actually have quite a lot of work into these. I commissioned Draklore in Maine to make printed adapter bases (they were custom/development cost for me, but now available on the market for normal pricing), I vapor honed the metal bases with Oliver when I did my Z32 knuckles, and then tried to anodize them only to have them turn out splotchy and weathered (unsure what kind of aluminum they are), but it matches the aesthetic of the car quite well honestly. I tried them on for a few weeks, and they match the track car vibe very well, especially on the SSRs or RPF1s.
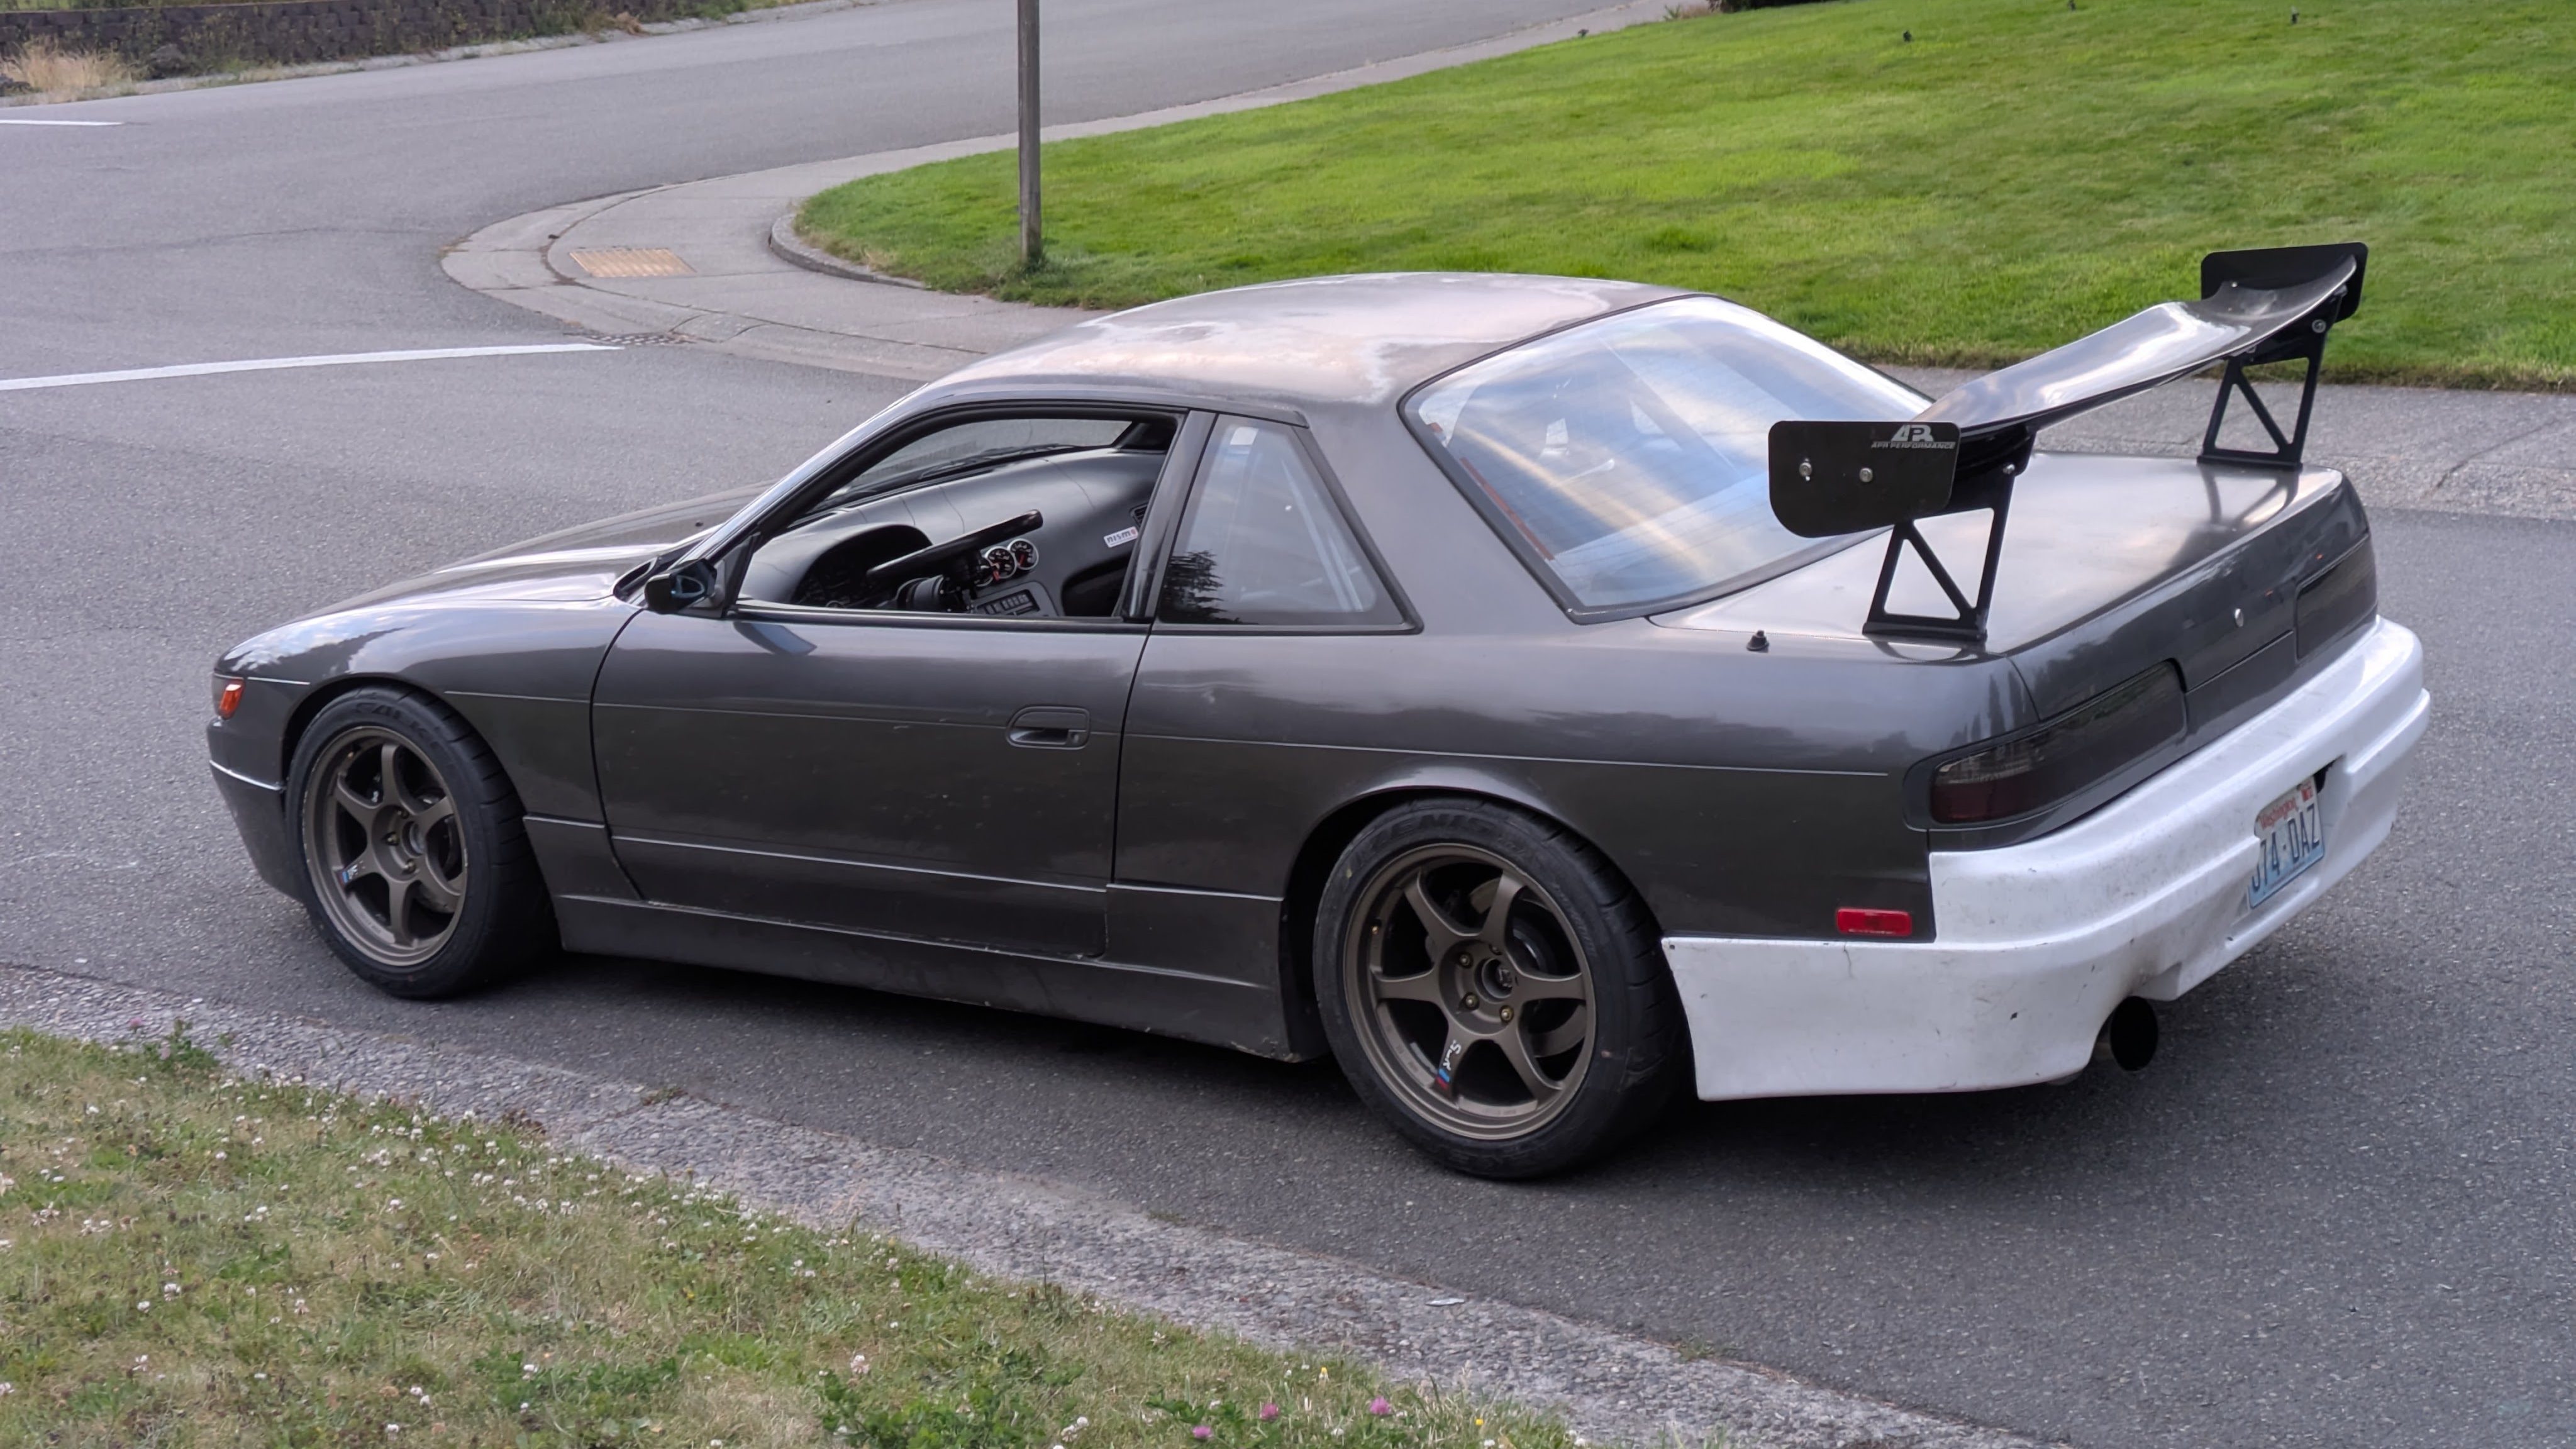
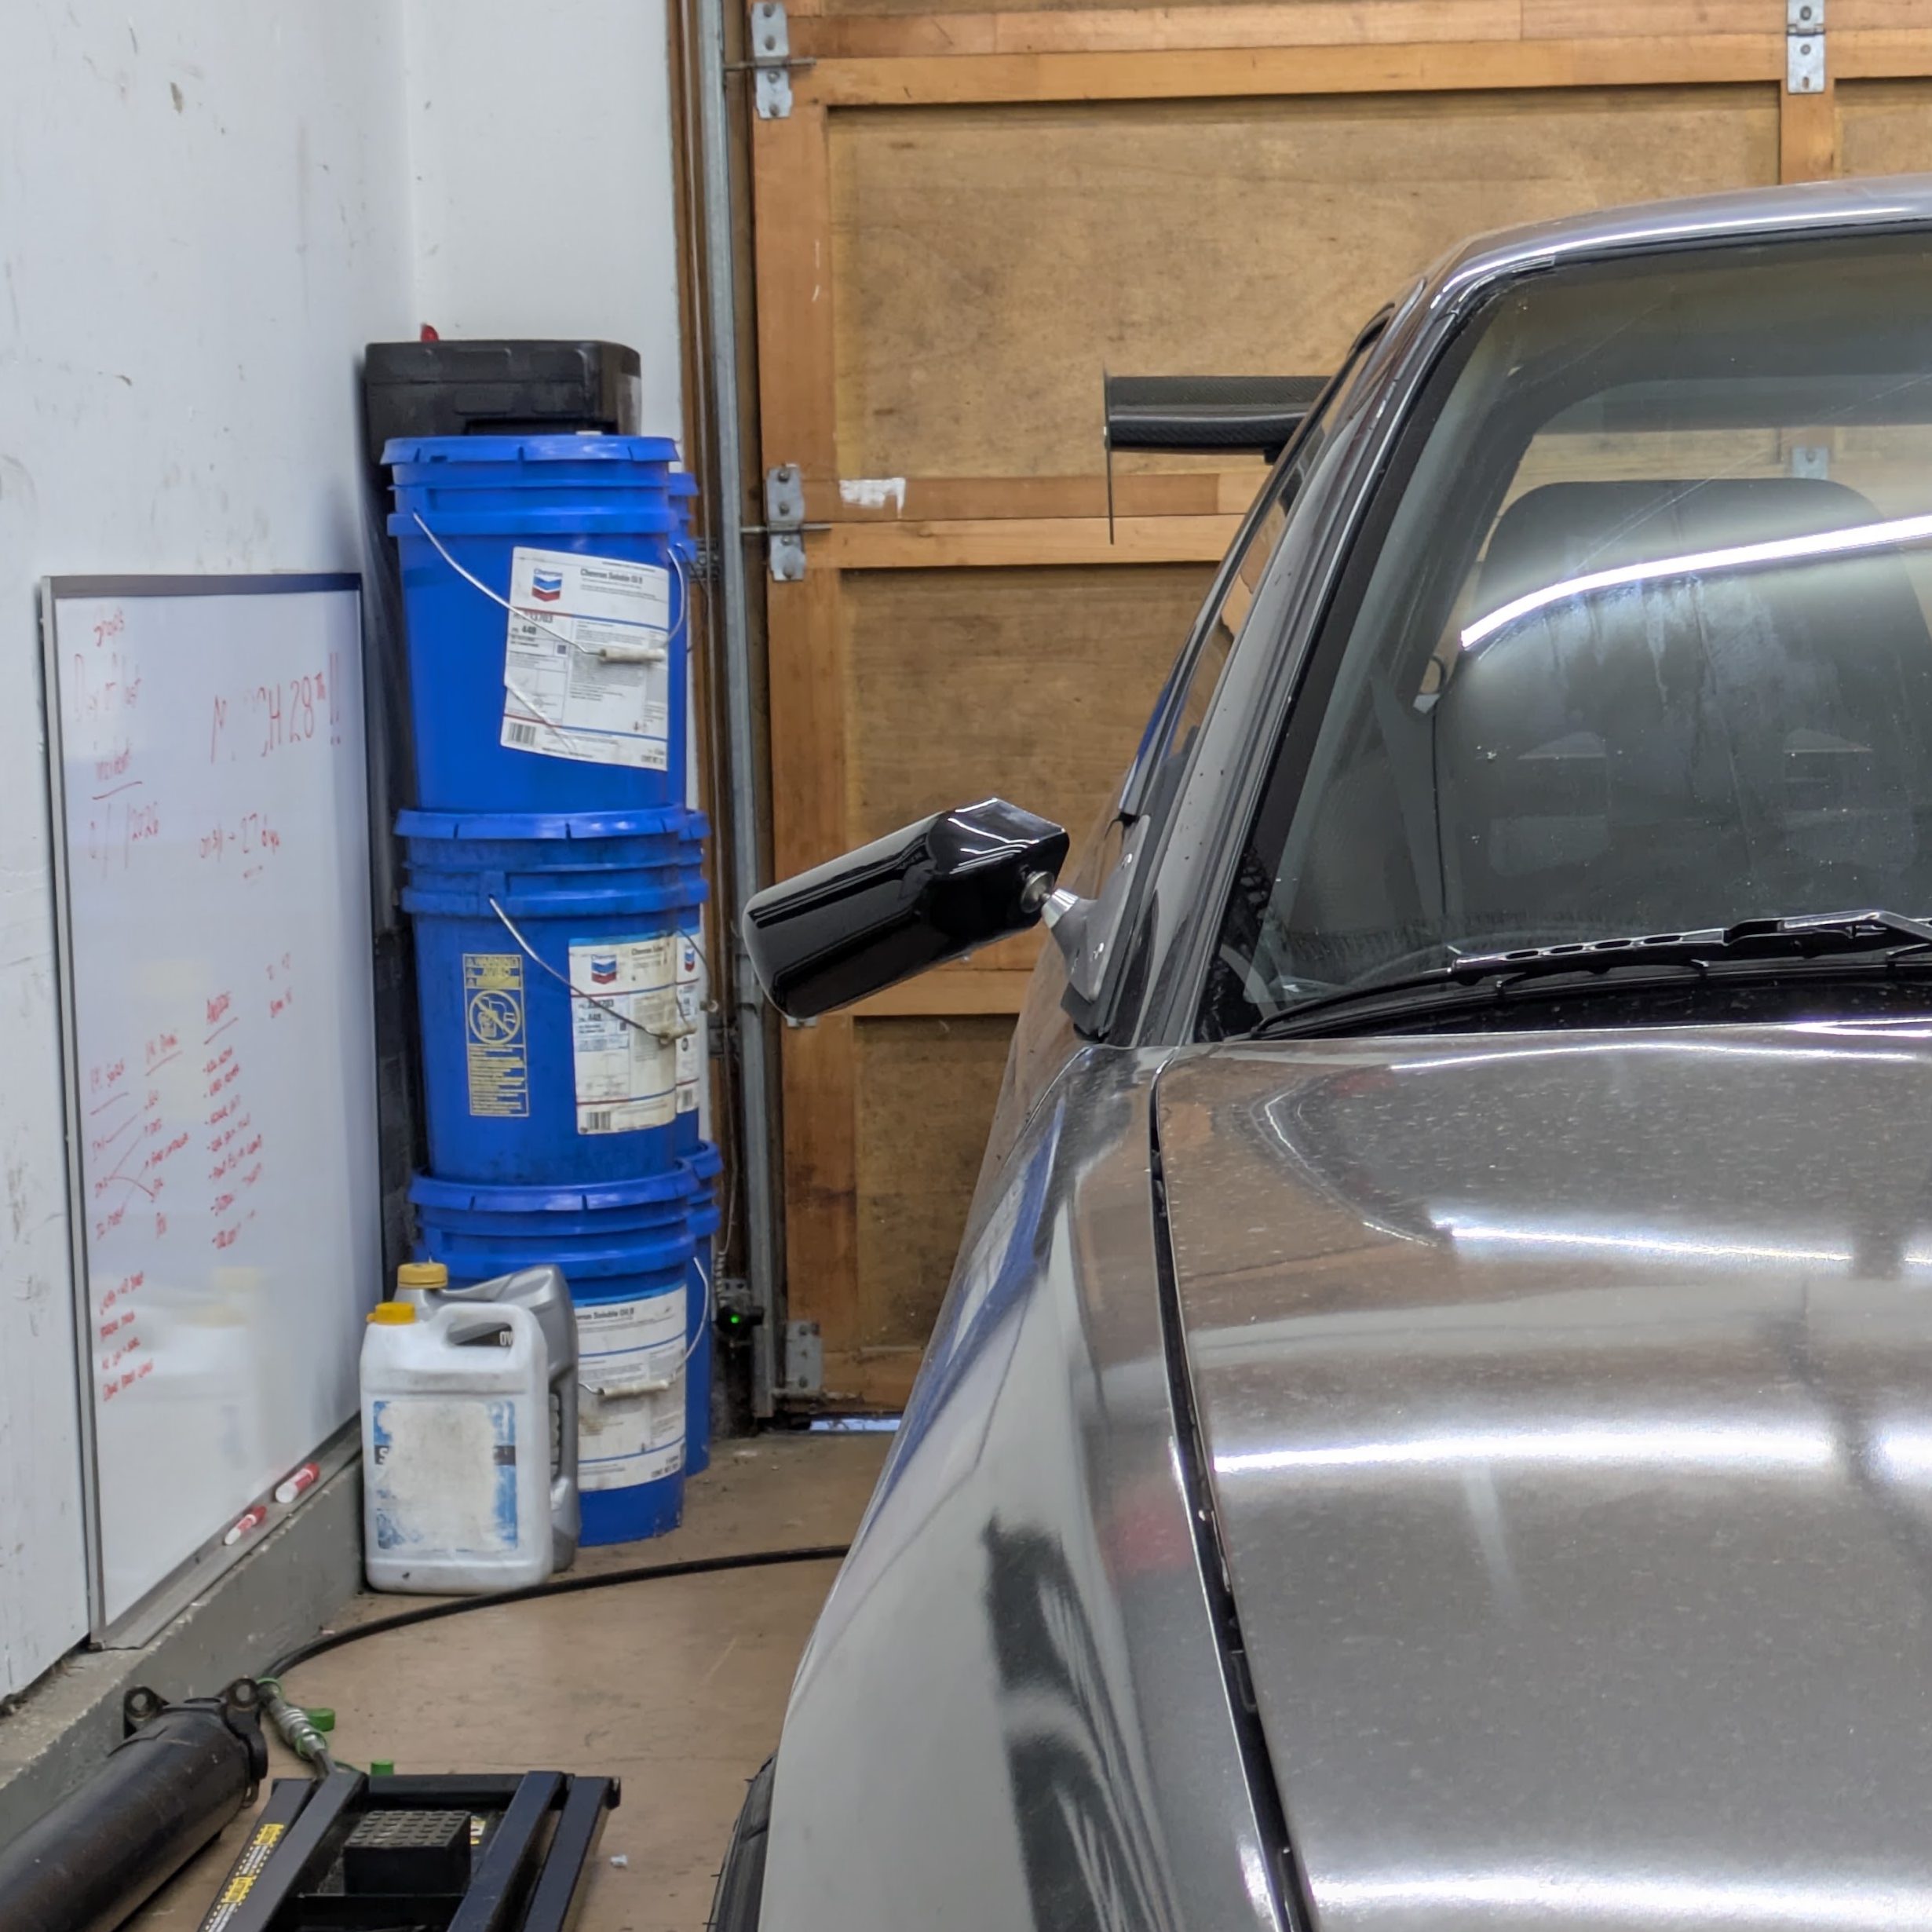
The mirrors are not without their faults. Despite tightening the spring tension as much as I felt comfortable, the passenger side continued to sag, and the drivers side was not much better. As this is a track car, it has to have real mirrors, so I must shelf these for now. I definitely want to revisit them soon with some ways to increase the friction in the joints, but I went back to my OEM manual mirrors for now.
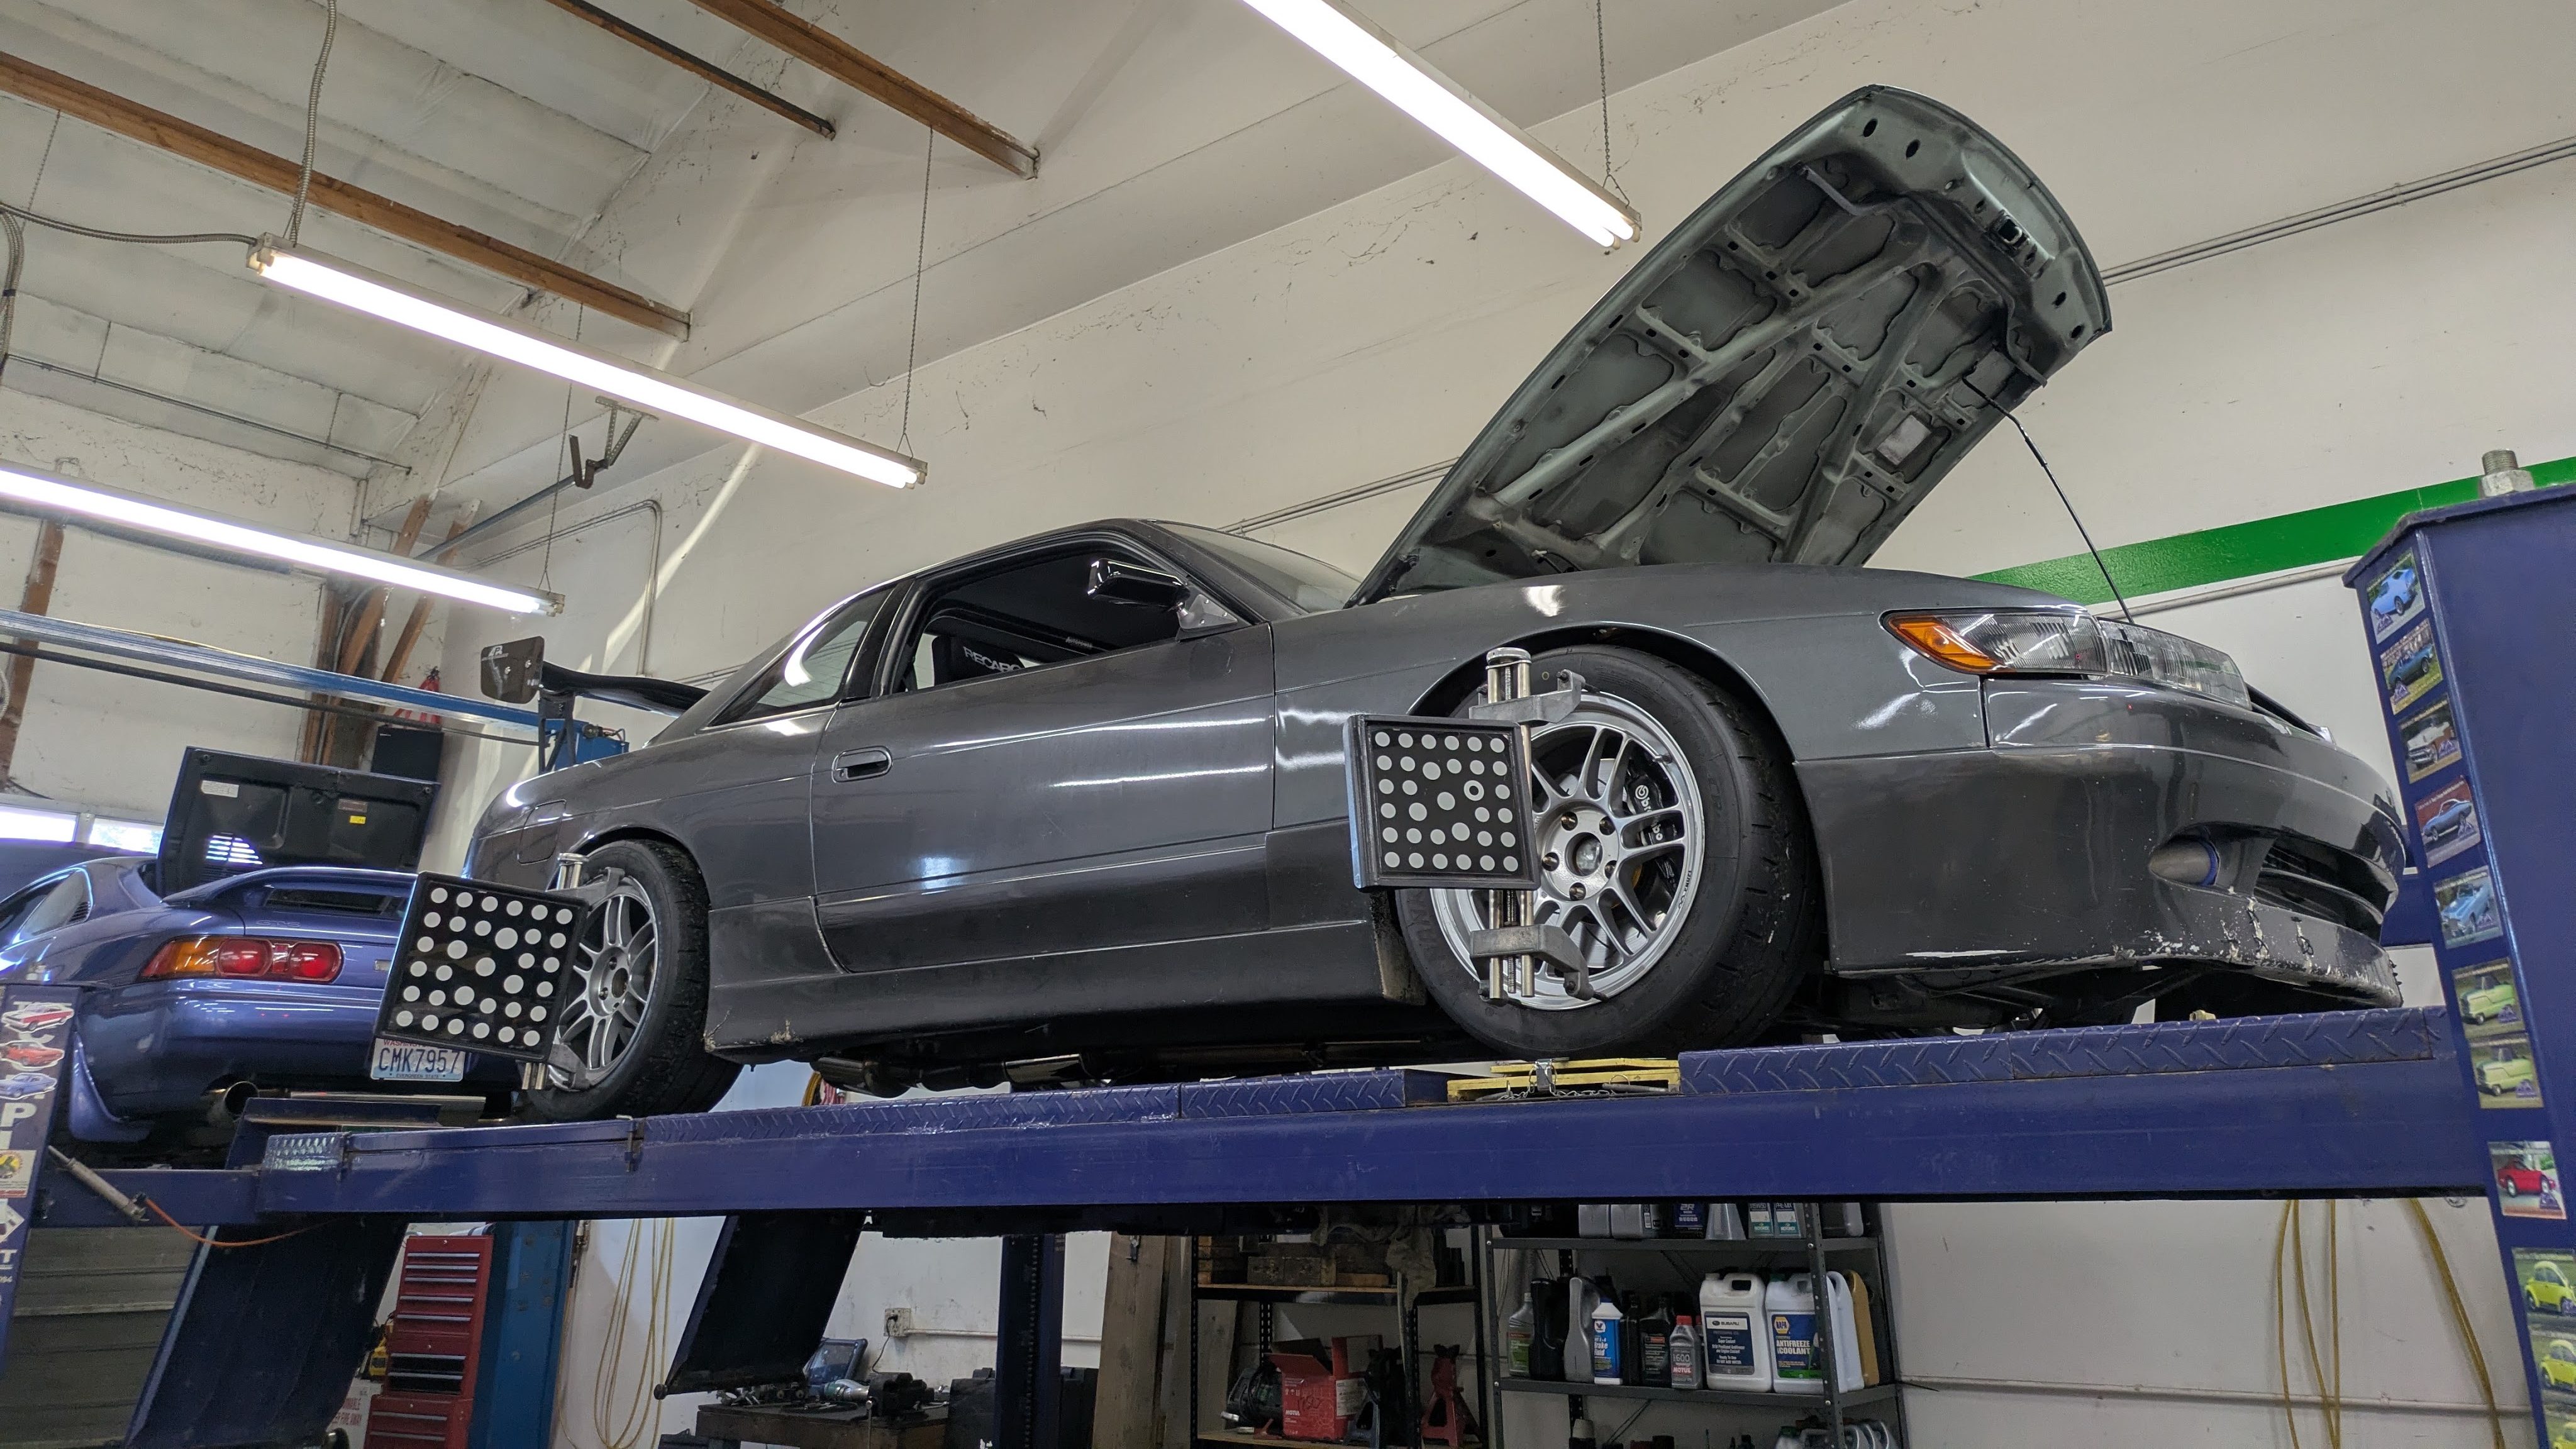
After one final bolt check, the car went in for a real alignment with my favorite local shop Chase Race. Doug has been a one-man-band in a quiet town outside Seattle for many years, and I’ve been happy with the results every time I bring him a car.
This alignment was fairly involved, as I showed up with far more camber than anticipated at over 5 degrees in the front. This required us to pull the front track width in with the front lower control arm a half inch per side for the tires to remain inside the fenders. This ended up working great, and there was no reduction in clearance anywhere.
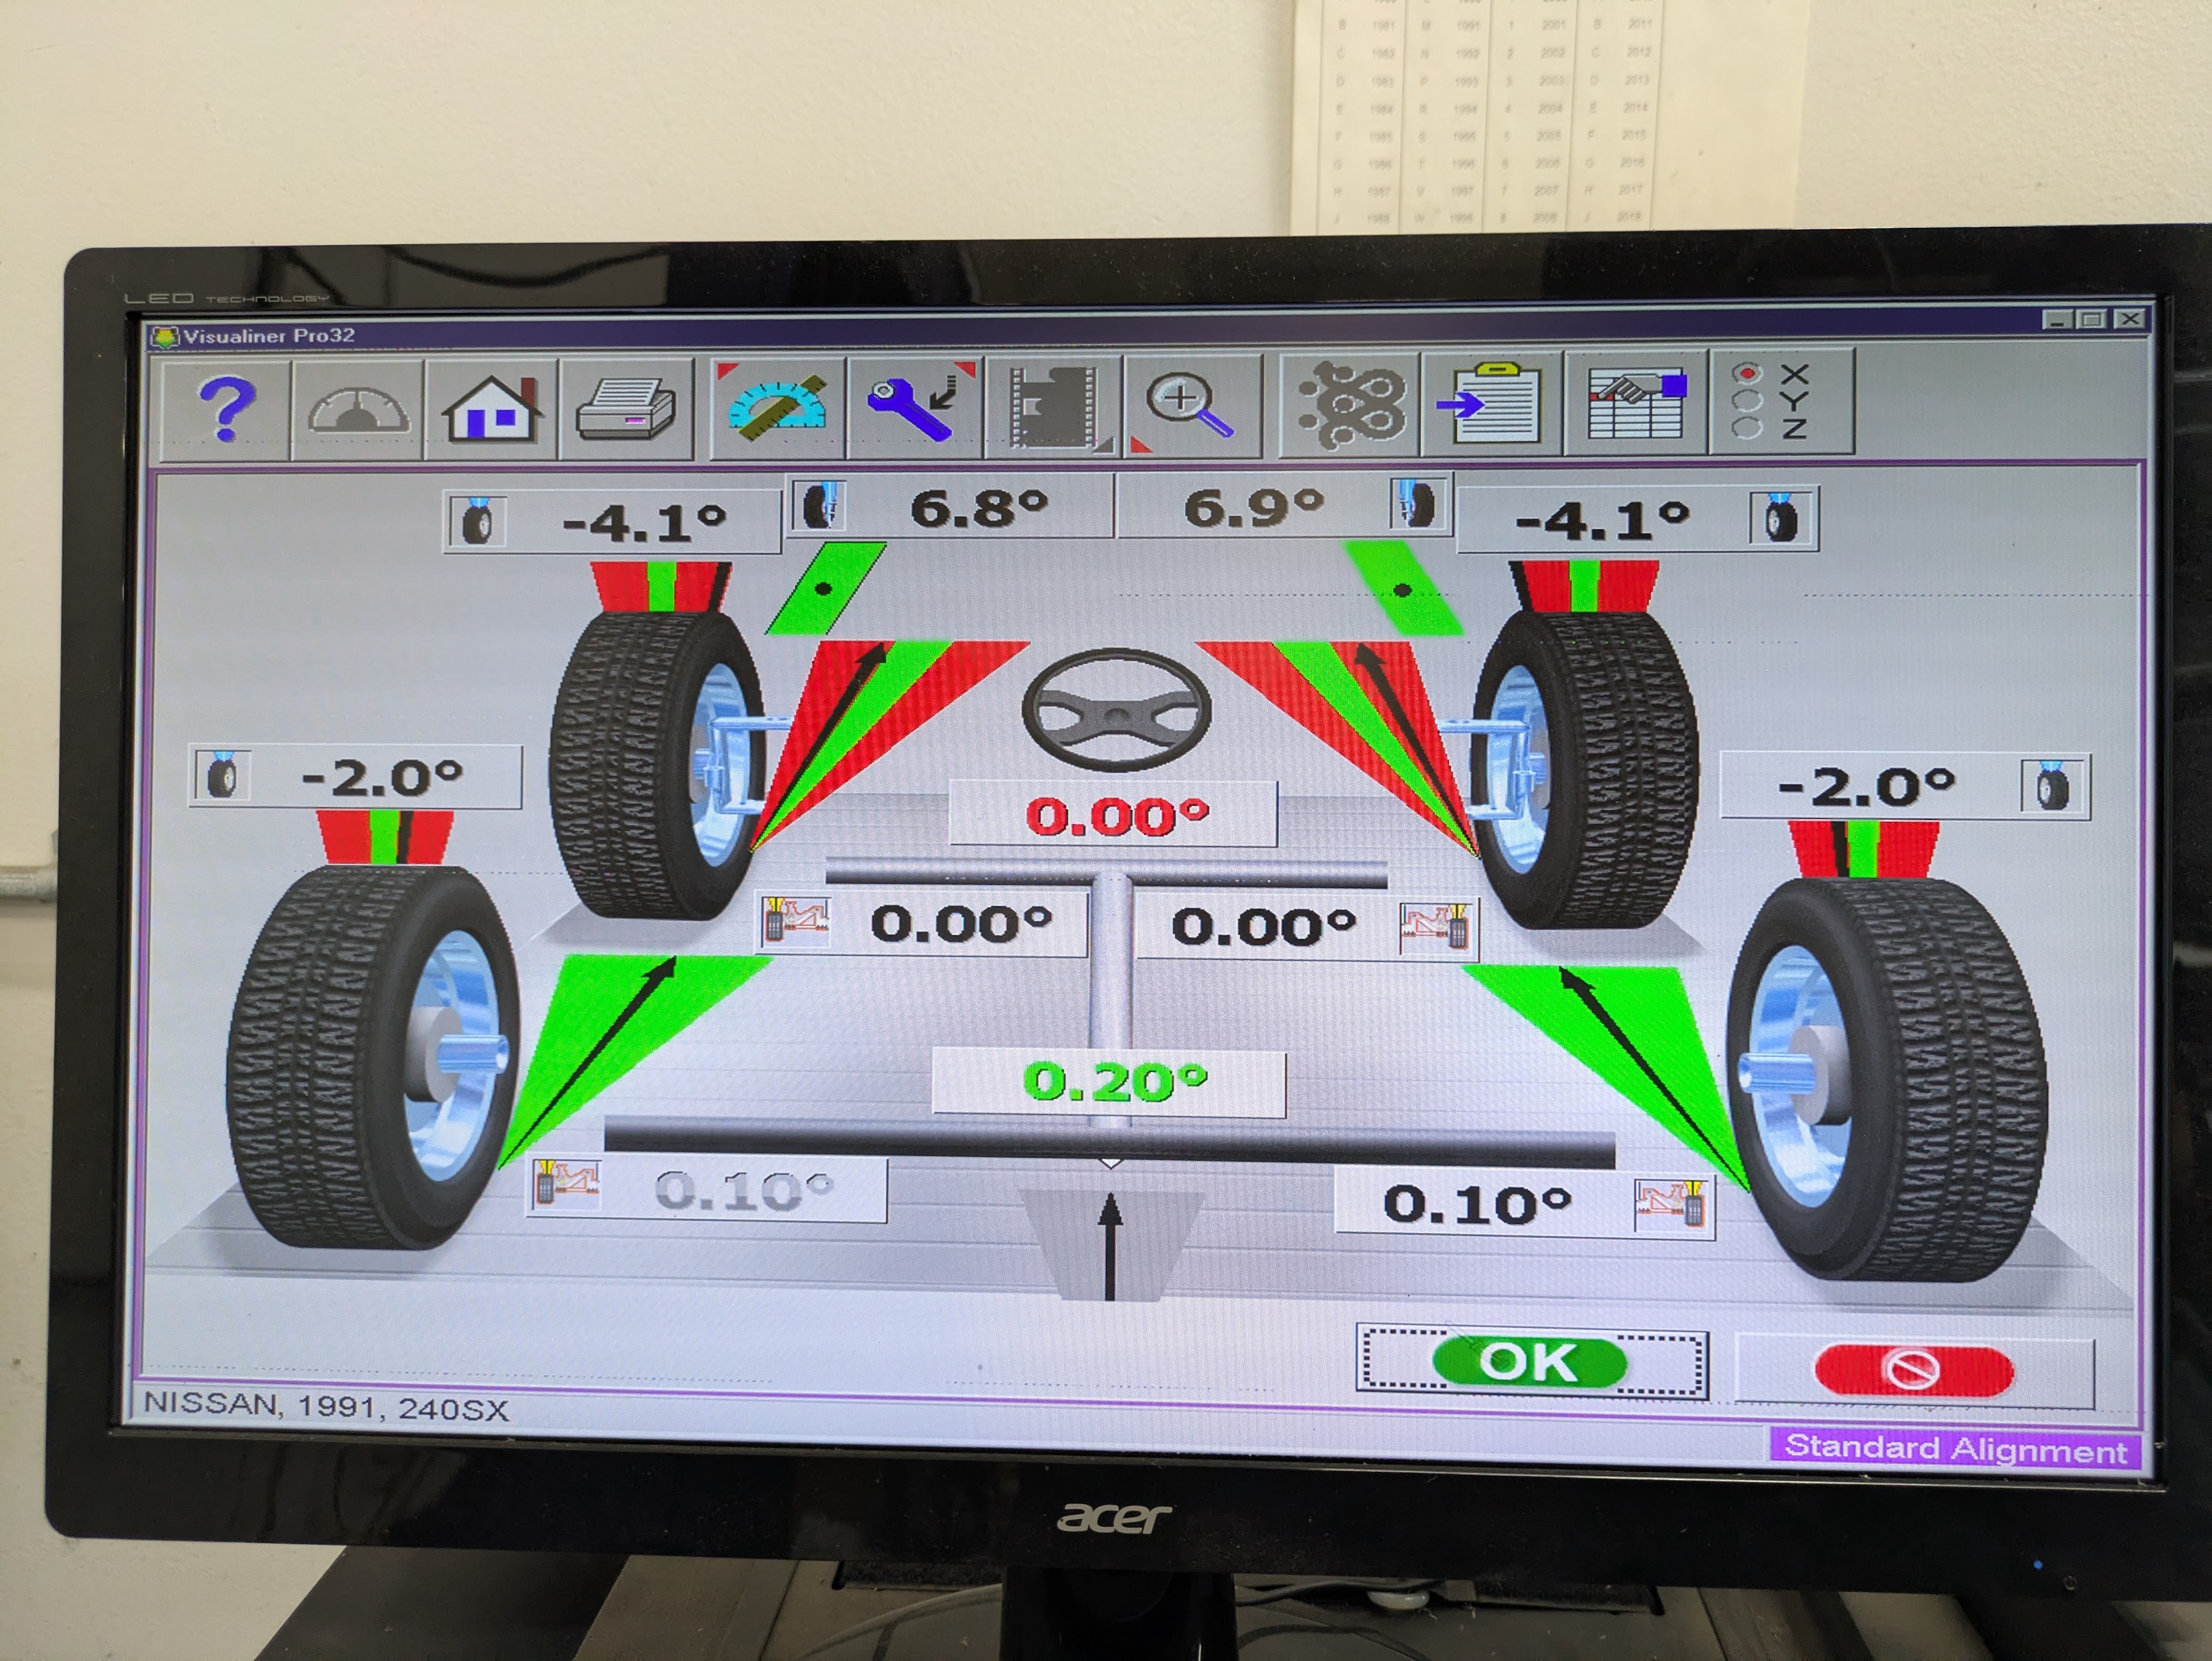
The final alignment came out exactly how I wanted given all my stock body constraints. I compiled an alignment from what friends had run and the community consensus on Nissan Road Race, and I left with a car that tracked straight and actually turned in. (It had a ton of toe in before).
The drive home from Doug’s shop involves one of our few good local roads, and despite not being fully tuned, I got to experience what this car is going to be like dynamically. I was elated with the bump compliance, and only had one big bump that revealed the short stroke of the dampers. The alignment was precise and approachable, and the mid corner and exit traction was astounding compared to how it was. The kid that happened to be in front of me in a TTRS couldn’t even think about getting away. Sorry pal.
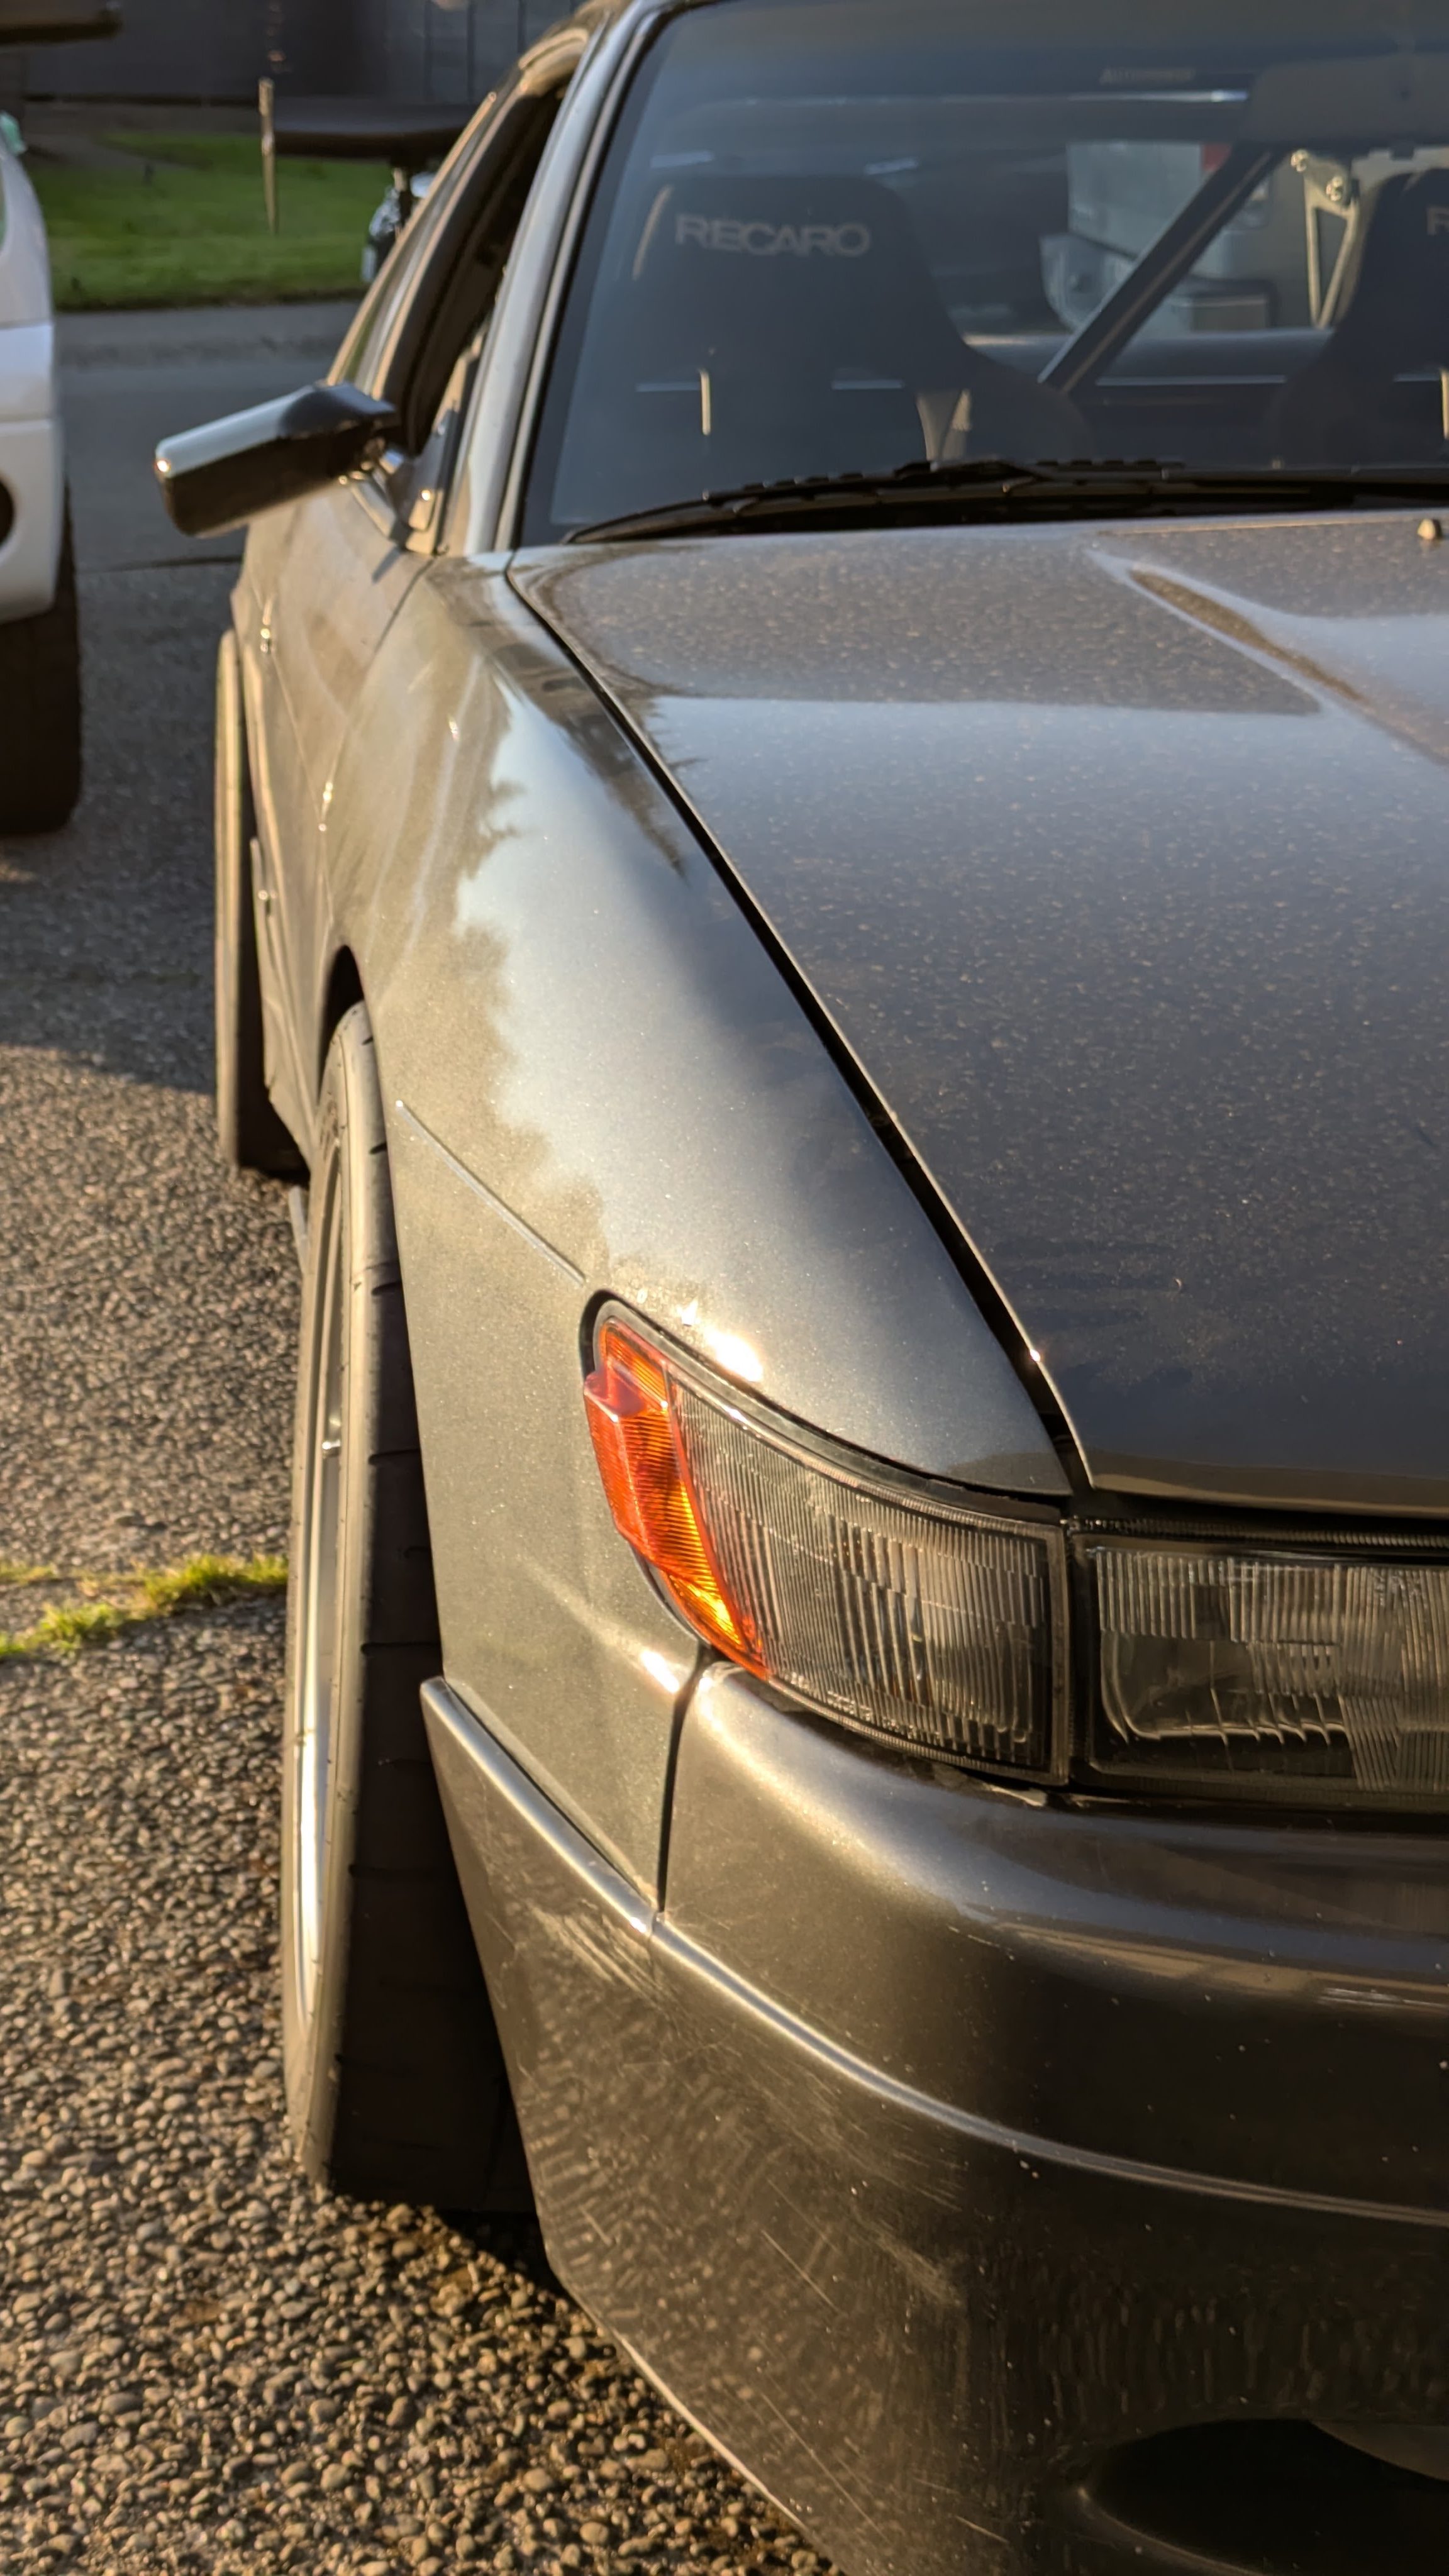
A side benefit of the track width reduction and reduced camber fixed all of the front fitment qualms I had with the car. The tire used to be too pokey before, and now its just right. I pulled all the spacer out of the rear to match.
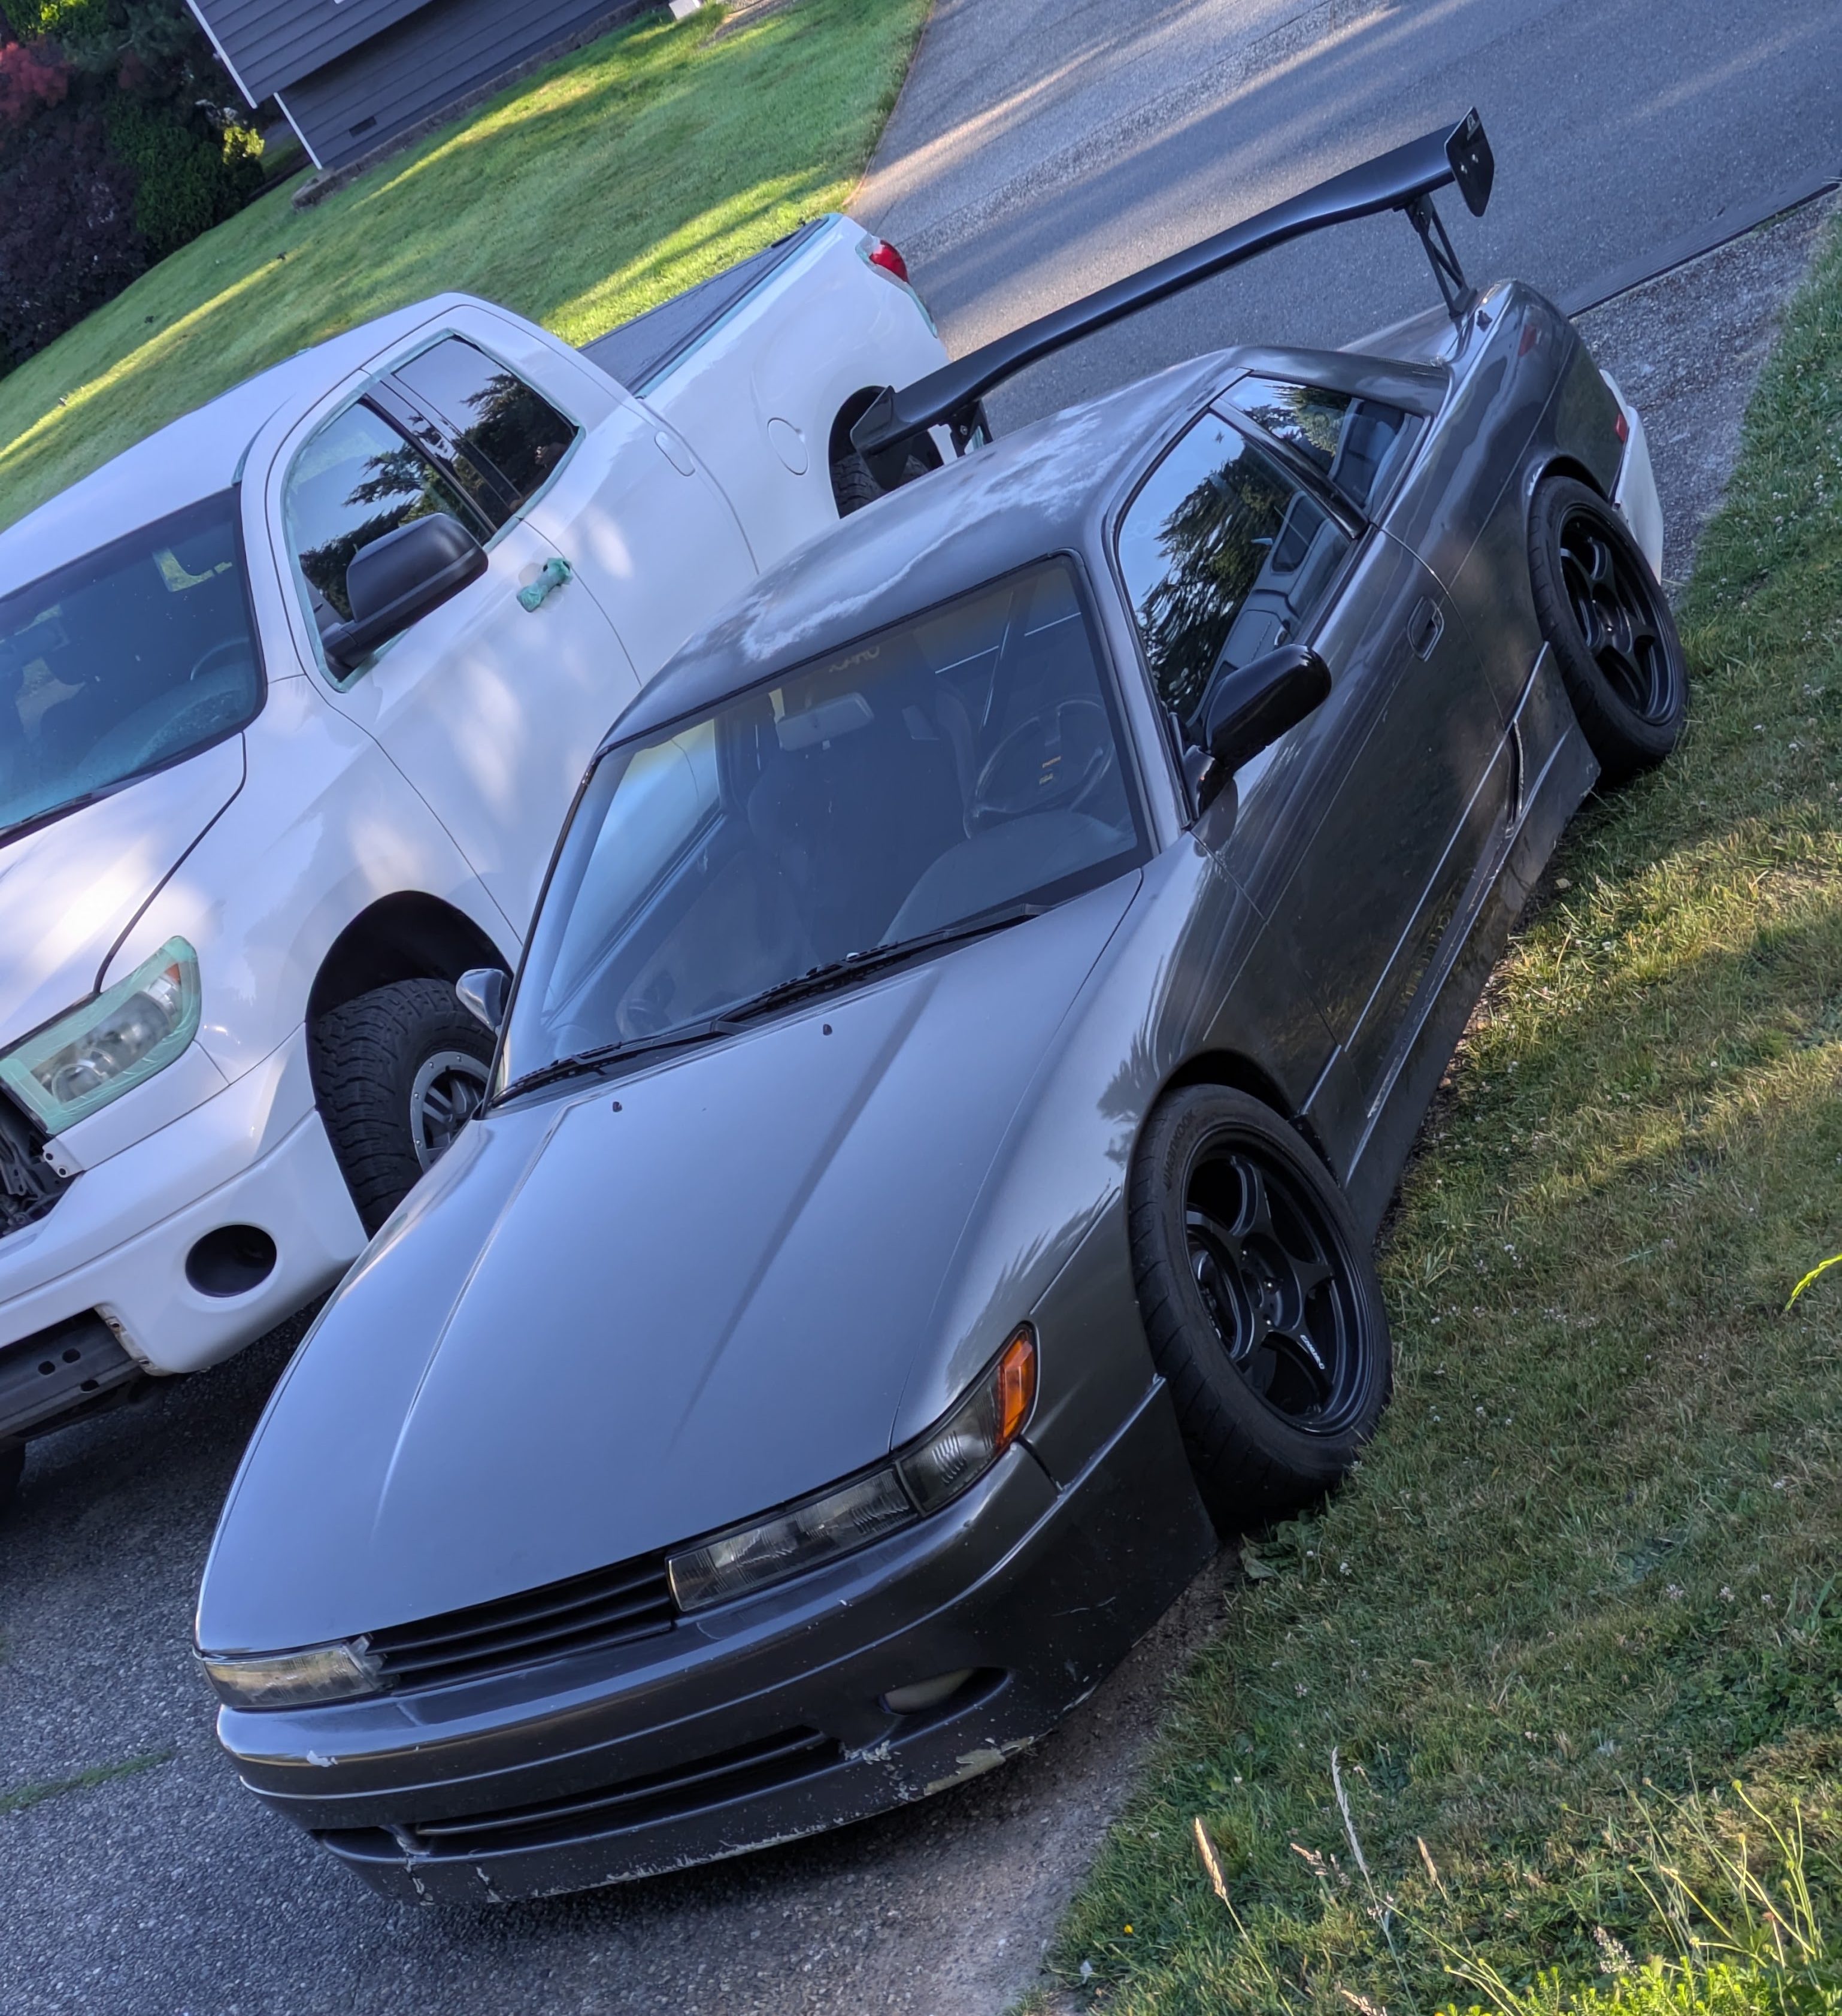
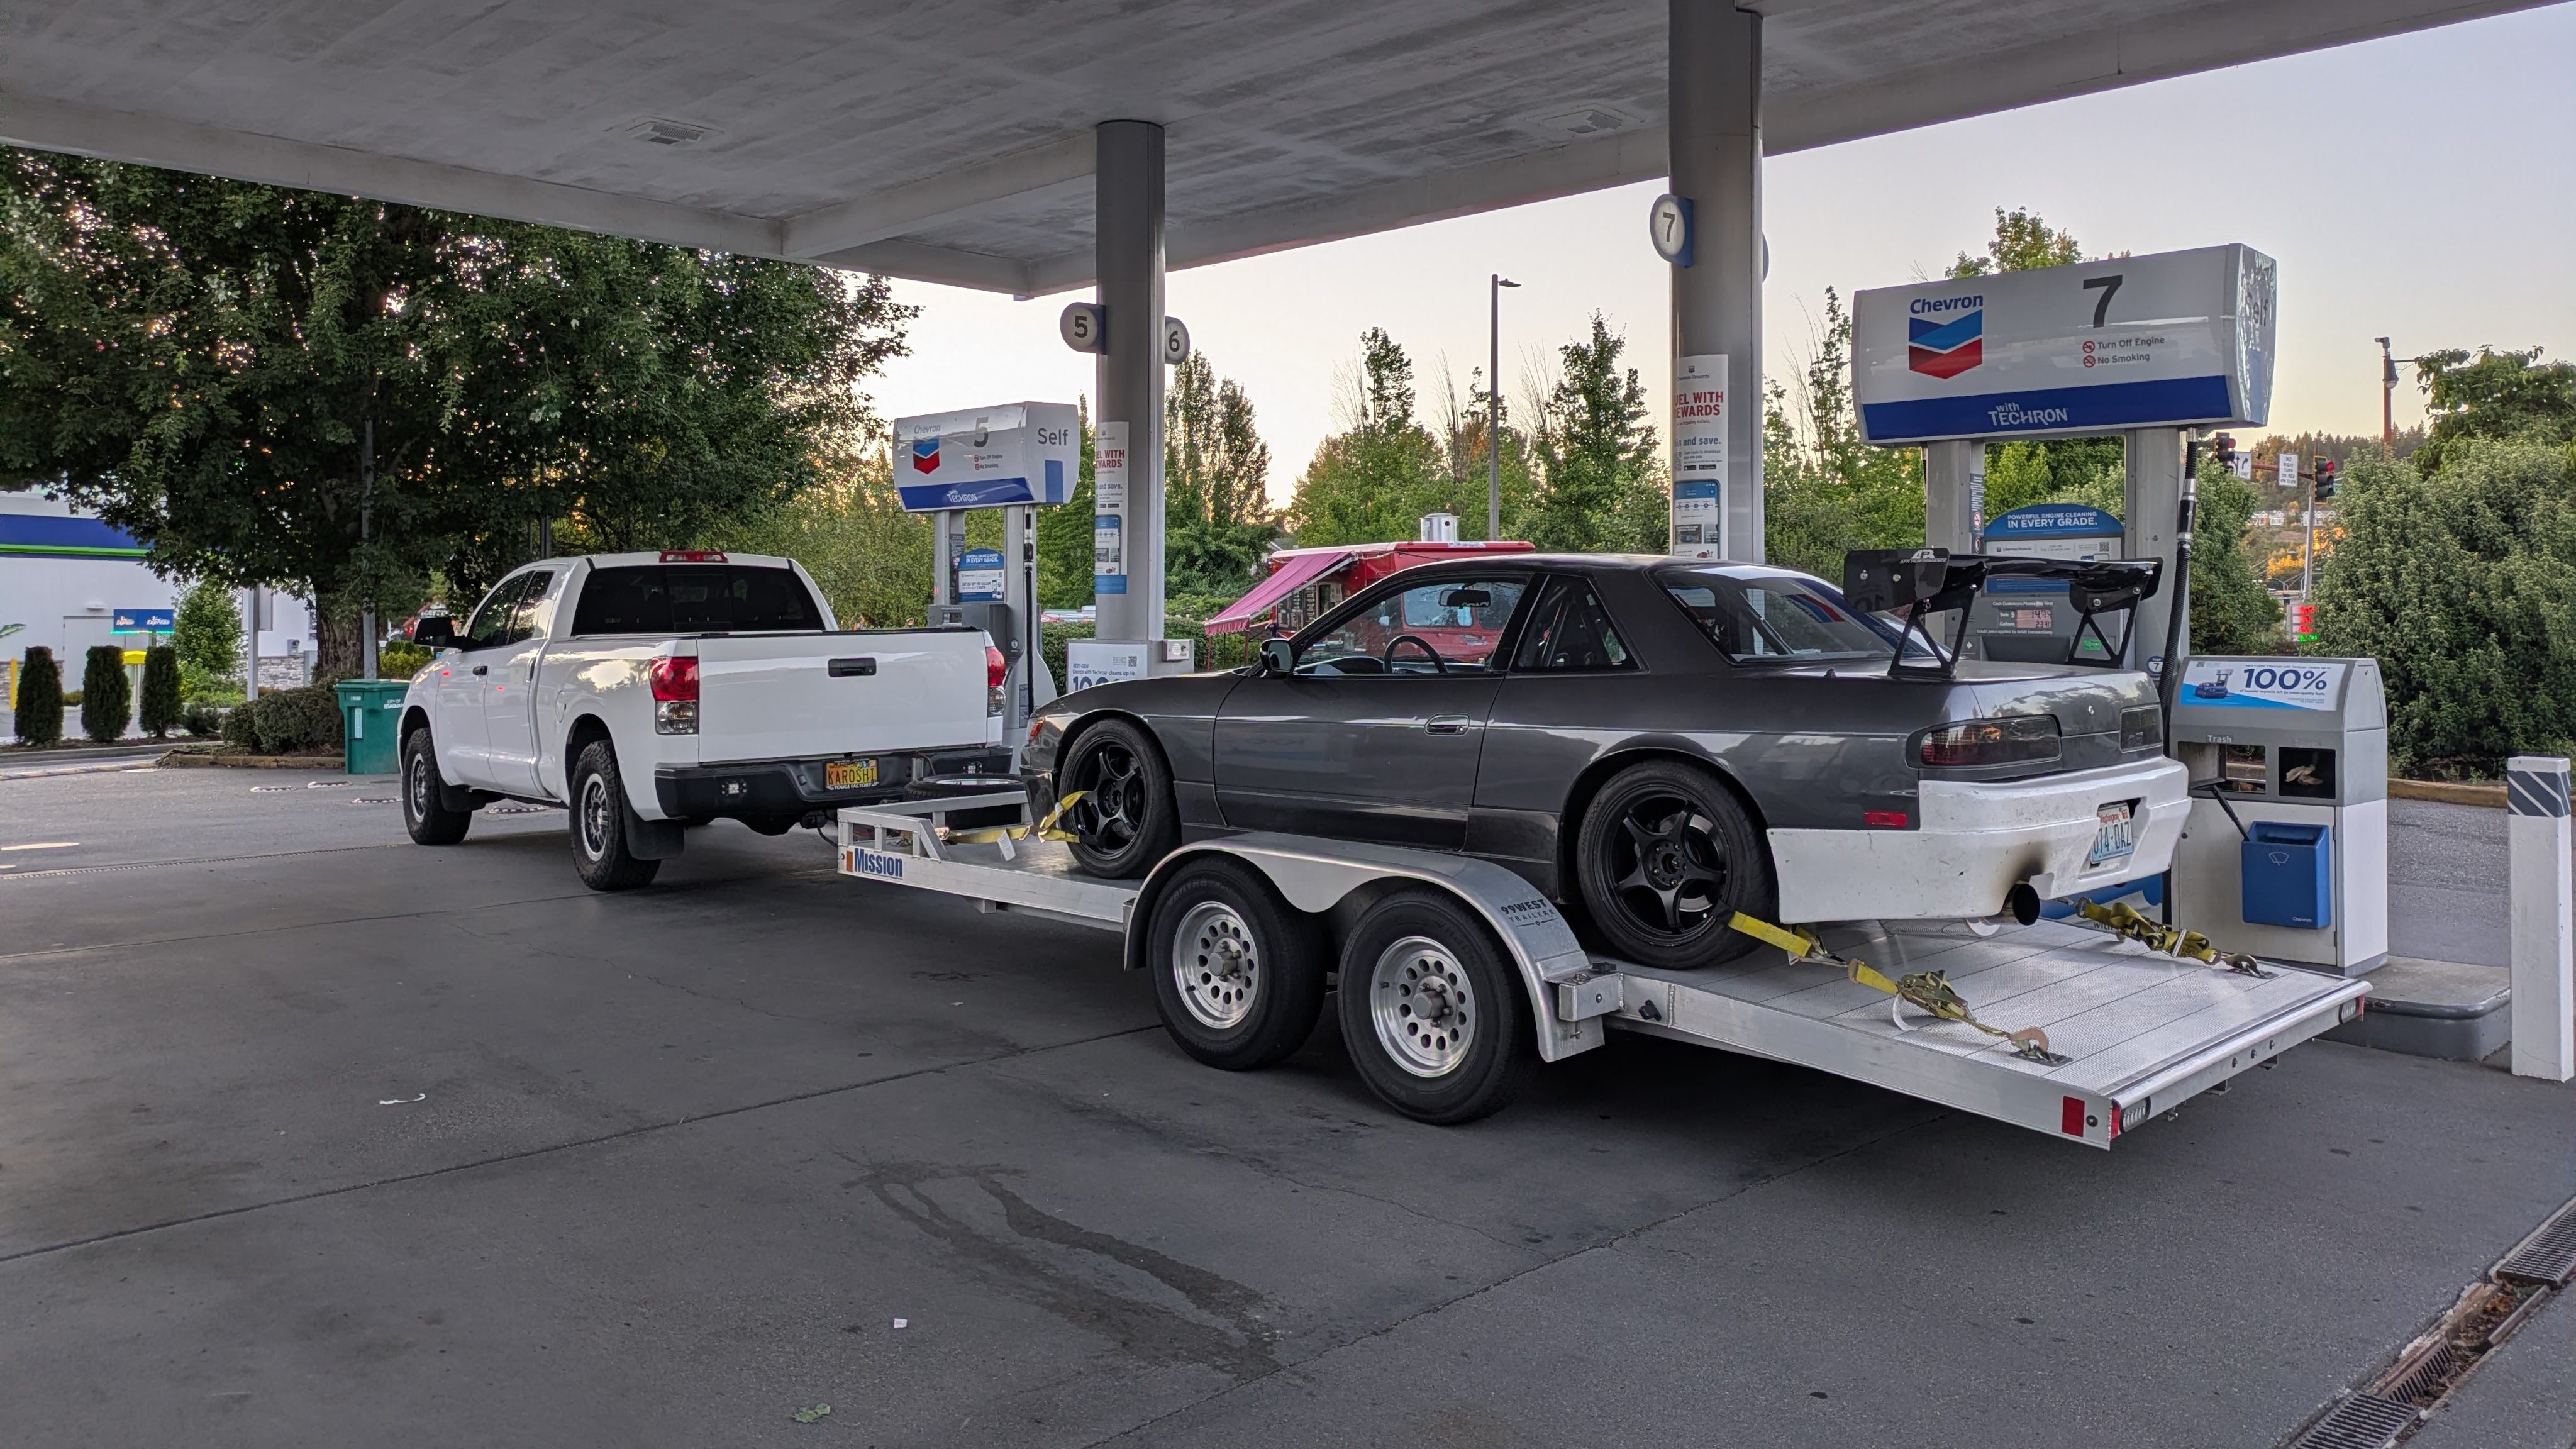
With what appears to be a pretty mechanically finished machine, there was only one thing left to do. The car was loaded and trucked out to Spokane for a dyno tune with a longtime friend and well accomplished tuner Dan Gauger. The original plan was to drive it there, as there was nothing stopping the car from making the trek, but there were large things that needed to come home with us, so it made more sense to trailer it out there.
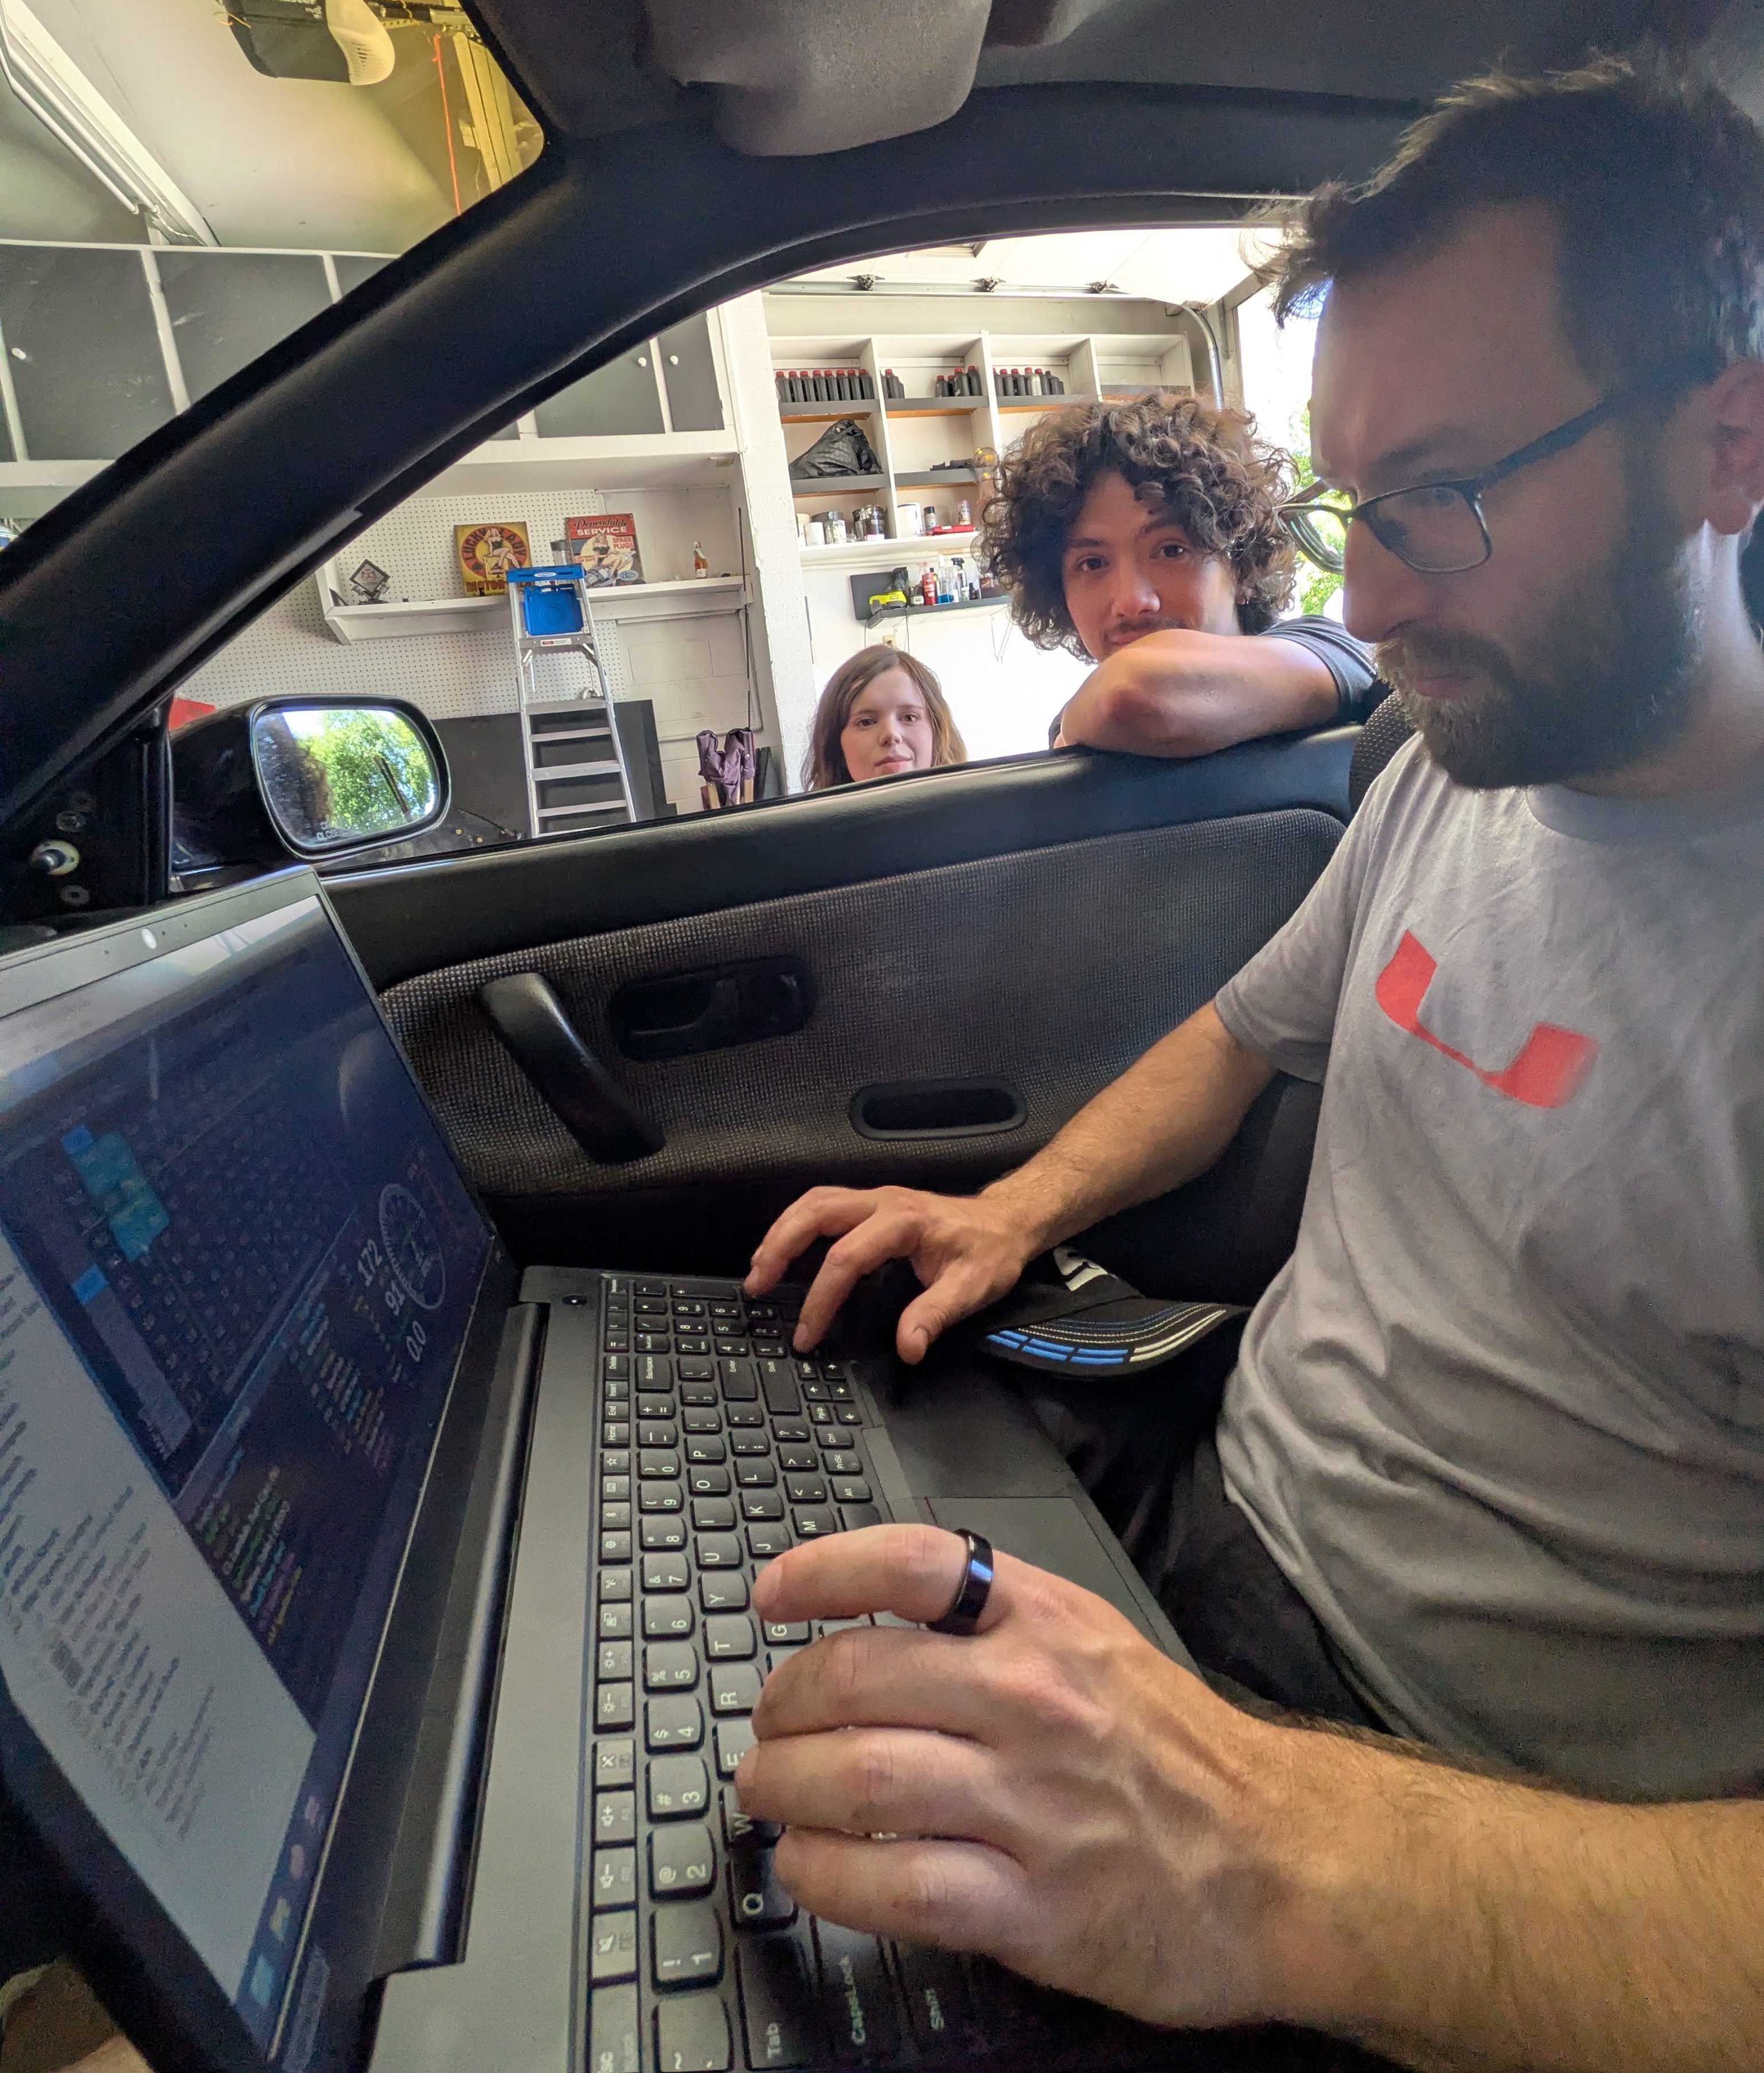
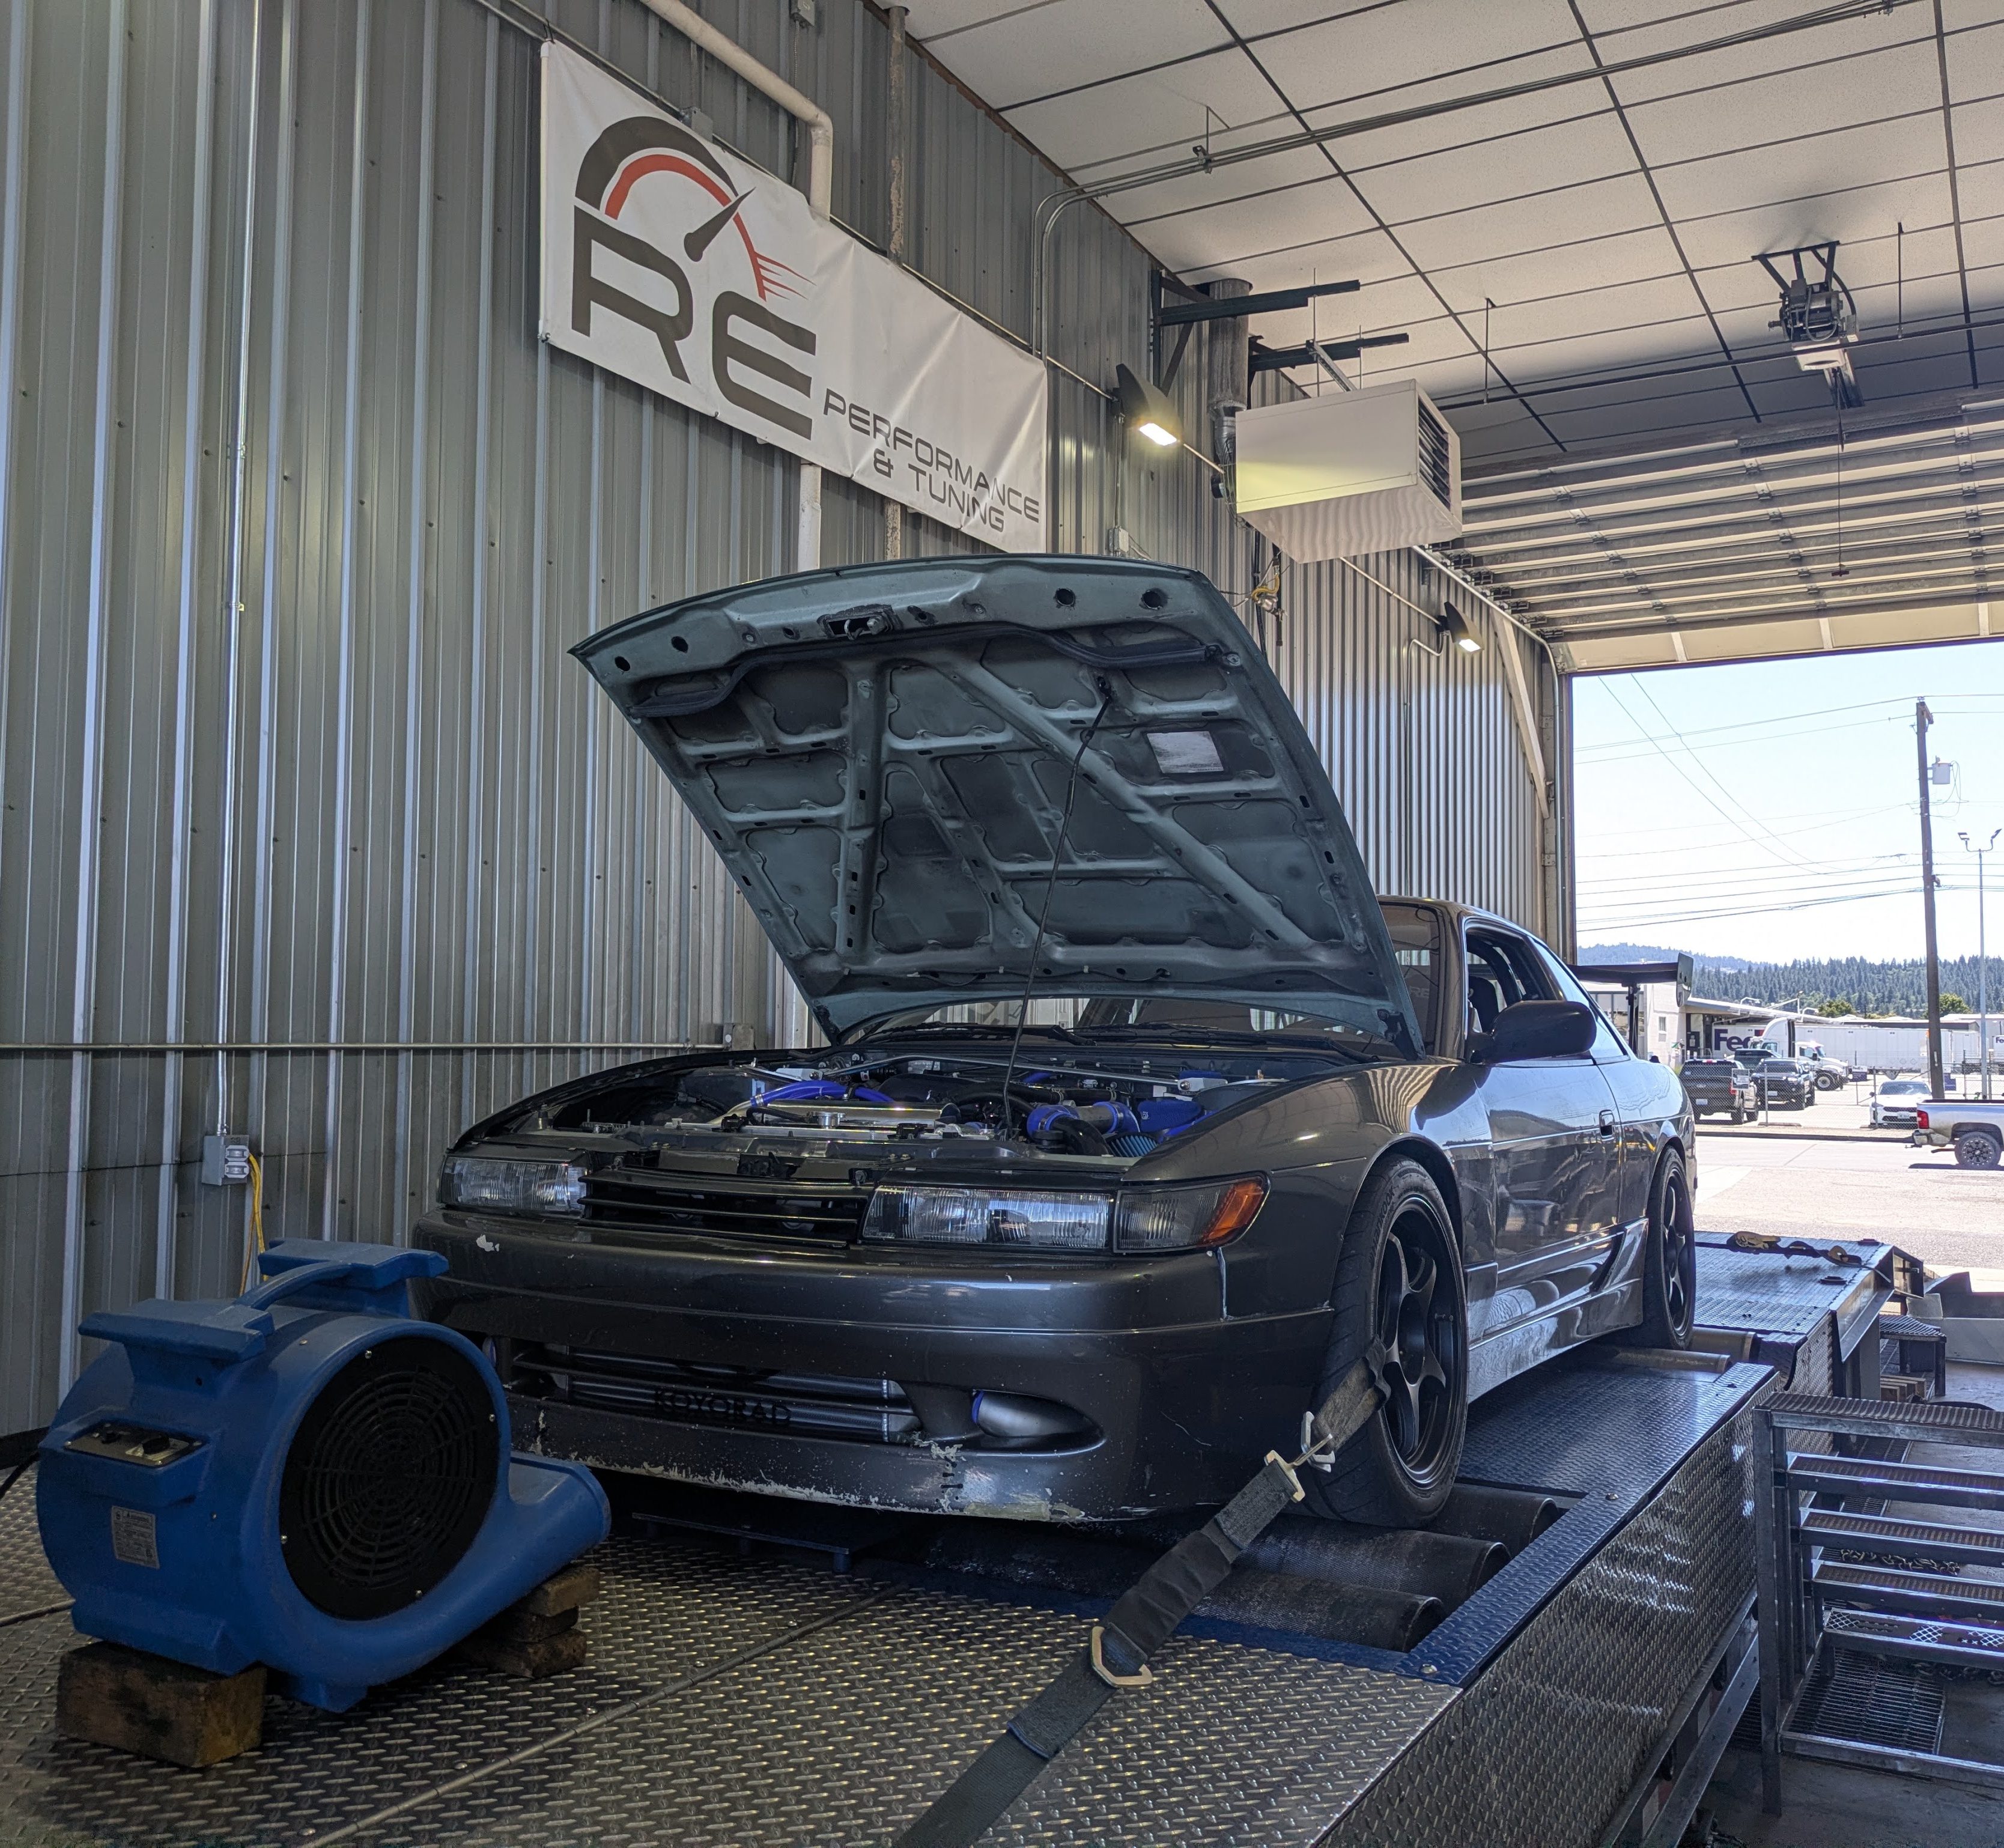
I had previously arranged time with Jeff at RE Performance. Dan was very familiar with this particular Mustang dyno, and Jeff has a pretty awesome setup with a cross flow building, and an air conditioned office with ice cream in the freezer. Cannot recommend him enough.
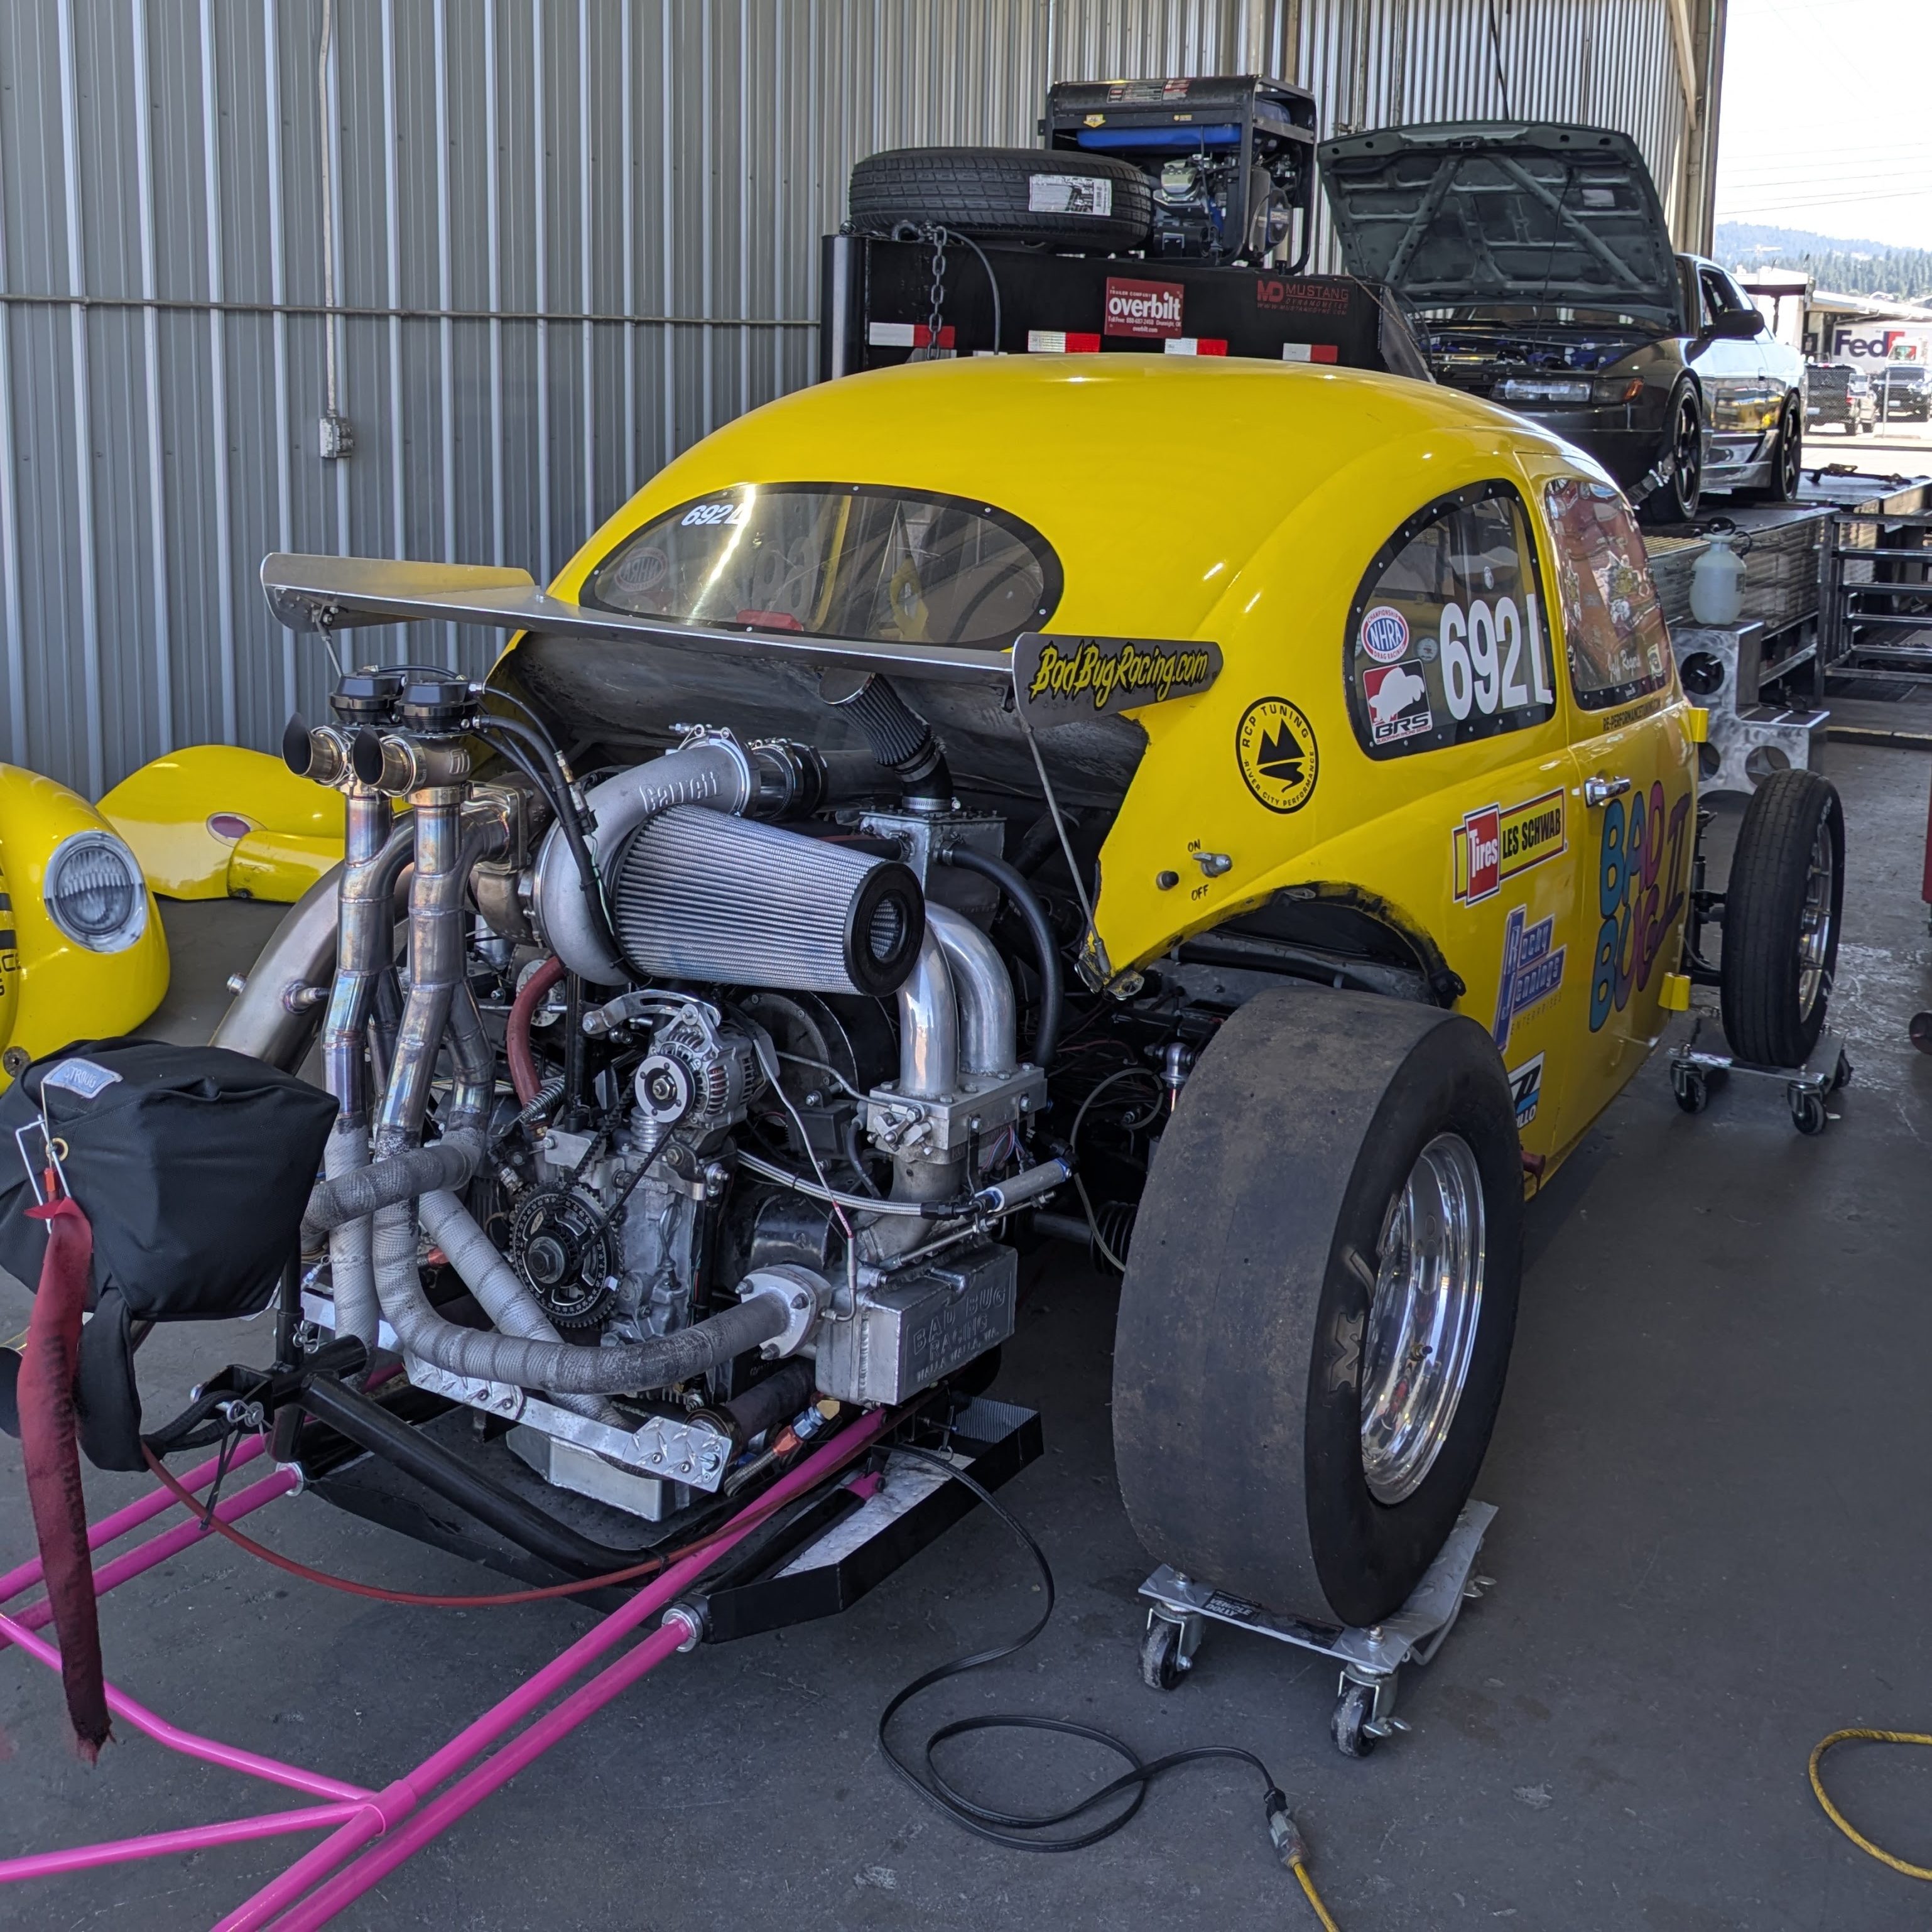
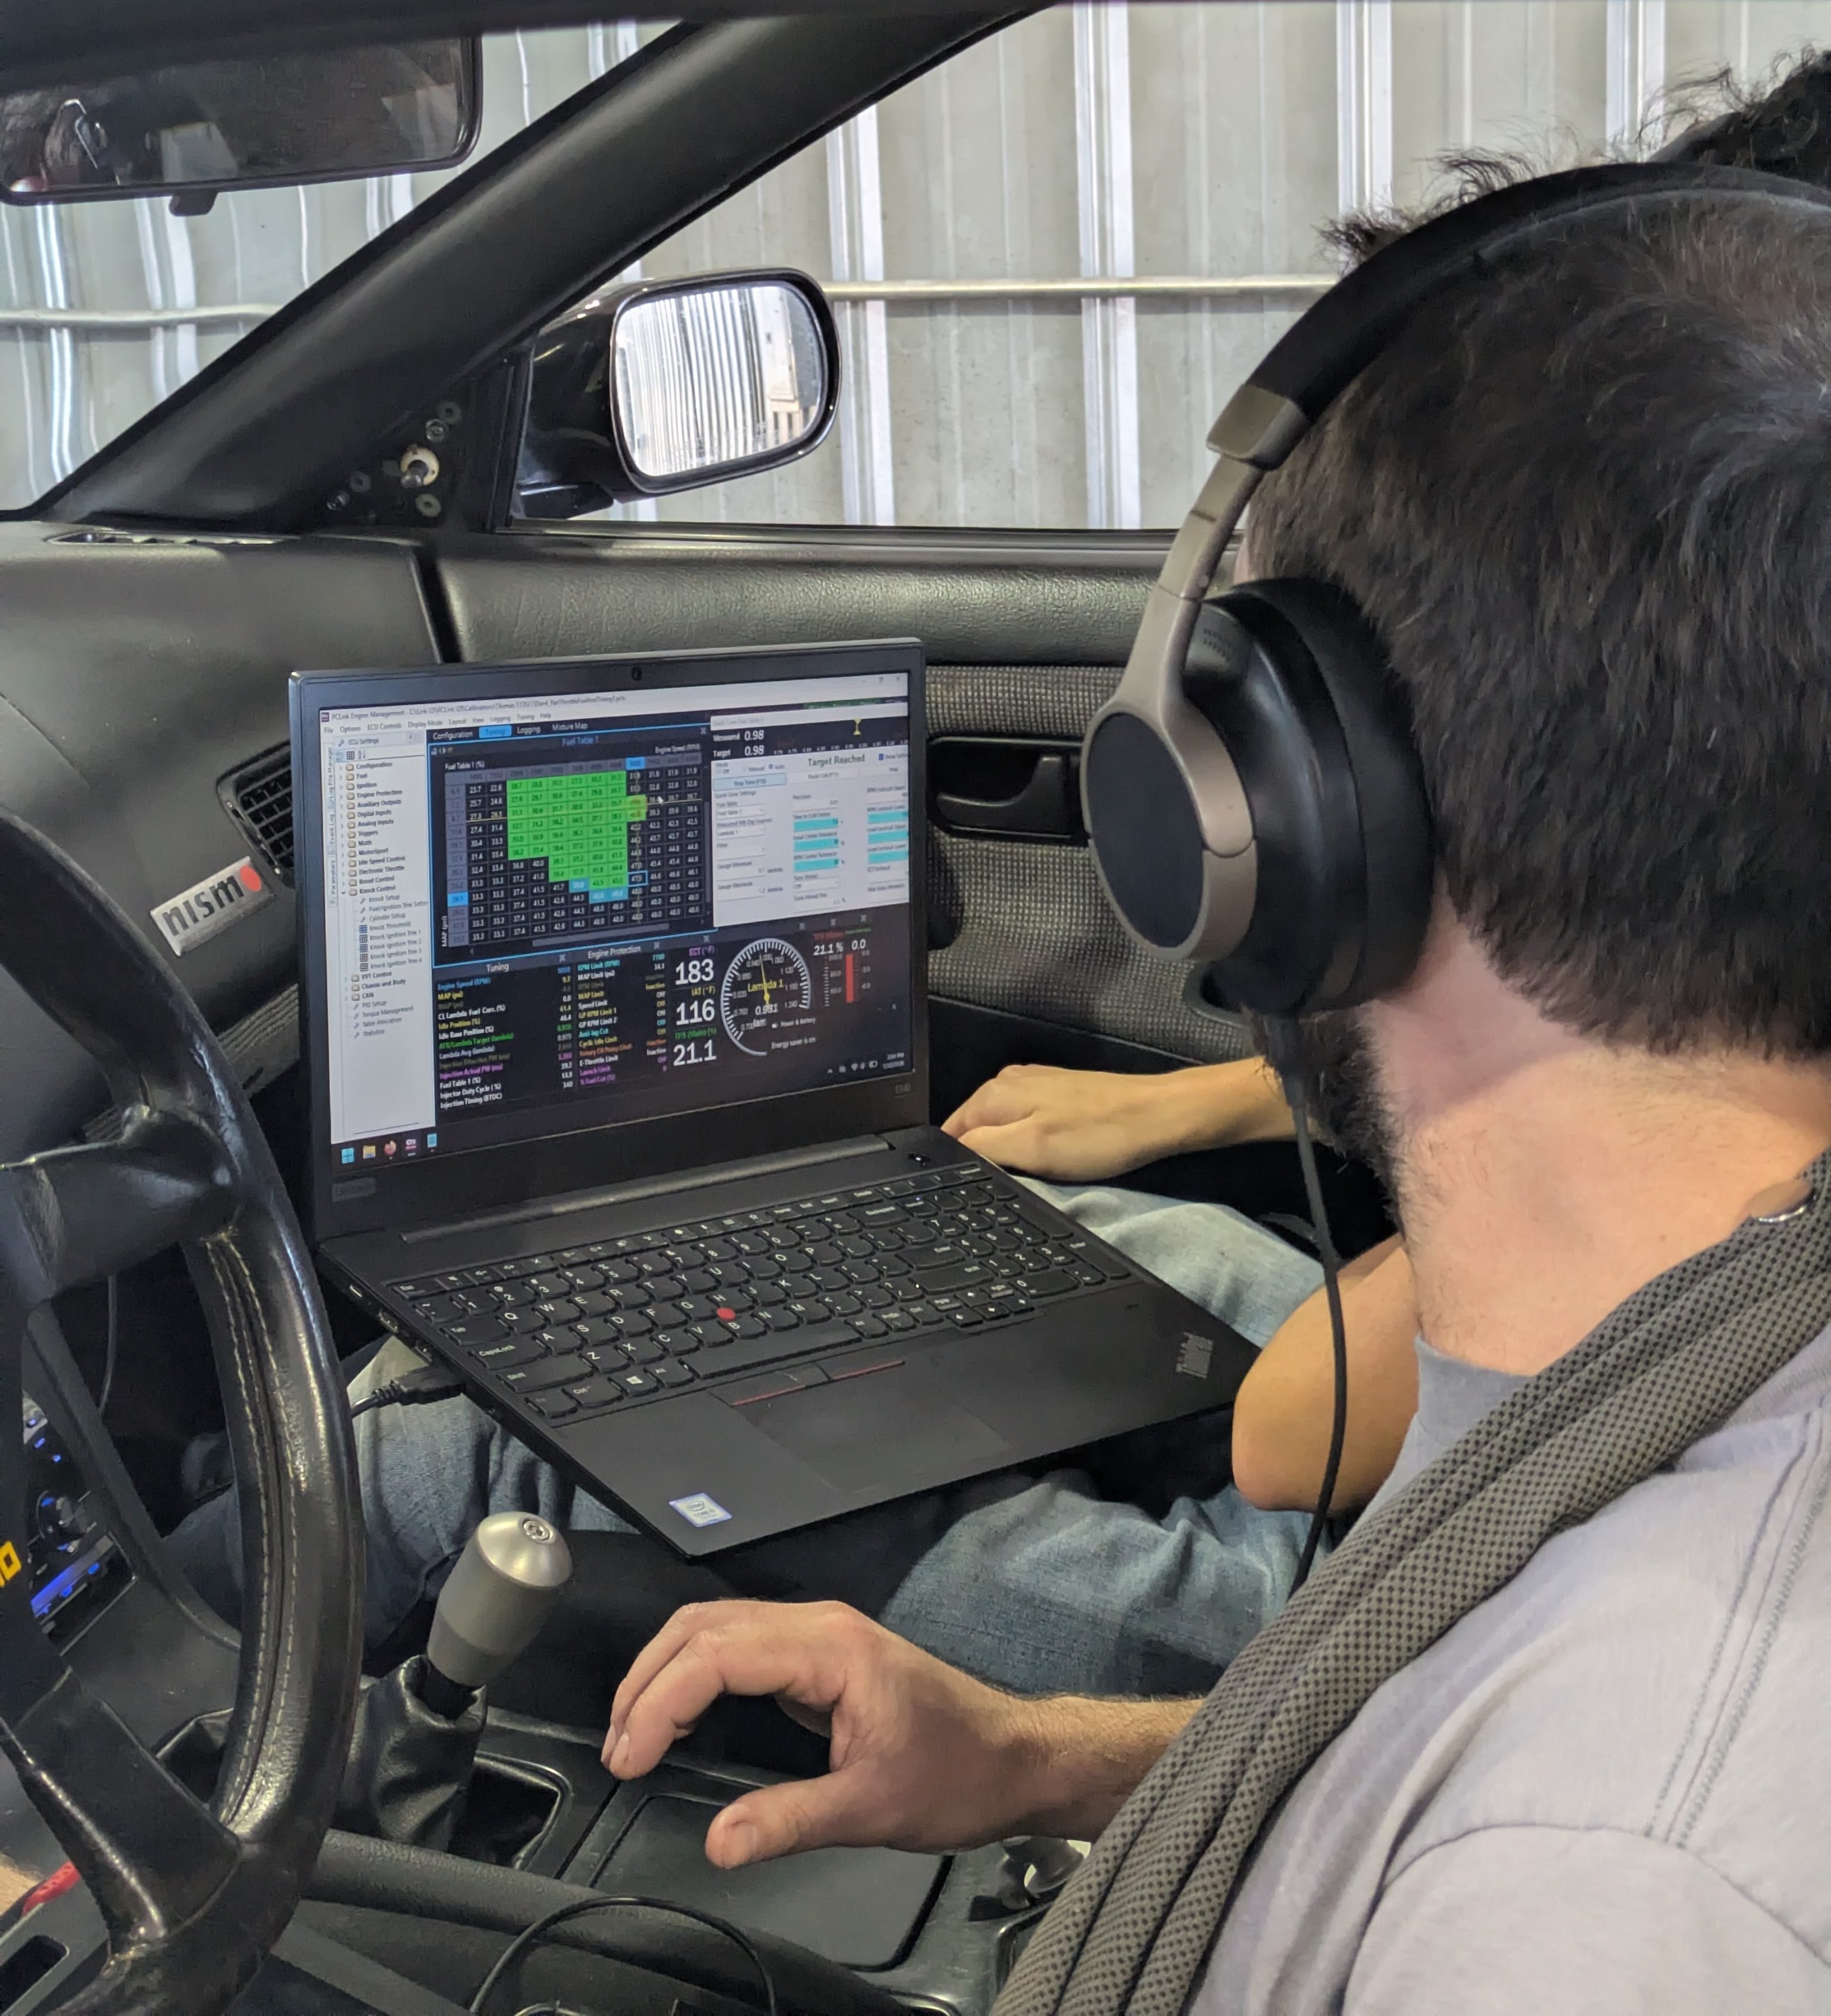
This particular dyno, while being trailer mounted, is a flush mount, non-linked 4 wheel Eddy current dyno. The massive advantage being that you can hold the car in a steady state very easily and get a bunch of individual cell tuning completed. Dan ended up sweeping most of the VE table in one shot, and noted how robust the cooling package was which enabled that gigantic chunk of tuning. The hottest the car ever got was 205F coolant/215F oil temp. Extremely impressive for minimal airflow.
A reminder of the setup: S13 SR20DET with CP 9.0:1 forged pistons and Tomei Poncams. Nismo 740cc injectors, Link ECU with boost control, OEM exhaust manifold, S15 T28 turbo, Greddy Suction Kit, Koyo intercooler, PBM Cobra Pipe, and Apexi GT Spec Exhaust with a test pipe.
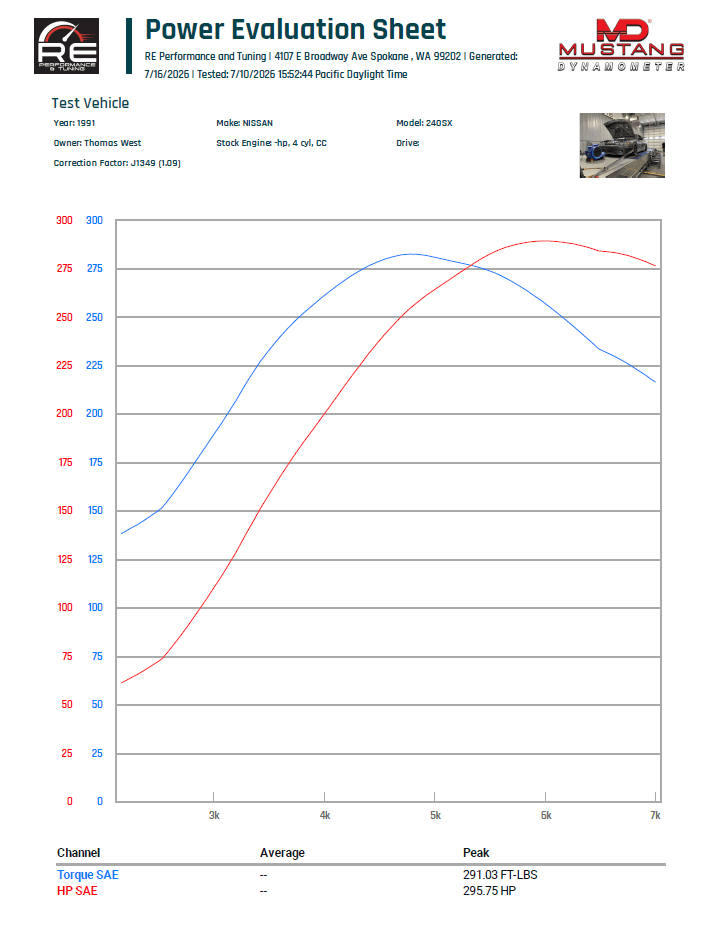
With fueling and timing thrown at it, we started to make more pulls. The car with the 3 port boost controller off made 275whp. The boost controller took some configuring in the ECU as we didn’t have it properly mapped to the right AUX output, but once we figured that out with the help of Mark Panic, we started throwing some duty cycle at it. We saw a maximum of 296whp/291wtq spiking to 20psi during the heat of the day (90F), at Spokane elevation, with the car fully heat soaked. Obviously, track cars don’t live if you run the turbo as hard as it possibly can for 20 minutes, so we reduced the boost to spiking at about 16psi, and holding 14-15psi to redline.
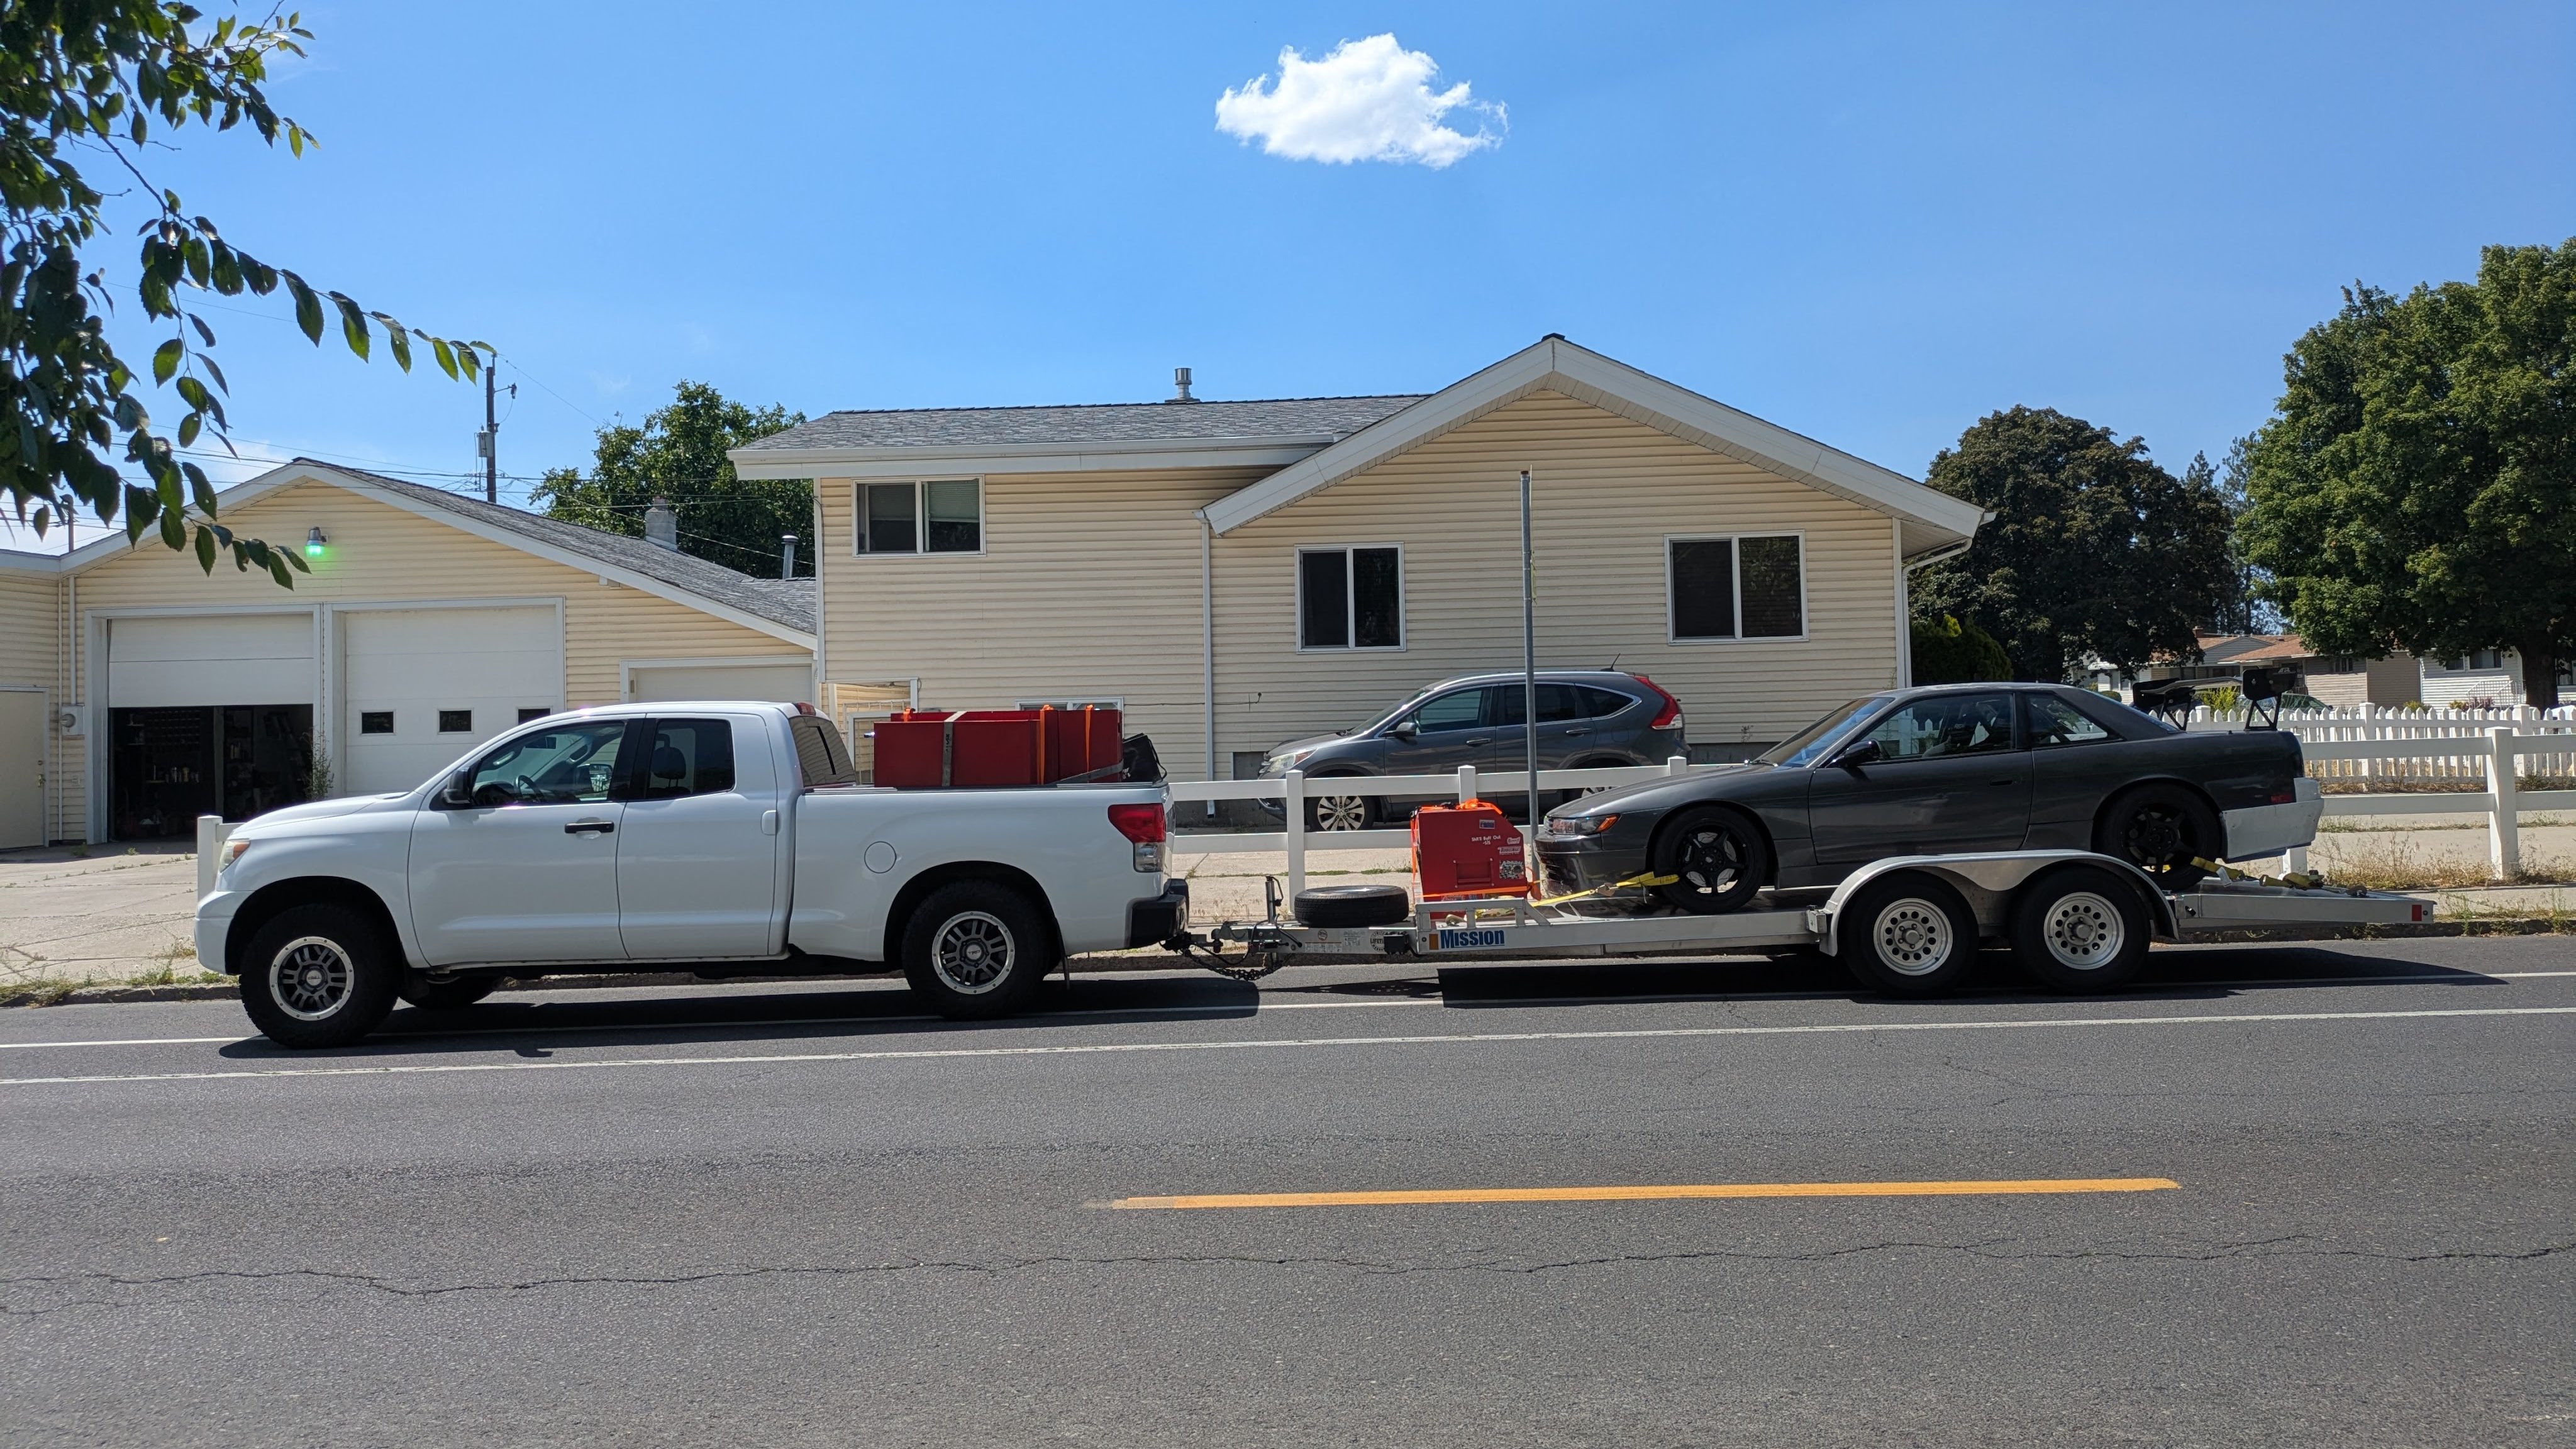
We spent the rest of the day dicking around in the cars, hanging out, getting ice cream, and catching up on sleep. Dan made me a few tunes to flash for particular scenarios, but after an evening data logging session, we determined that the halfway/boost control enabled but not turned up much should be perfect for just about any scenario. After a few street rips in the cooler weather, the car was running phenomenally. It was plenty fast without being overwhelming, and it felt durable. The cold cold start (below 70F) does need some tuning, but we can do that over on the West side where it actually is going to get colder.
Will and I spent the following morning loading up all the tool boxes before it got real hot out, and after a few errands, we departed at a reasonable time for once. No 1AM arrival on the way home.
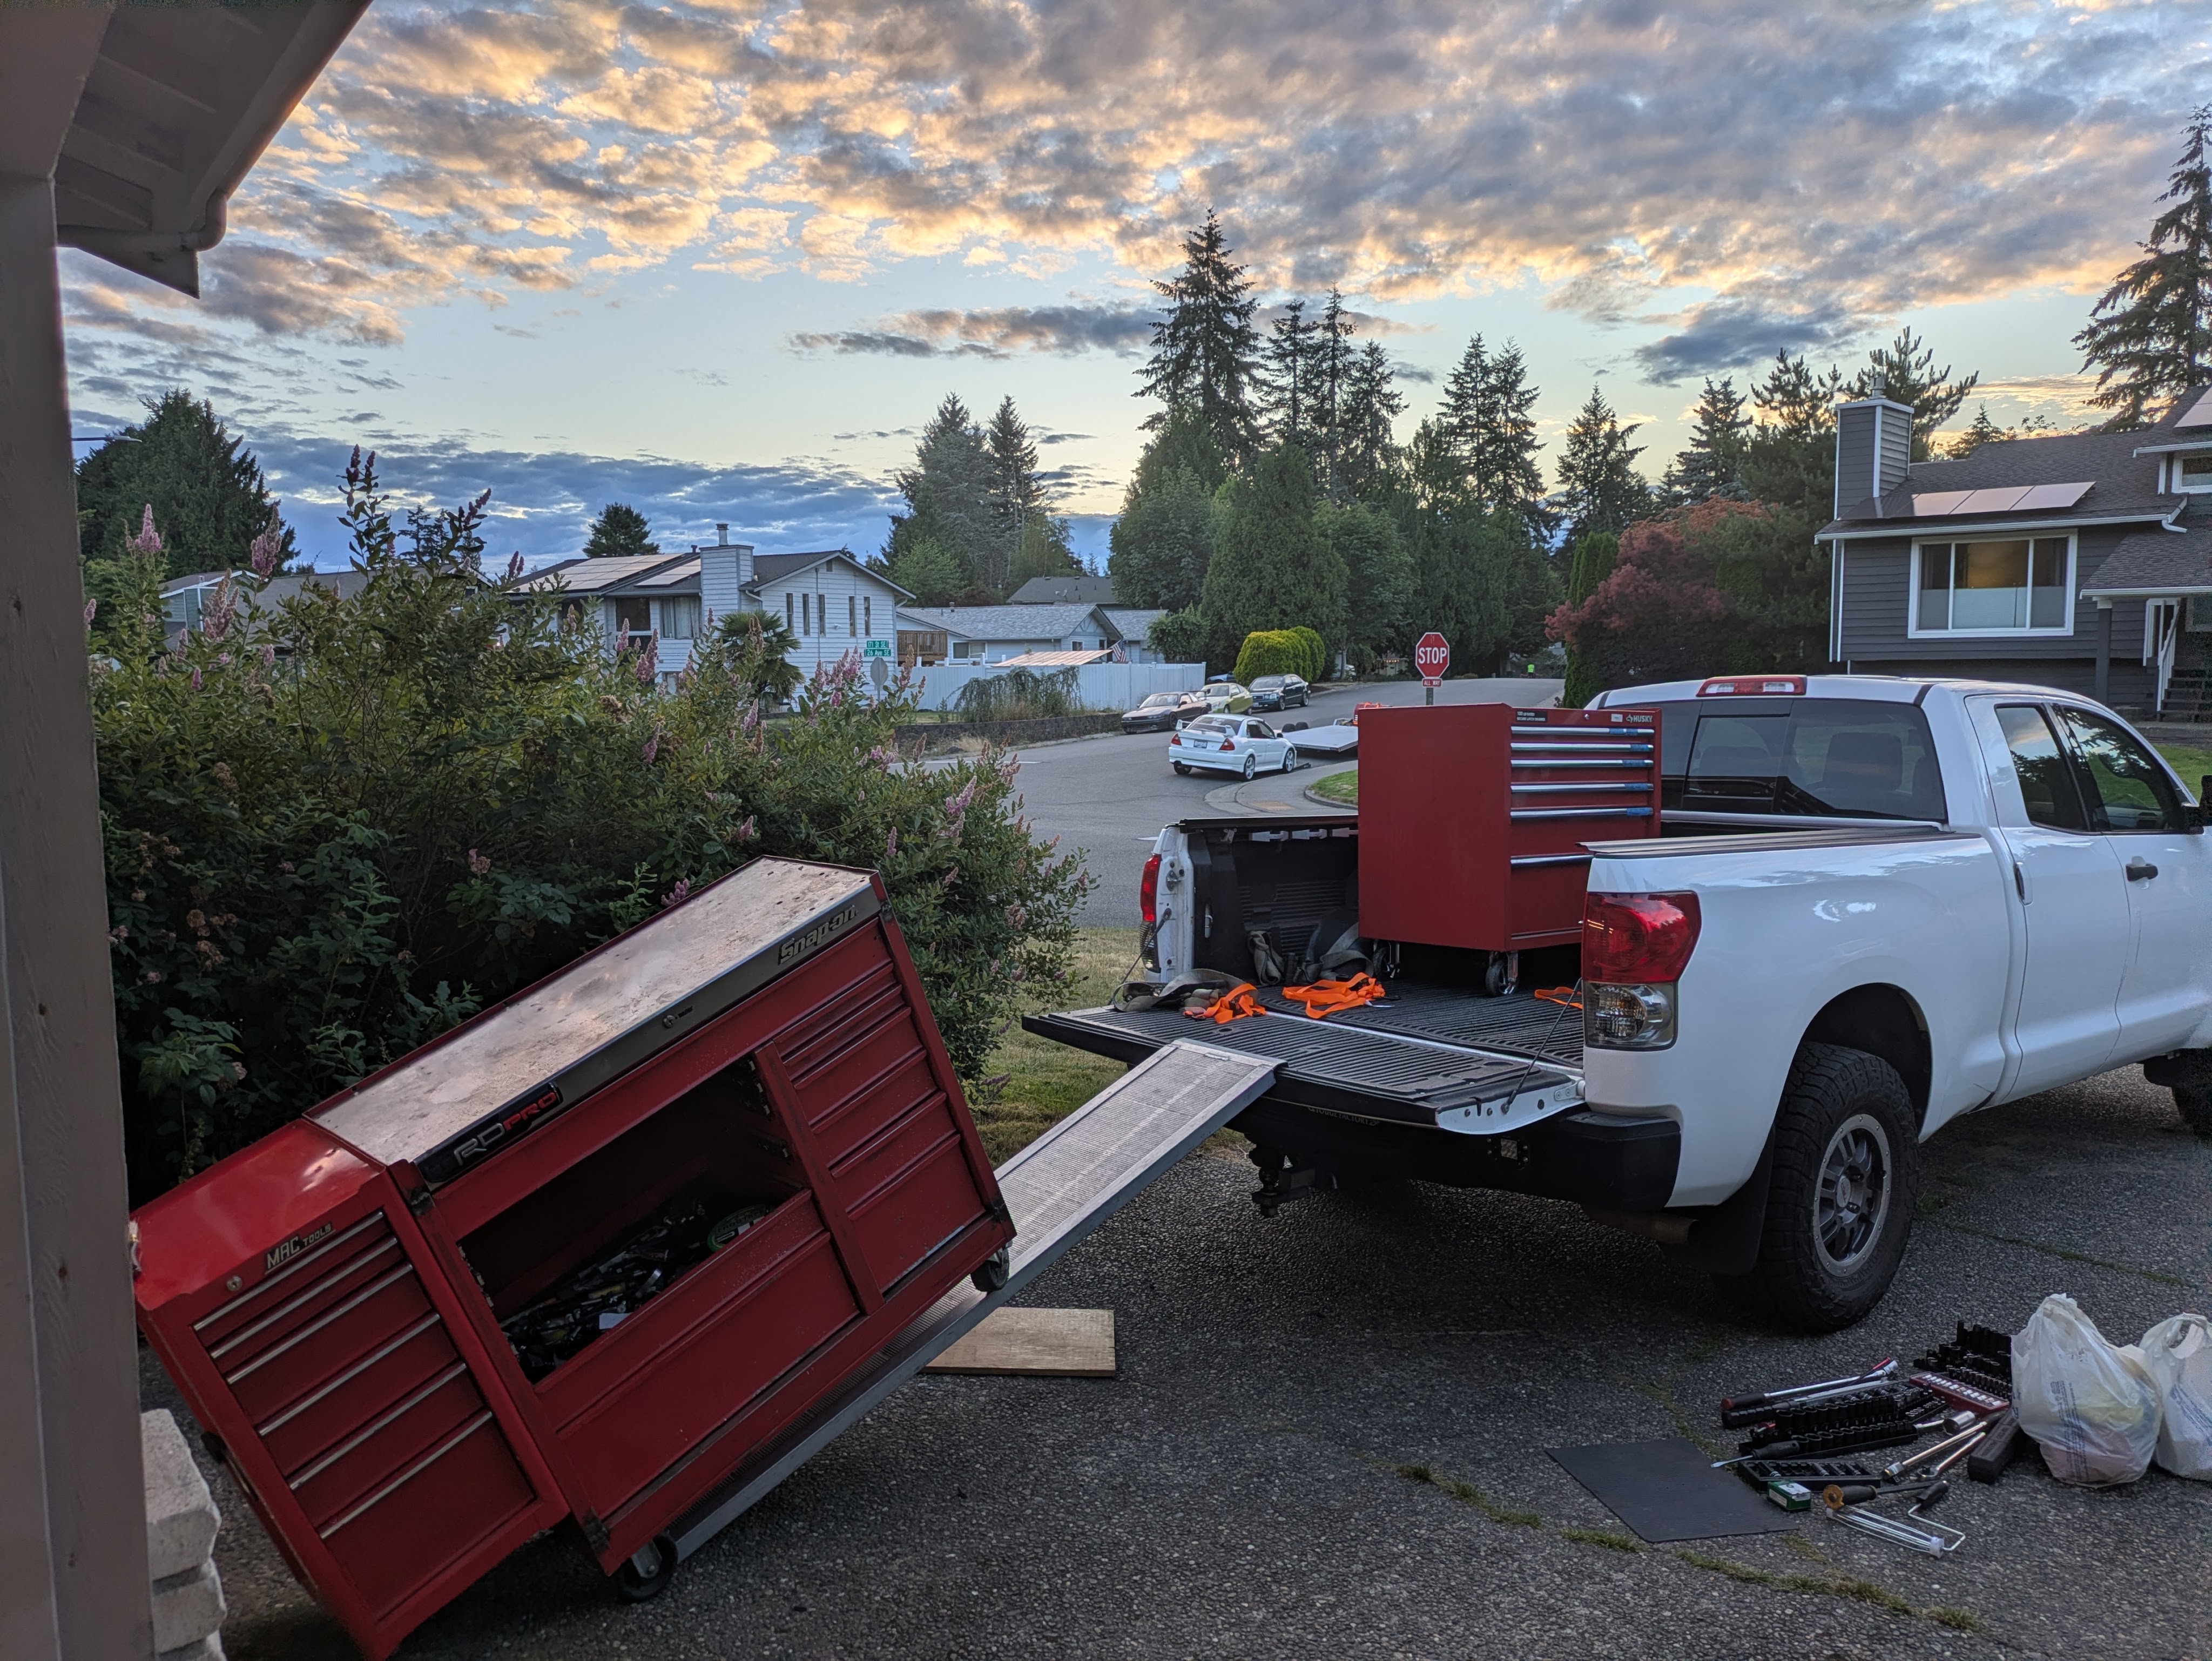
The car came off the trailer and went back in the garage. While my mind was always racing for the next project/purpose/event, I did step back and go “damn, its like actually kind of done”.
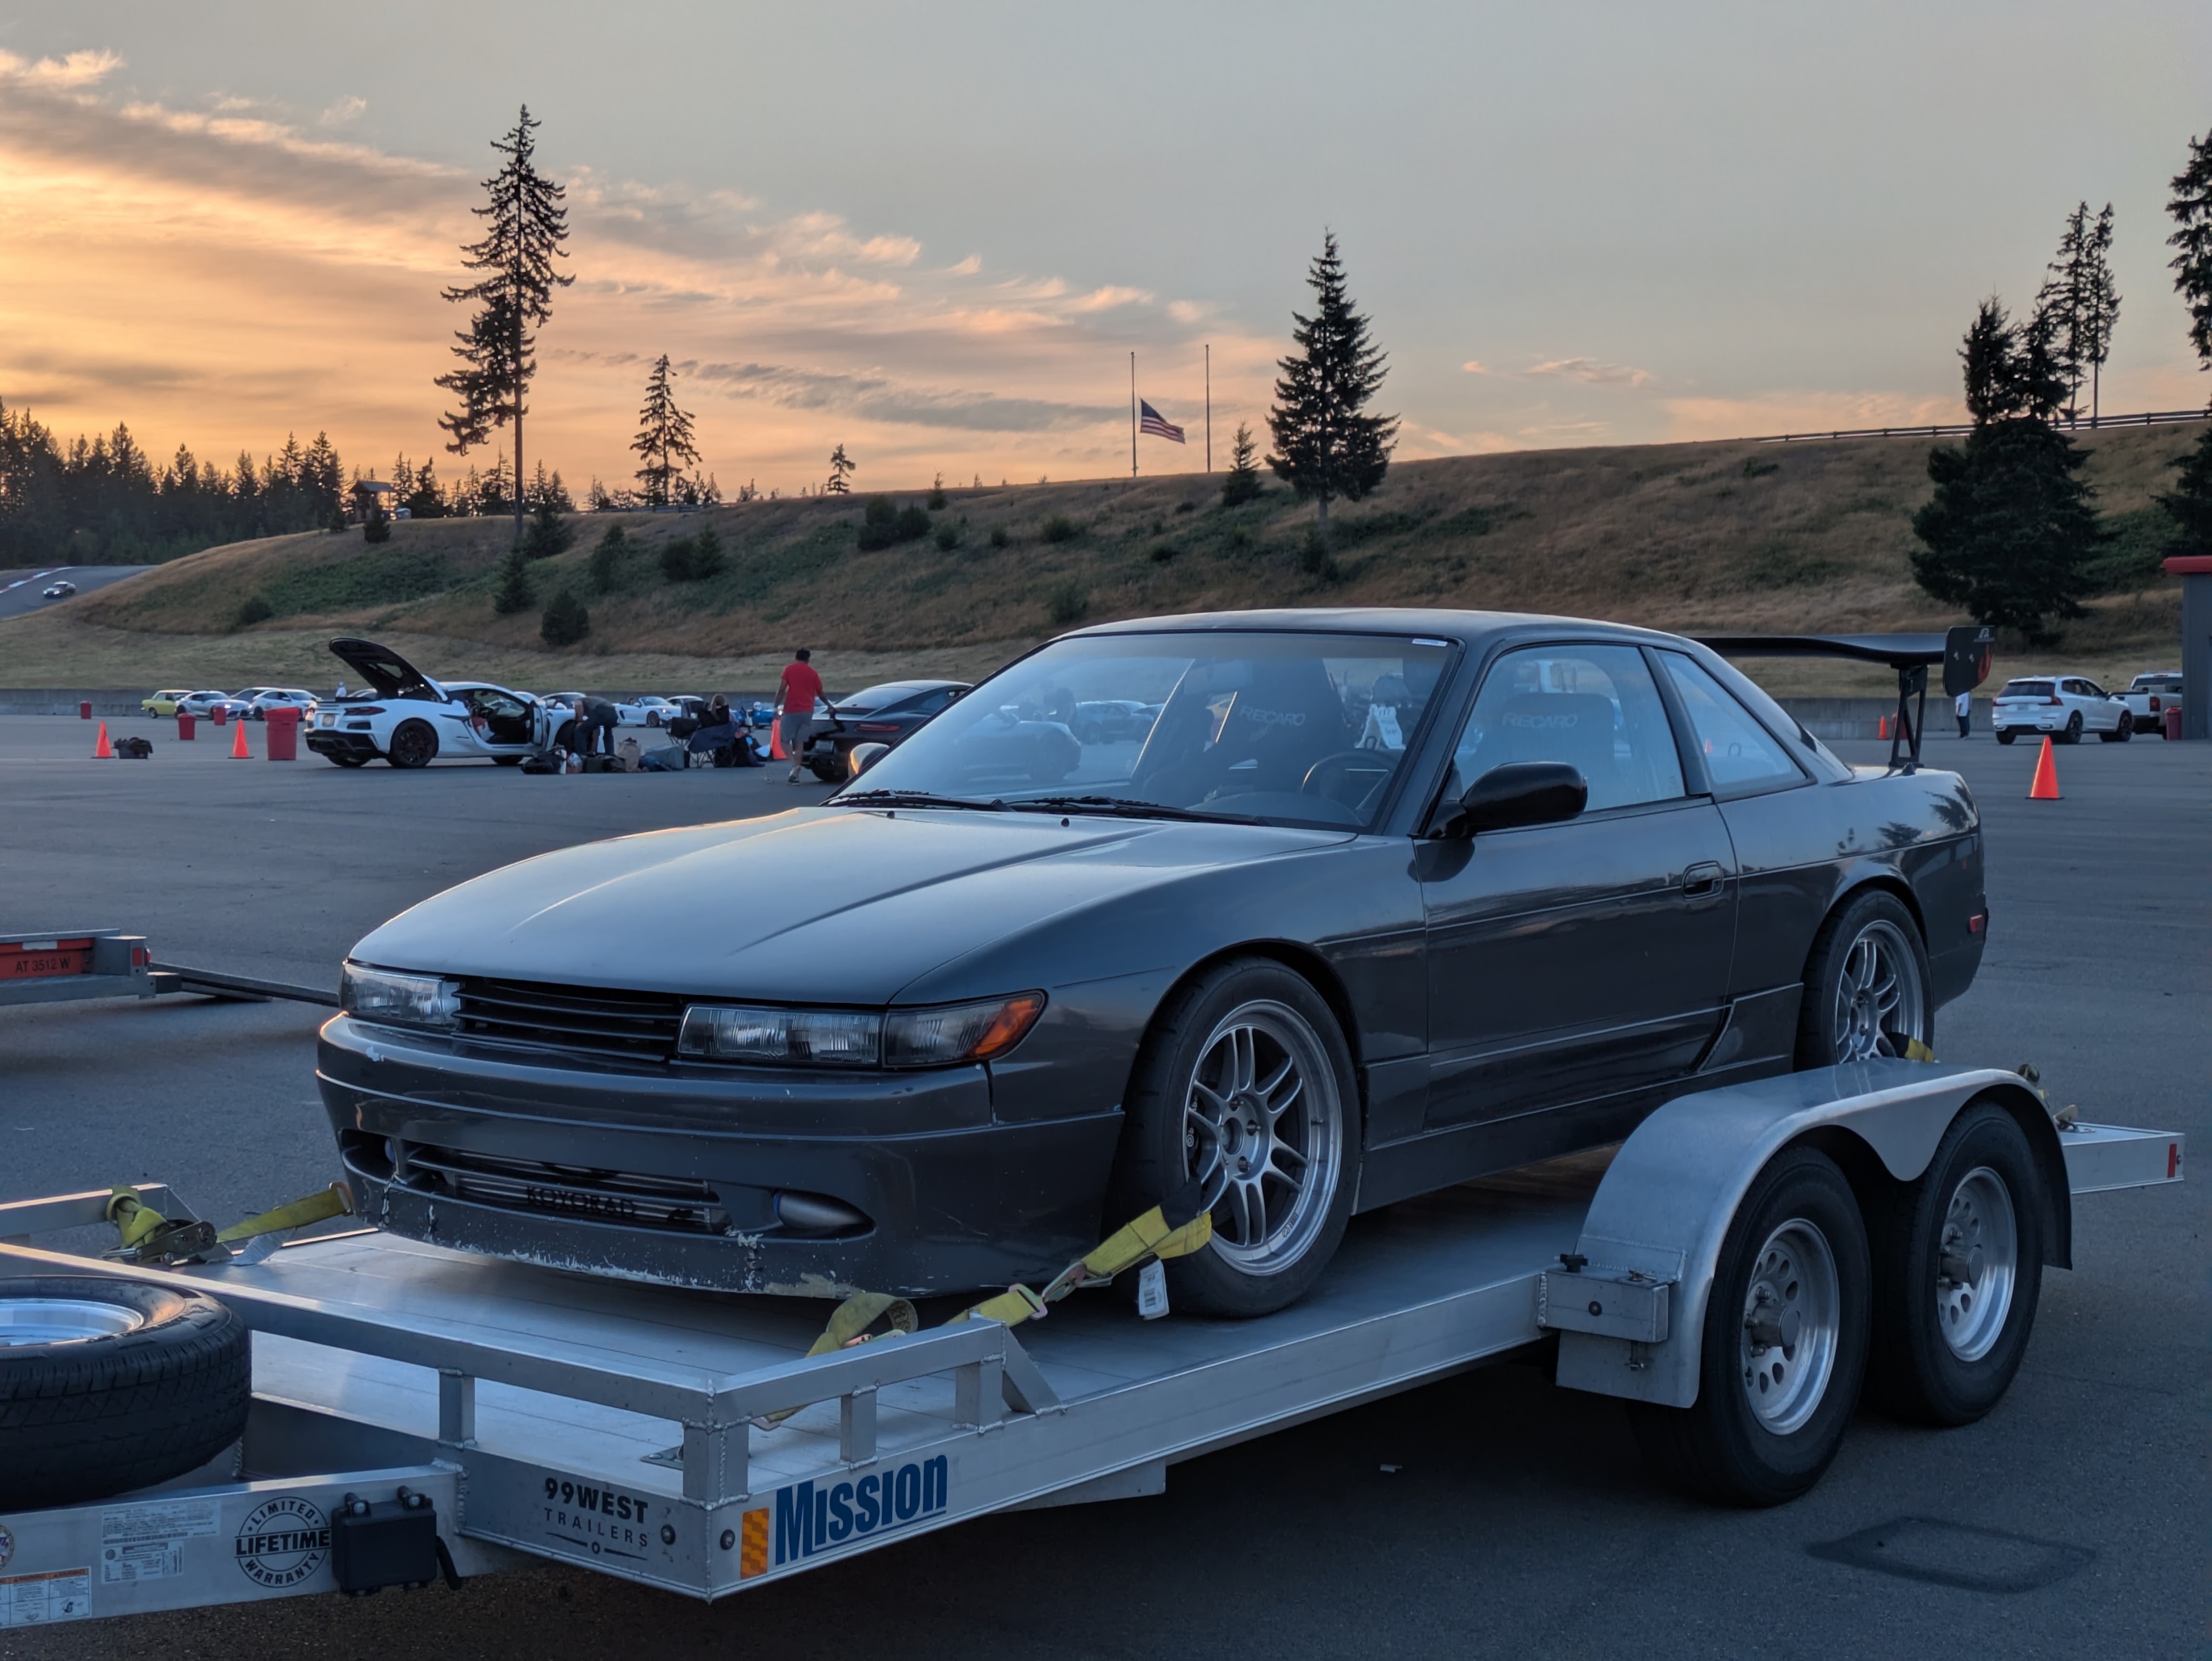
There’s only one thing left to do. Street rips only satisfy a junkie for so long.
Until next time.

