
And no, we aren’t talking about the rear wing, yet…
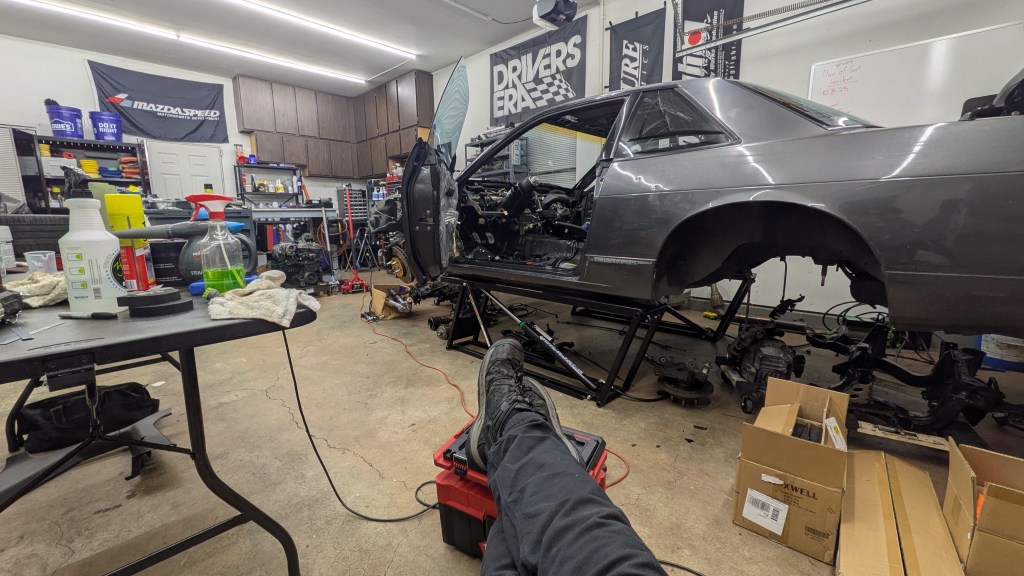
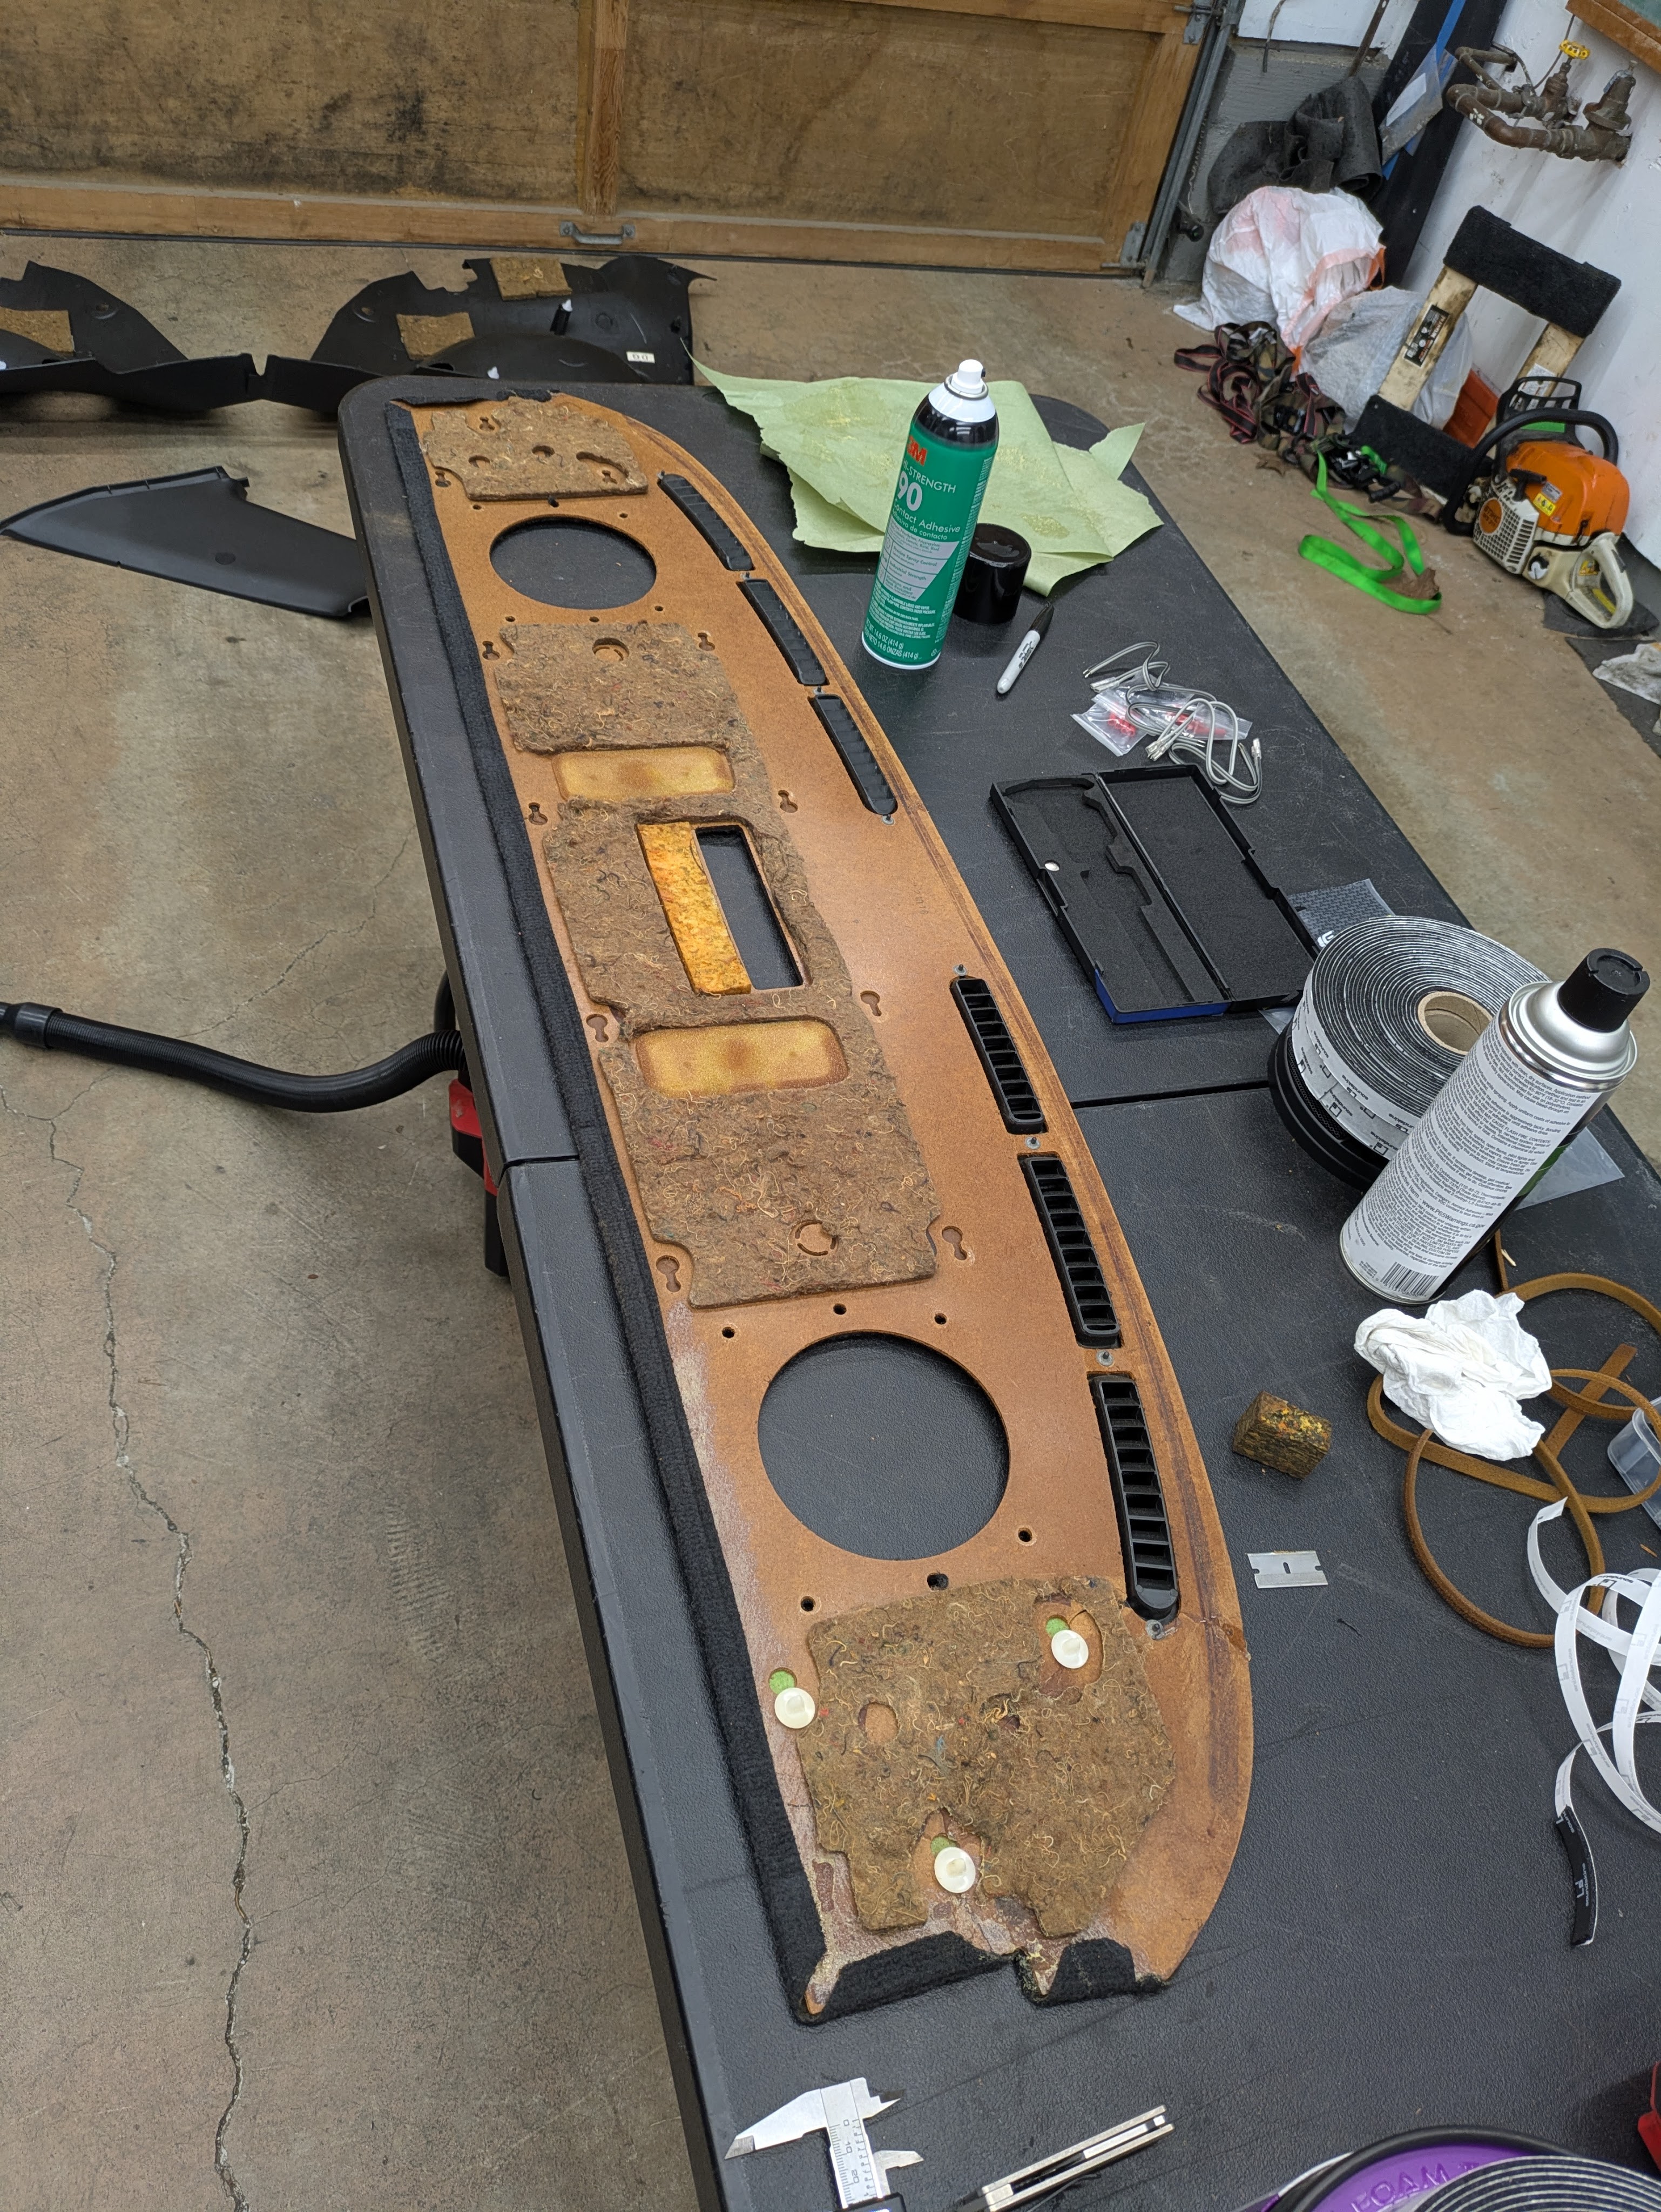
This is going to capture the bulk of the large interior projects that I have been working on. These were to address some of my biggest complaints with the car from a functional and ergonomic perspective, so I really wanted to make sure these went well. I had removed the entire interior when I pulled the car apart in the middle of November, and it is time to make it right and put it back together.
Starting off small and sequentially, there were some stains in the headliner from removing my rollbar. The back sides of my gloves had oil soaked into the knit which then smeared on the headliner upon removal. I was dreading cleaning this as I knew how delicate the base material was, as well as I didn’t want to compromise the adhesive and have a saggy headliner.
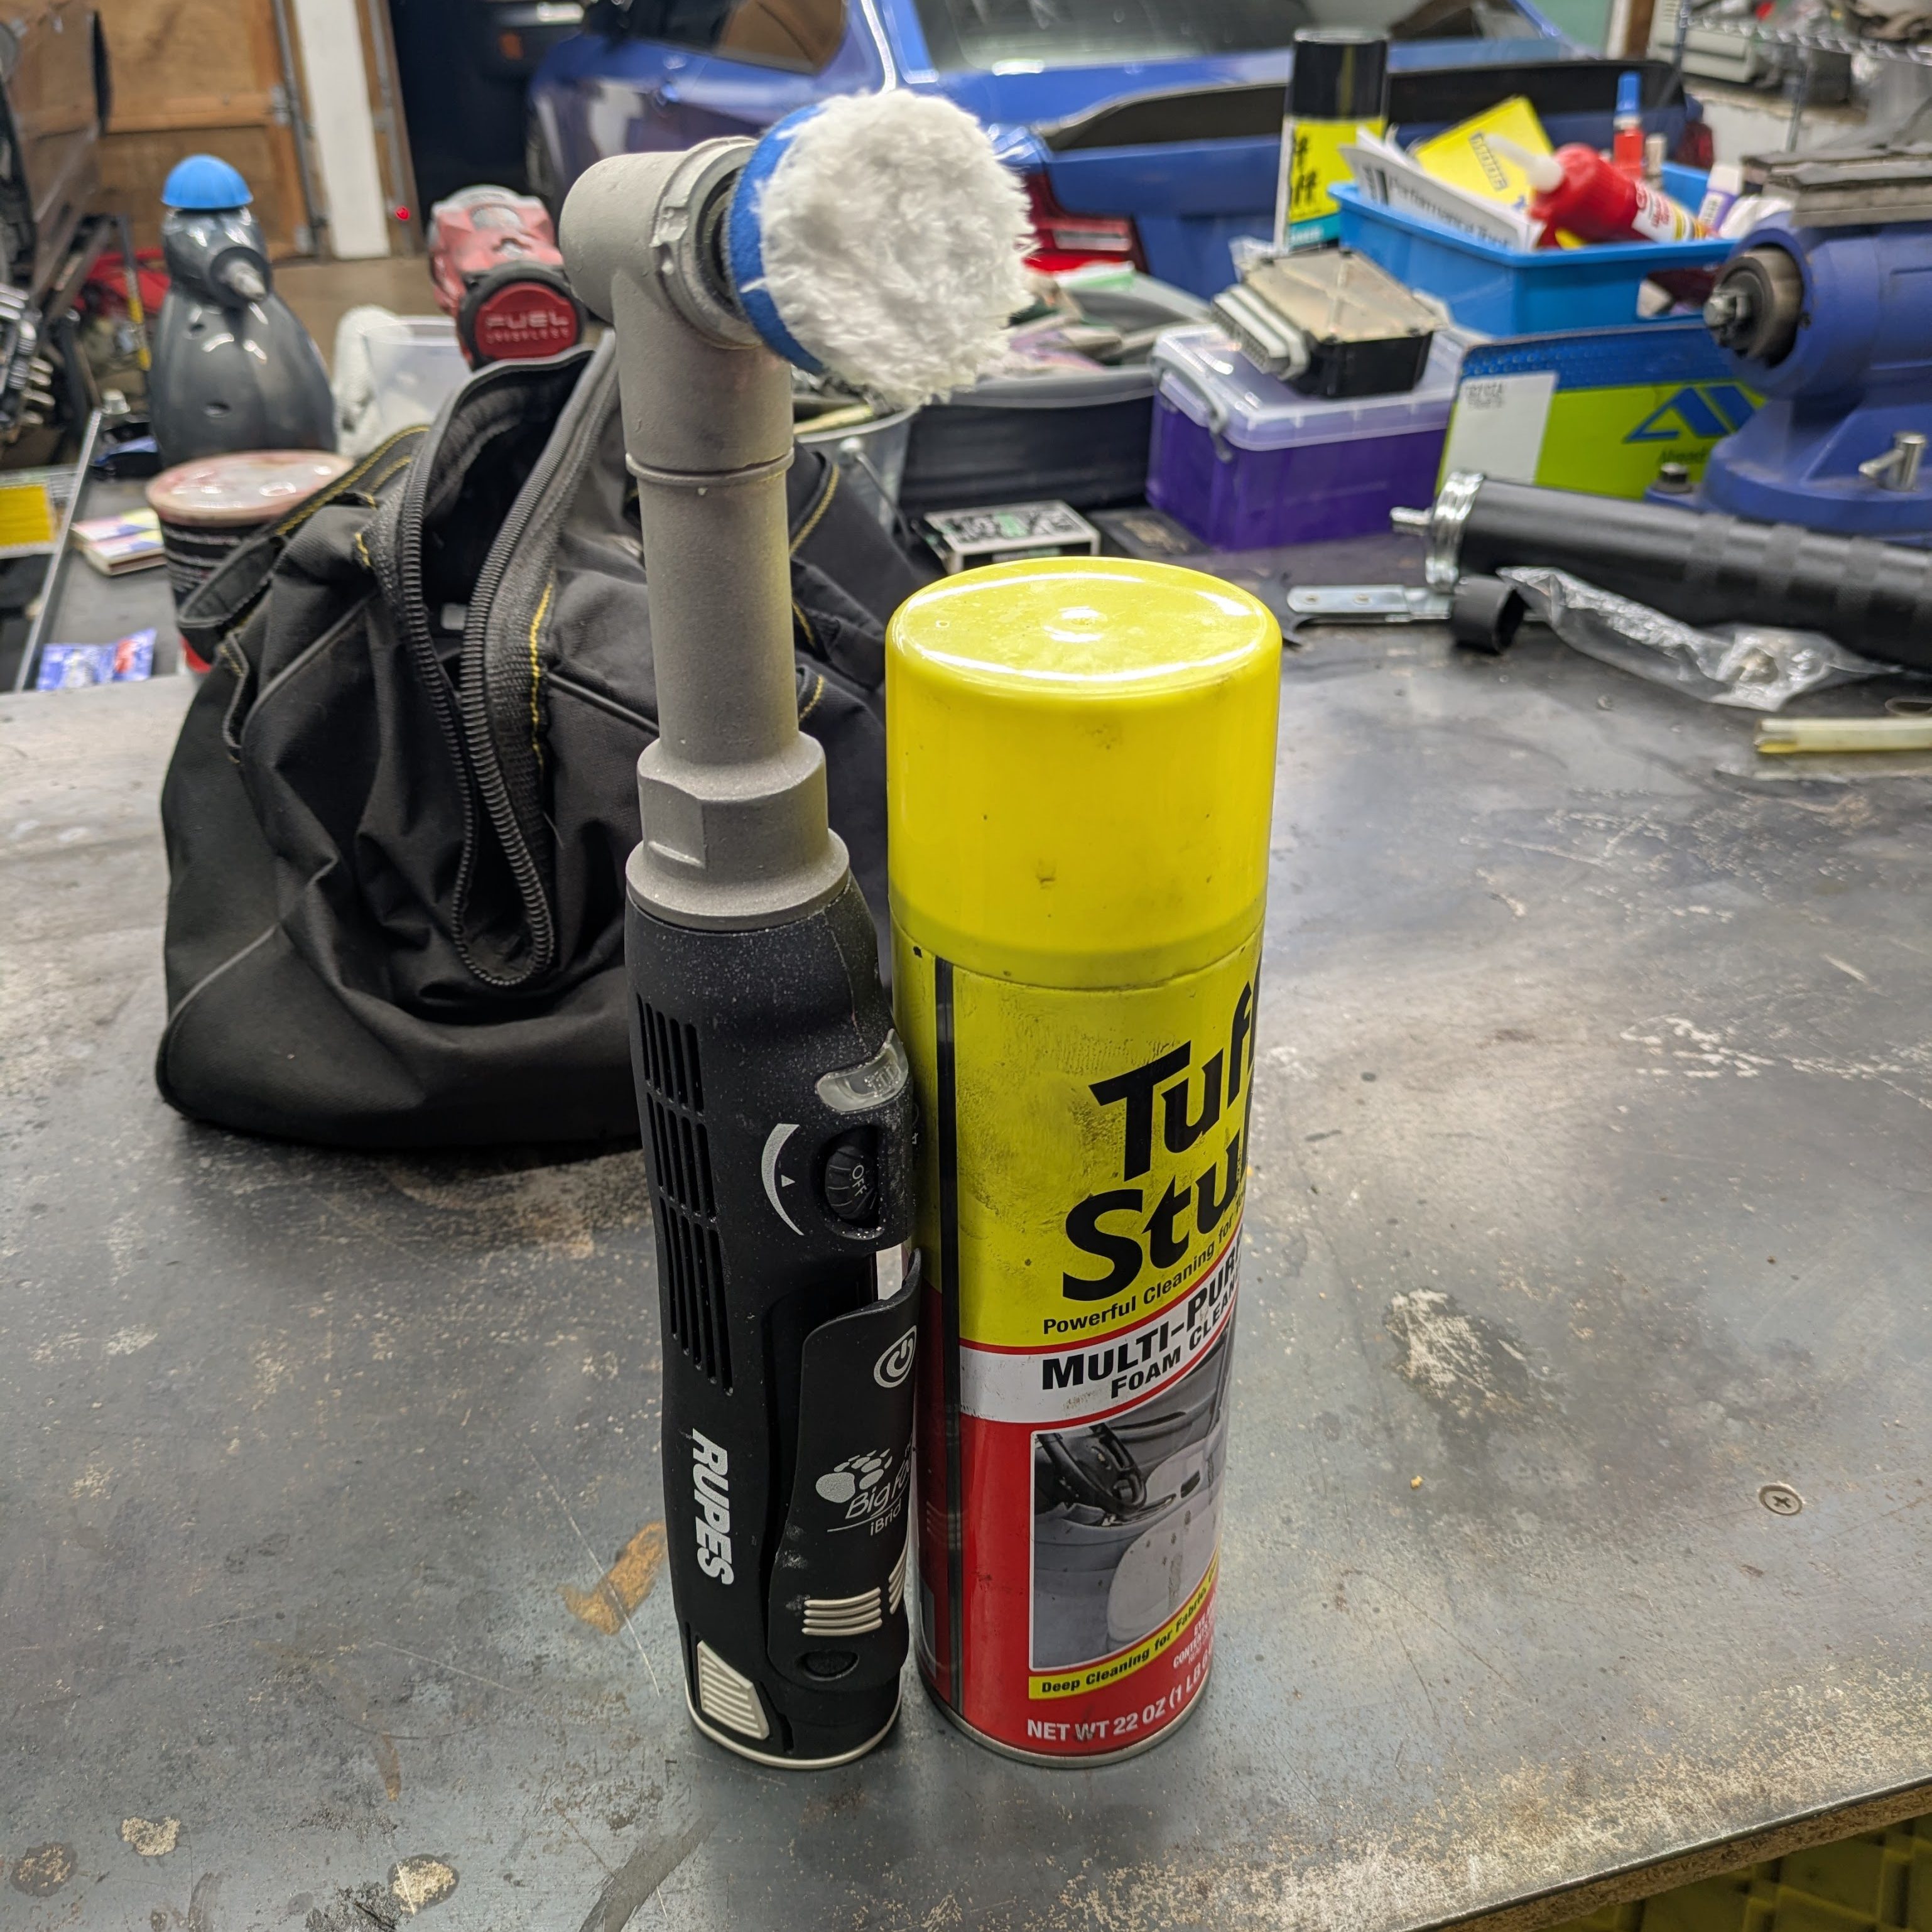
I had seen a few years ago someone using a 1″ rotary polisher and a microfiber pad to clean a headliner, and I figured it would be my best bet as it would minimize pressure and volume of cleaner required to clean it up. I sprayed Tuff Stuff on the pad, and in a few passes (hardly took more than a few minutes), I had a factory fresh headliner.
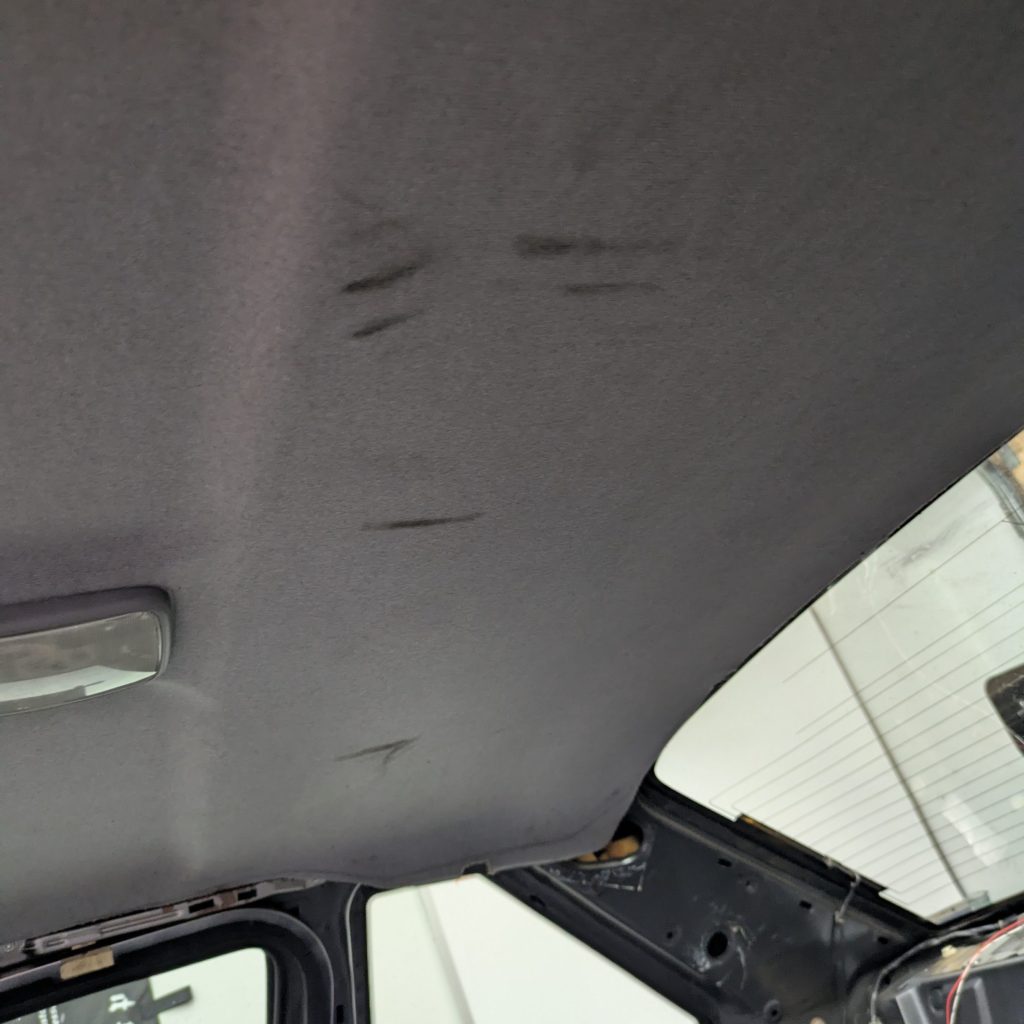
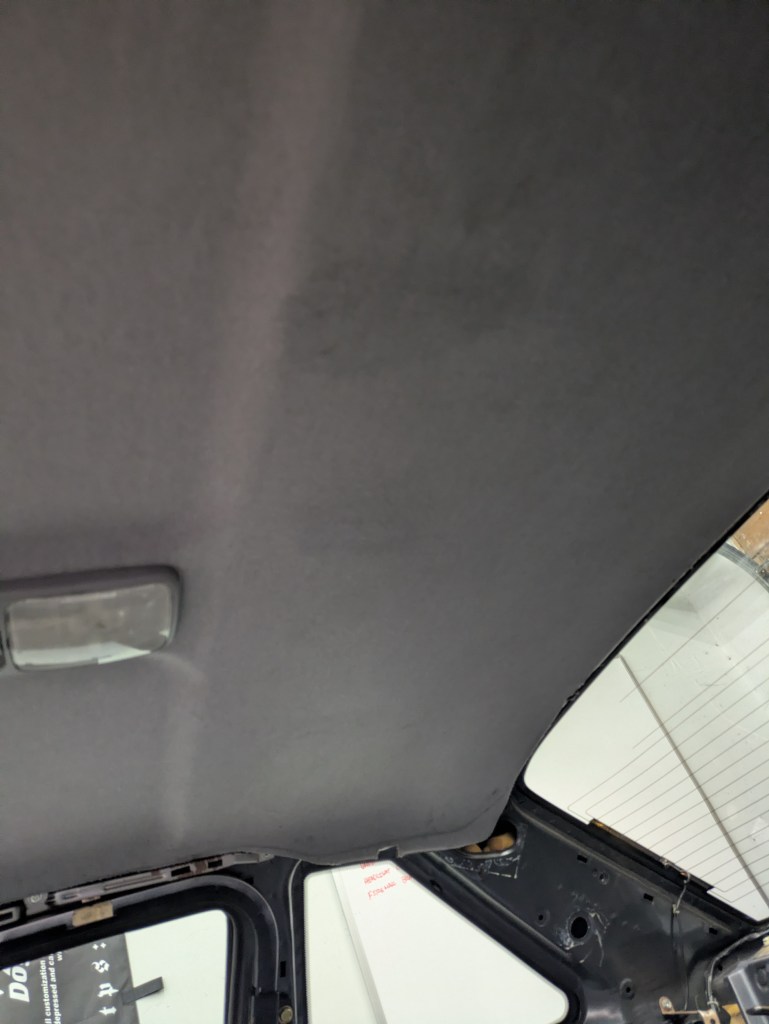
The damp spots evaporated leaving no traces of residue or anything. It was incredibly successful overall. Off to a great start with interior projects.

Next came removal of the 3rd brake light. The previous owner had installed this high mount LED strip at the top of the rear window, similar to FD cars. While it looked decent and worked well, it’s primary flaw was that it cast a ton of light back into the cabin at night, which was immensely distracting. After toying with some ideas to isolate it, I eventually decided to just return to a factory solution or delete the 3rd brake light.
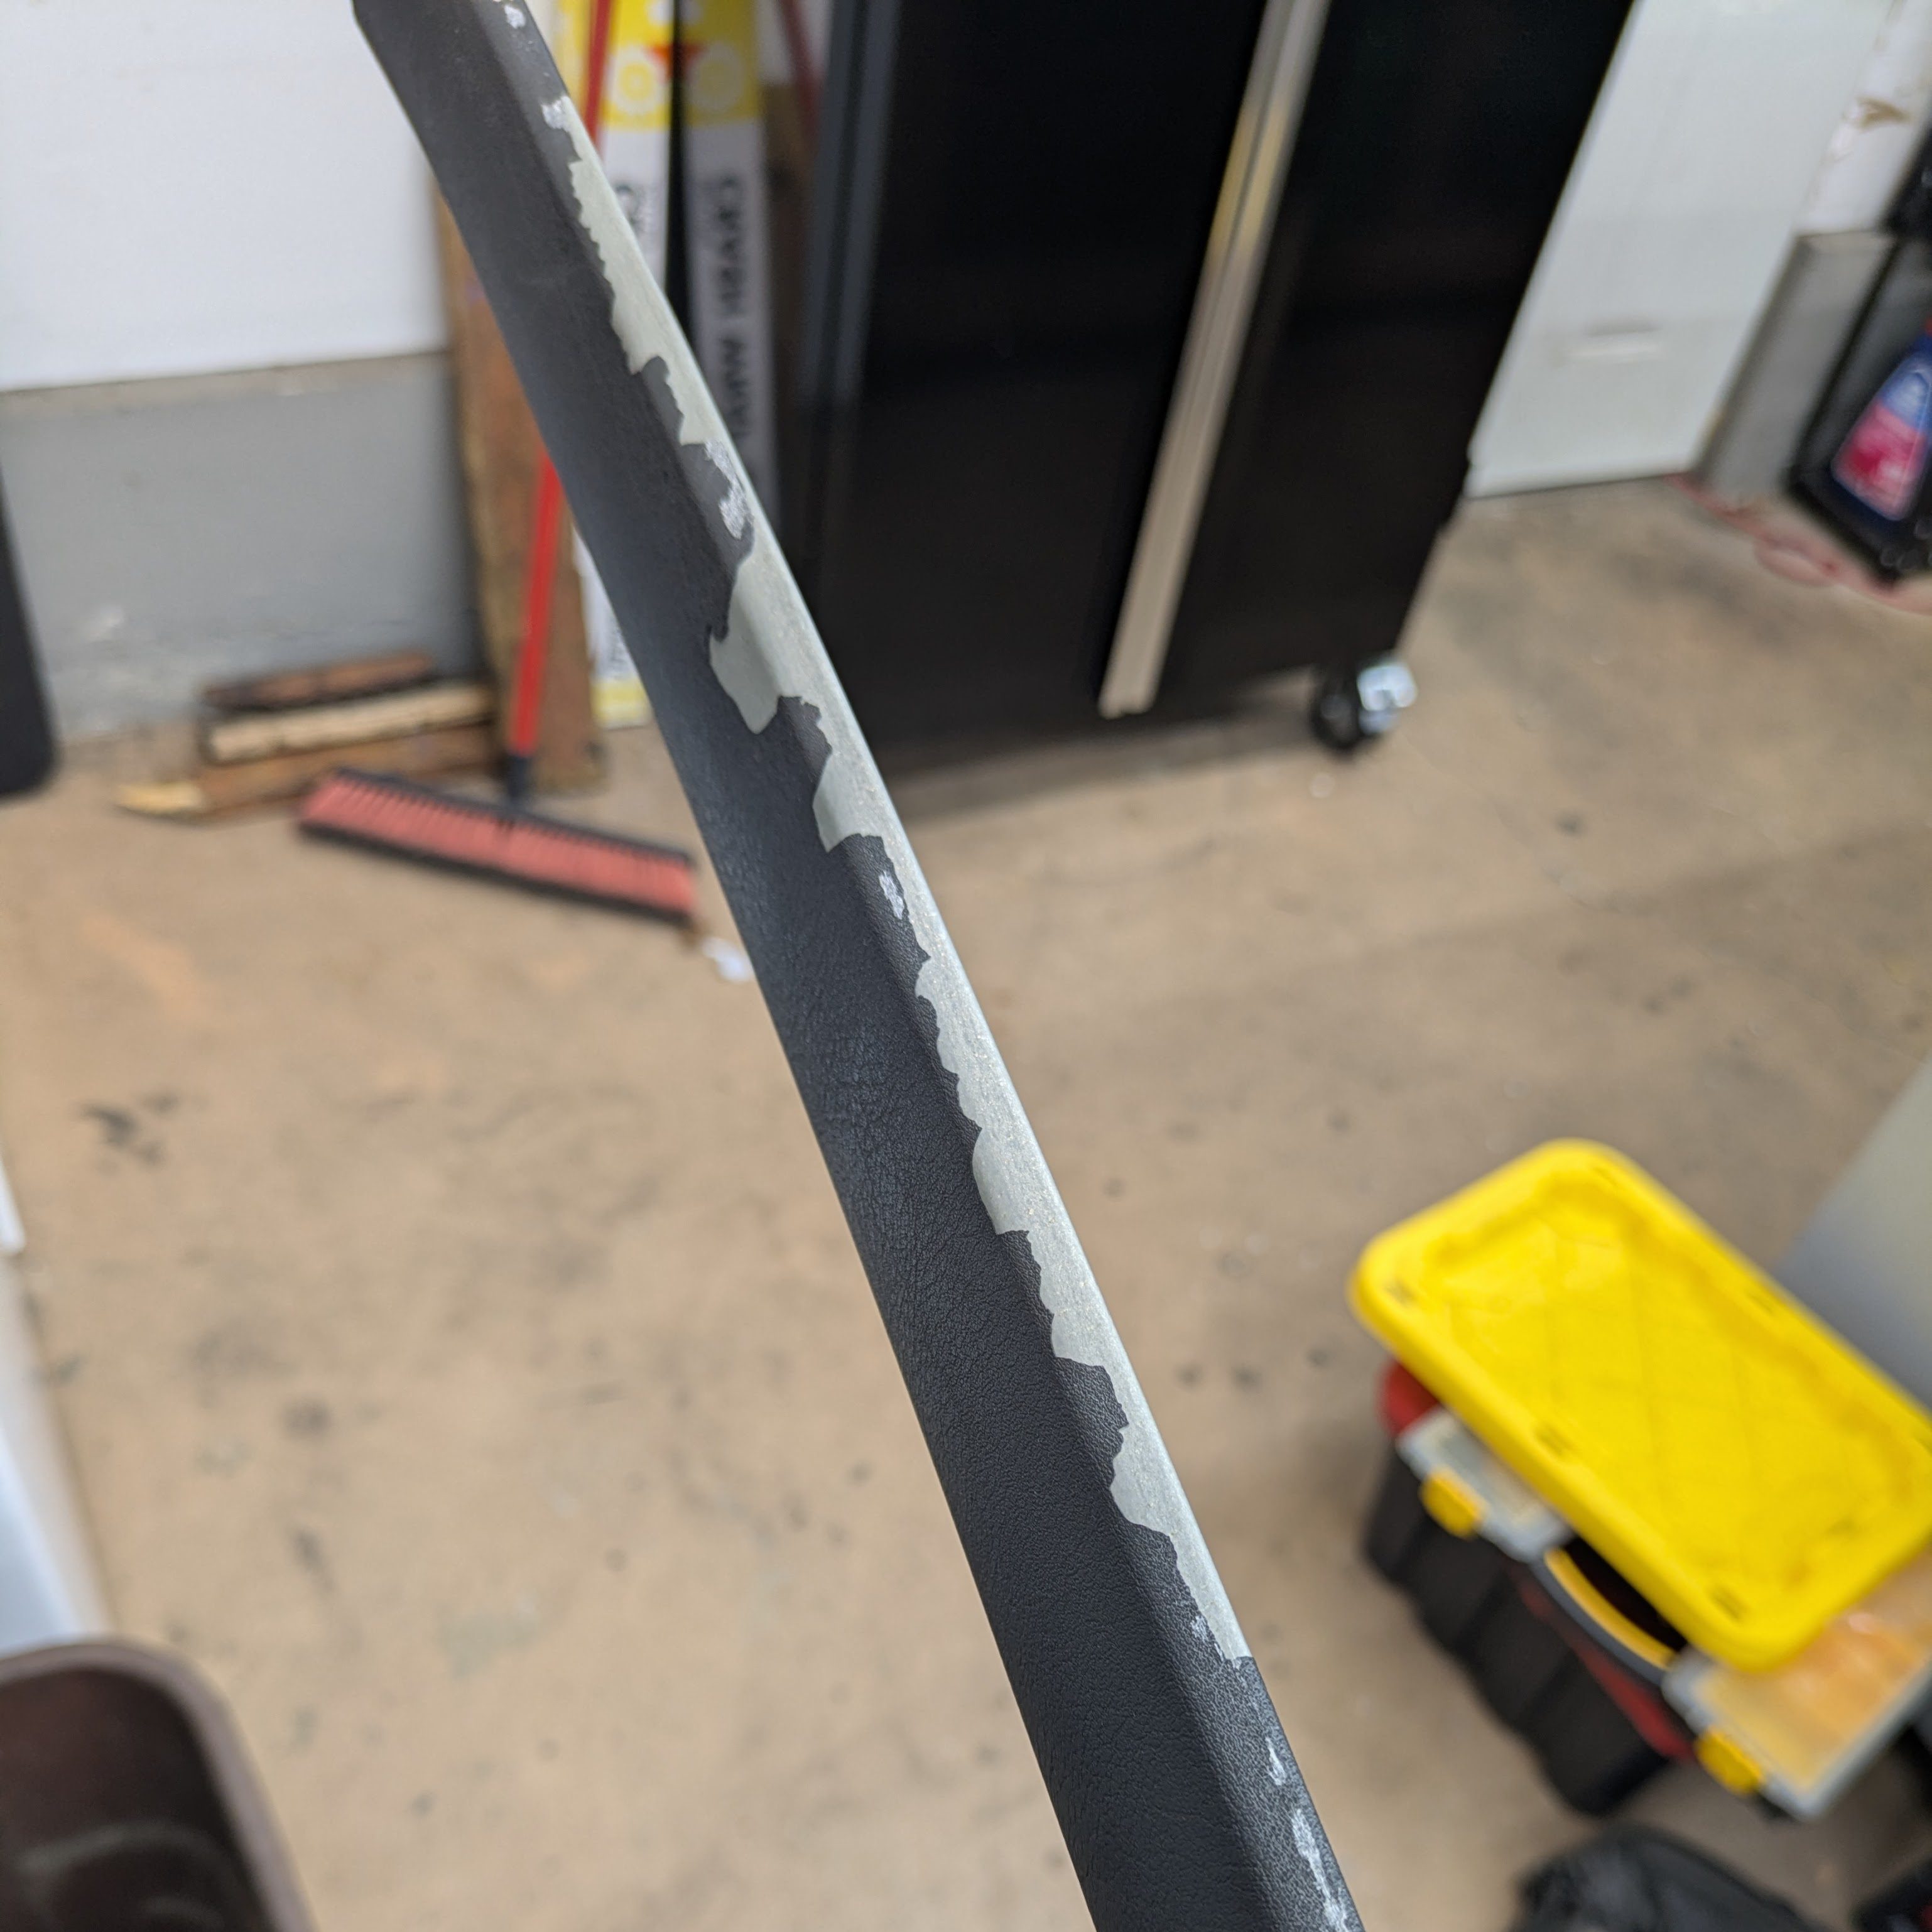
The 3rd brake light was affixed to the rear headliner trim retainer, and as 35 year old finishes go, it came off with the glue on the LED strip. I fully stripped it so I could paint it before reinstallation. I could have vinyl wrapped it, but as it won’t see a ton of UV, paint was going to be fine.

I half explained all of this because I wanted to show the process since it turned out nice, and I half did it so I could utilize this picture of me holding the stripped piece like a Runescape sword.
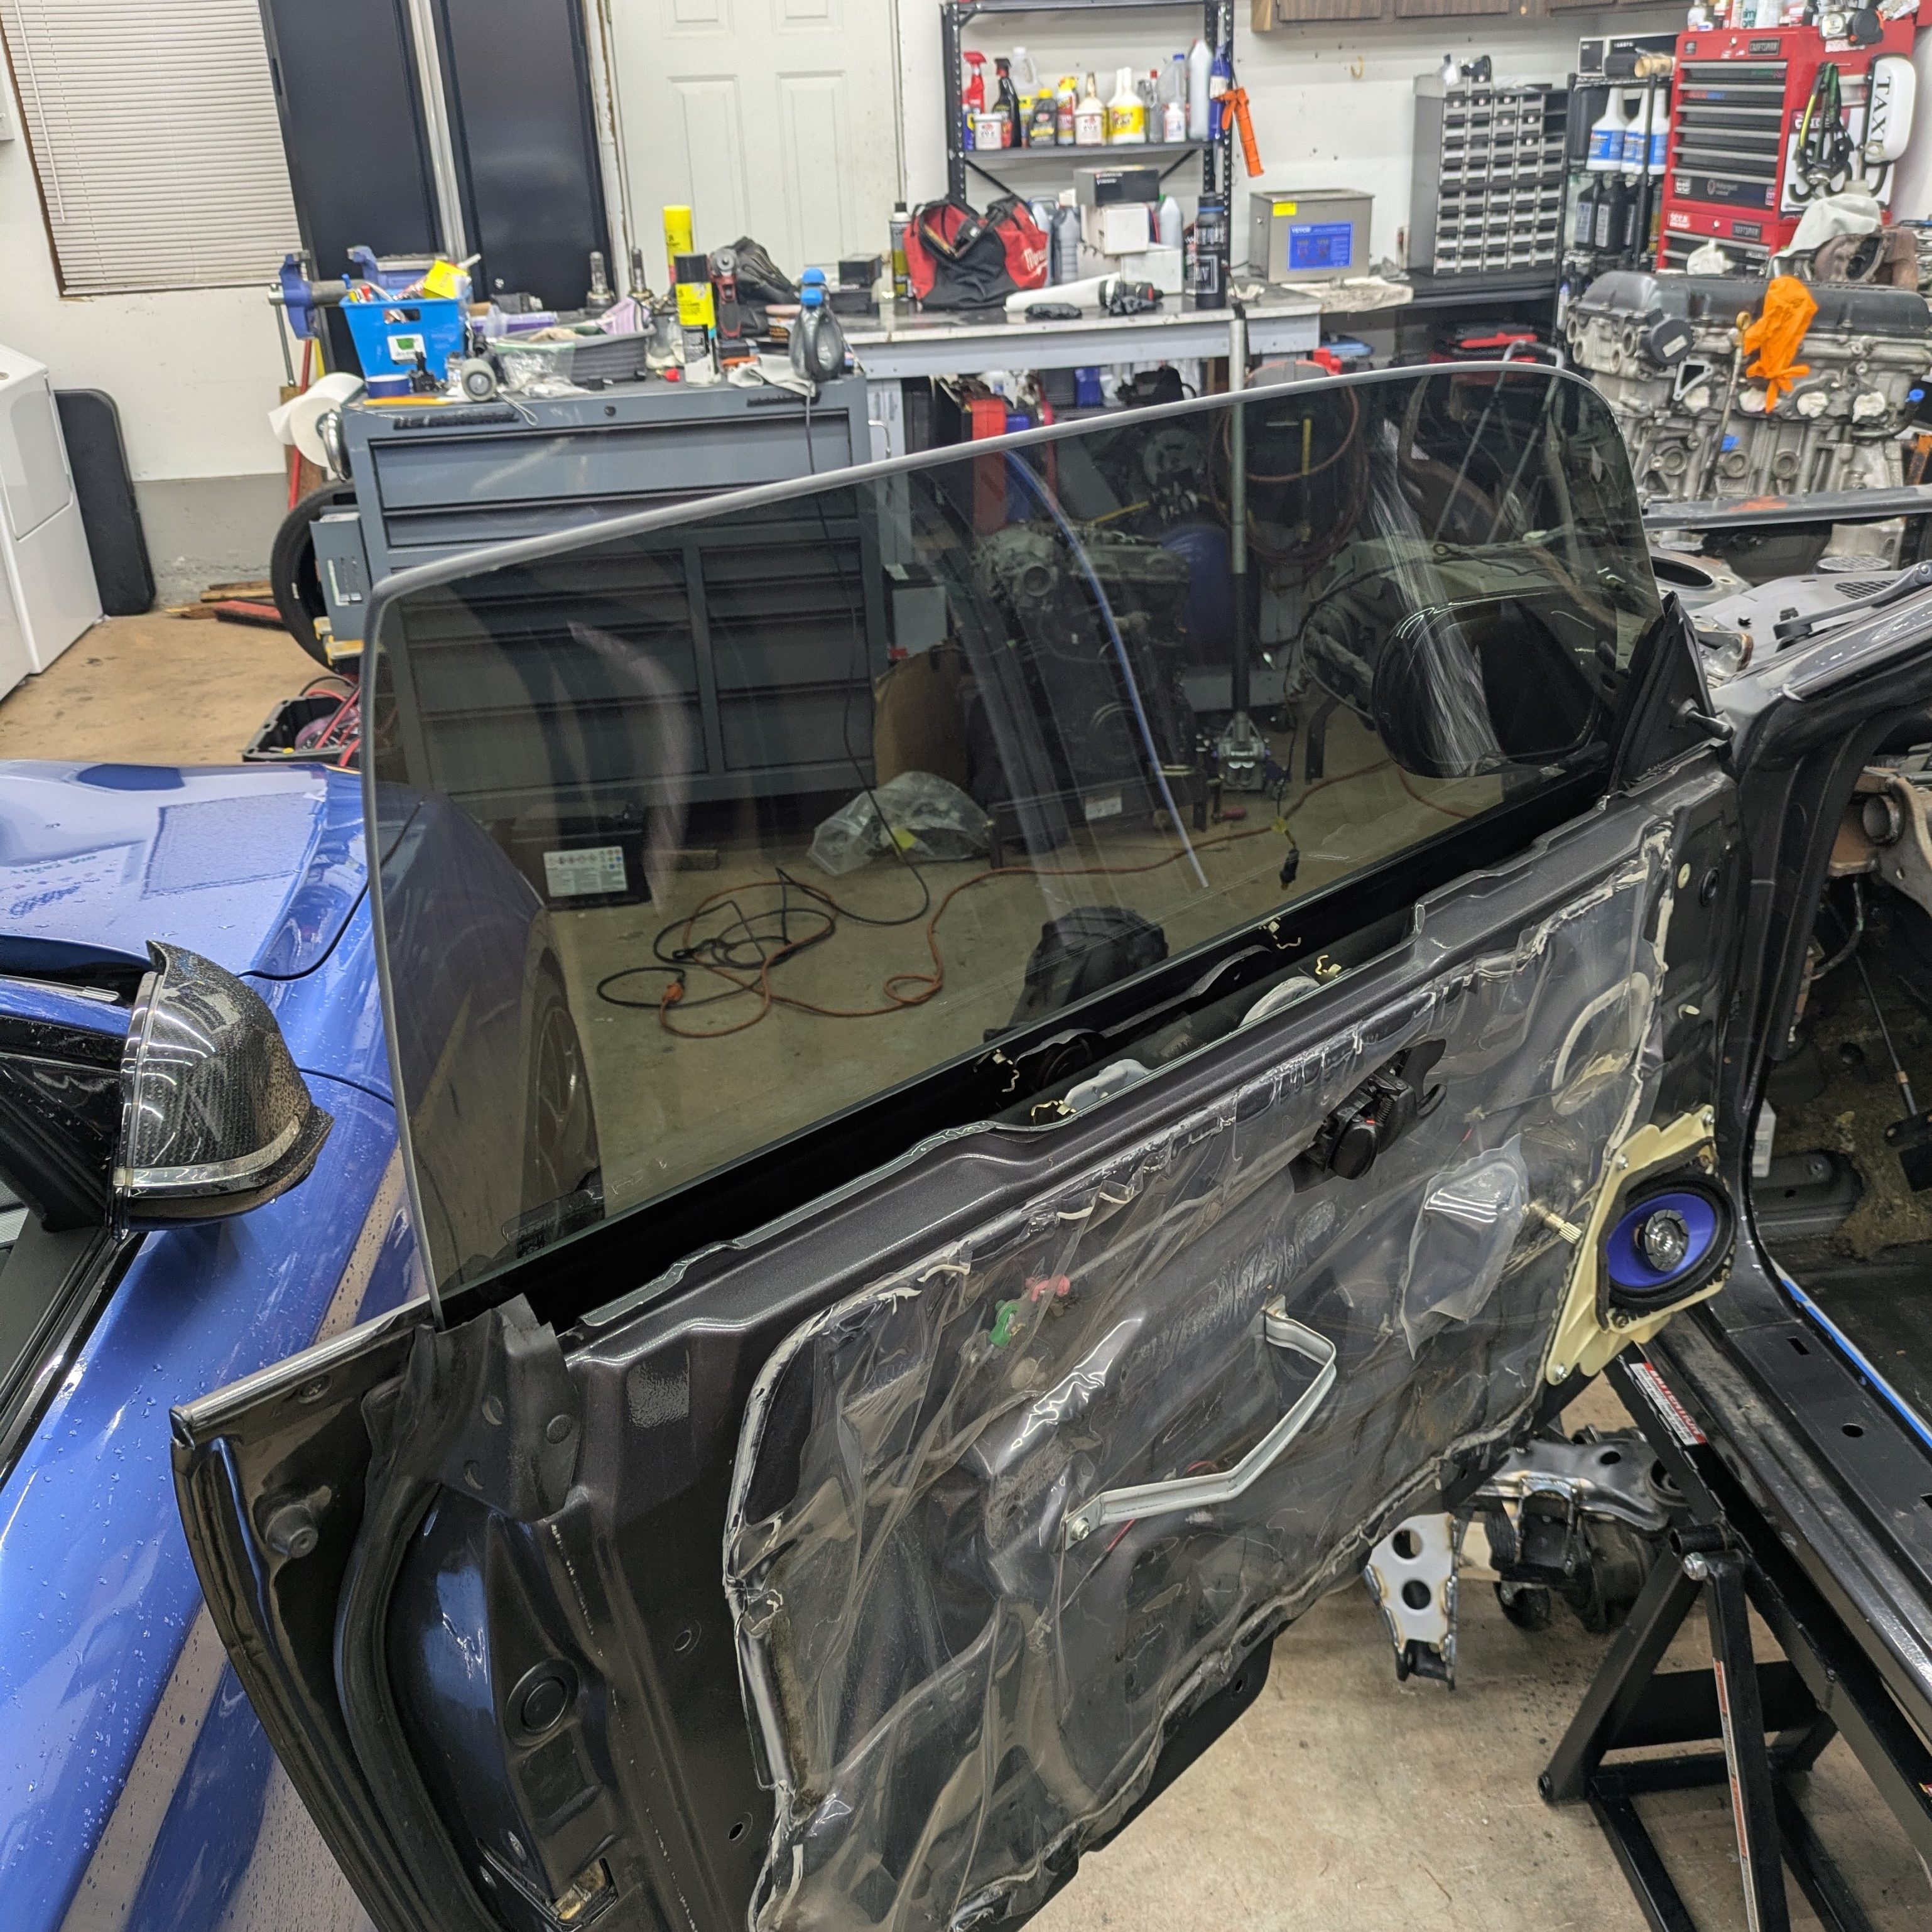
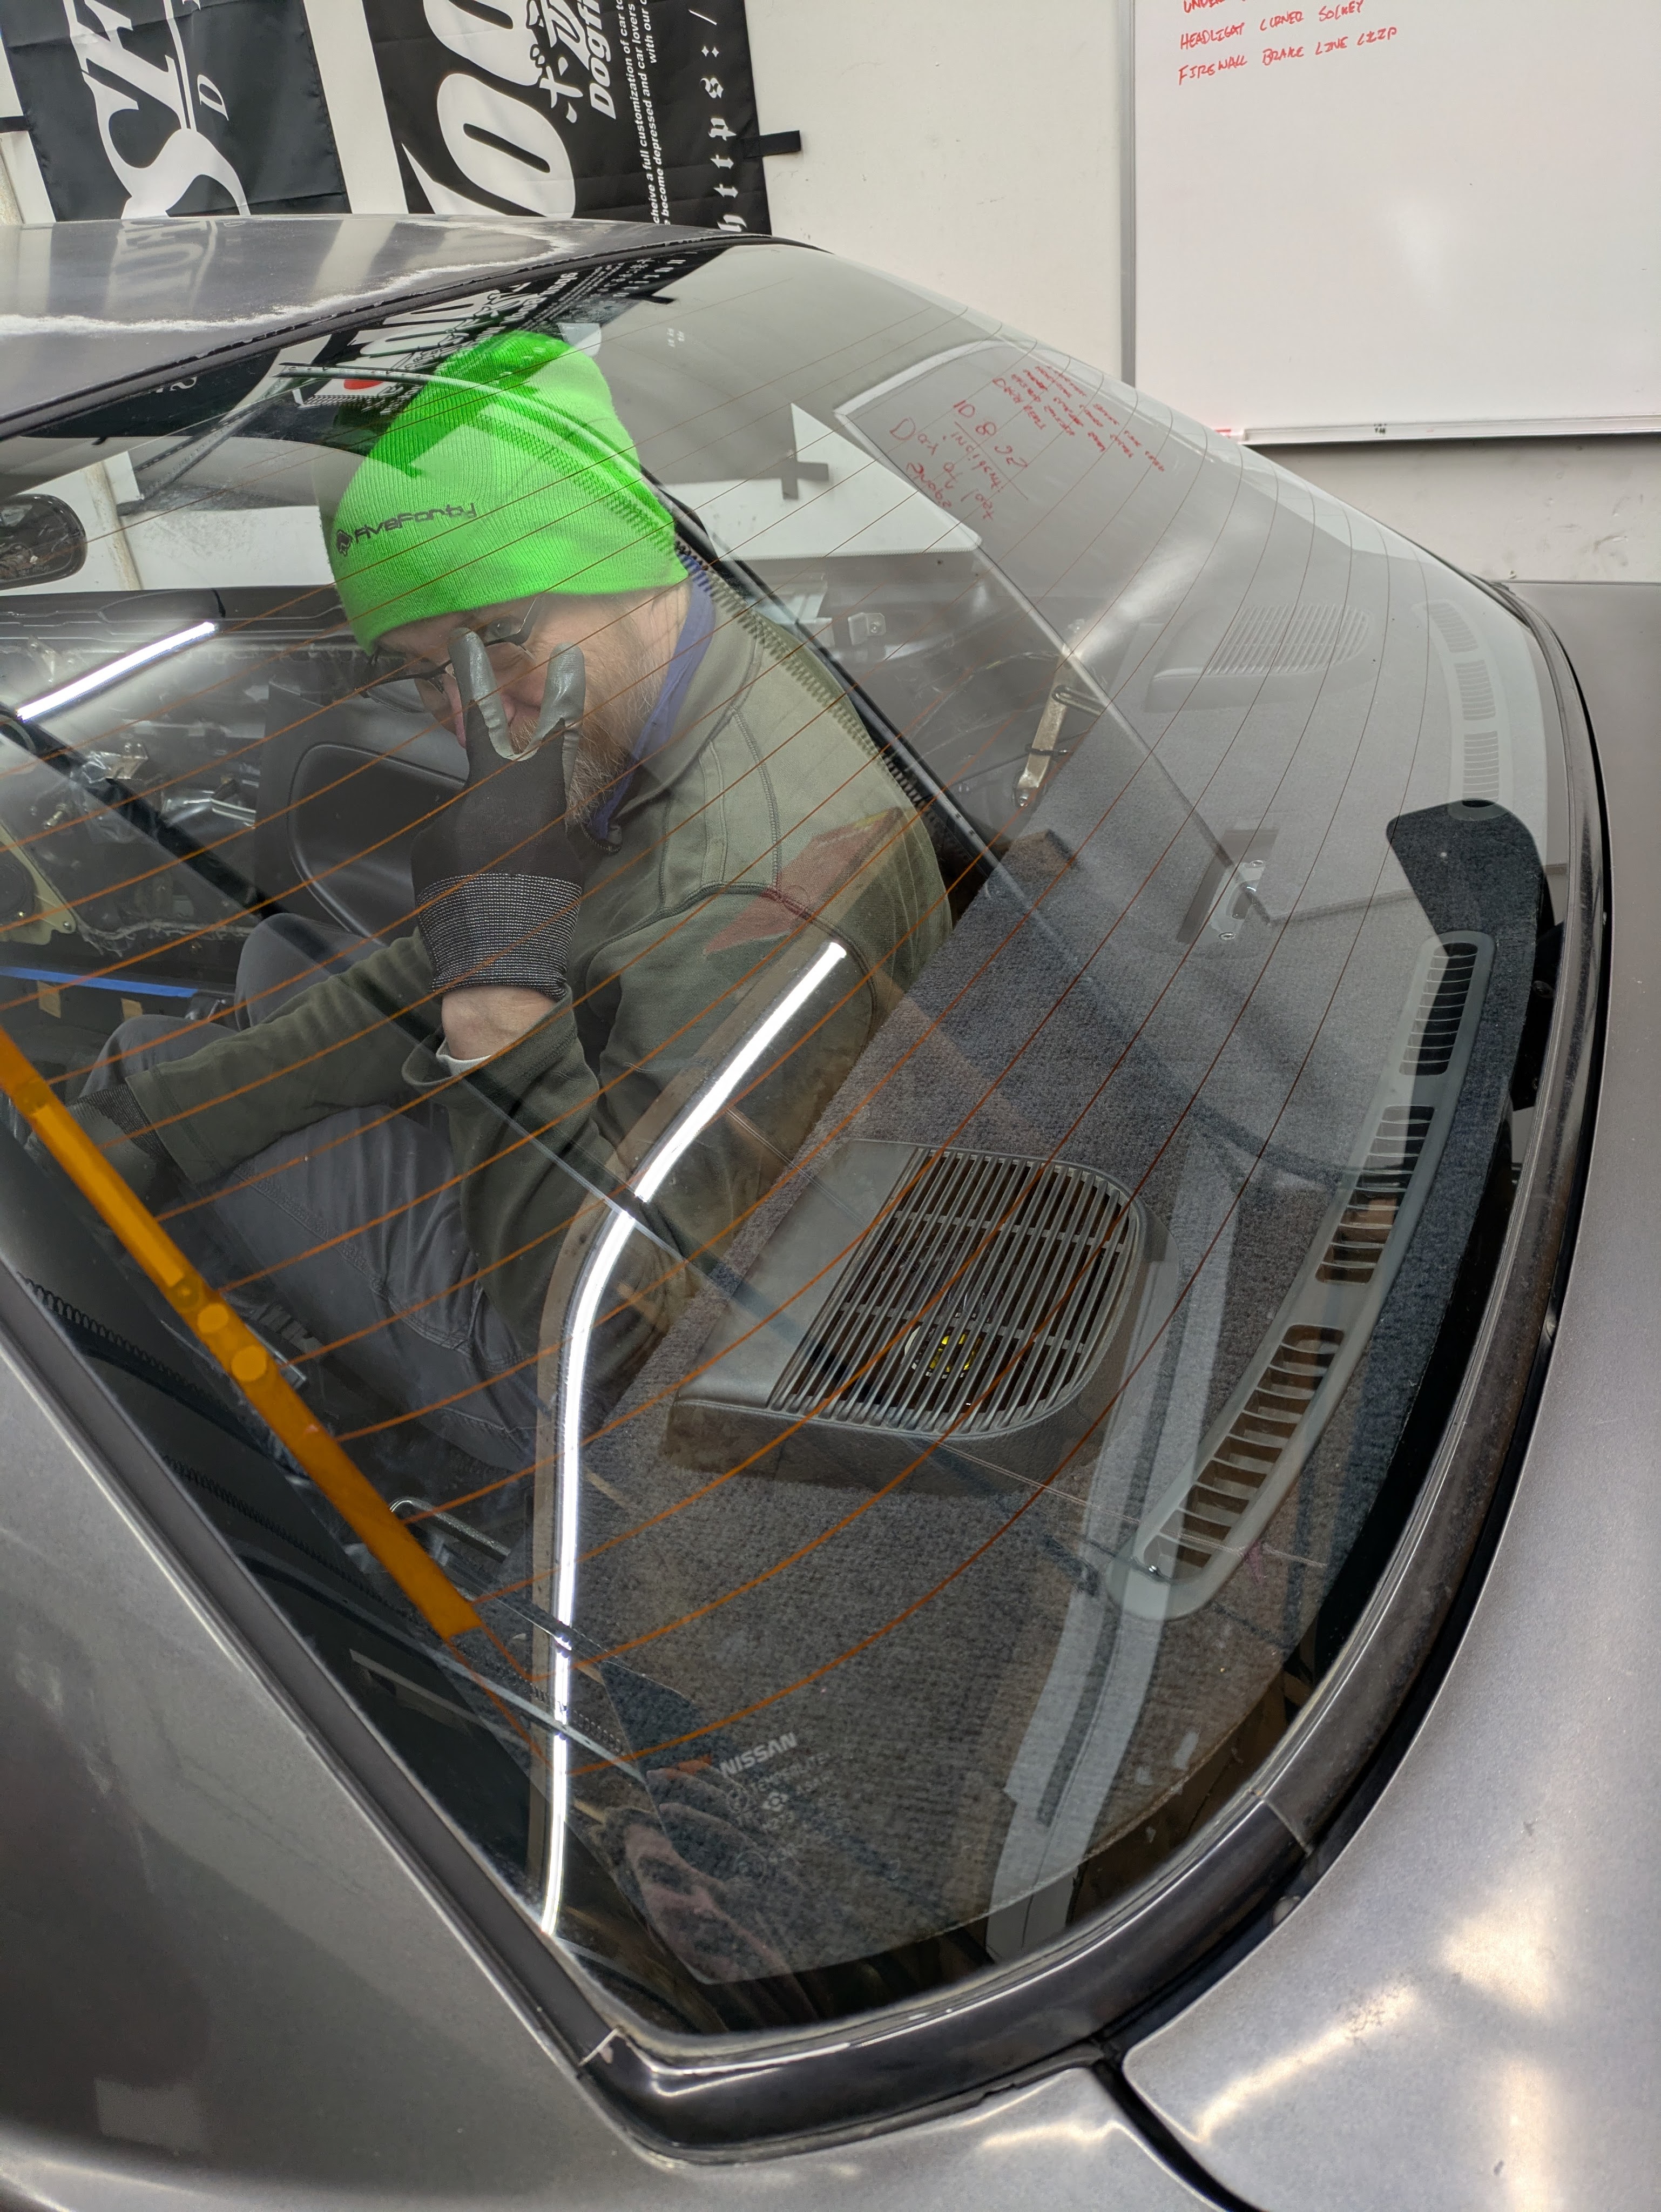
Next up, it was time to address the tint. I knew I was at a crossroads with having all of the interior and cage out of the car, and I elected to remove it despite it being in good condition. It was 20%, and looked appropriate on the car, but I just prefer clear windows, especially on a 90s car with a big greenhouse. Additionally, the car still has a factory windshield in it, and I love nothing more than a matching windshield tint to the rest of the glass. This was a rare opportunity to flex that, so I fired up the steamer and the tint came off.
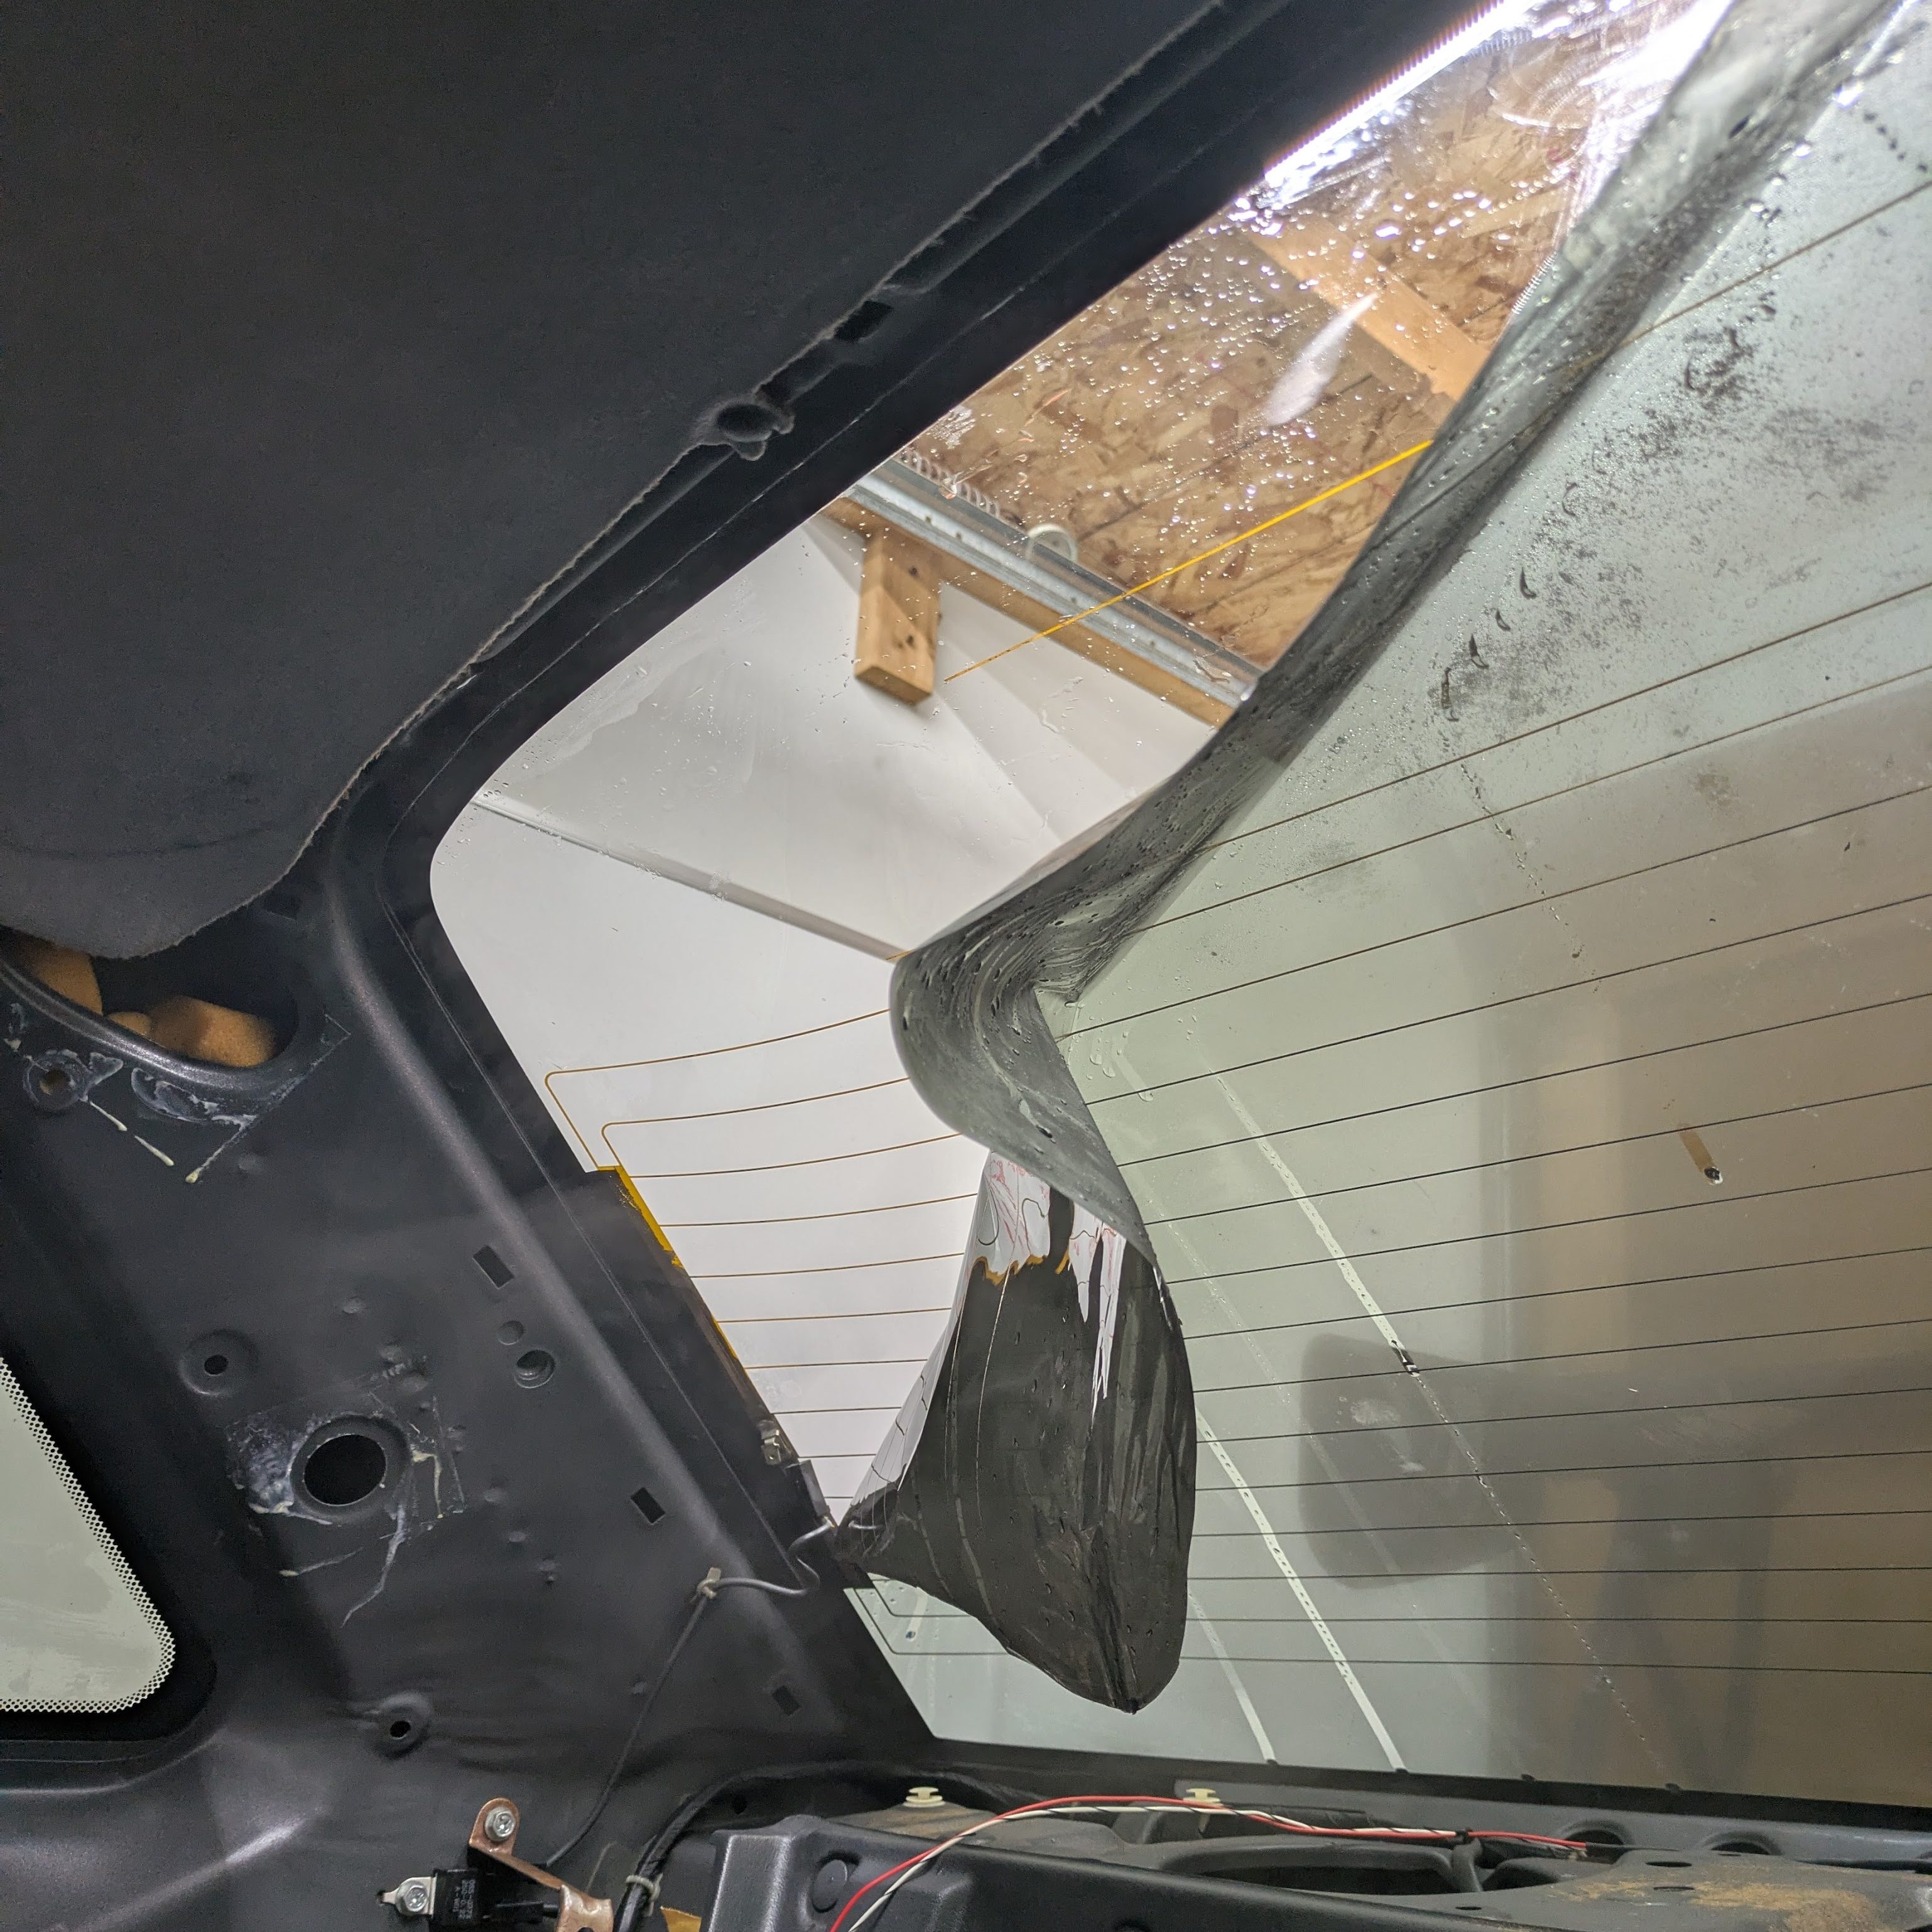
As always, steam is the move for tint removal. If you can afford the moisture in the car, its just the right amount of heat to make the adhesive play nice and stick to the tint rather than the glass. I had to remove very small amounts of residue, and it only took about 1.5 hours to do the whole car and clean up the mess. No big tears/little pieces to address, and it’s always nice to have a big impact with such a small project.


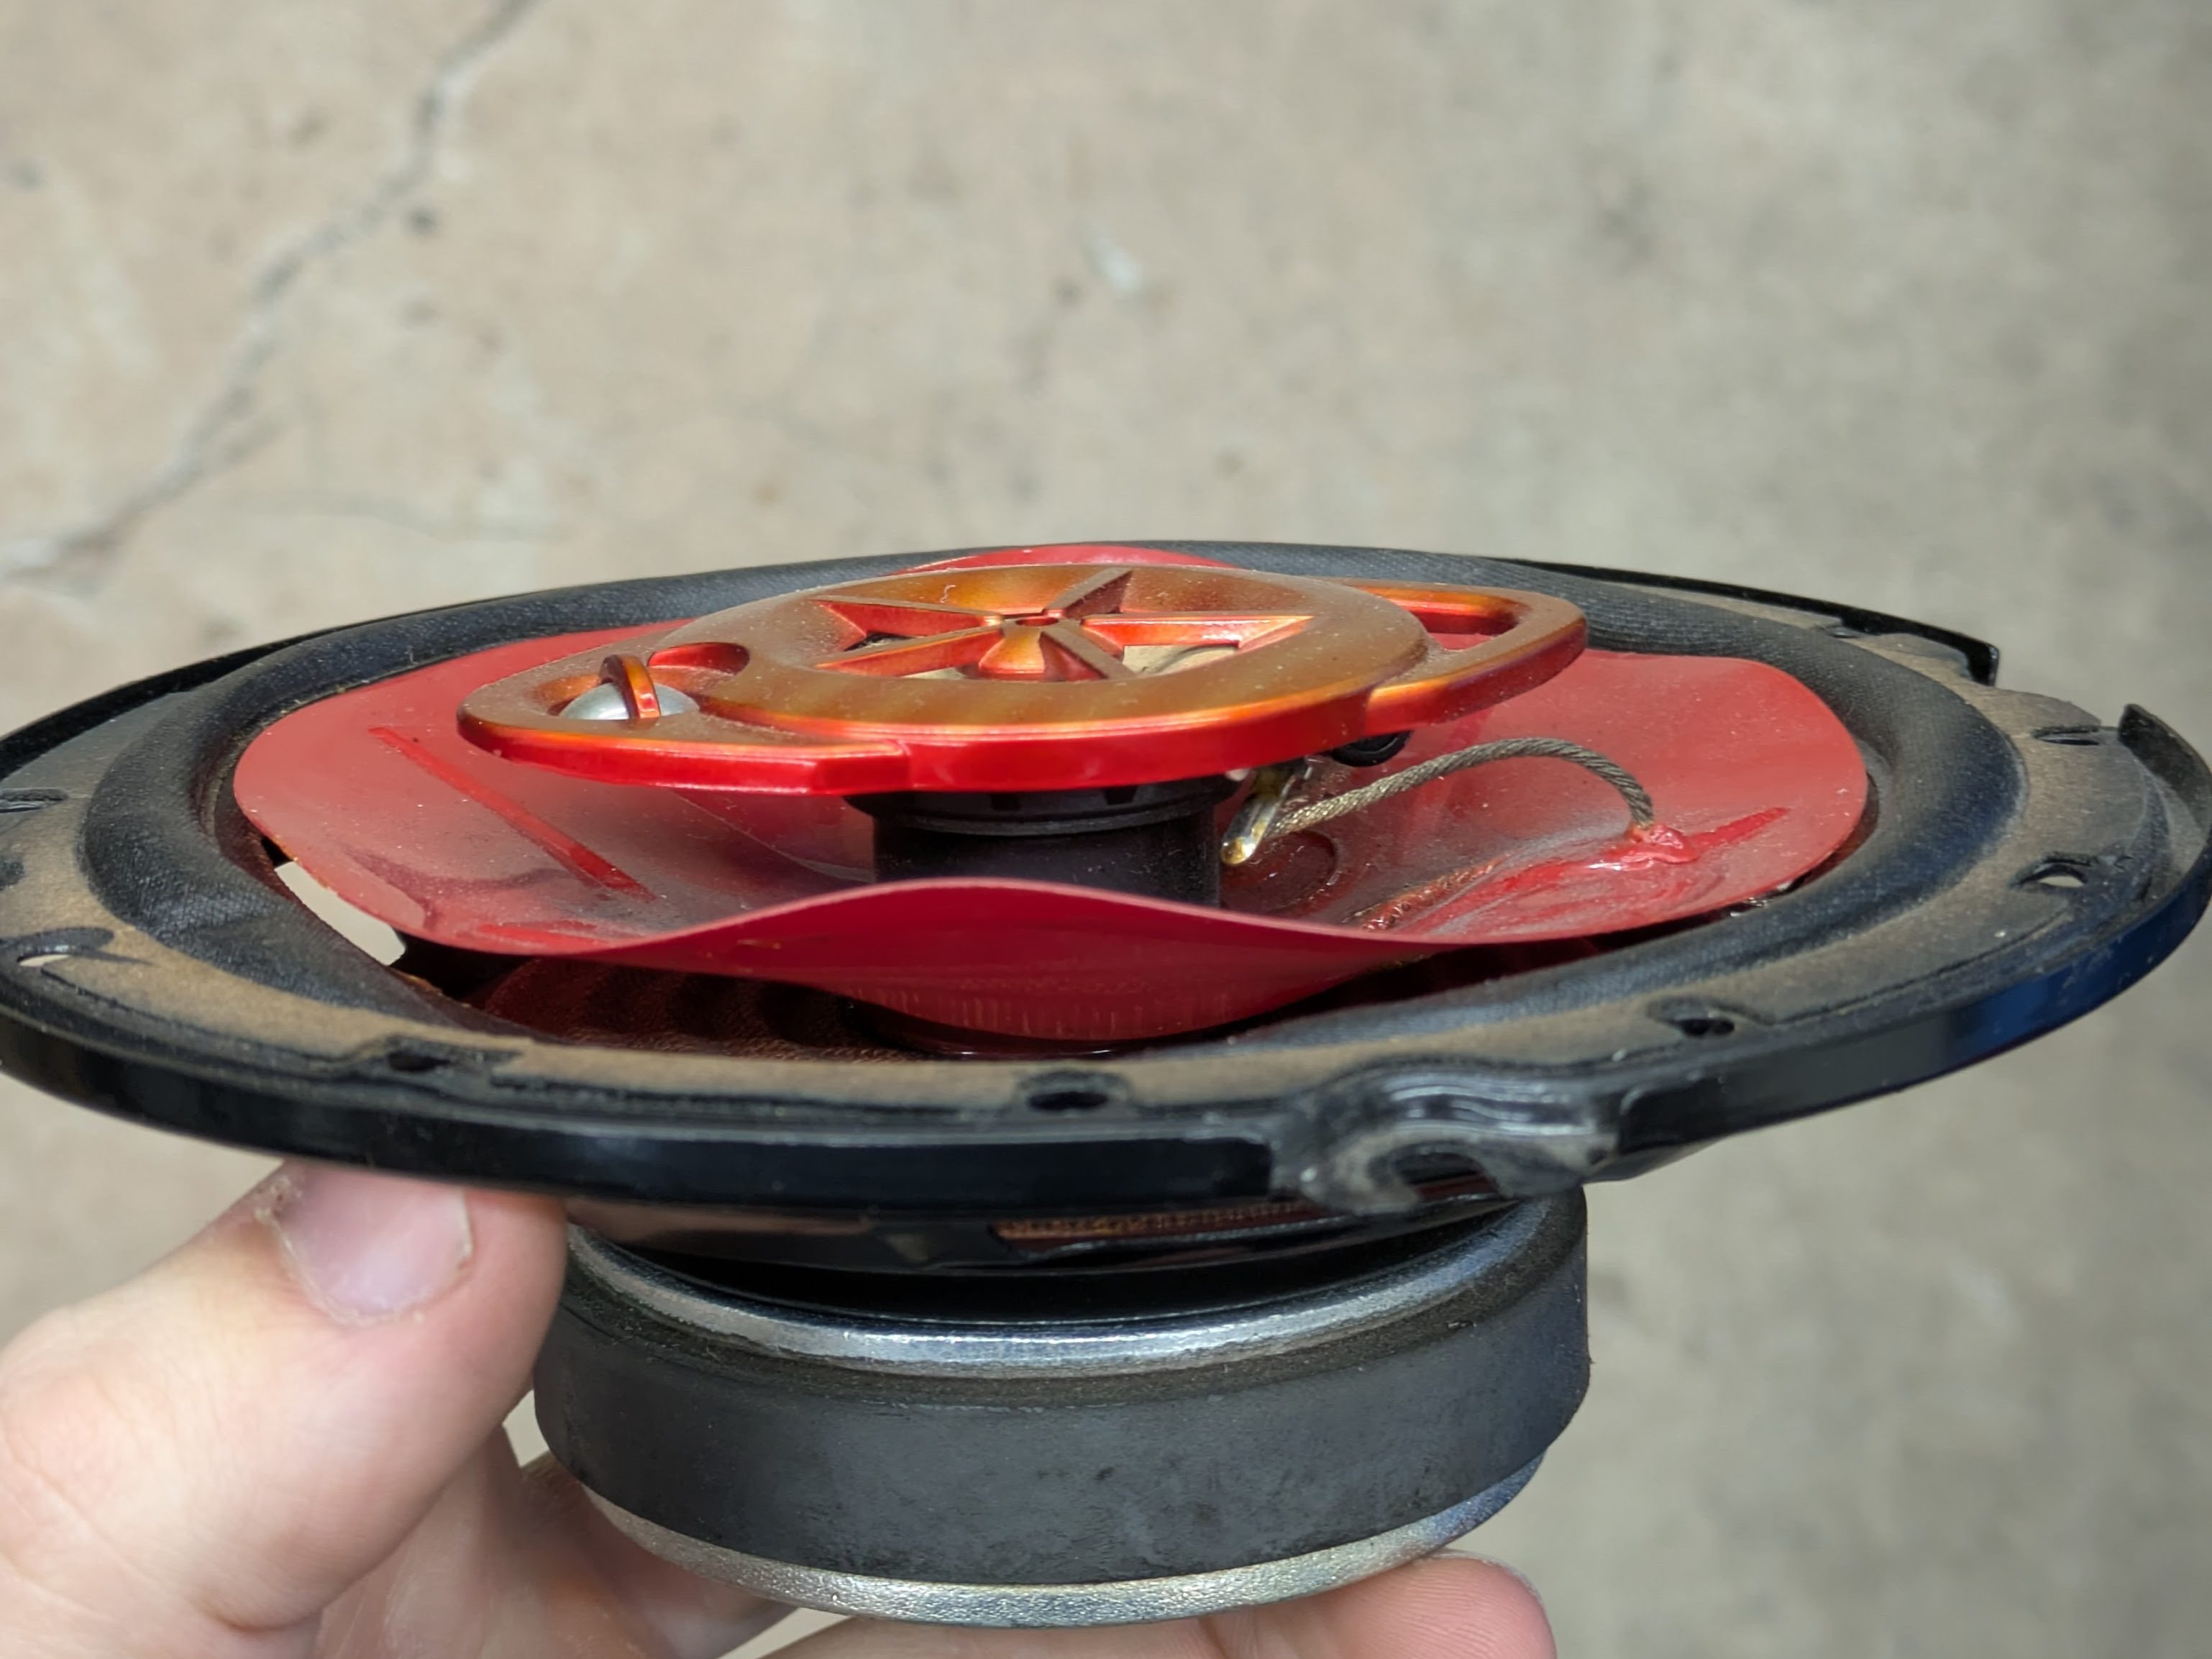
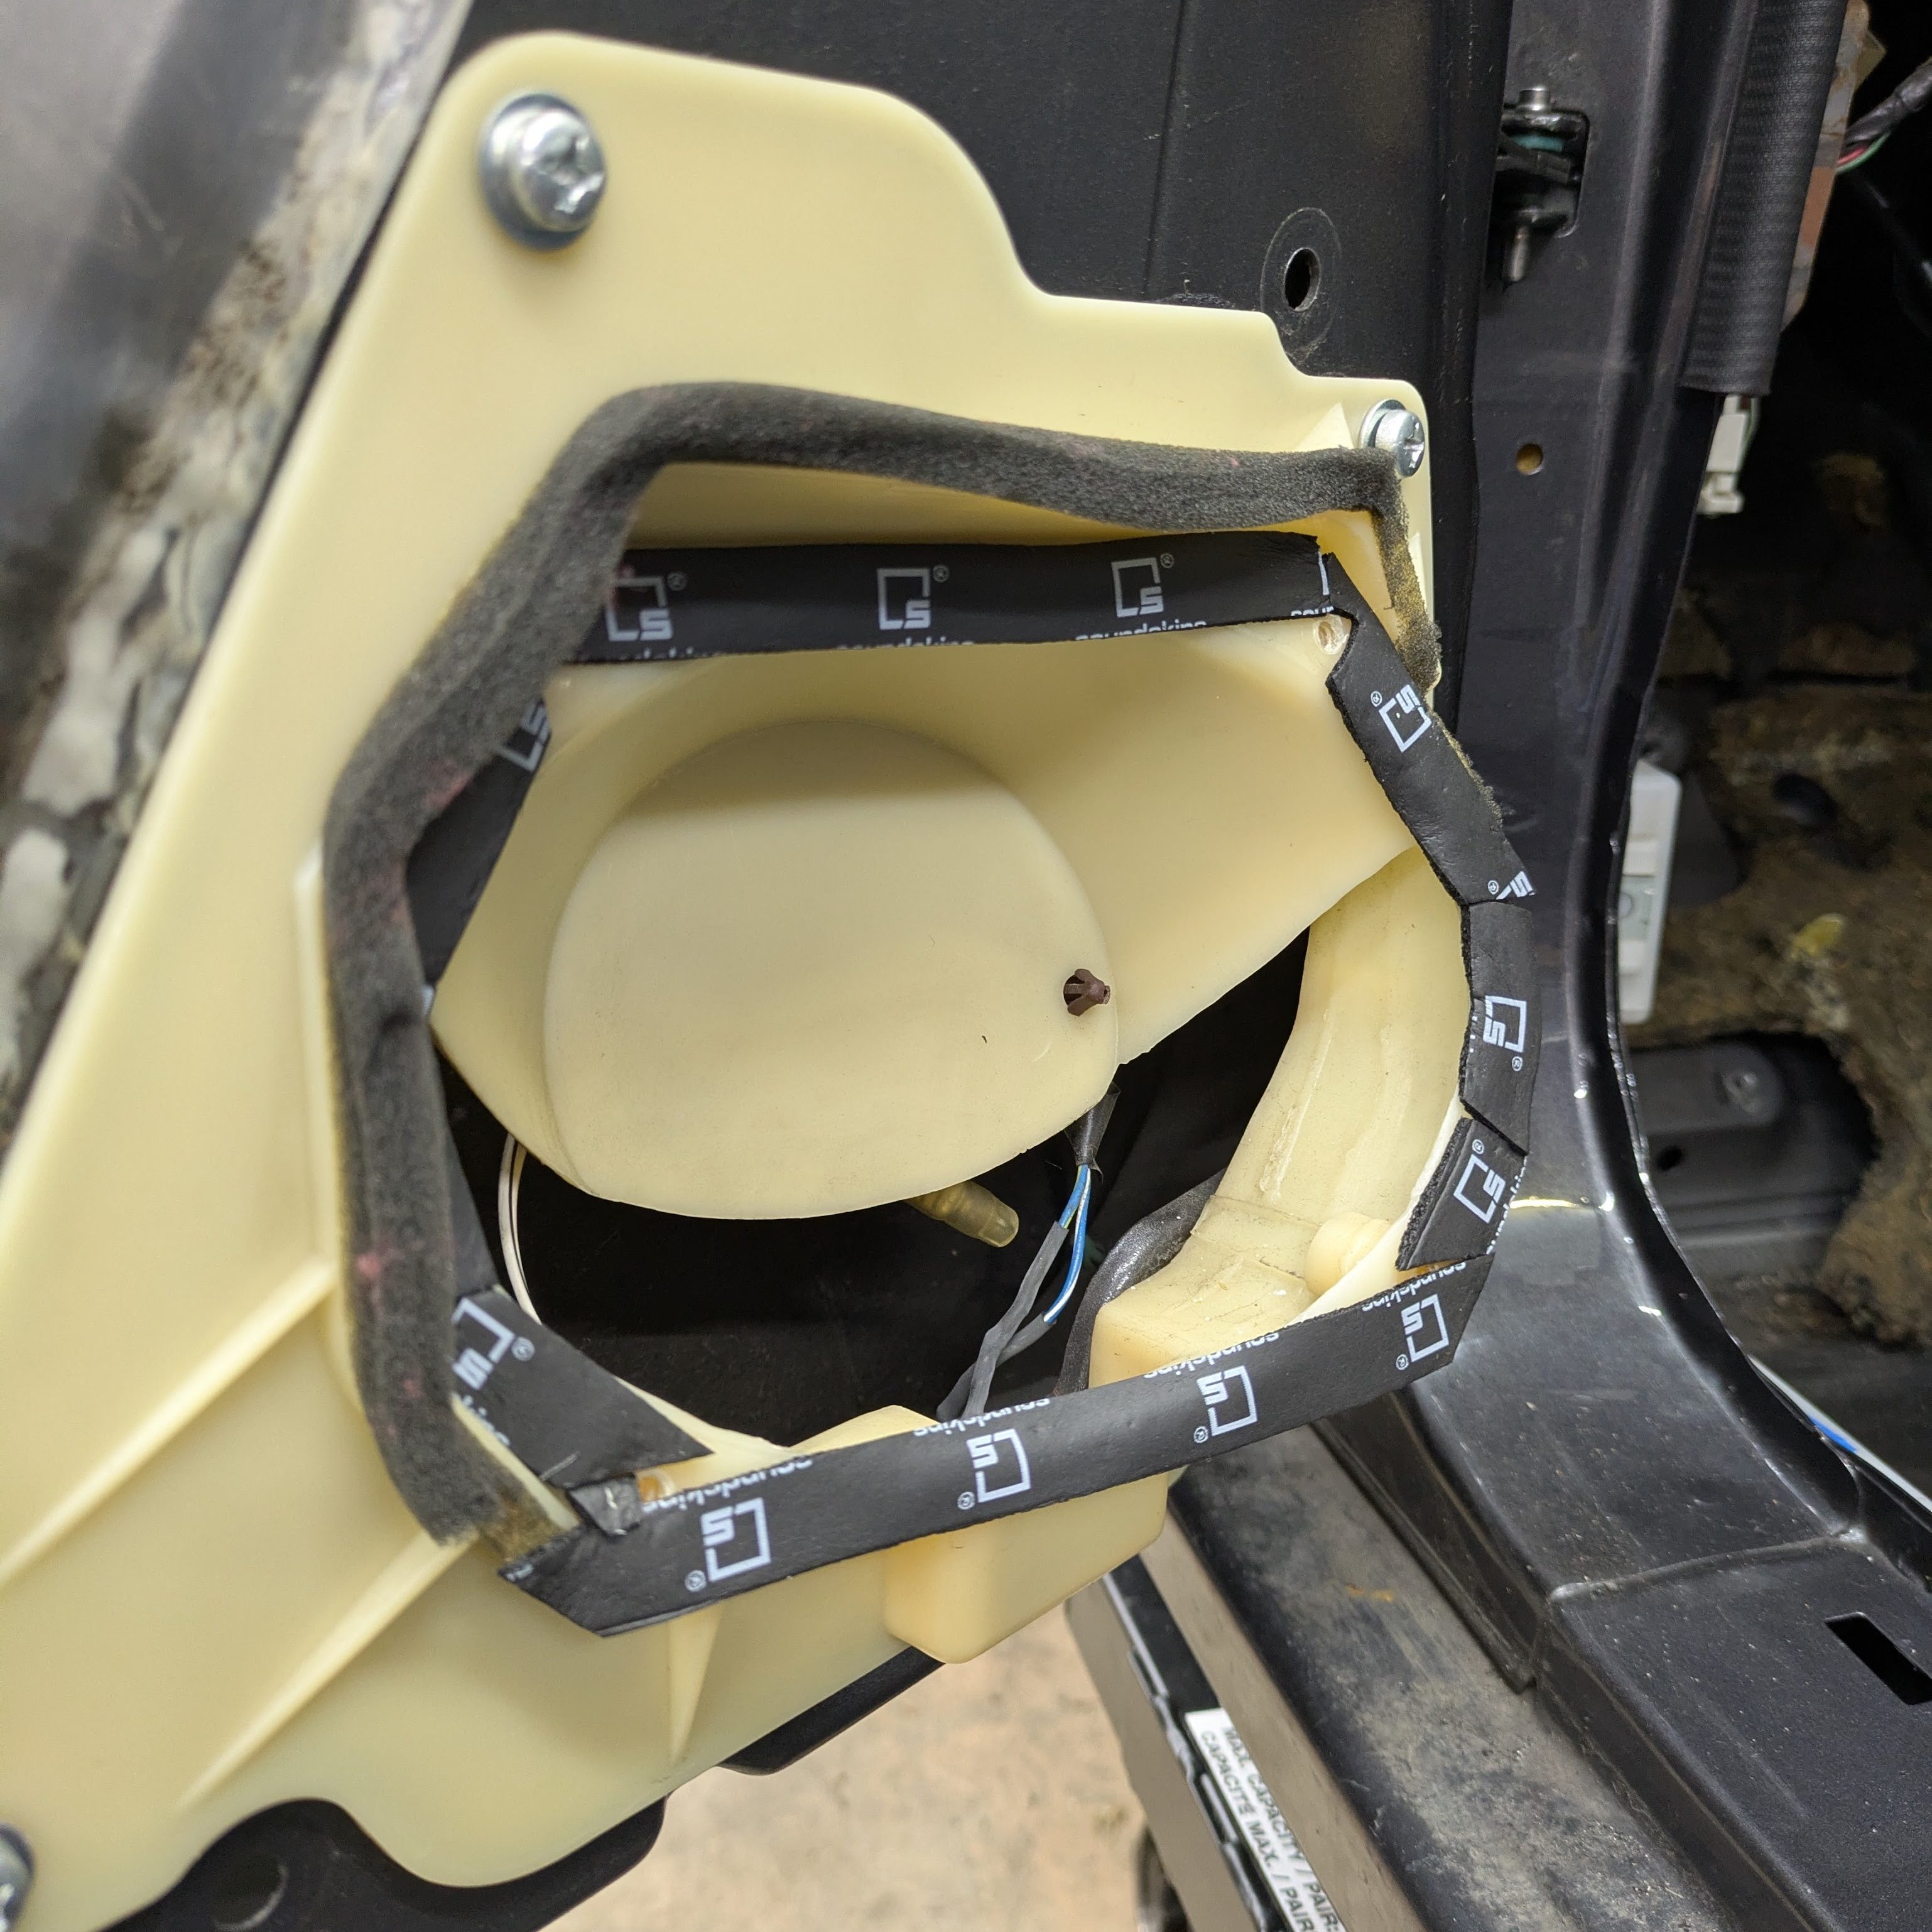
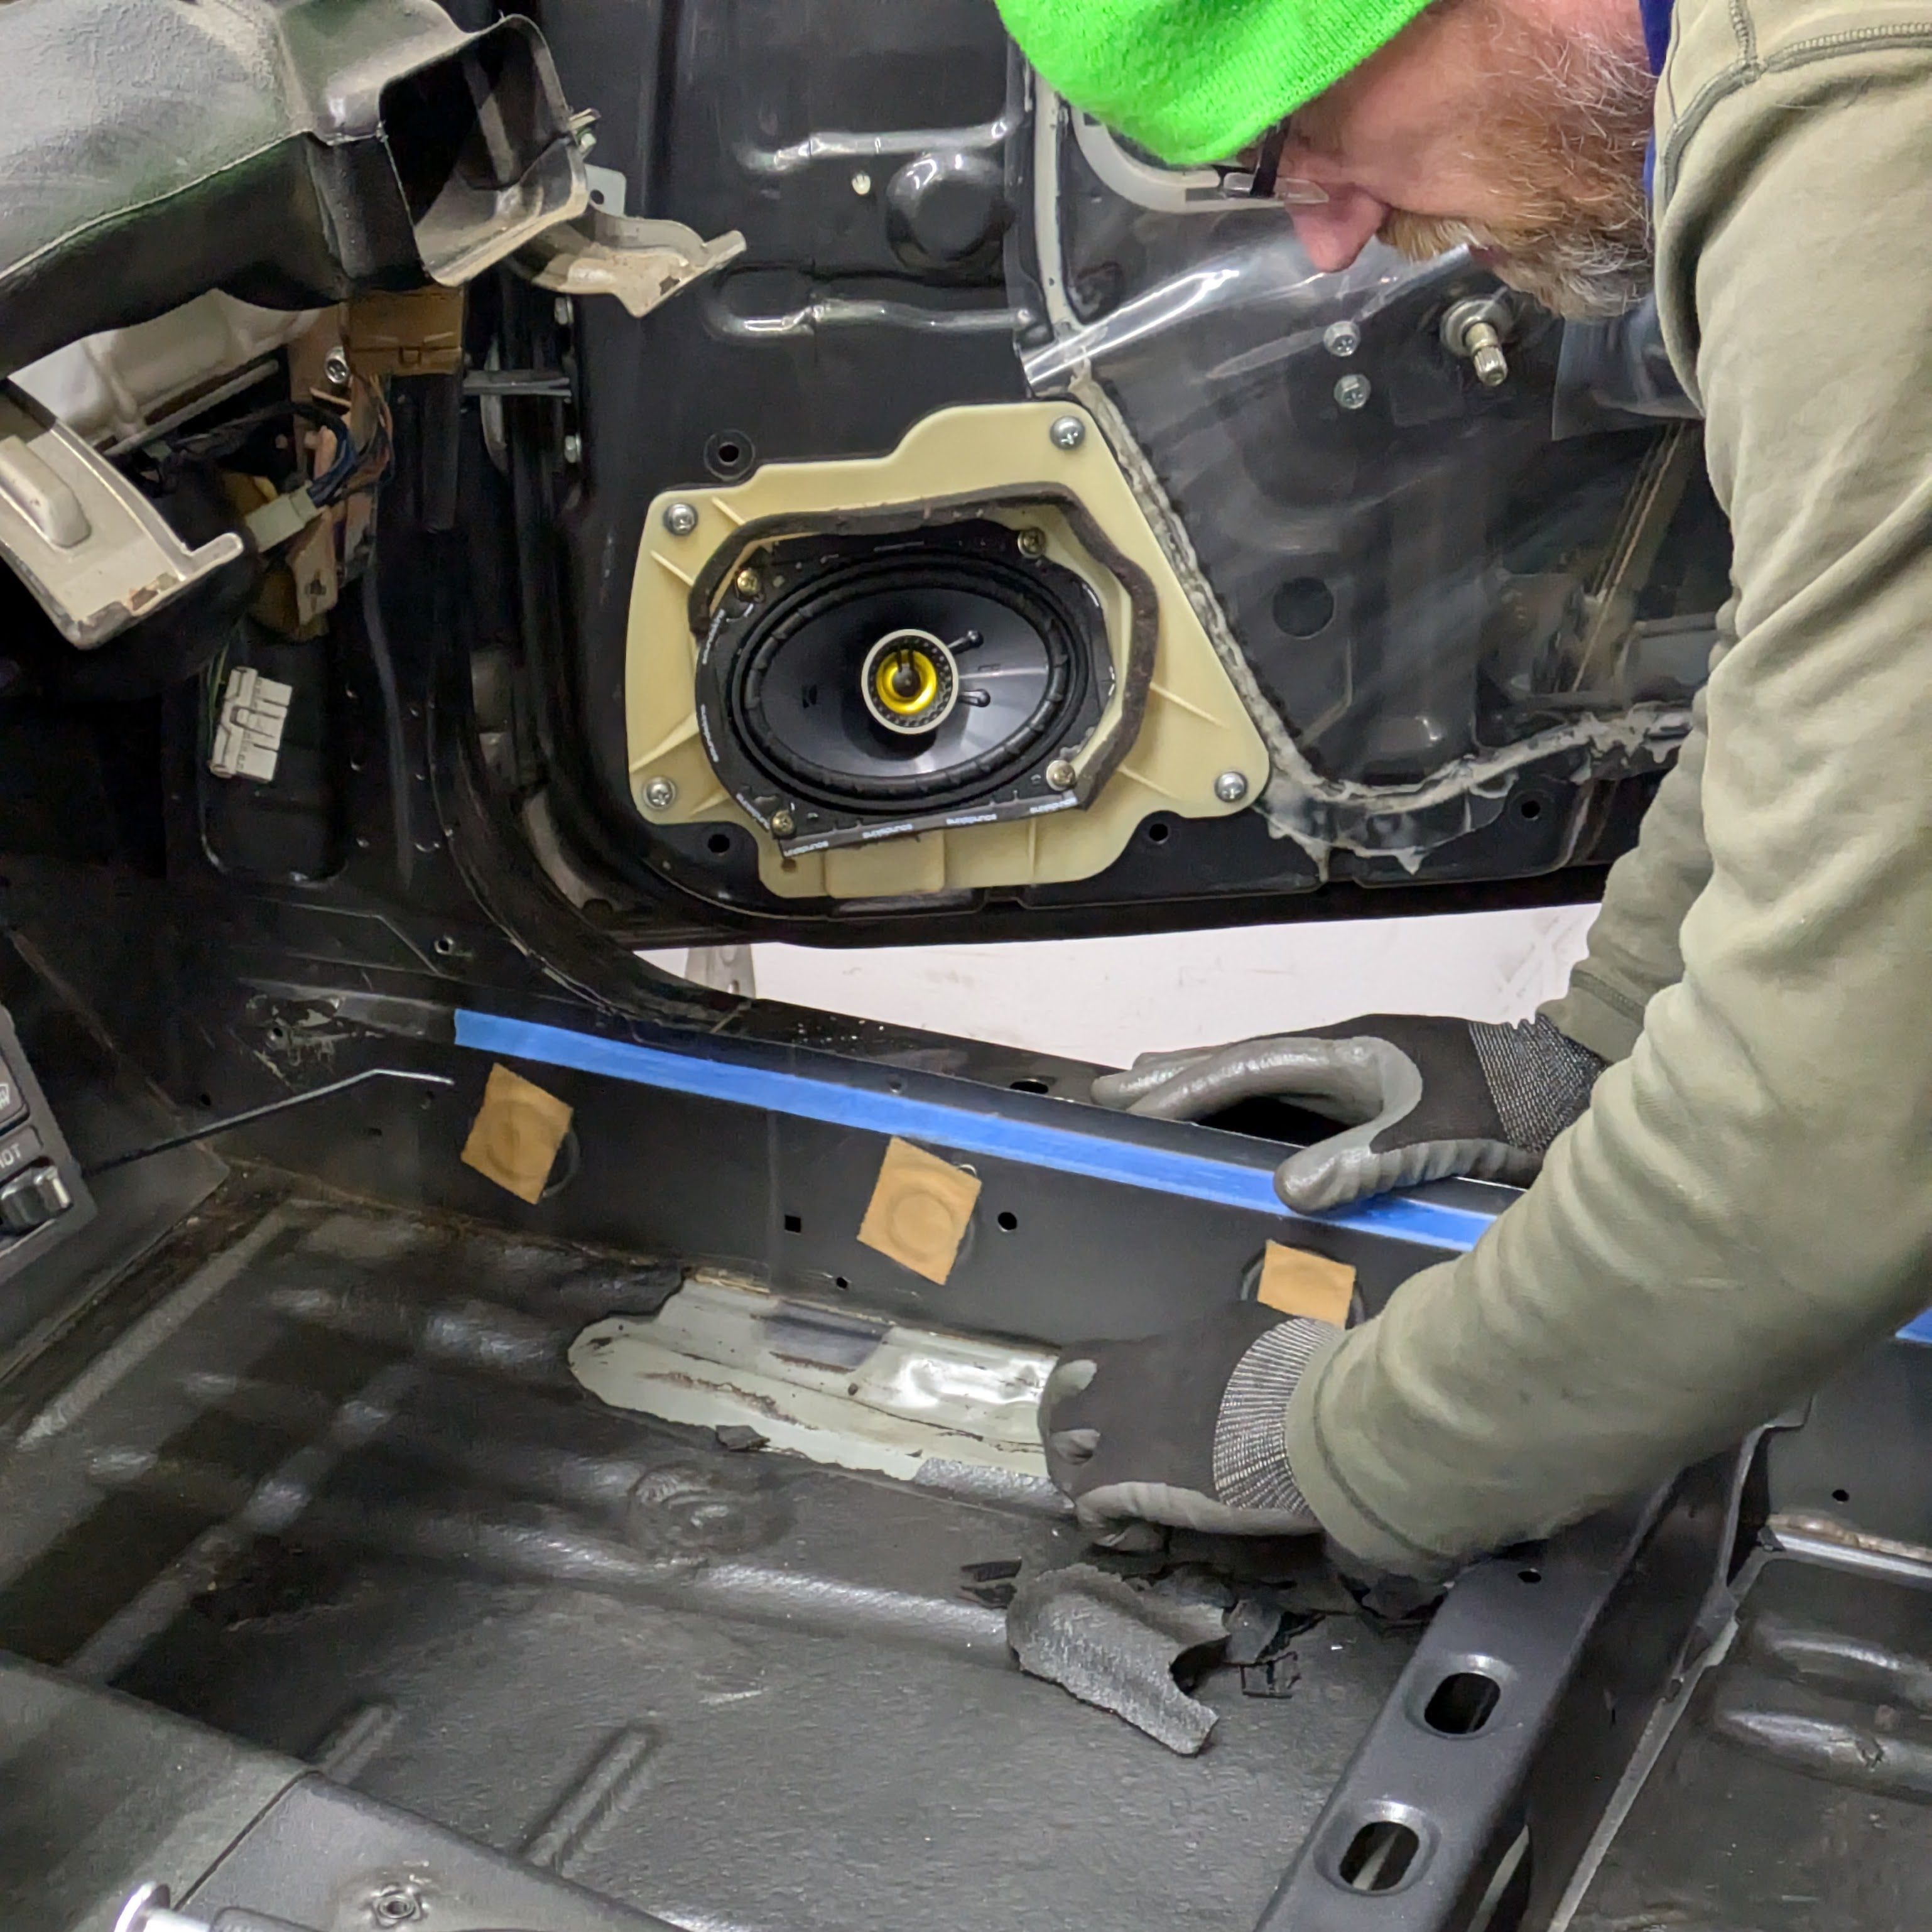
Before we get into the biggest reason that I removed the rear interior, this side quest is very notable. The car came to me with a non-Bluetooth head unit and completely obliterated rear speakers. They were some old Sony Xplods, and they were true to their name. The polypropylene cone was completely separated from the foam surround, which led to a terrible listening experience. The front speakers were in one piece but not much better.
While I don’t expect cars, especially 90s cars with 4 mediocre speakers, to be a reference-grade soundstage, I would like it to not actively buzz the woofer with any low frequency. I made a big Crutchfield order on Black Friday, and with the front door panels removed, it was time to dig in.
You’ll notice a lot of this article is spent trying to combat the fact that this is a 35 year old car. I spent a bit of money and a lot to time trying to hide the fact that all of the clip joints and panels are worn out and rattling to their heart’s content. This car wasn’t actually bad before, but I knew taking it apart wasn’t going to make it any better. Only time will tell if it actually made a difference, but it made me feel good, so that has to be worth something.
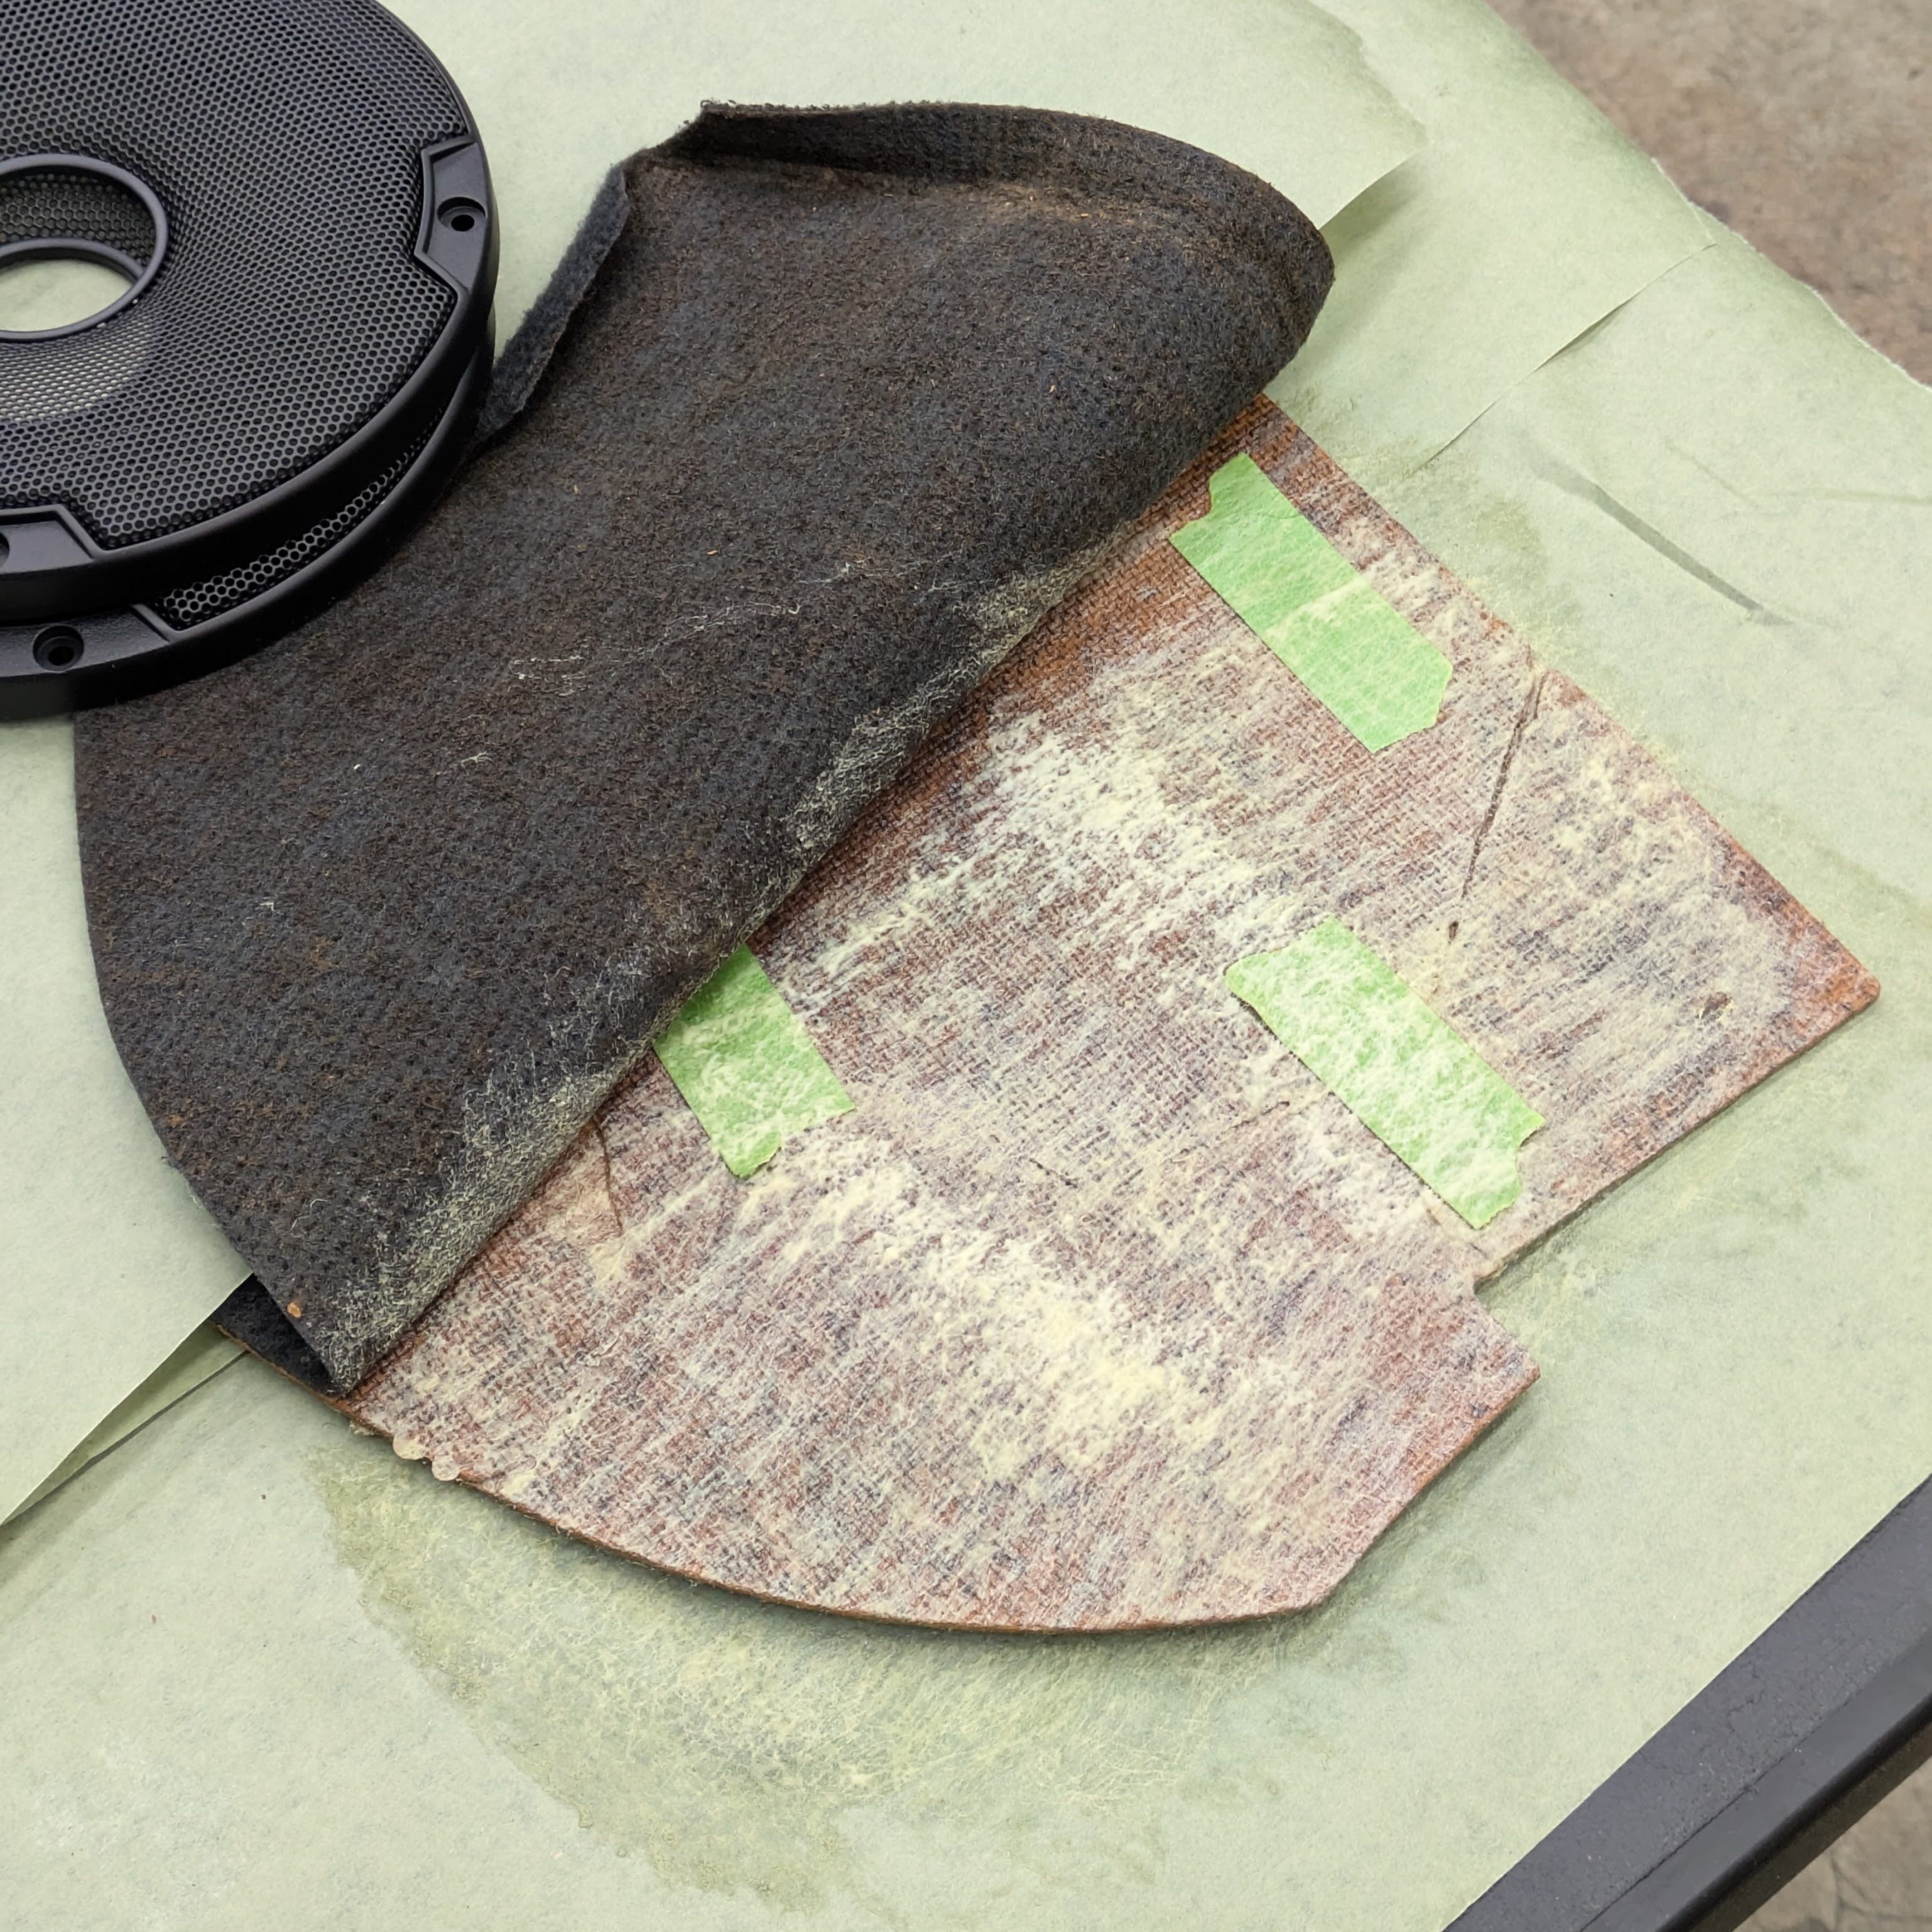
I ended up buying this Soundskins foam tape pack with my speakers. It came in a swanky package (that big cylinder in the unboxing image) and it appears to be well thought out. The adhesive wasn’t wimpy while still being easy to work with, and the foam was the perfect medium density to line panels and speaker with to keep oscillations down. Overall, for coming with a healthy length of 4 different widths, happy customer. We’ll see how it holds up.

Front door speakers fit fine after some minor trimming to the brackets. The S13 door doesn’t accept a 4″x6″ perfectly as they come out of the box, but the required modifications weren’t anything to really complain about. The speaker itself is a Kicker CS coaxial, which I have found to be my favorite of the cheaper speakers that don’t need an aftermarket amp to meaningfully drive them. Crutchfield has their speaker comparison tool where you select what headphones you are using and it can inform you how each speaker line is going to sound, and it’s pretty damn accurate. I did it a few years back when I bought speakers for a different car, and I haven’t been disappointed. They have sounded great (for a car listening experience) in everything I have put them in.

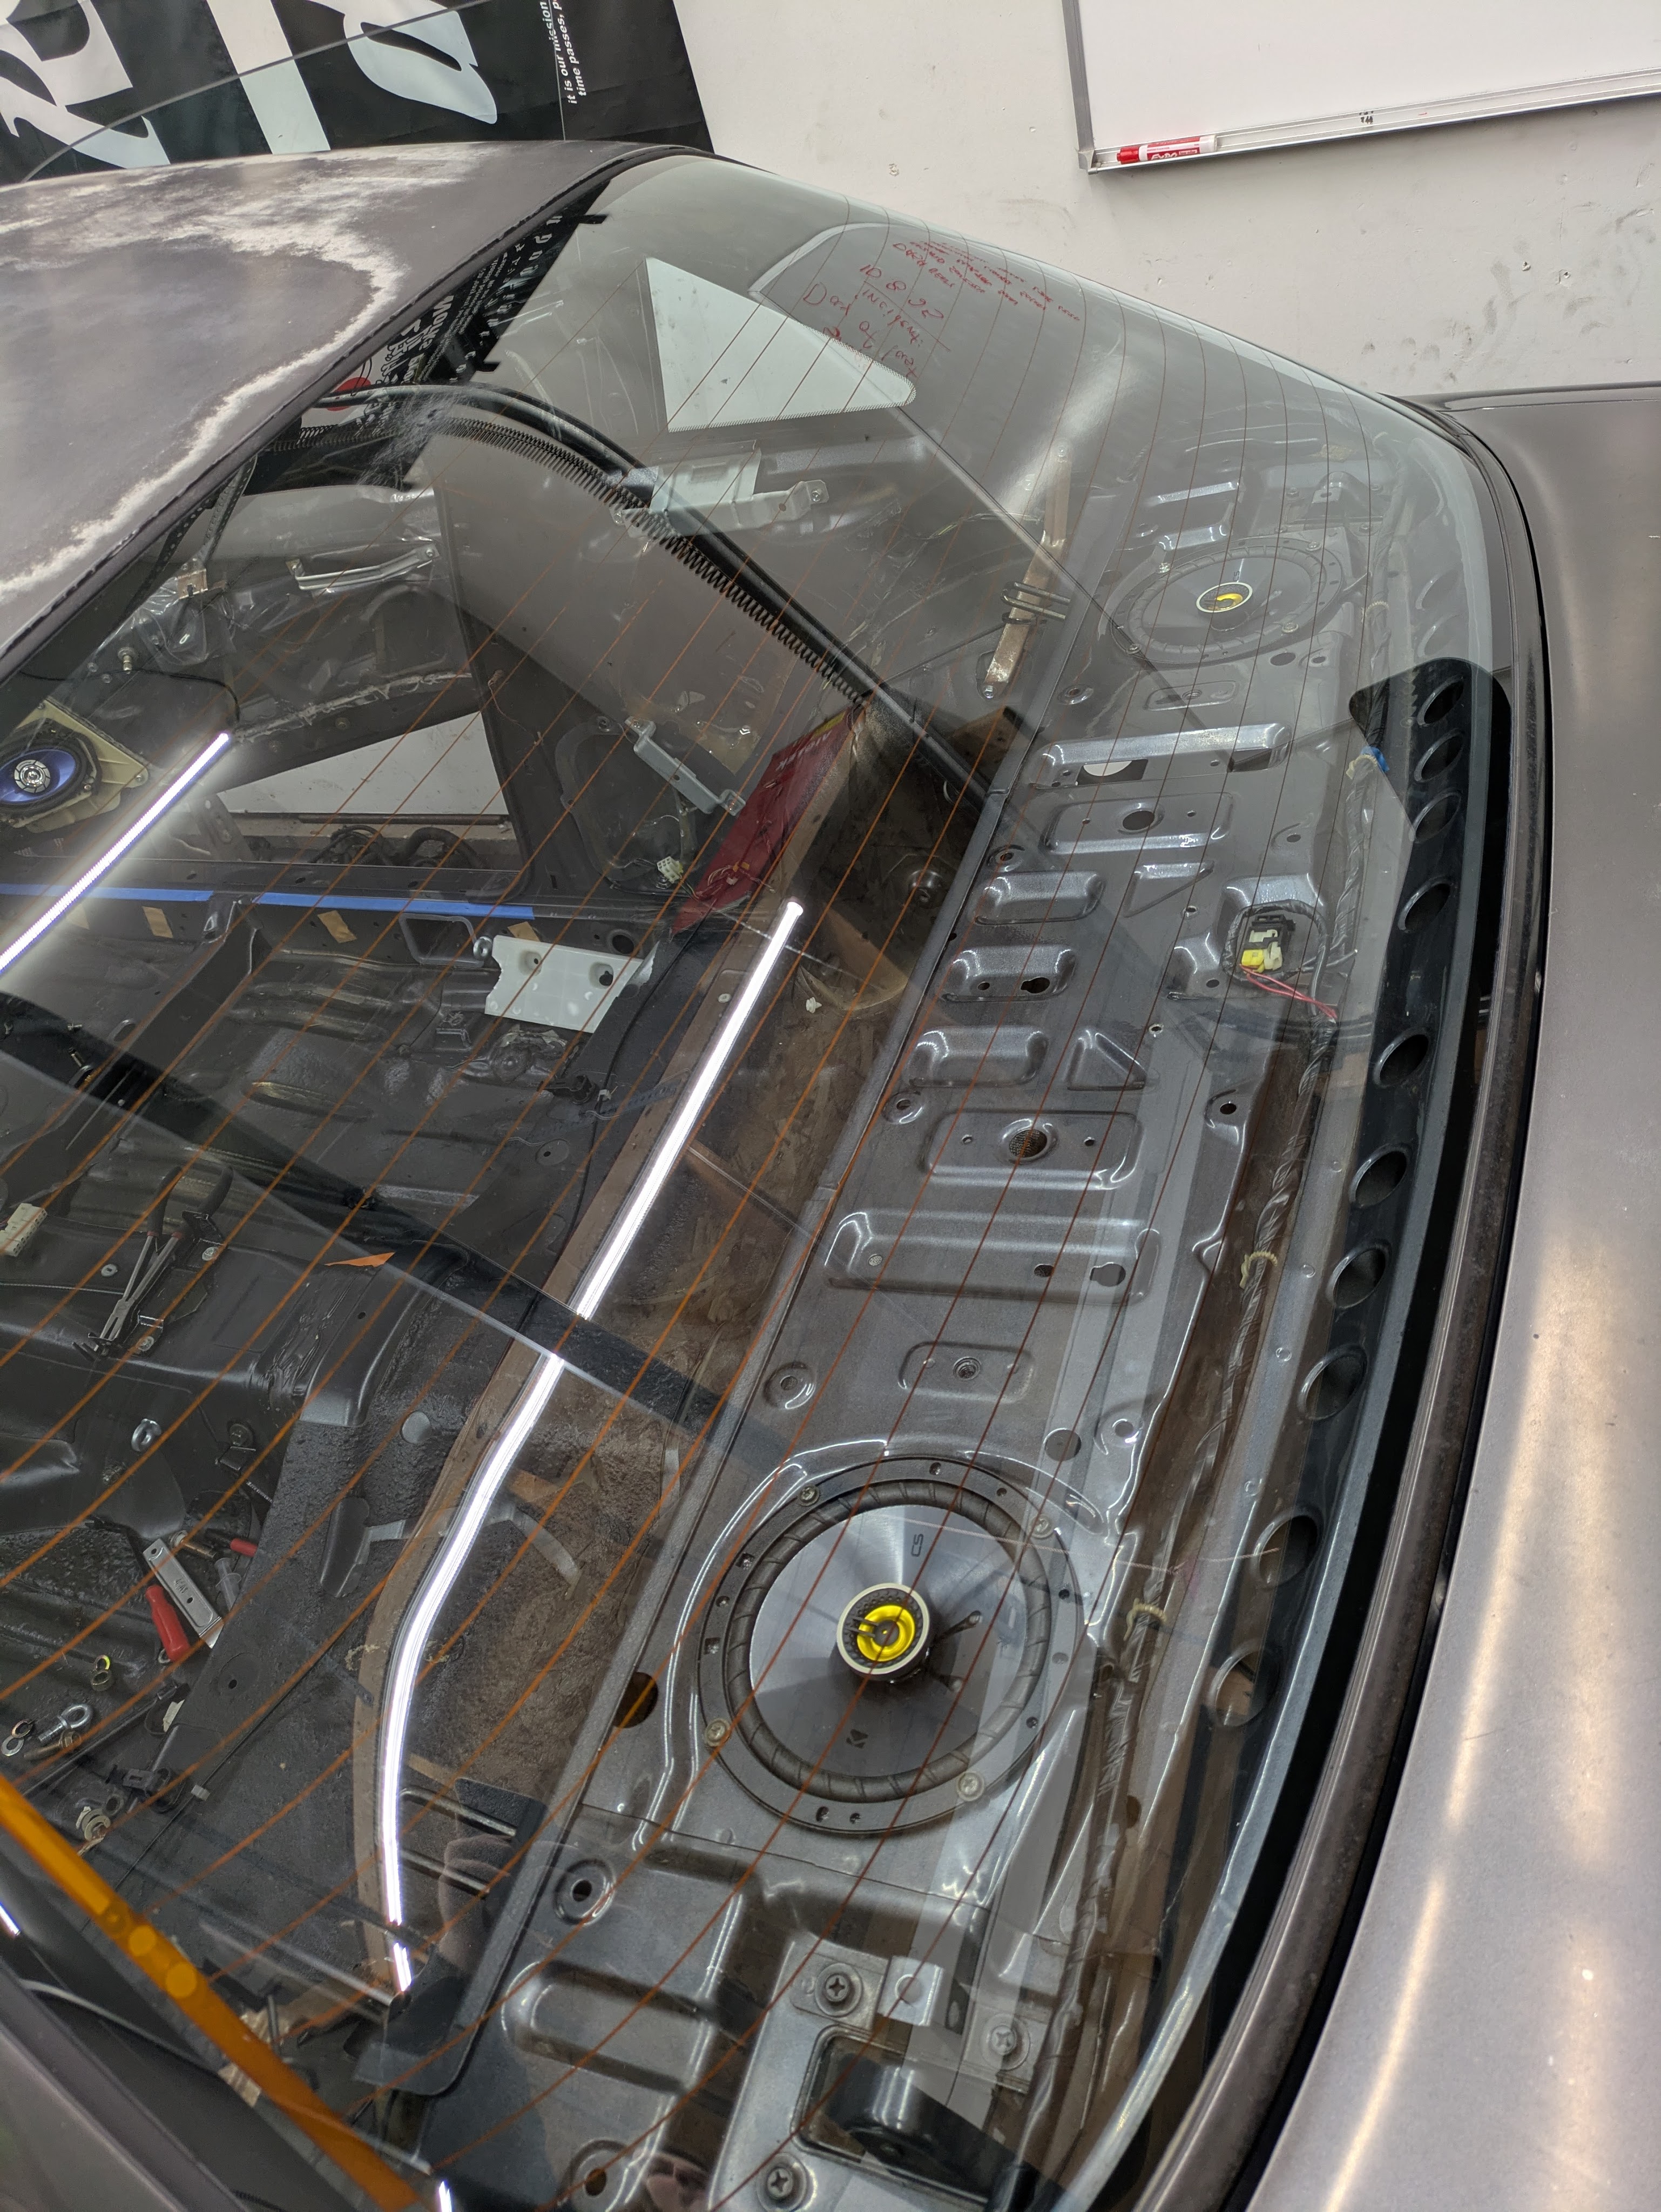
Similar story in the back. Kicker CS Coax in the 6 3/4″ flavor, with the adhesive backed foam being applied to the speaker rather than the bracket on the car. The rear hardware solution was a total shitshow when I got the car, but luckily the magic hardware bin always delivers, and I was able to find 8 course thread Mazda screws that fit perfectly into the rear deck.
With new audio in the car, it is time to get on to the two big projects that soaked up the most time.

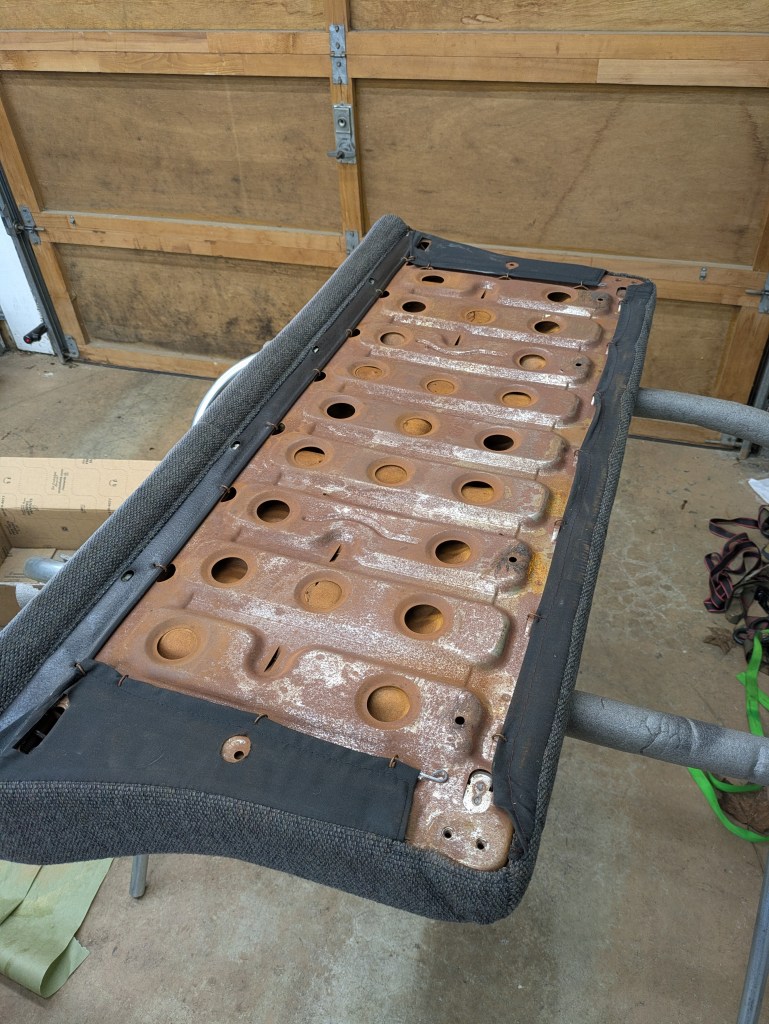
A few months back when I was still actively driving the car, I went to remove the rear deck with the half cage in to diagnose why the audio sounds so terrible, only to detonate the package tray trim on one of the corners. I didn’t know at the time that you can get to all but 2 clips from the trunk, and this was the corner that was behind my head while sitting in the rear seats, and the 35 year old particle board made itself known. I was very bummed and debated just outright replacing or remaking a whole new one, but after looking at it more, and with some encouragement from my father, we decided to just glue it back together.
With the carpet peeled back, which didn’t take much convincing as the glue was also 35 years old, my father went at creating shims and spacers to convince the whole thing to be in one piece again.

This ended up being the final deployment of clamps and blocks to get the parcel shelf back into the right shape. We were able to find most of the small pieces to bridge the junctions, but some of them had turned to dust when it blew up, so we had to leave some voids. Critically, most of the clip locations were still fully intact, so we knew it would be plenty structural when it was back together. The glue we selected was Titebond III for it’s temperature tolerance and cured strength, and the wood blocks had Tyvek tape on them to prevent the glue from bonding the blocks to the package tray. The whole thing was creatively propped up on boxes to ensure that there was no stress, as the rest of the tray was still super tender.
Fortunately the whole endeavor was a success and we didn’t end up having to remove any of the vents or other trim pieces to do it, which was a concern given the design of the retention washers. I can’t take any meaningful credit for this project as I was busy dicking around with speakers and other interior side jobs. Ed did all of this in a long weekend day. I helped where multiple hands were needed, but this was all him.
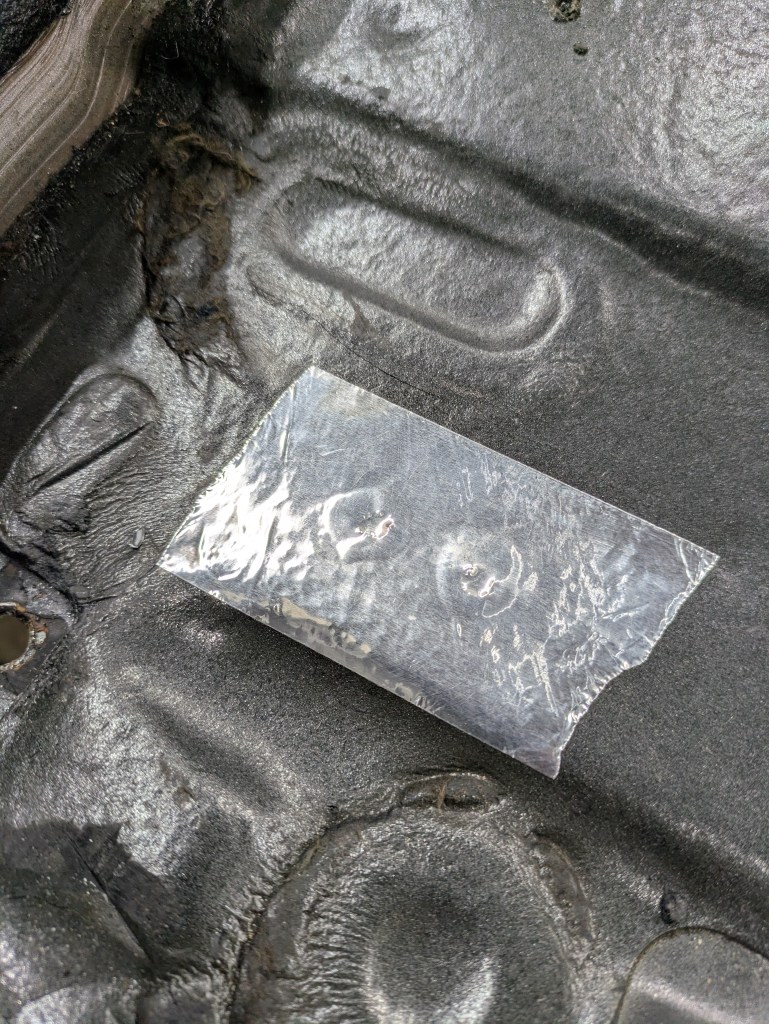
I let the whole tray cure for 48 hours before unclamping, and re-stuck the carpet down with some 3M 90 High Strength spray adhesive. I opted to spray it on the tray itself as I was worried about the glue bleeding through the carpet and being visible. I think it would have been fine, but the carpet is plenty stuck with the glue only on one side. The green tape is there to replicate a similar feature to the factory assembly. If you were to just glue the carpet straight to the board, there would be no air gap to slide the clips into their homes, so the factory had these small pieces of paper that covered the hole locations that allowed the clips to be inserted without splitting the board apart. Pretty slick.
With the carpet reattached, I also reattached what was remaining of the insulation material that pretty much fell off when the package tray came apart. Nothing special, same 3M 90 adhesive, and it worked perfectly. You can see the little green tape pieces peeking through on the nearside clips. They did their job perfectly. I ended up touching up a few other areas of the carpet that were peeling up, and you can’t tell that it was multiple pieces at one point.

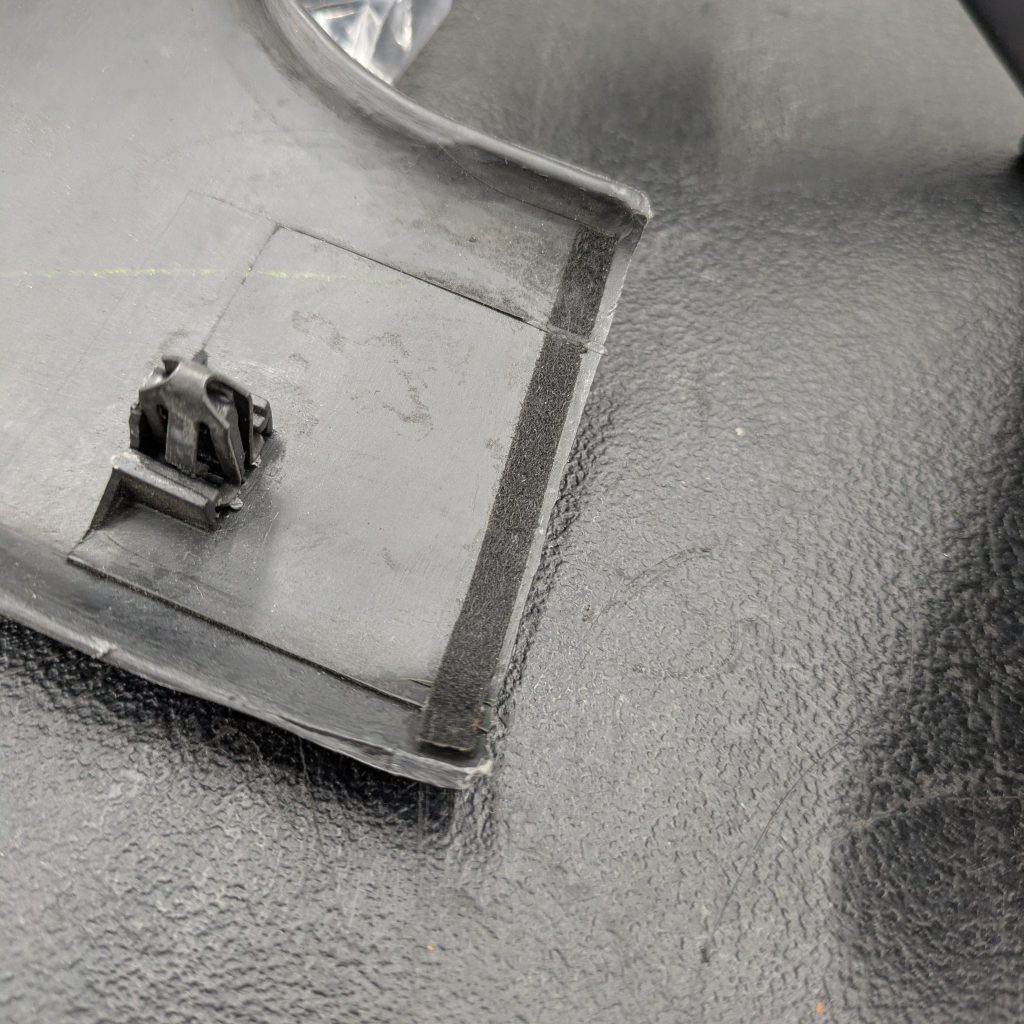
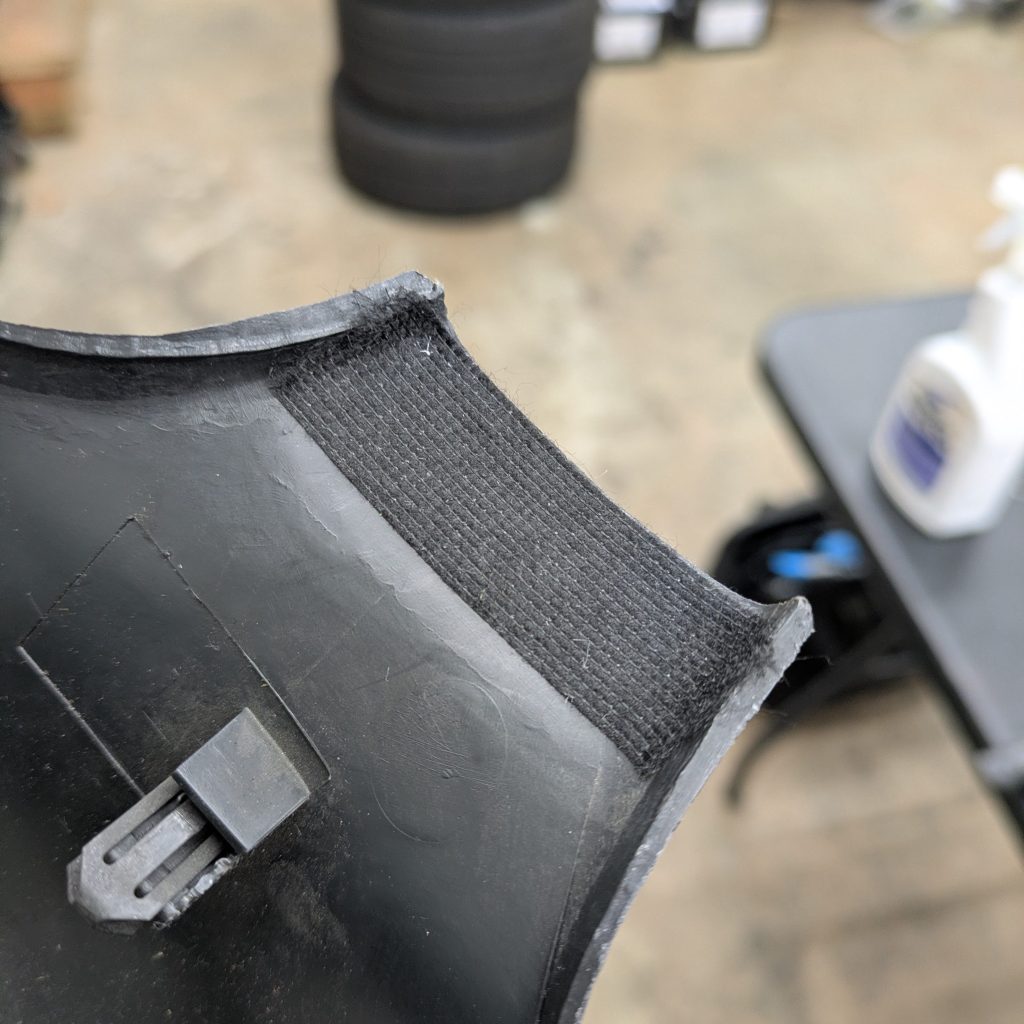
Skipping ahead a bit to round out the last few tasks on the package tray, I ended up reconstructing these support blocks out of my adhesive backed foam. There are two of these that hold up the corners of the package tray right at the very corners where there is no support. One had went entirely missing, so with the dimensions stolen from the other one, I was able to make a functionally similar part. The new one obviously just sticks in, and I superglued the old one in as it still had some three dimensional transfer left behind, so I could locate it appropriately. Also worth noting, I applied a brand new strip of the same Soundskins foam tape along the very back edge of the tray to replicate the old open cell foam that was severely degraded. It sits on a little shelf that is spot welded into the tray, and supports the very back lip. I also colored the very back lip with black paint pen because you can see it from some angles through the rear glass…
No diagnosis needed. Without a doubt an autism card holder.
Anyway, with the speaker covers back on and all the clips reinstalled, the tray went back on with no issues, and looks perfect. All of that time and effort expended was very much worth it. The 3rd brake light hole is still present, but I have a plan to fill that.
Ok, now we can actually get to the reason that all of this interior came out:

For those unaware, all USDM S13s got power seatbelts. While not as prolific as pop up headlights or AC vents for your balls, they were a staple of the 90s, back when the NHTSA let automakers choose whether they put airbags or automatic seatbelts in to keep up with new safety standards. Obviously, history has told us which one of those ended up being the safer and more reliable option.
My seatbelts functioned perfectly, which is becoming more and more rare. But due to the use case of the car, I wanted a safer belt that played nicer with bucket seats and didn’t have a computer decide if I had passenger restraint that day.
The S14 seatbelts pictured above were actually the second thing I purchased for the car, mere days after getting back from Idaho. I knew I wanted 3 point seatbelts as very little of the power stuff was still in the car, and my only option at the time was a 4 point (later a 6 point) race harness. I stomached it through the summer, but I knew I wanted normal 3 point belts for the street going forward.
S13s did come with normal 3 point seatbelts in other markets (basically everywhere but here, including Canada), however the parts to do the manual seatbelt conversion properly, especially to a coupe, are large and insanely expensive. If you want to get full CamryOnBronze with it, you need the belts themselves, the fancy little arms that extend the seatbelts forward from the pillar (coupe specific thing), the A and B pillar trim (since it doesn’t have to accommodate the space for all of the power components), some metal brackets, and a new fucking headliner that is slimmer in the right areas. Damon actually has a really great write-up on everything you need, but after checking prices in 2025, I knew that dropping $700-$1000 dollars for seatbelts and related parts wasn’t really what I was looking to do. All of my interior panels are pretty nice, so I figured I would just make something else work.
That something else ended up being S14 seatbelts. By this time, Nissan had started putting airbags in all their cars, so it just had normal 3 point belts with a buckle. You can also use B14 Sentra belts, but S14 was more proven, and I scored a complete set for a good deal on eBay. This project isn’t without it’s hurdles, and while there are a lot of ways to skin this cat, this is the way that I did it.
After taking out the power belts, which I did as soon as I got the interior out, there are a few things that become immediately obvious as soon as you start looking at this setup.
- There are none of the holes in the interior panels or carpet for the belts to pass through, as they are effectively all external with the power belt setup.
- Because of all of the components within the B pillar, the pillar trim is significantly stood off from the structure itself.
- The reel for the seatbelt itself only bolts up to one mount.
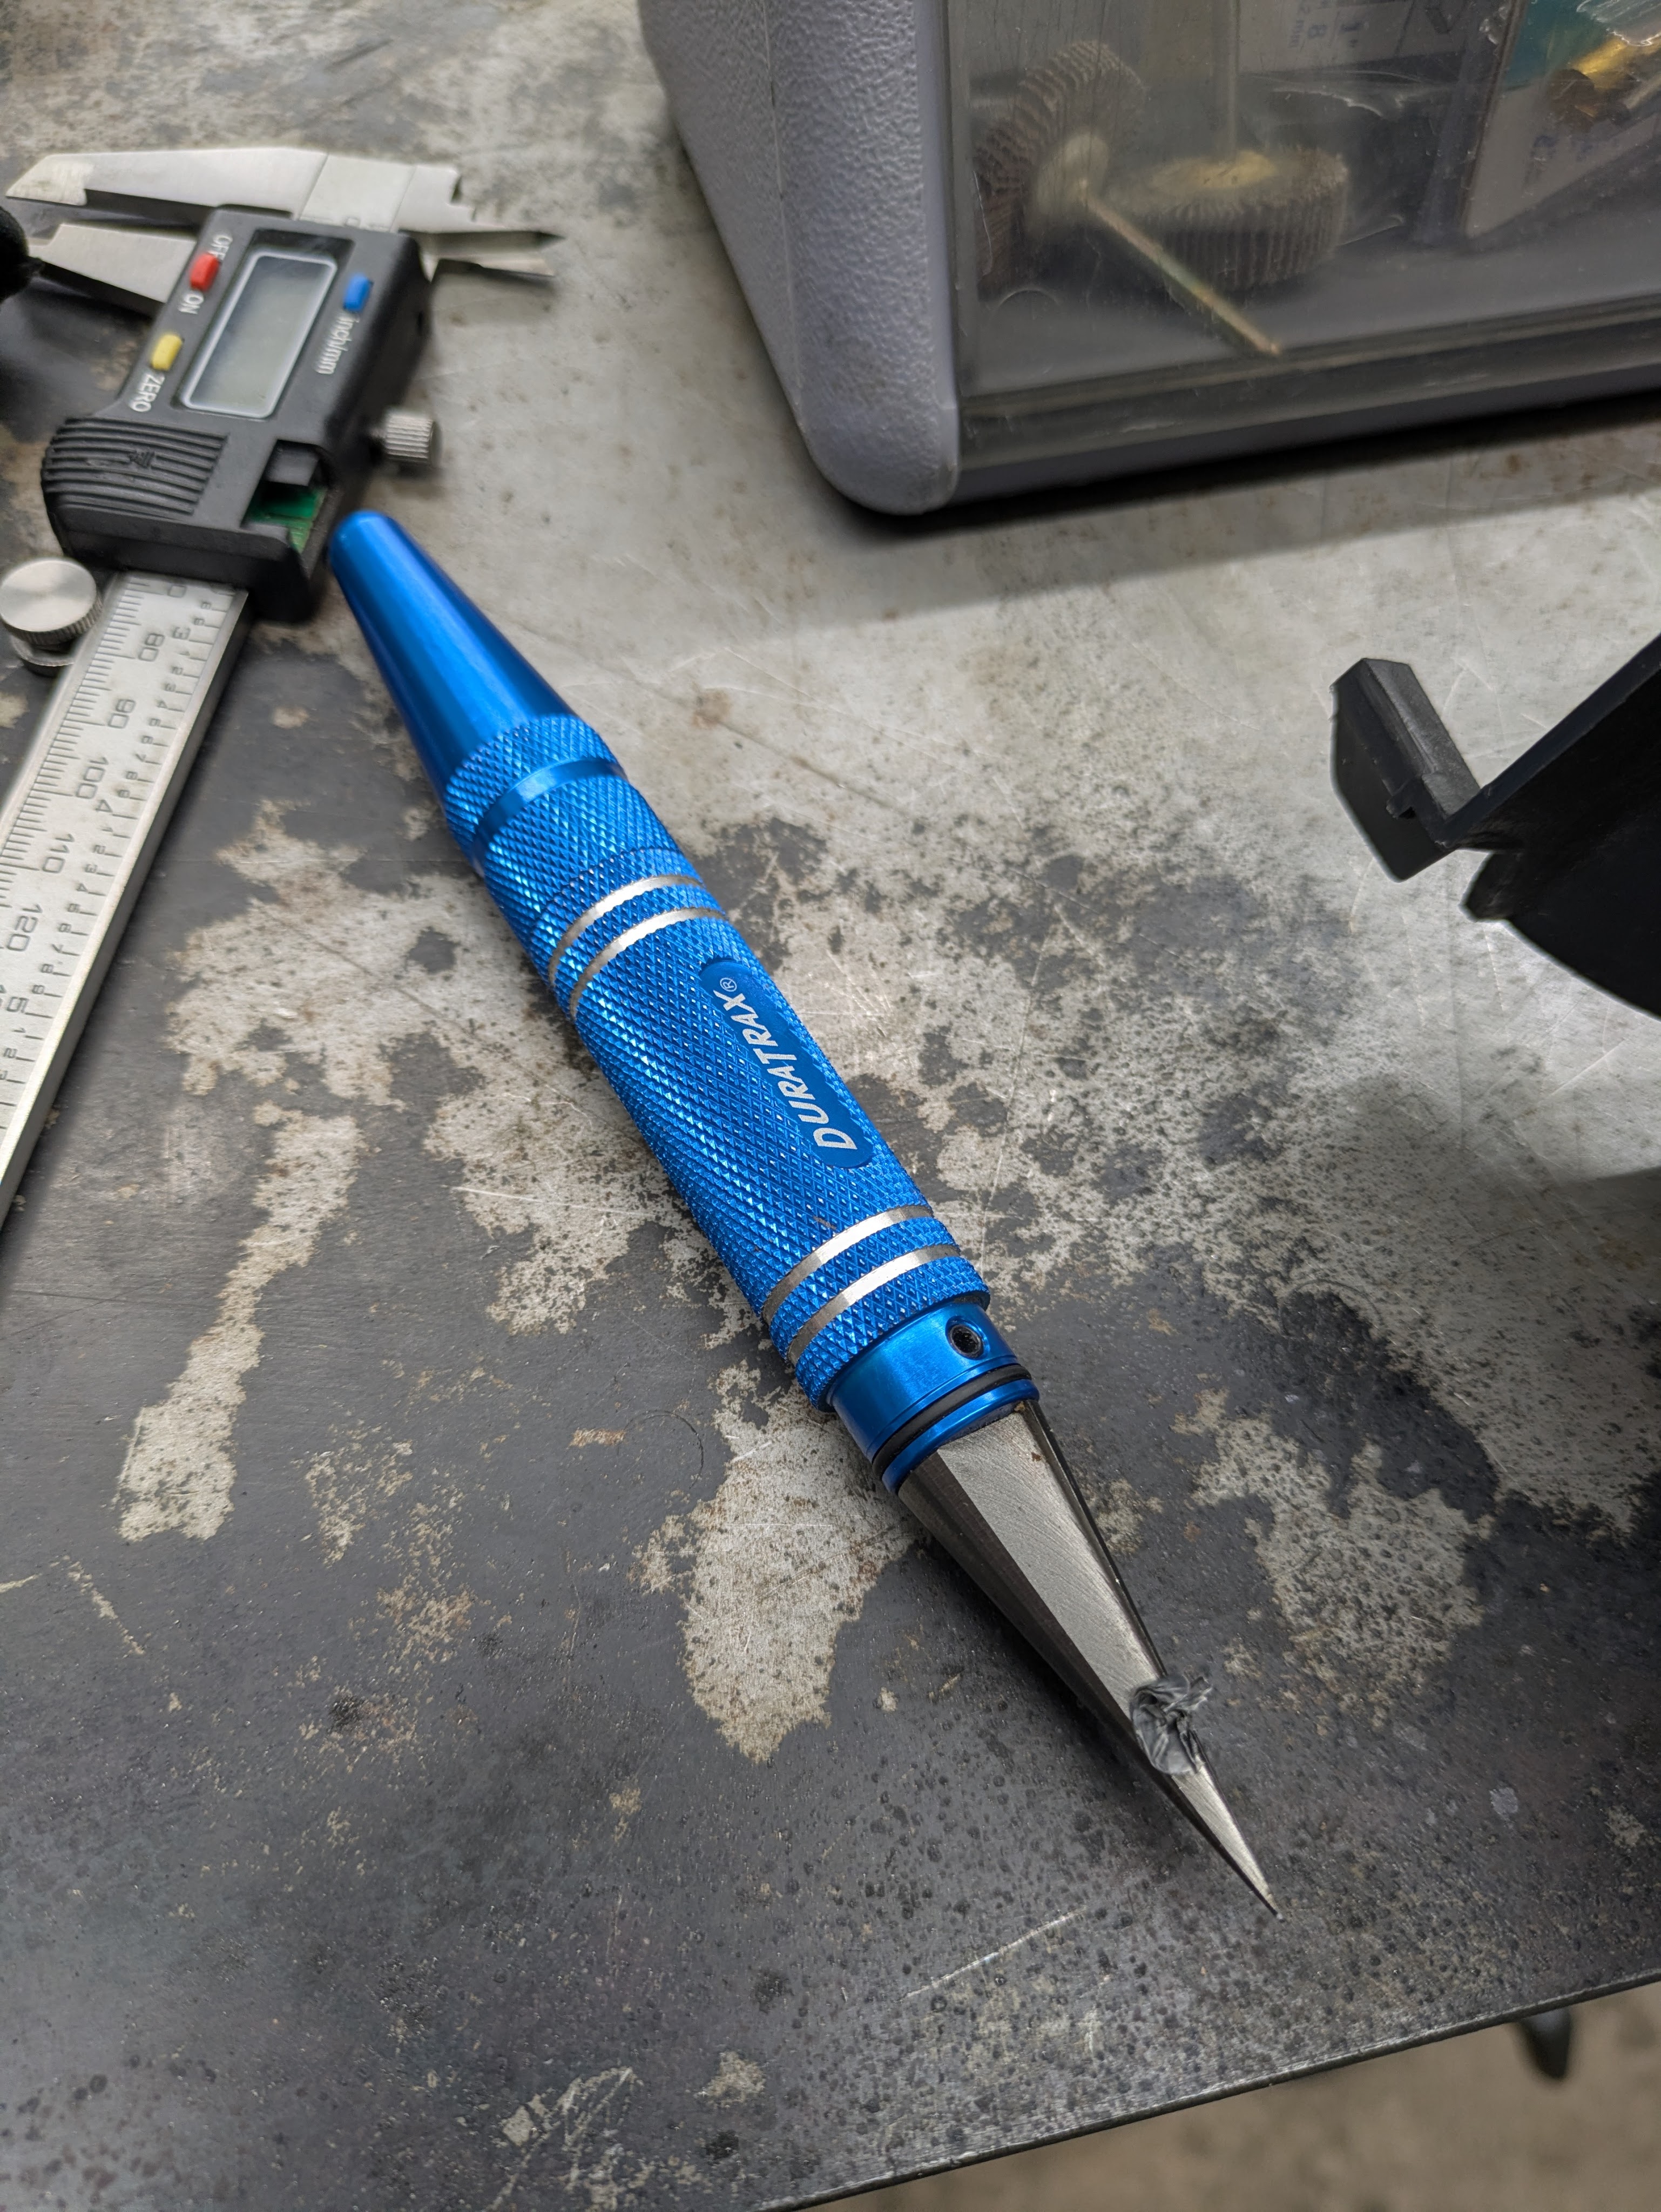
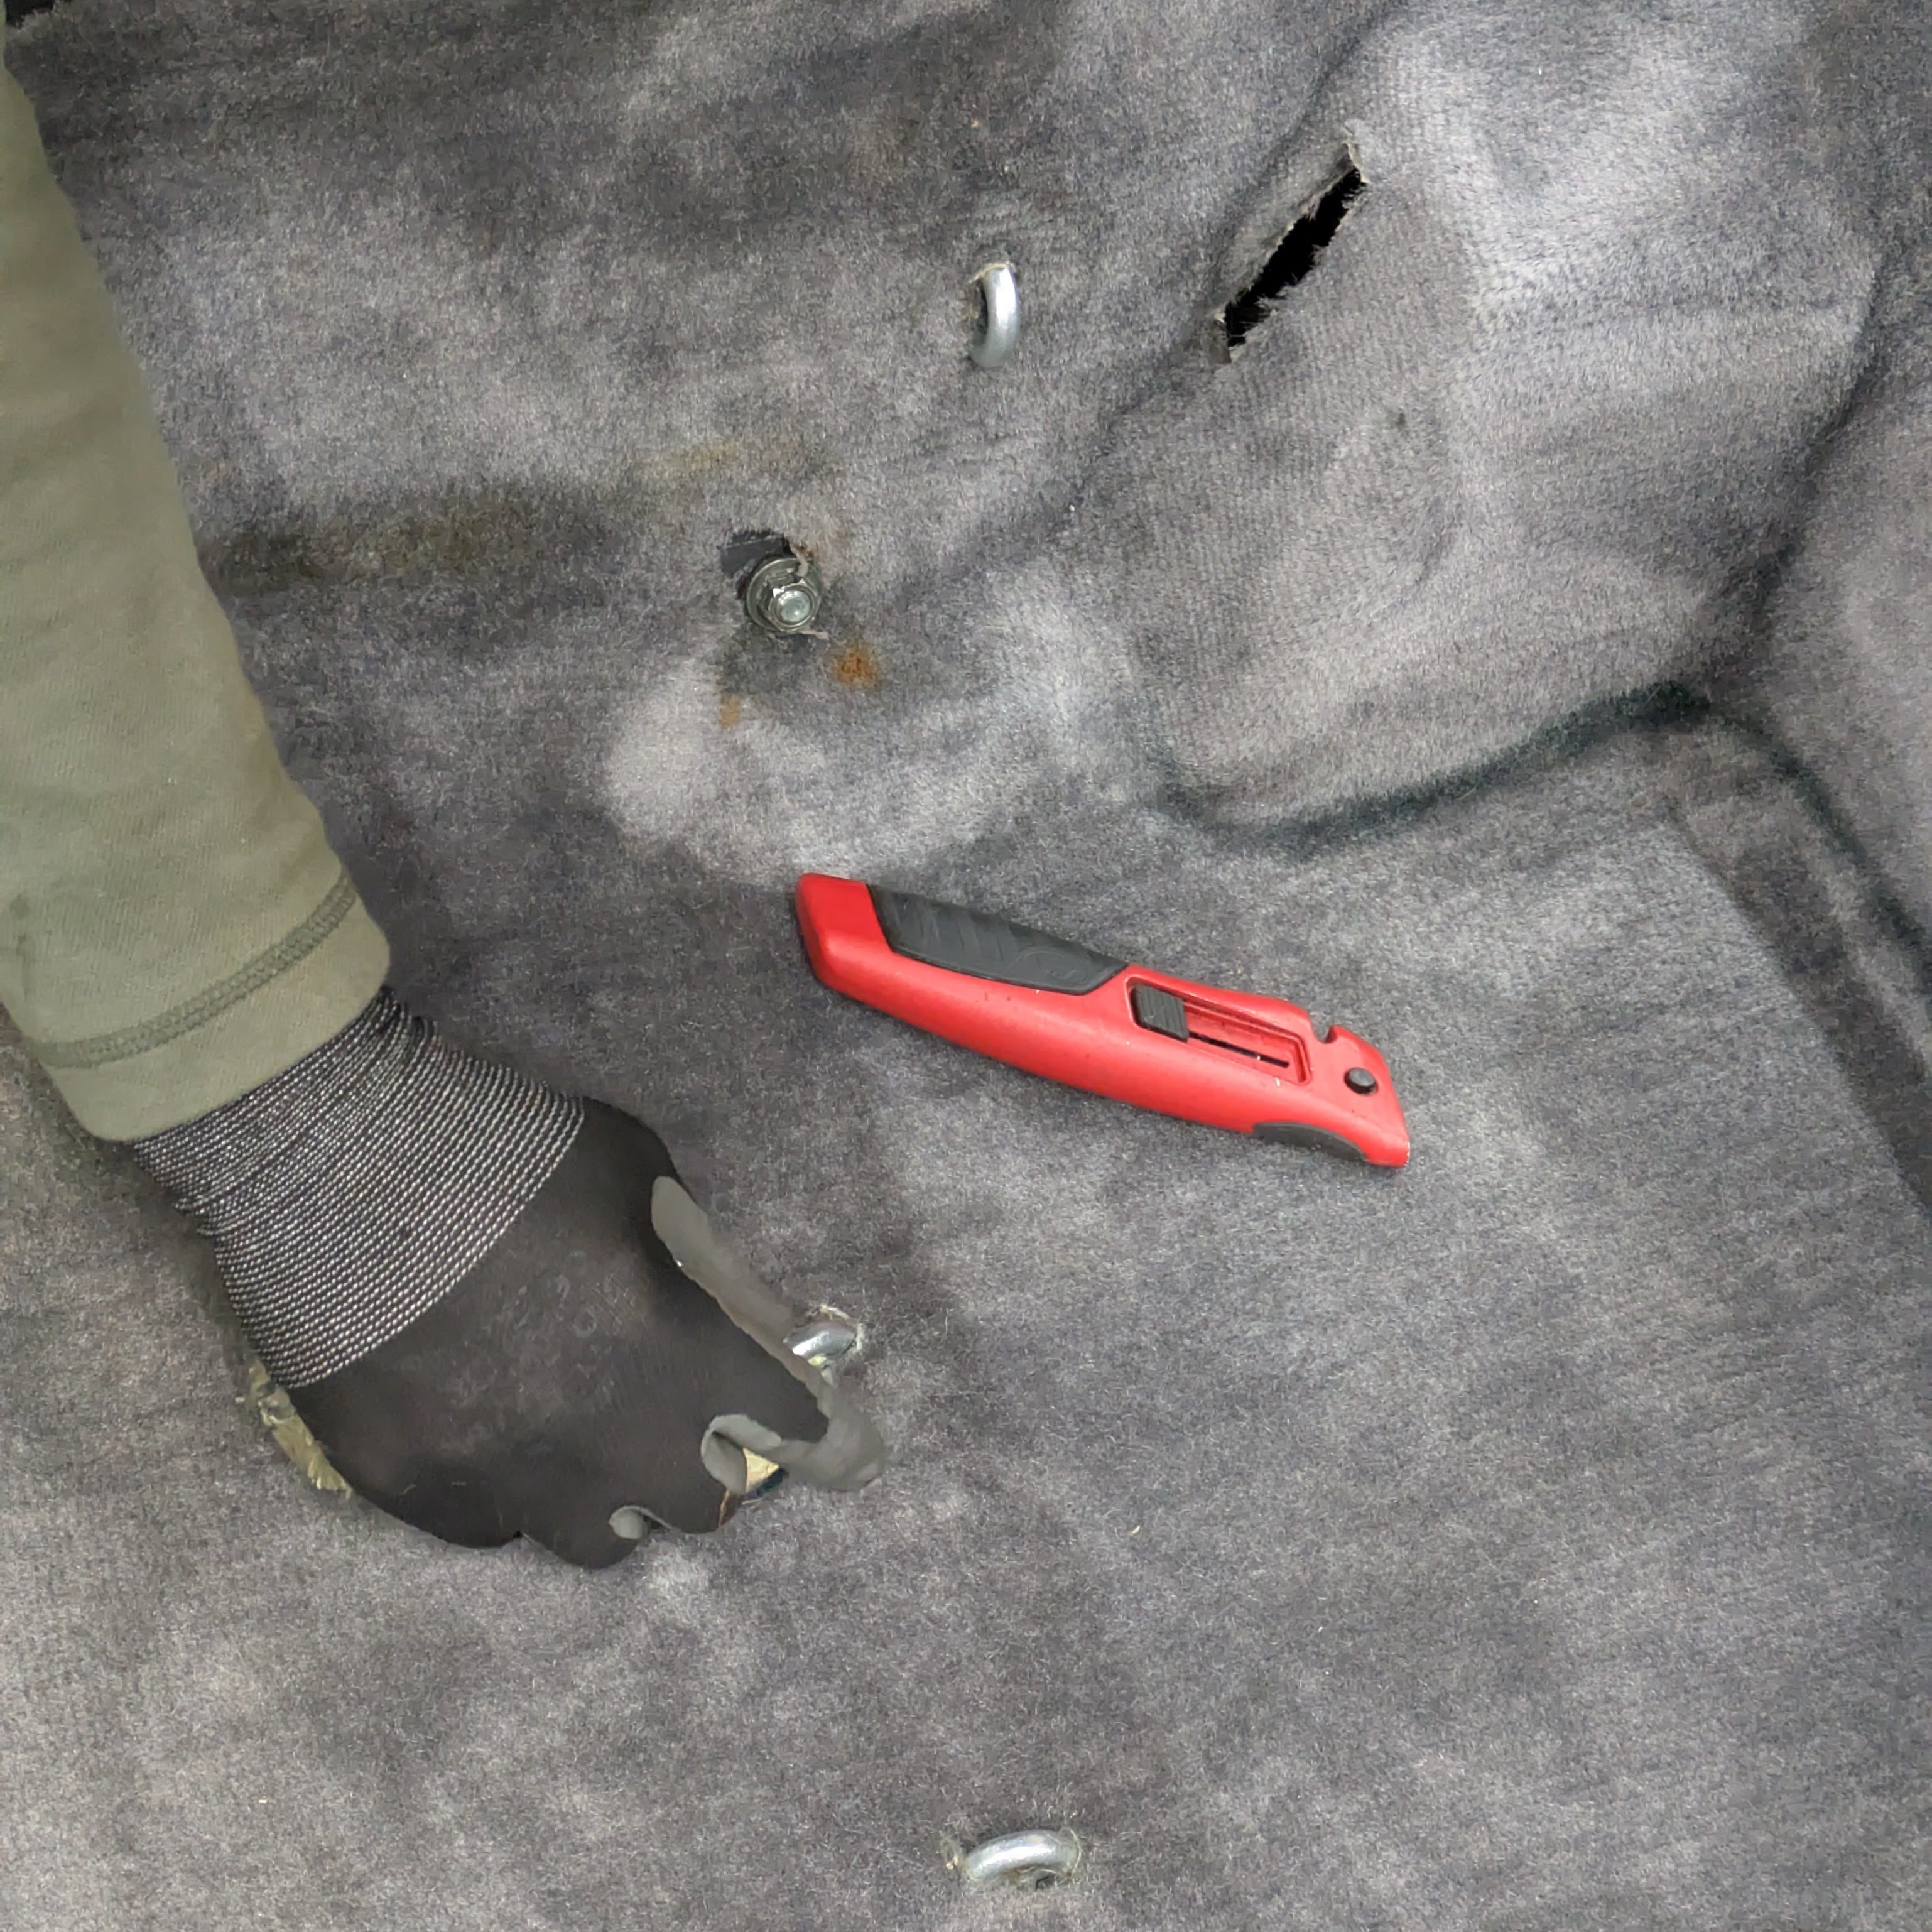
To start with number 1, I ended up punching a hole in the panel with a combination of a Dremel and a tapered reamer mainly used to cut holes in RC car bodies.

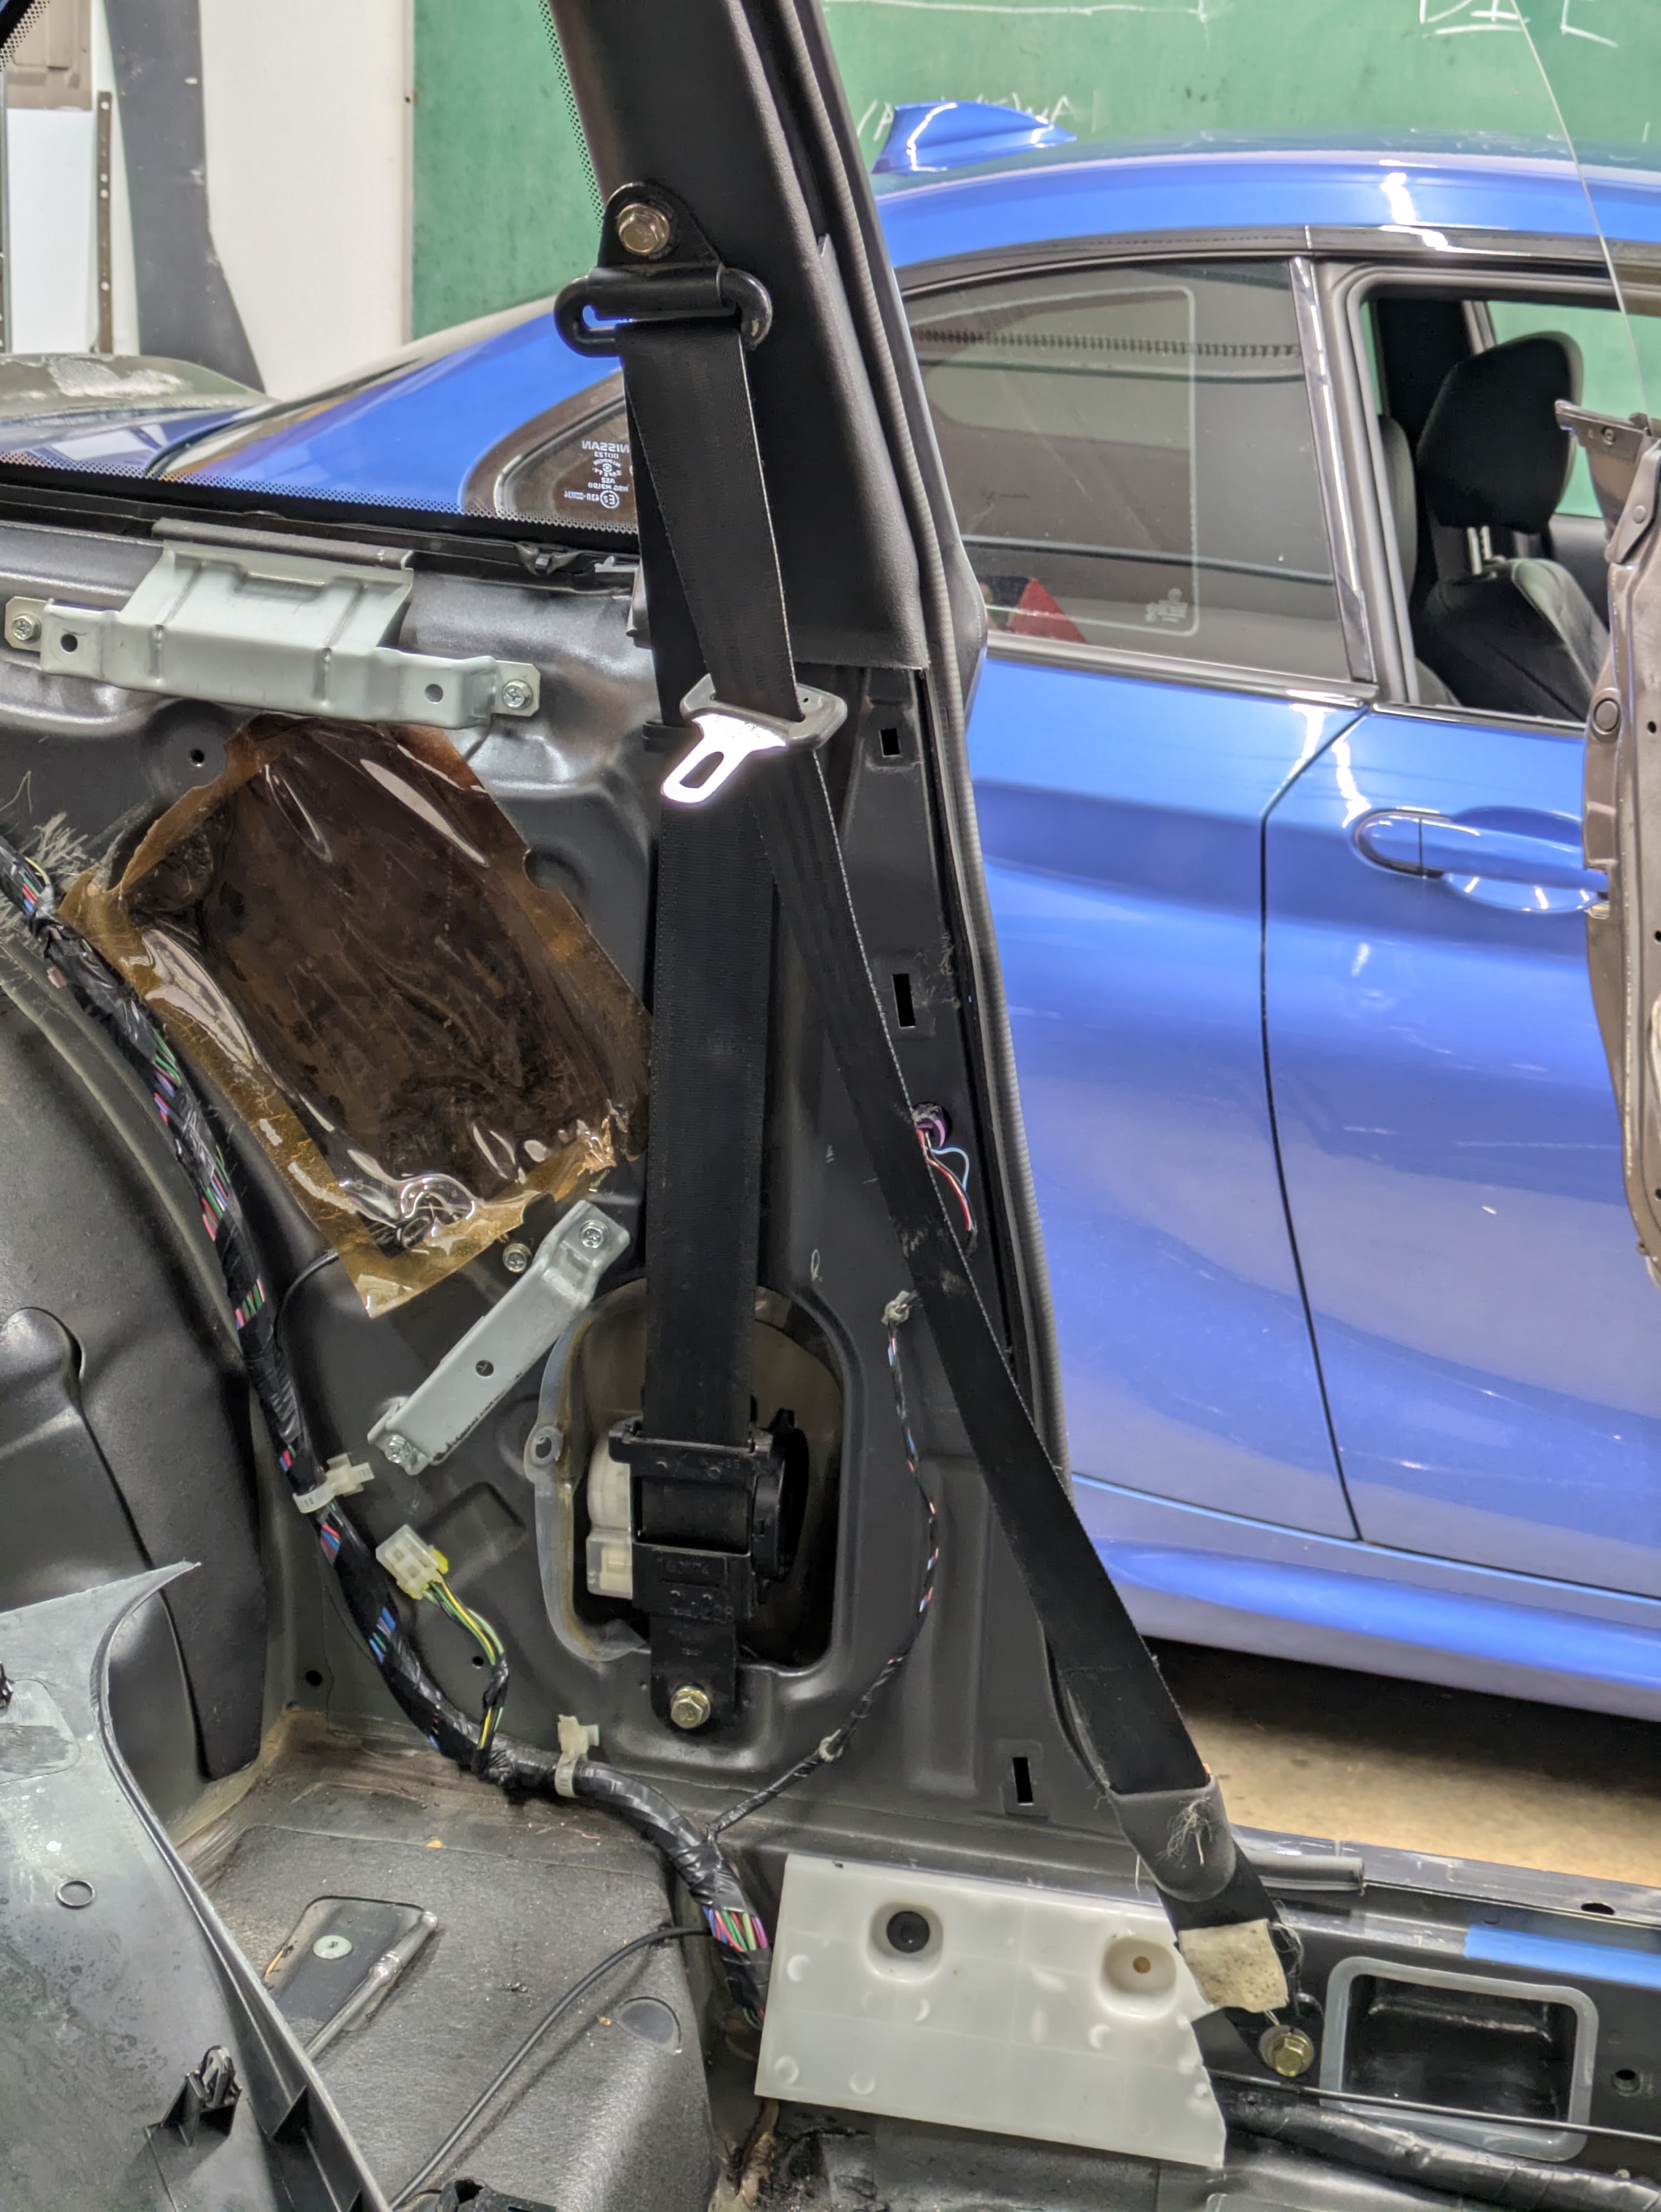
Minus punching the hole in the B pillar panel, this was the very first test fit of the seatbelts. Rough, but a good proof of concept. I did a poor job of capturing it, but right behind the buckle in this image is a little plastic belt manager that clips into existing rectangular holes on the S13 chassis. This little piece is critical to belt routing, and I’m glad S14 ones are the same as it made it wayyyyy easier to deal with.
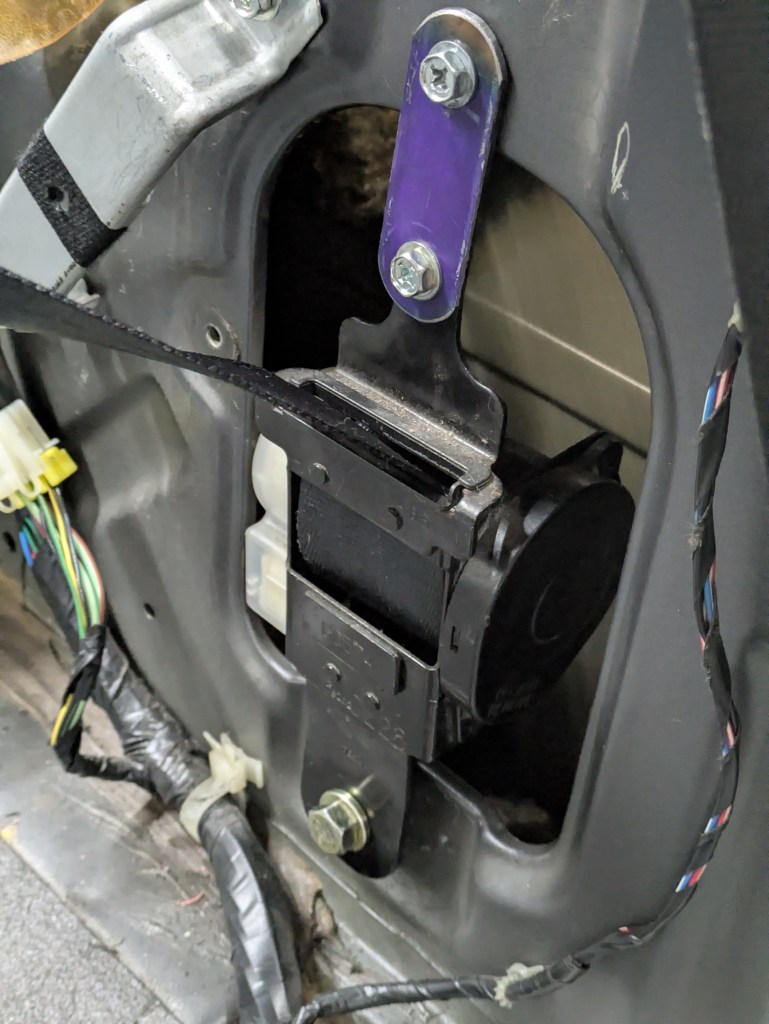
The next step was to get them properly bolted up to the car. The factory lower bolt is very beefy and takes the actual shear load in the event the seatbelt is significantly loaded, but the upper mount is there just to keep it constrained from pivoting around said bolt when it is bolted in. I found some 1″ wide scrap steel while home for Christmas, which made this a $0, all in-house project.
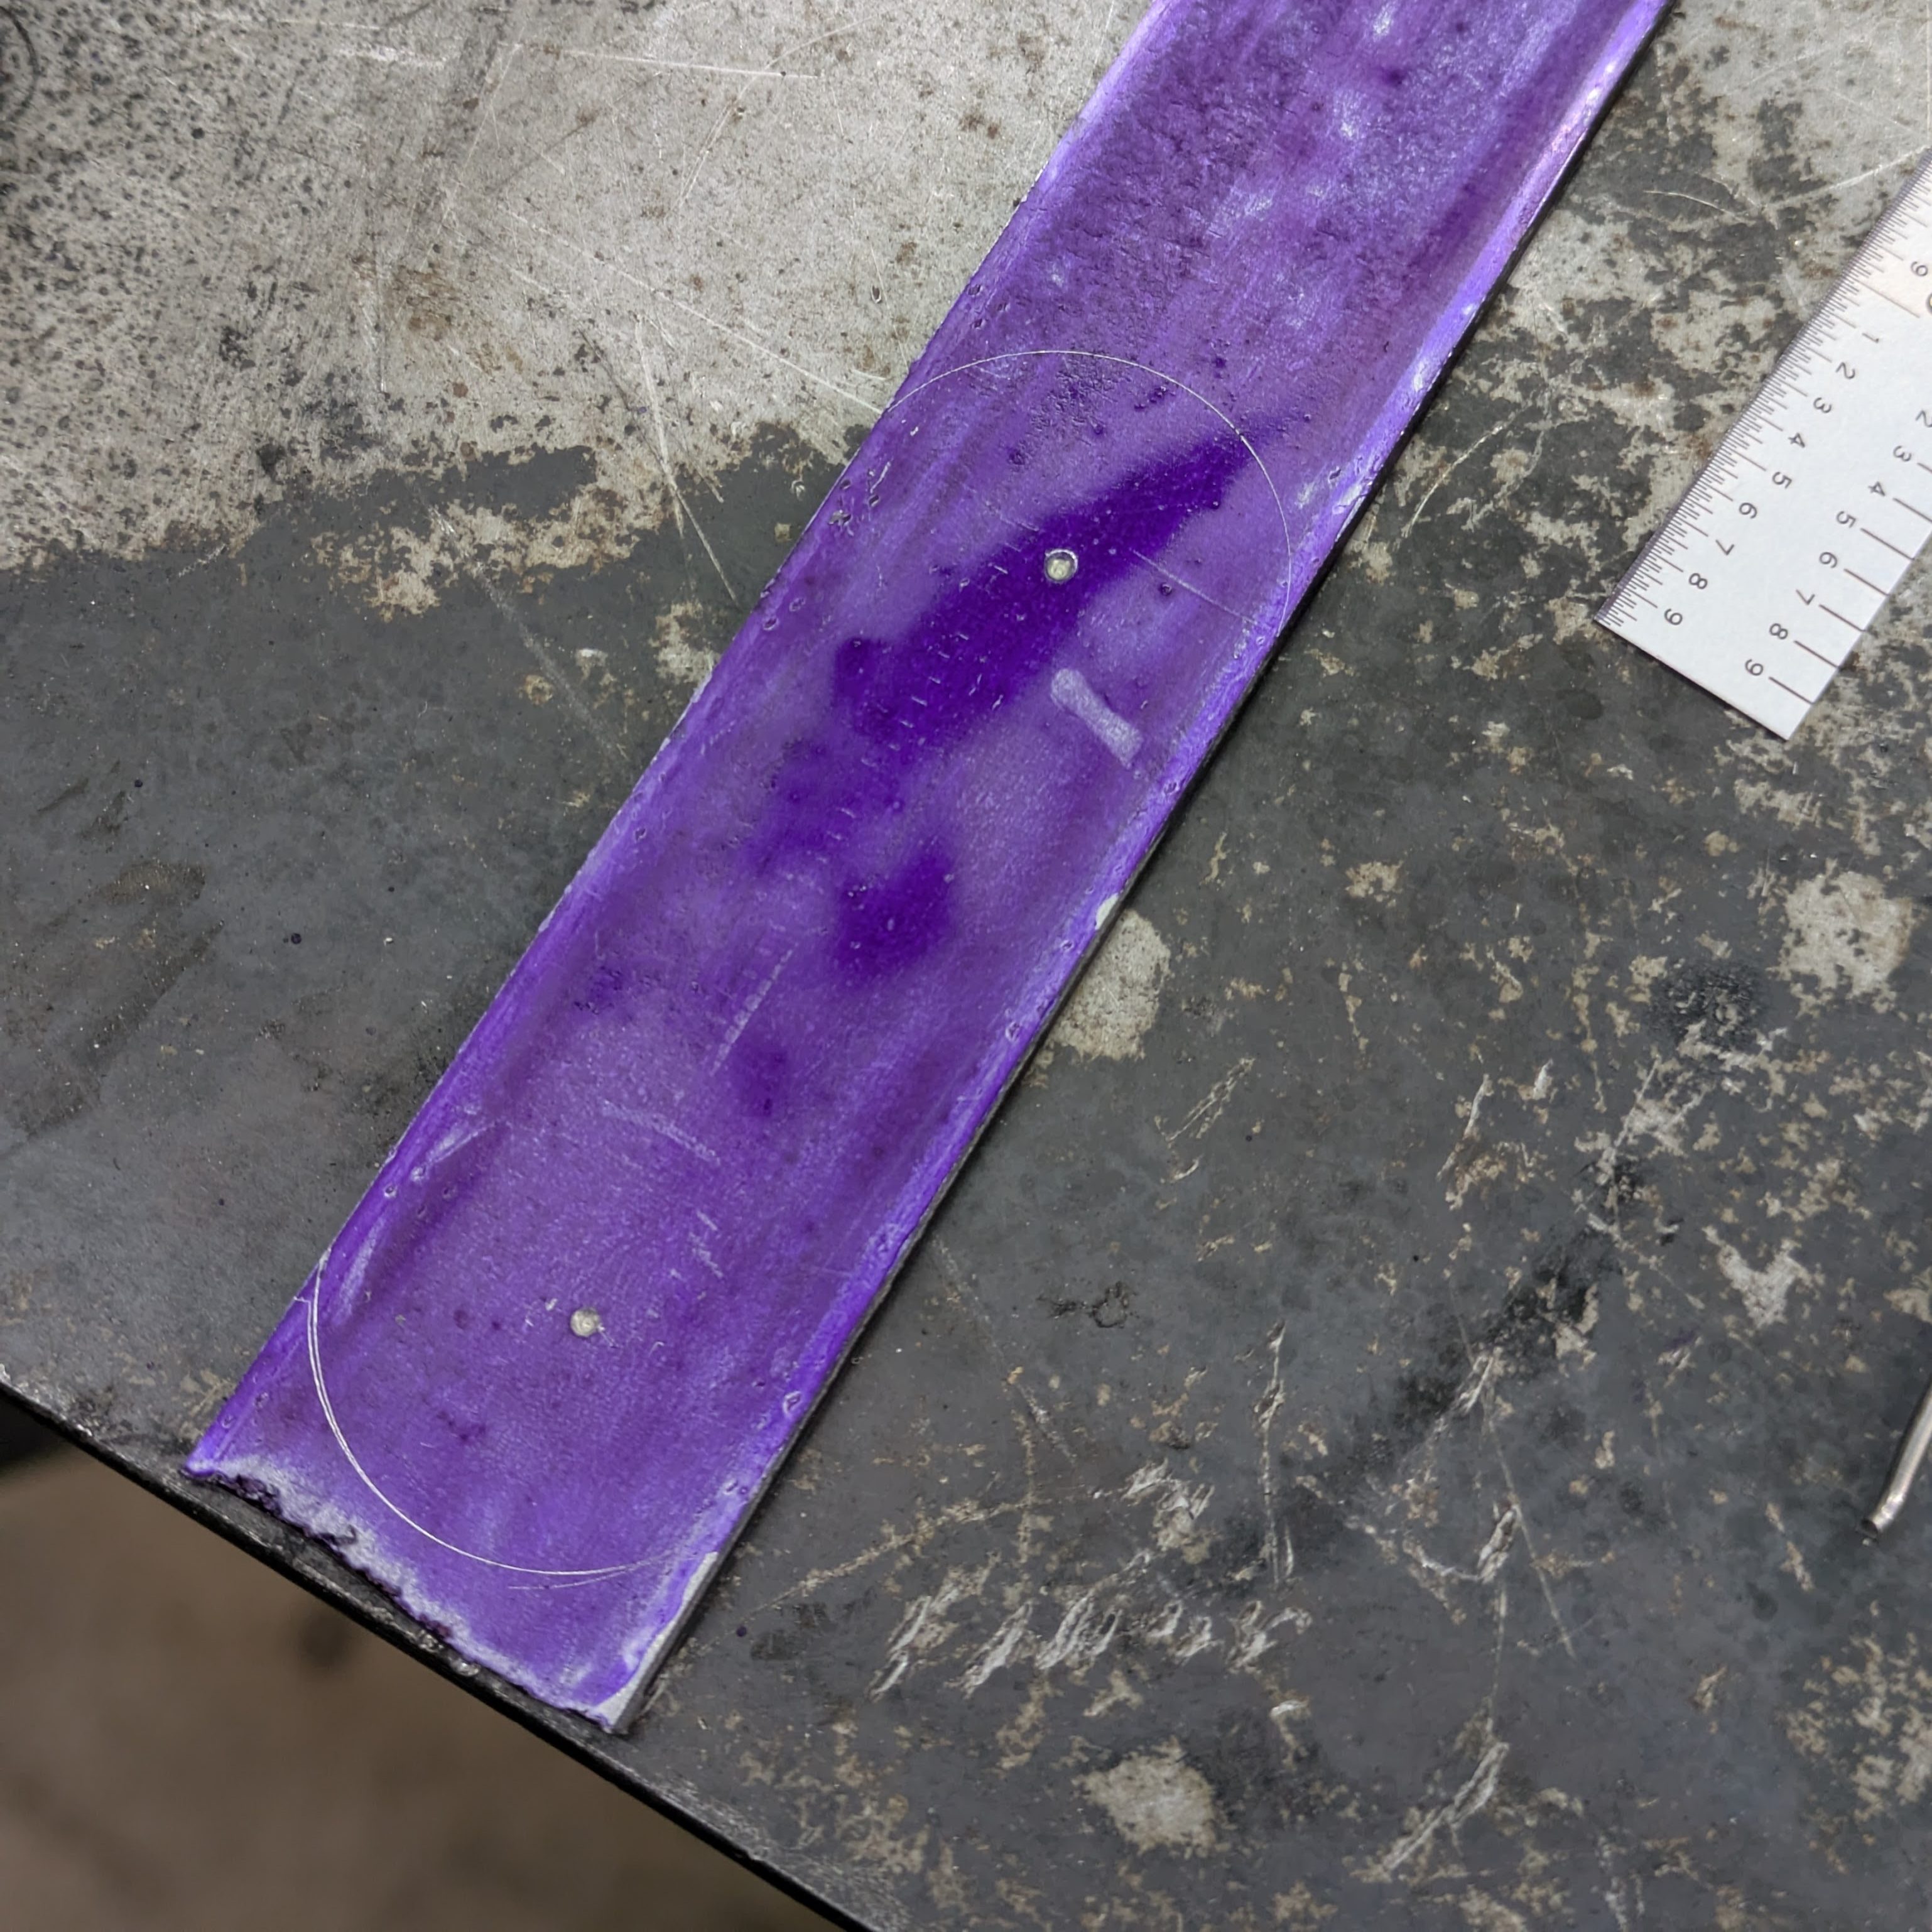

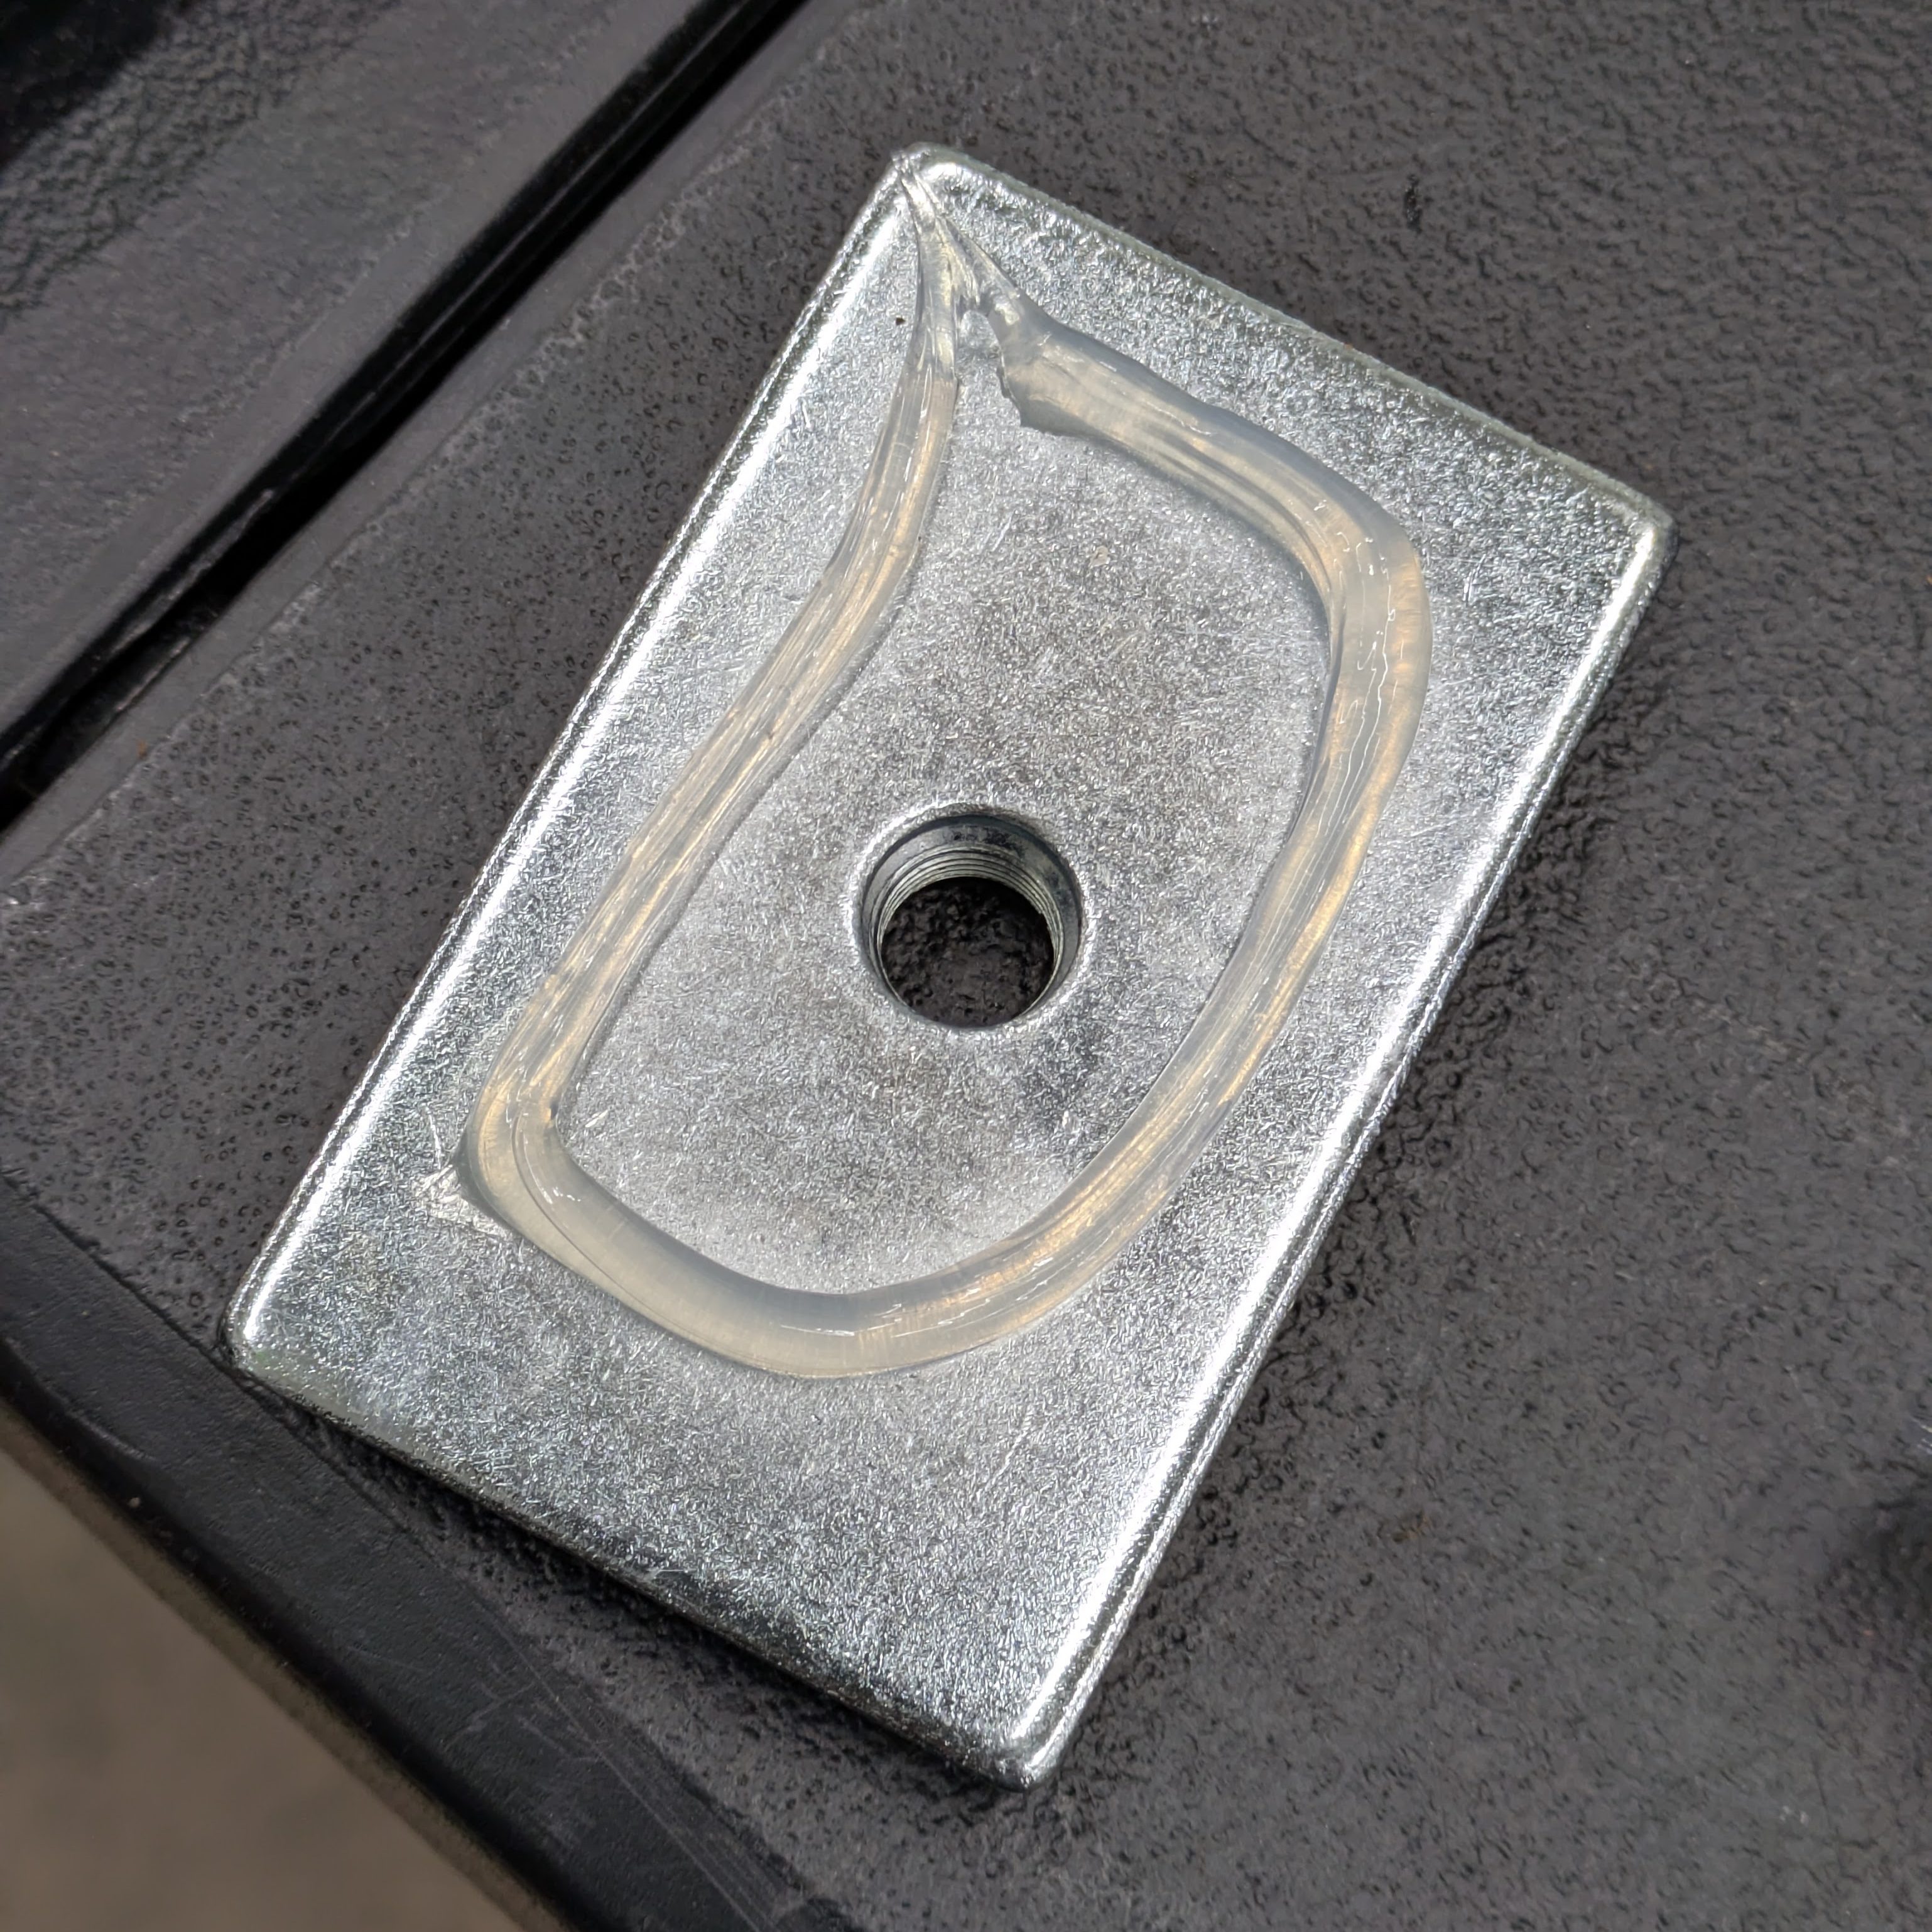
With the lower bolting sorted, I needed to address the upper bolting, which is where it gets tricky. Due to the thickness of the B pillar panel, I knew a new longer bolt than anything I had would be needed, as well as something to make the swiveling upper belt eyelet stand off the structure an appropriate amount while still being able to pivot. Thankfully, I have both the facilities and the skills to make this happen.

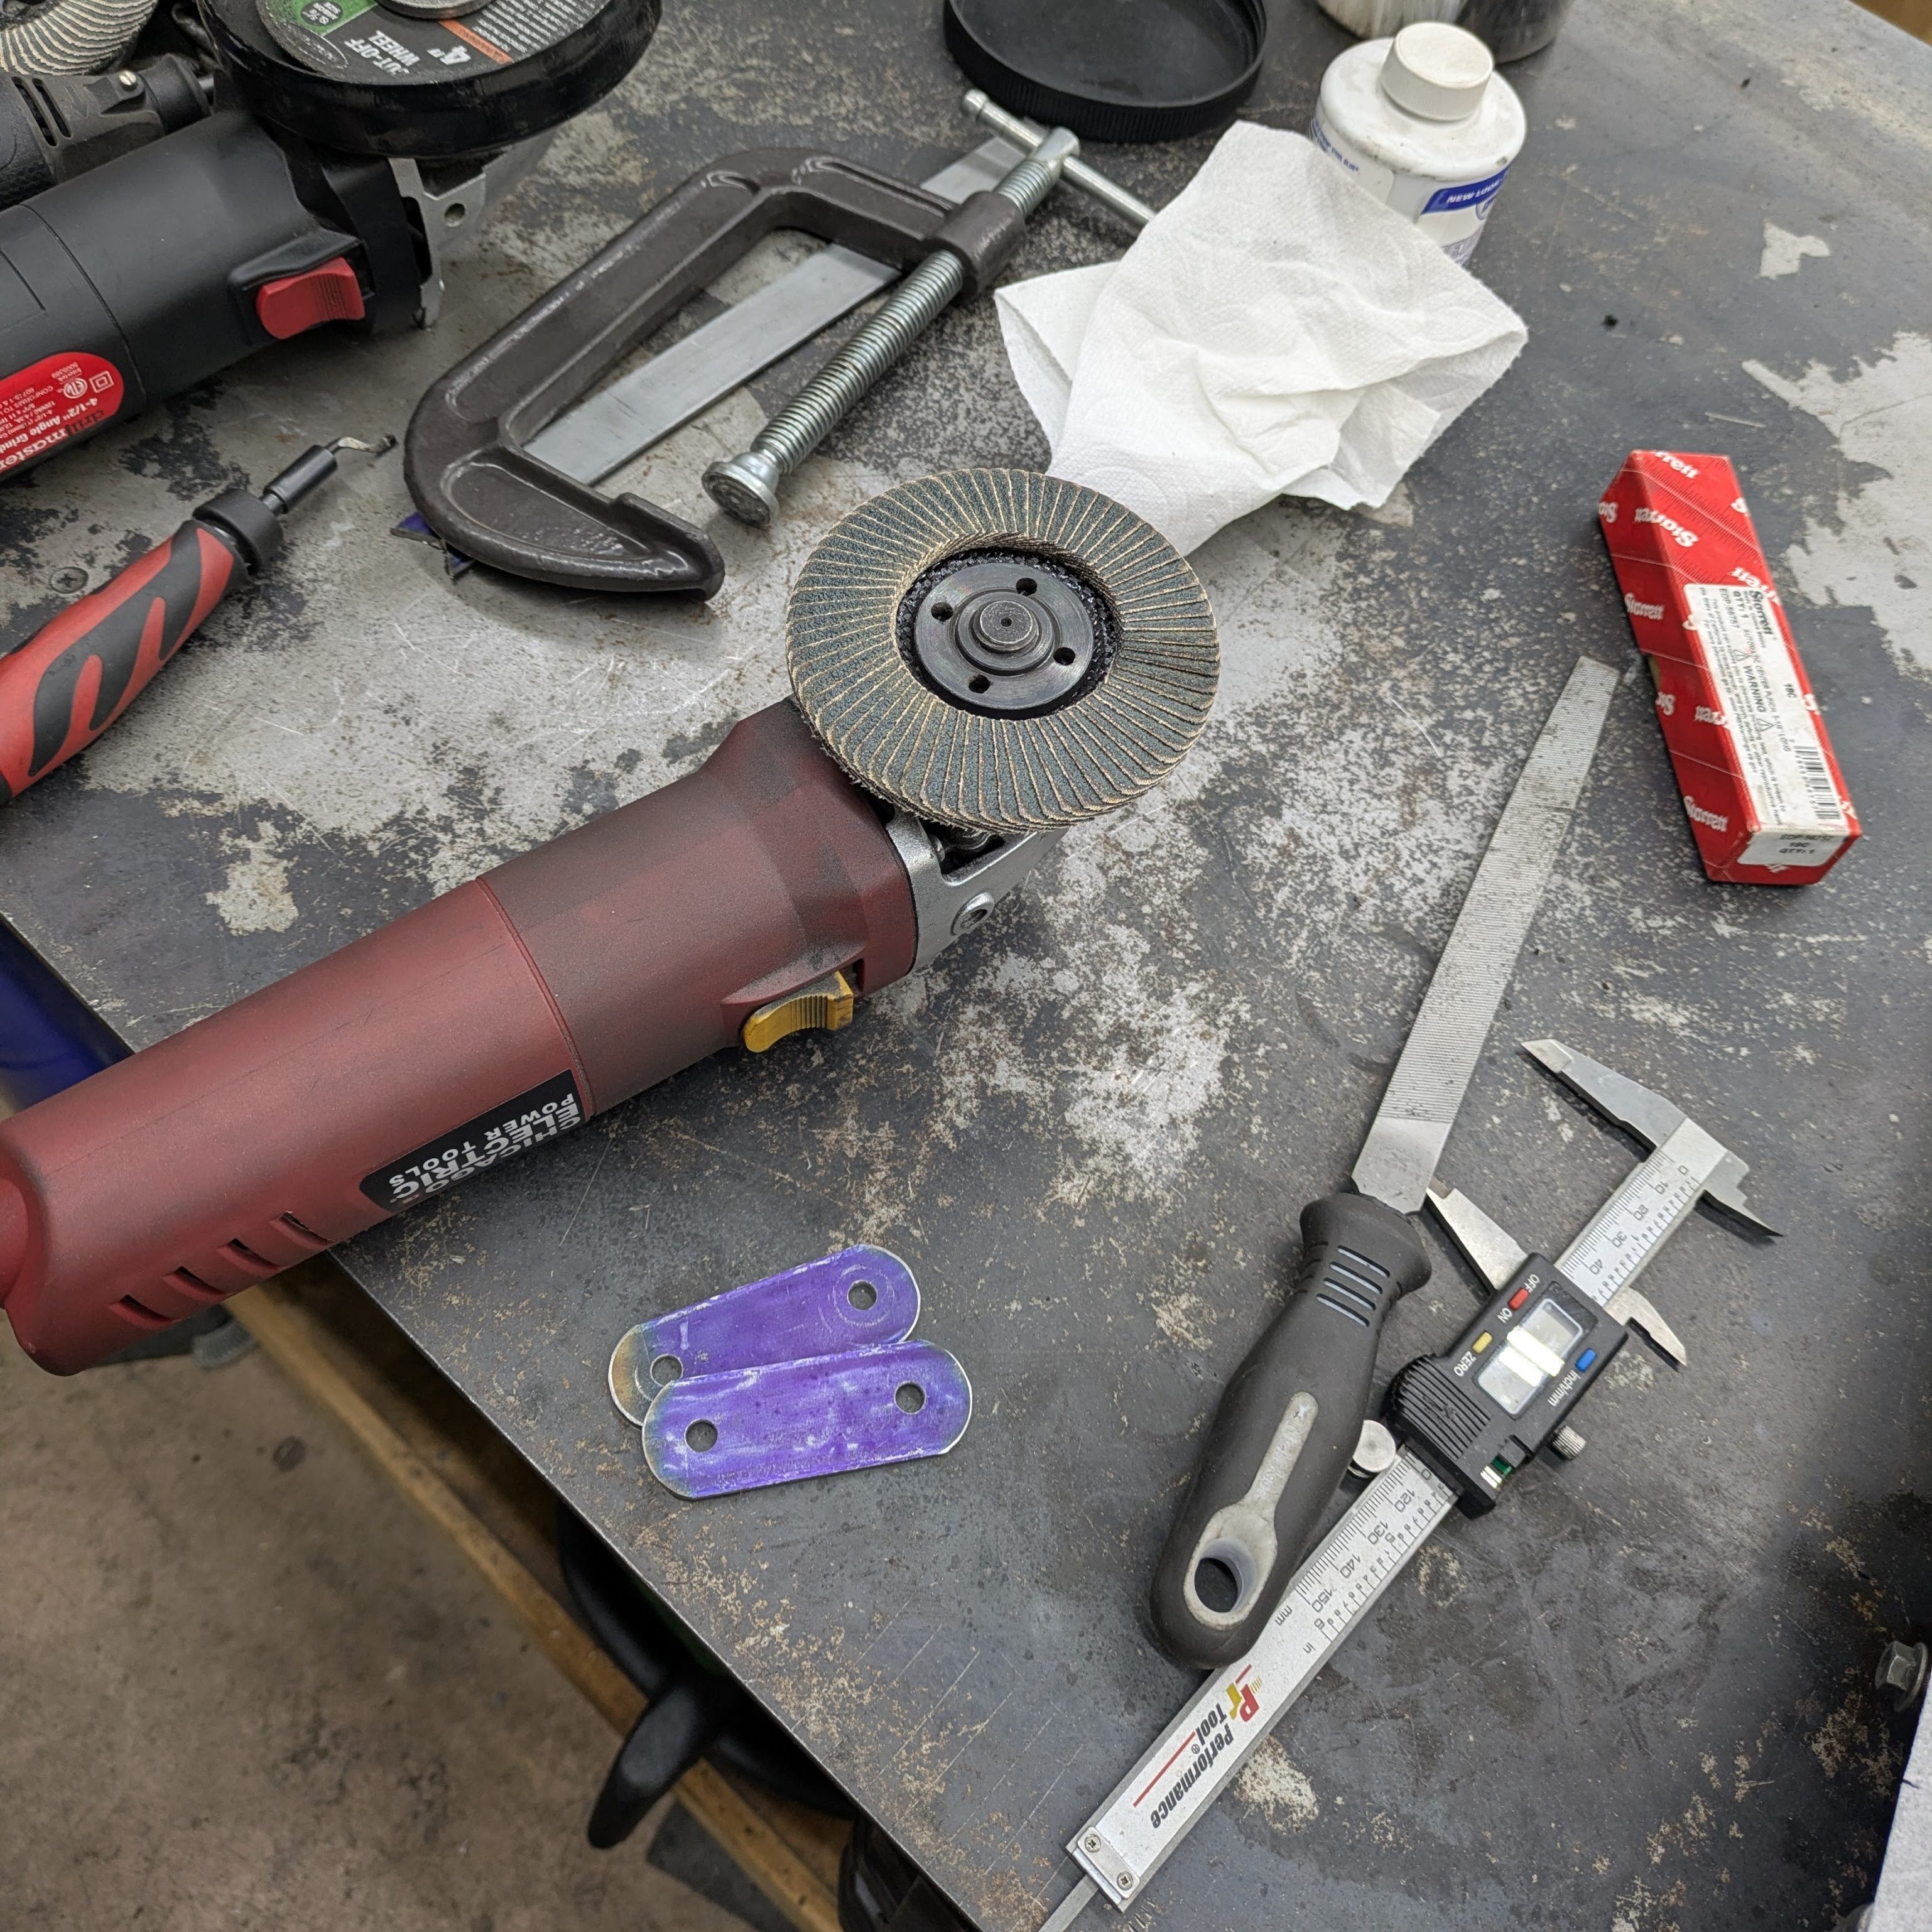
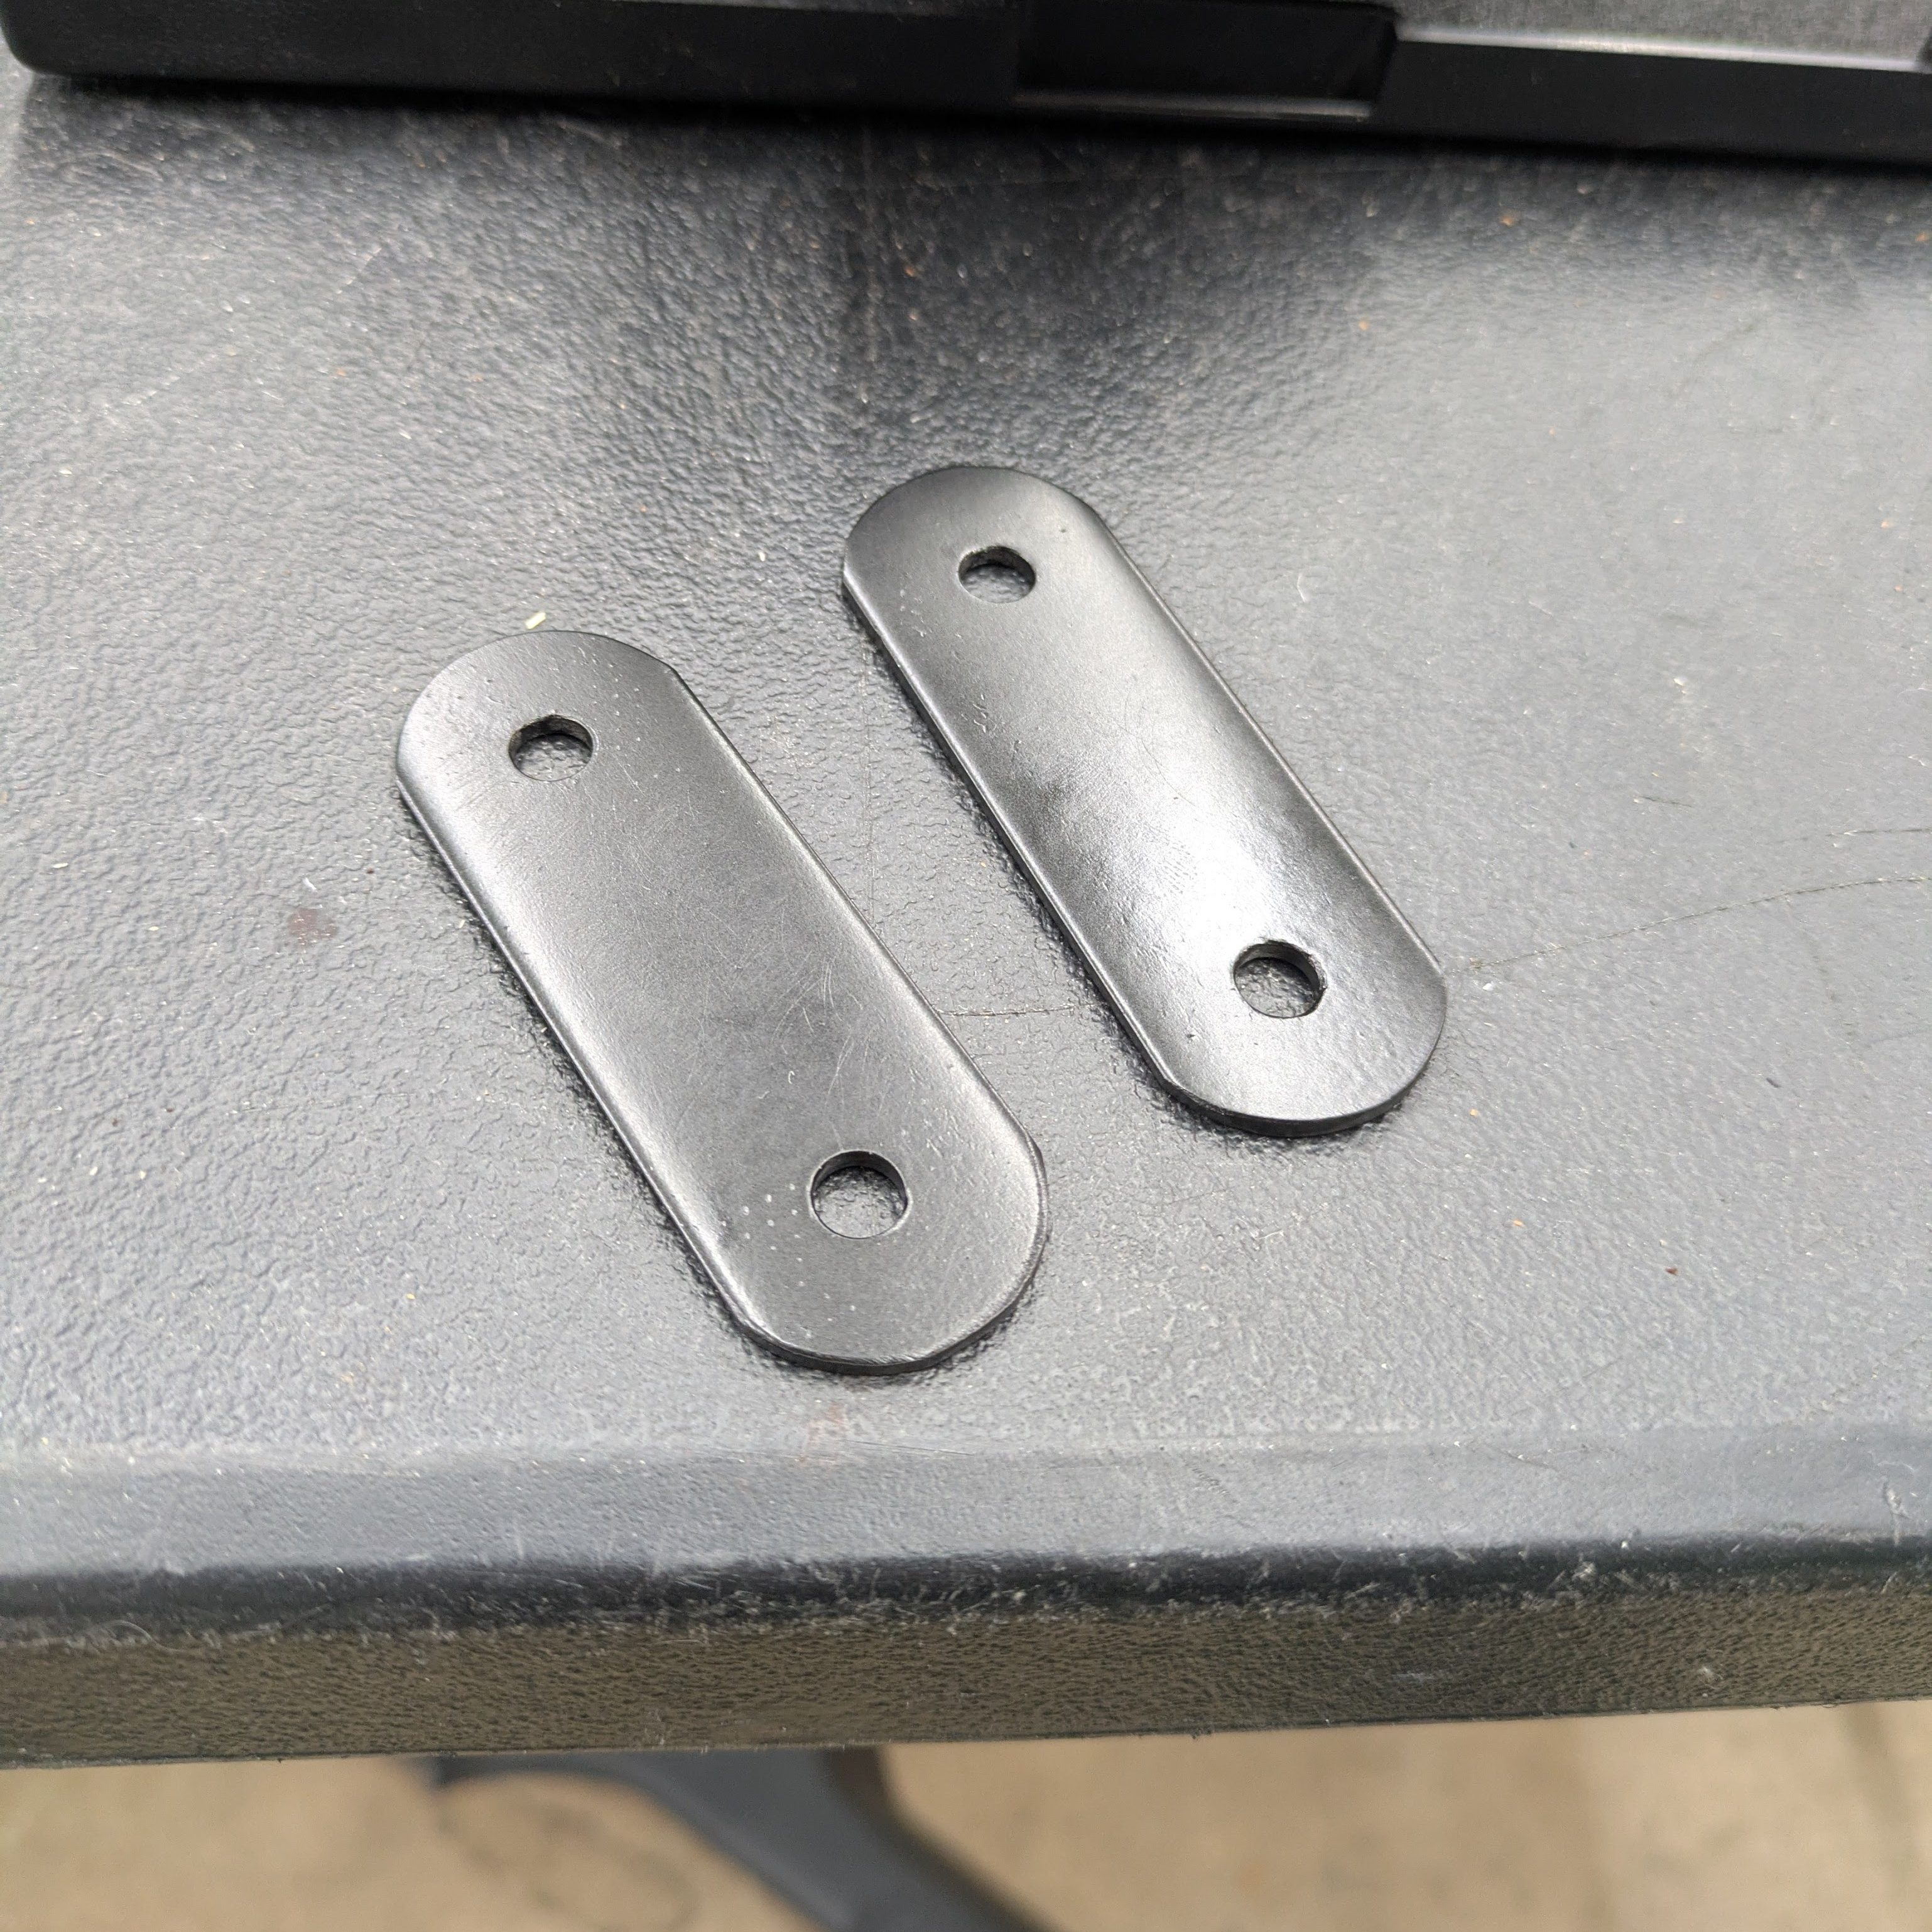
These are 4340 Chromoly S13 to S14 belt seatbelt standoffs that I made at work on a lunch break. The taller one is to space the top belt eyelet off the pillar, with the small boss off the front being the correct diameter and depth to still allow the eyelet to rotate even when the bolt is tightened down. The smaller one serves a similar purpose for the lower attachment point on the rocker panel. These fit on the first try, so I duplicated them during the next day’s lunch. A 3D printed test fit would have been wise, but since measuring metal parts is part of what I do for a living, I had confidence that they would just work, which they did.

These work exactly as intended, and when paired with some new Grade 8 bolts, they bolt right in like factory. I even reused the nylon retention washer to keep the whole stack assembled, which is something I’d like to incorporate more into things I design for confined areas where dropping parts could go very poorly. The S14 covers even clip straight on to hide the fasteners.
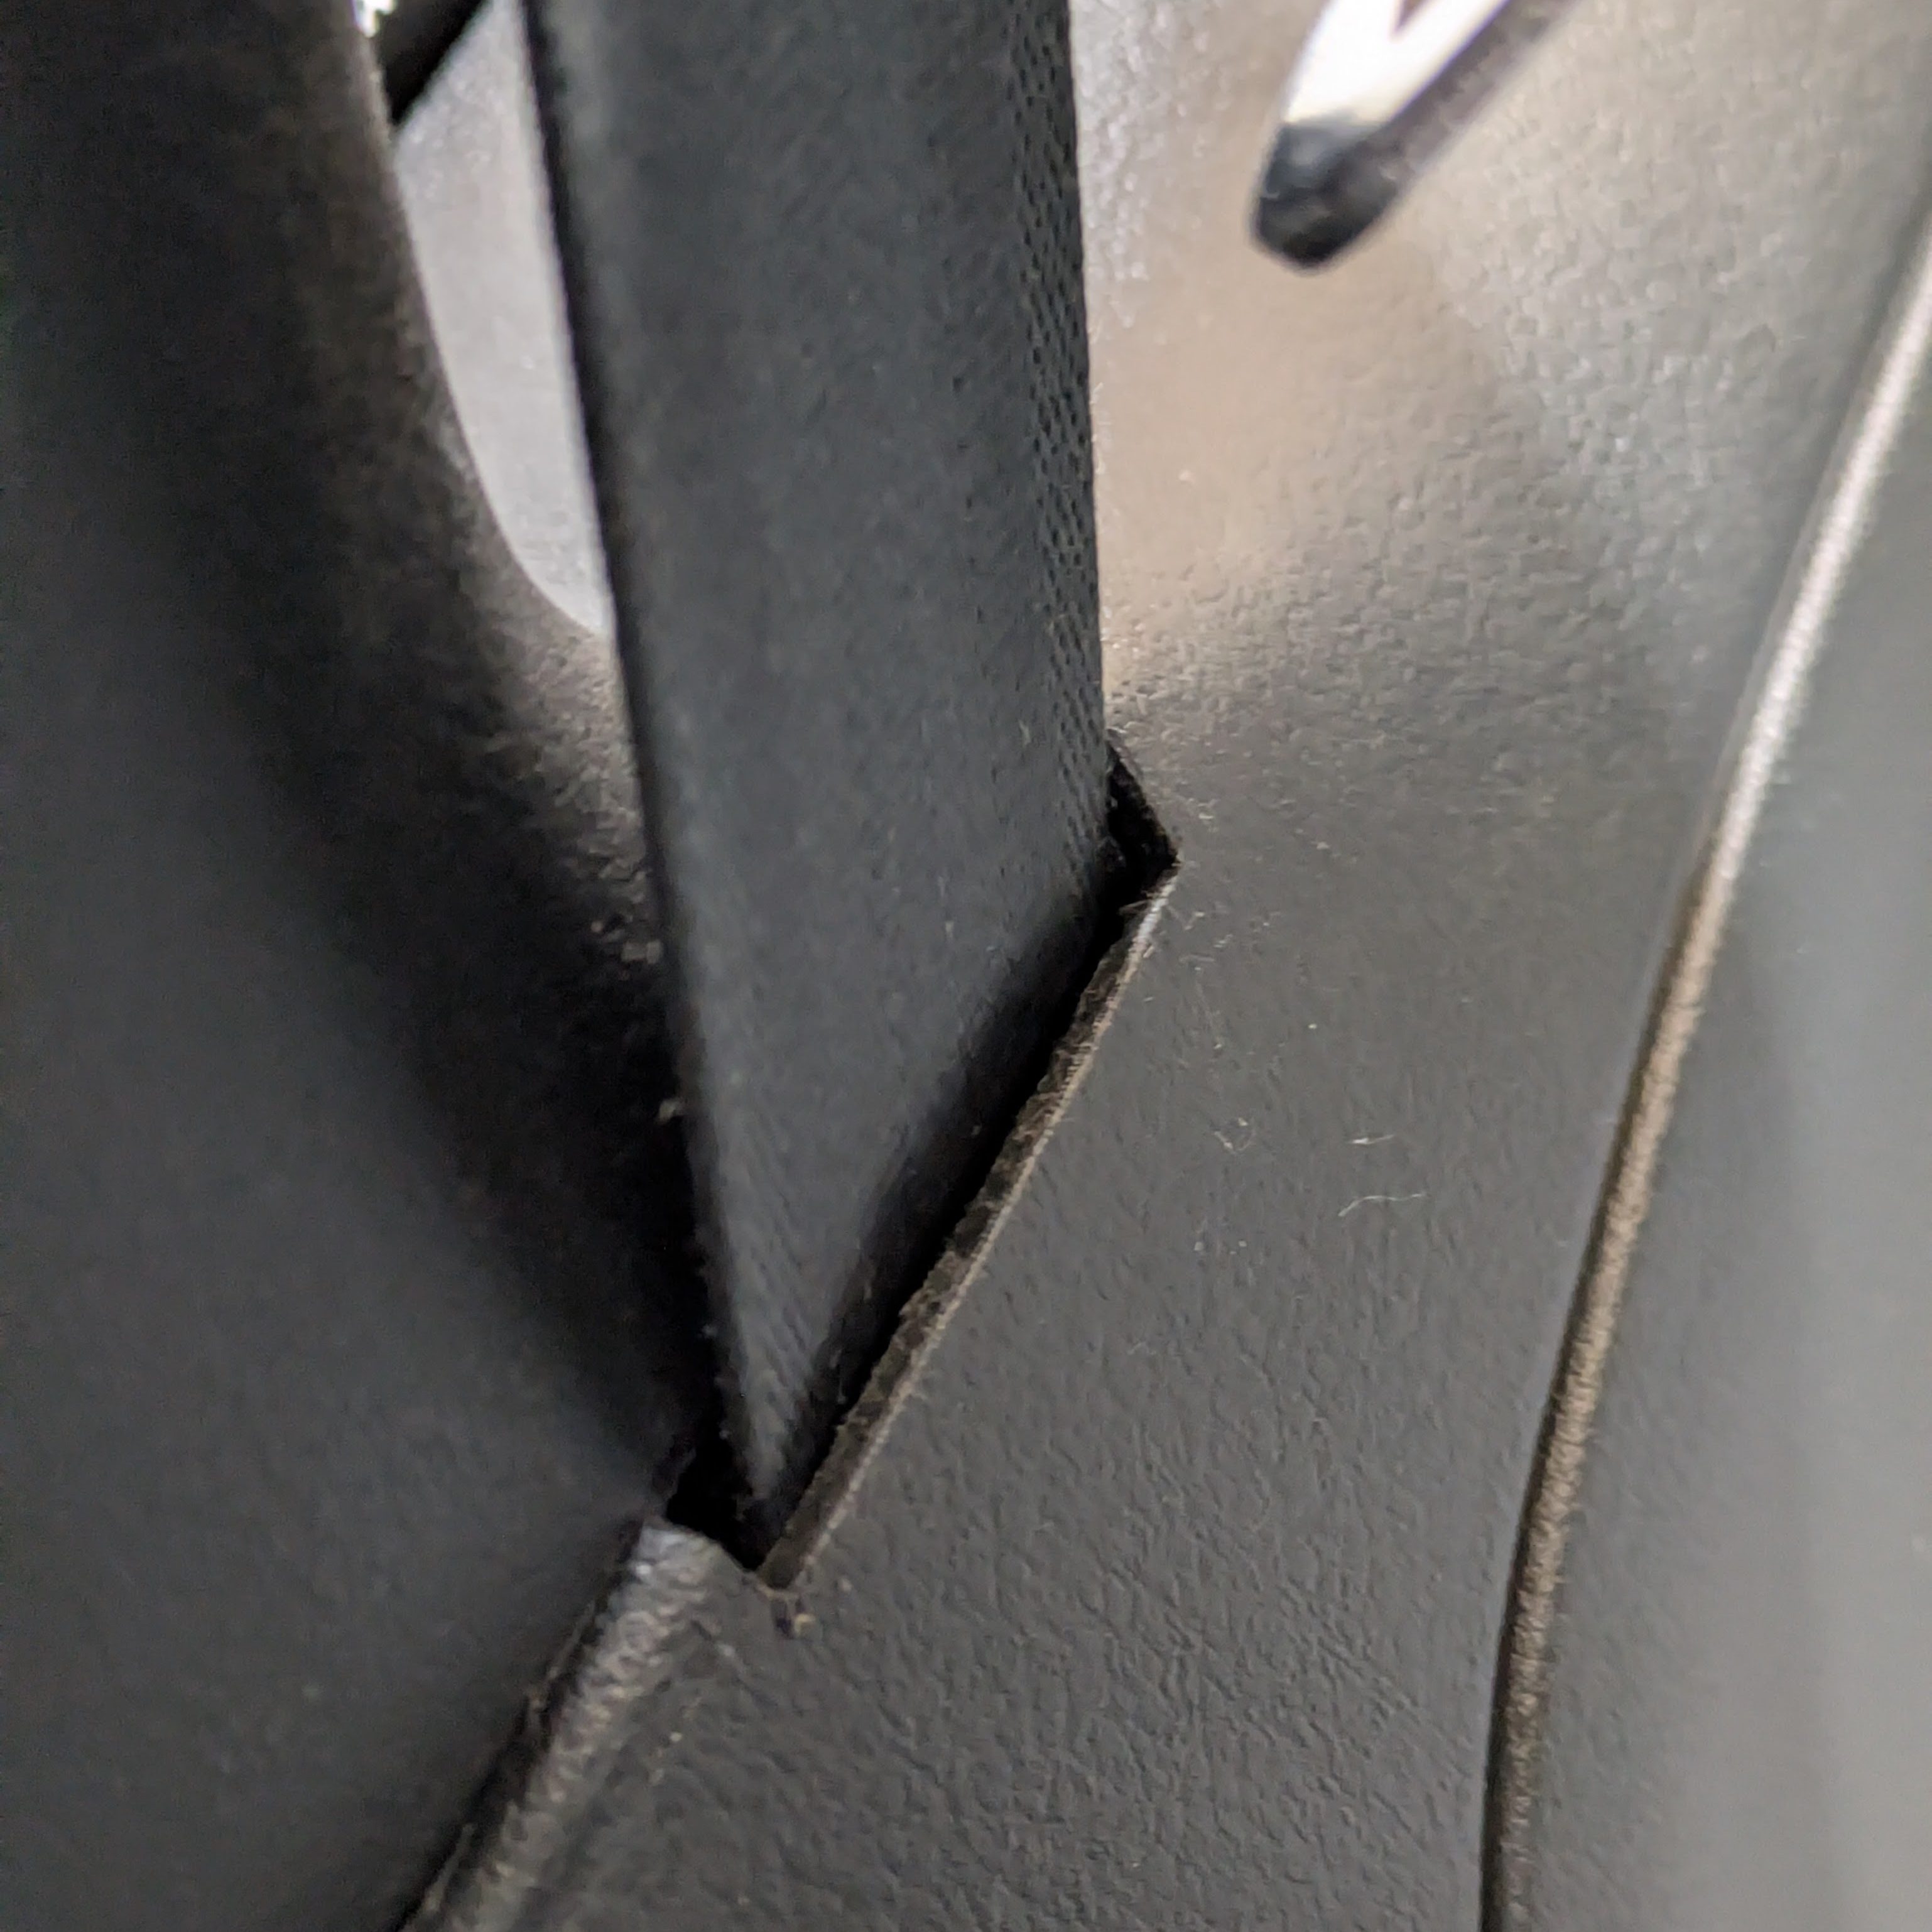
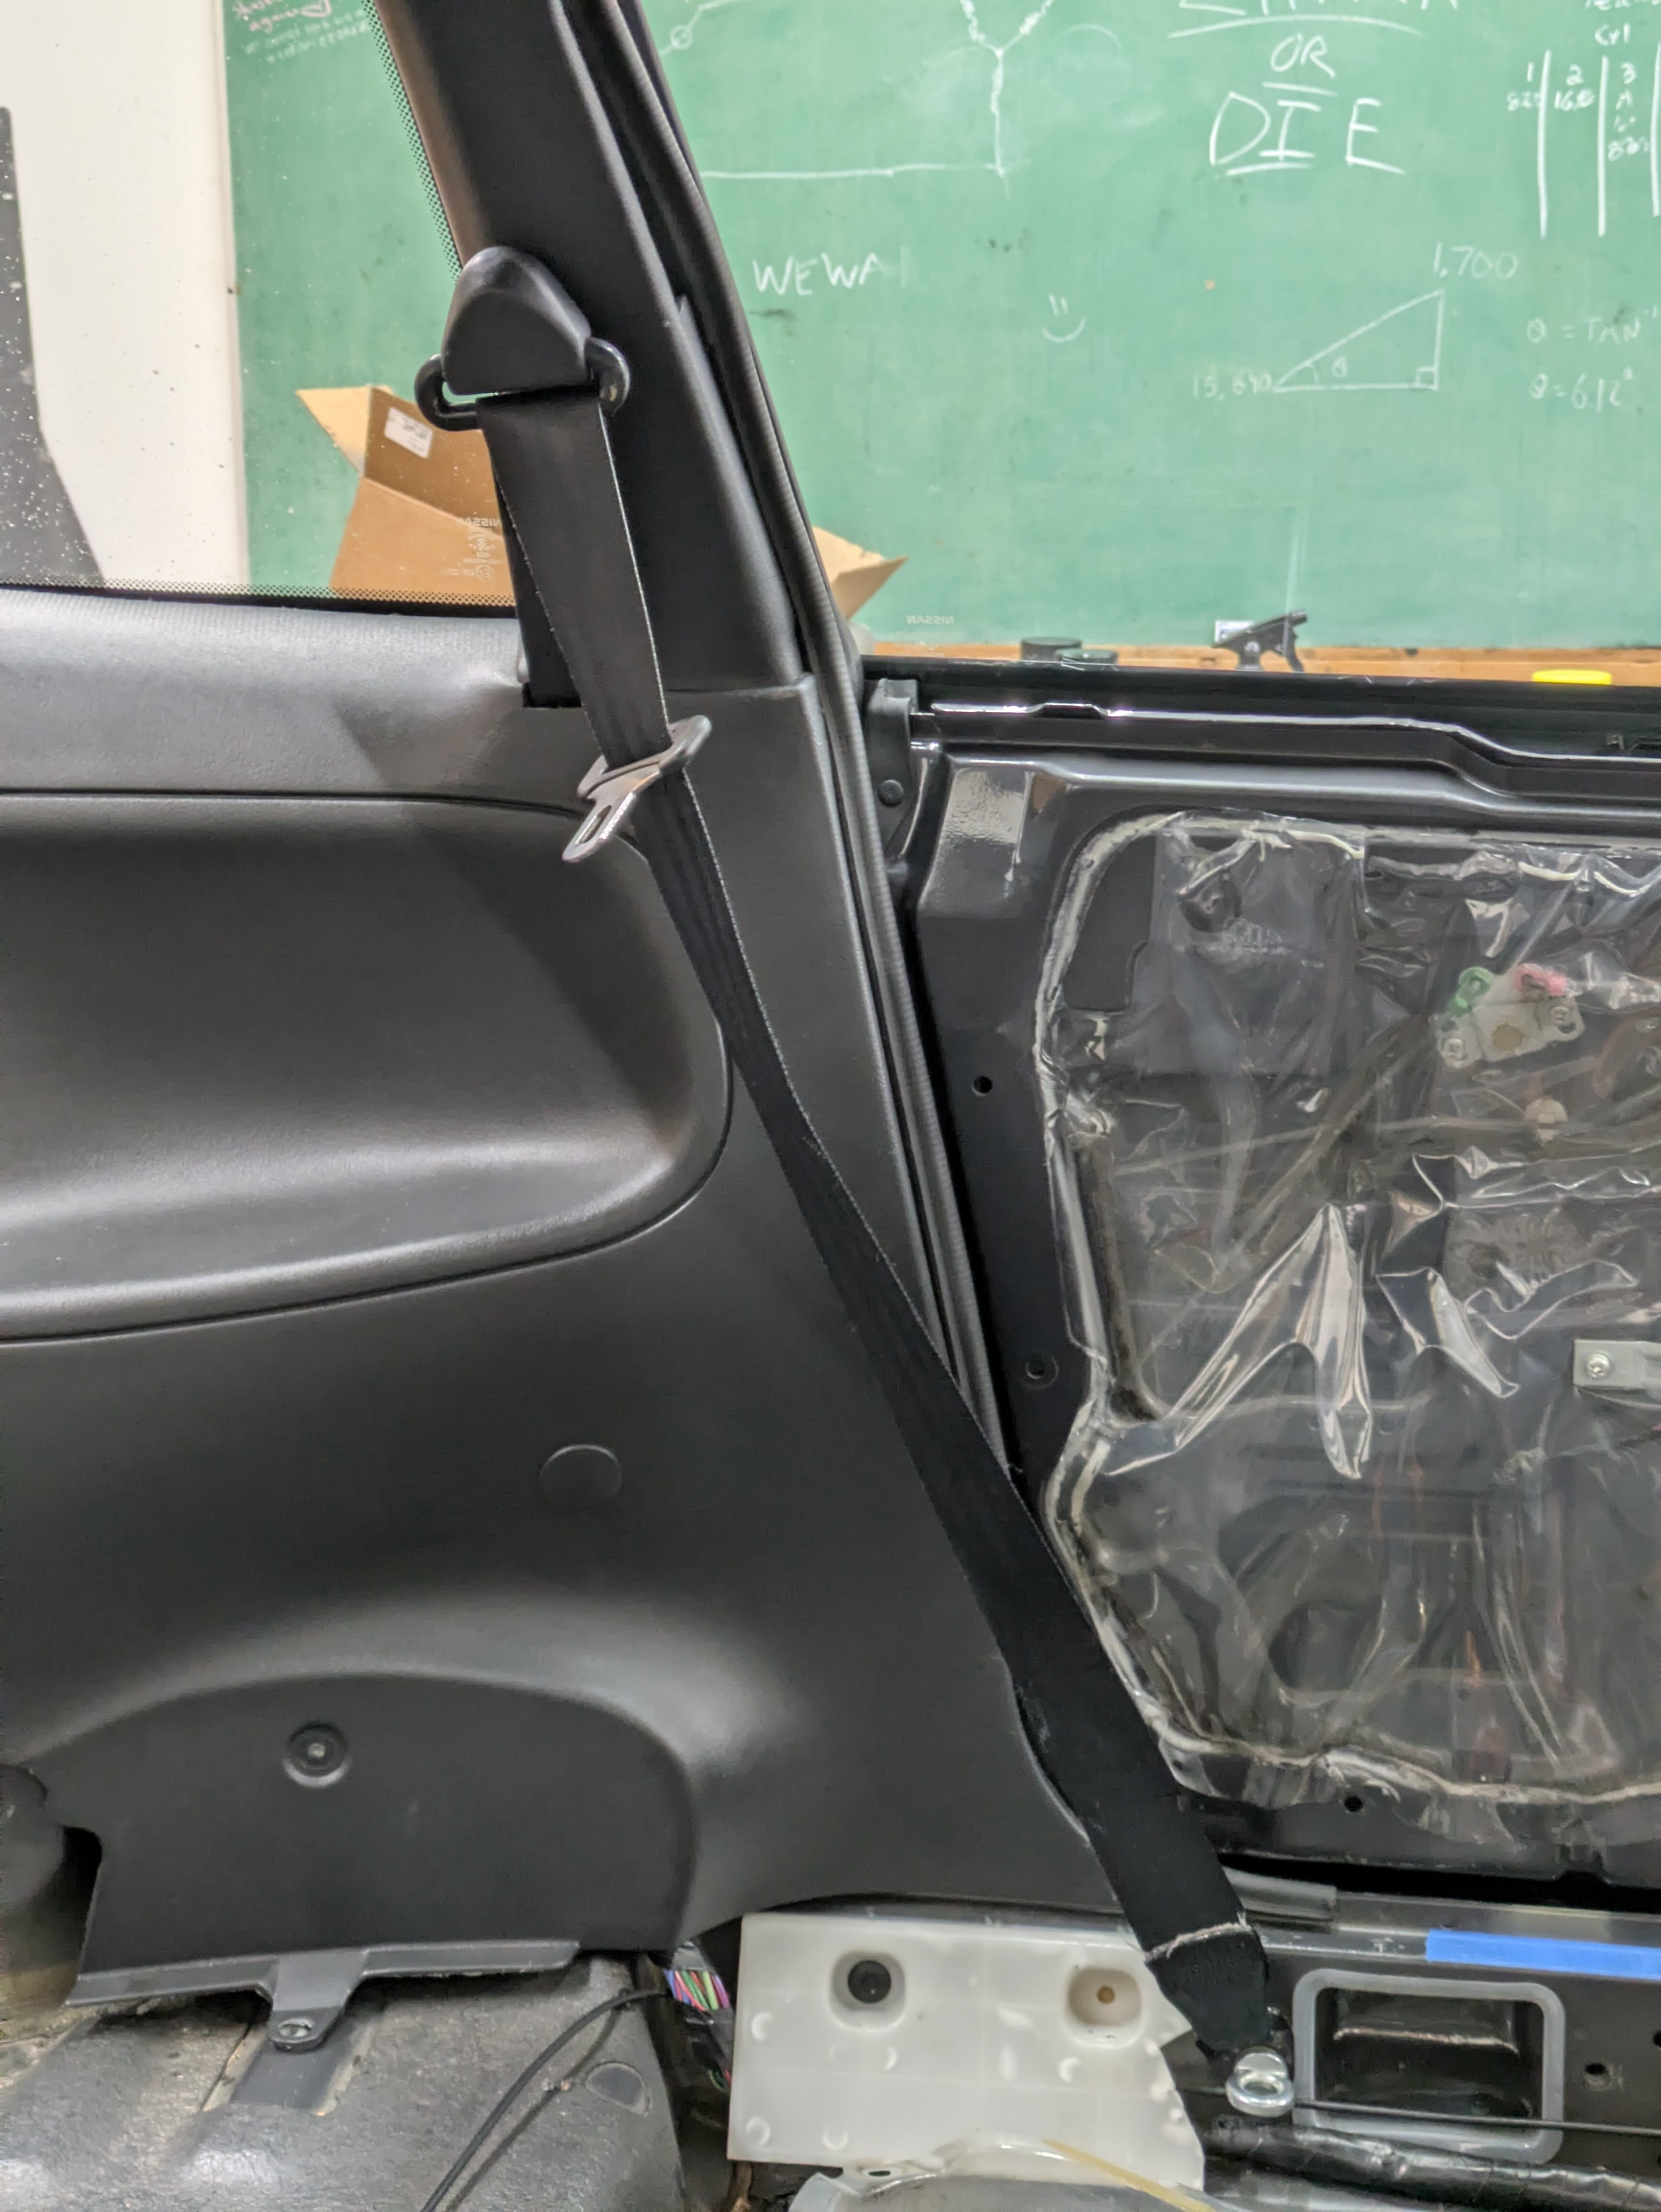
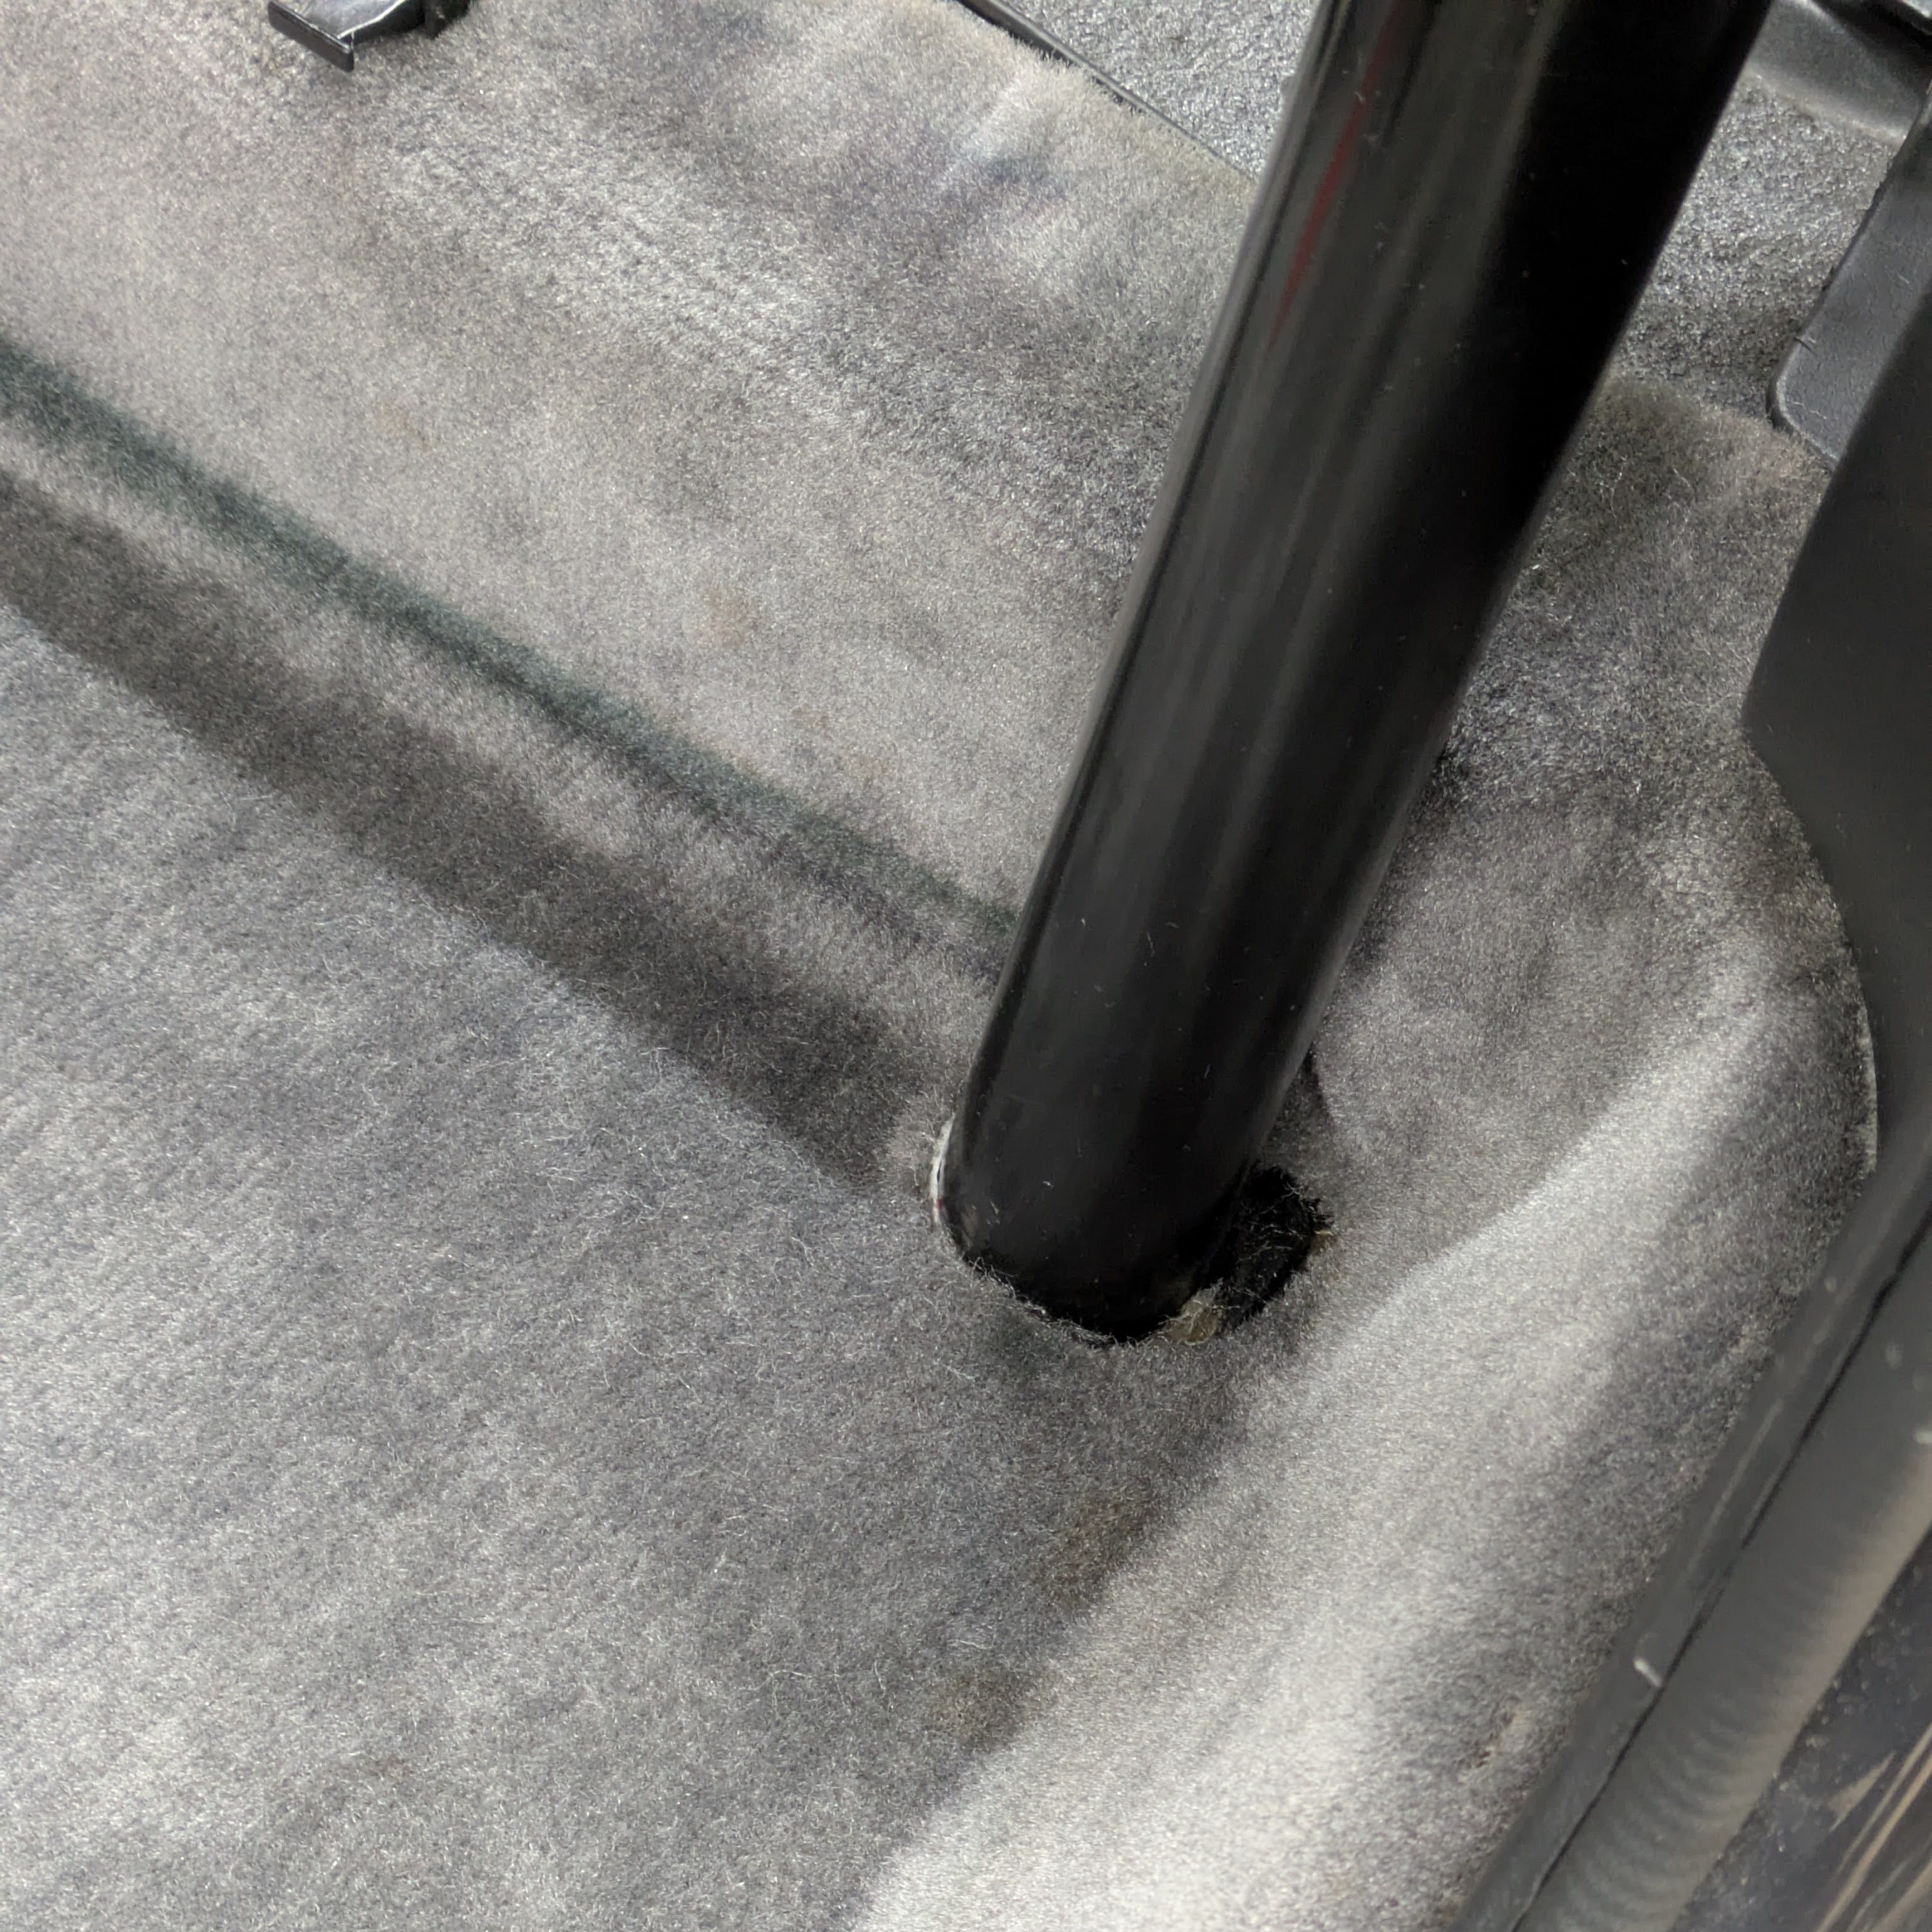
The final step was trimming of the B pillar and rear seat panels to fit with the new seatbelt. With a bit of iteration, the seatbelt snakes out easily with a fairly factory appearance. Obviously, its angular and handmade when you get up close, but quickly fades into the interior if you analyze it as a whole. That was the end of the seatbelt saga, and it turned out exactly as I would have hoped.
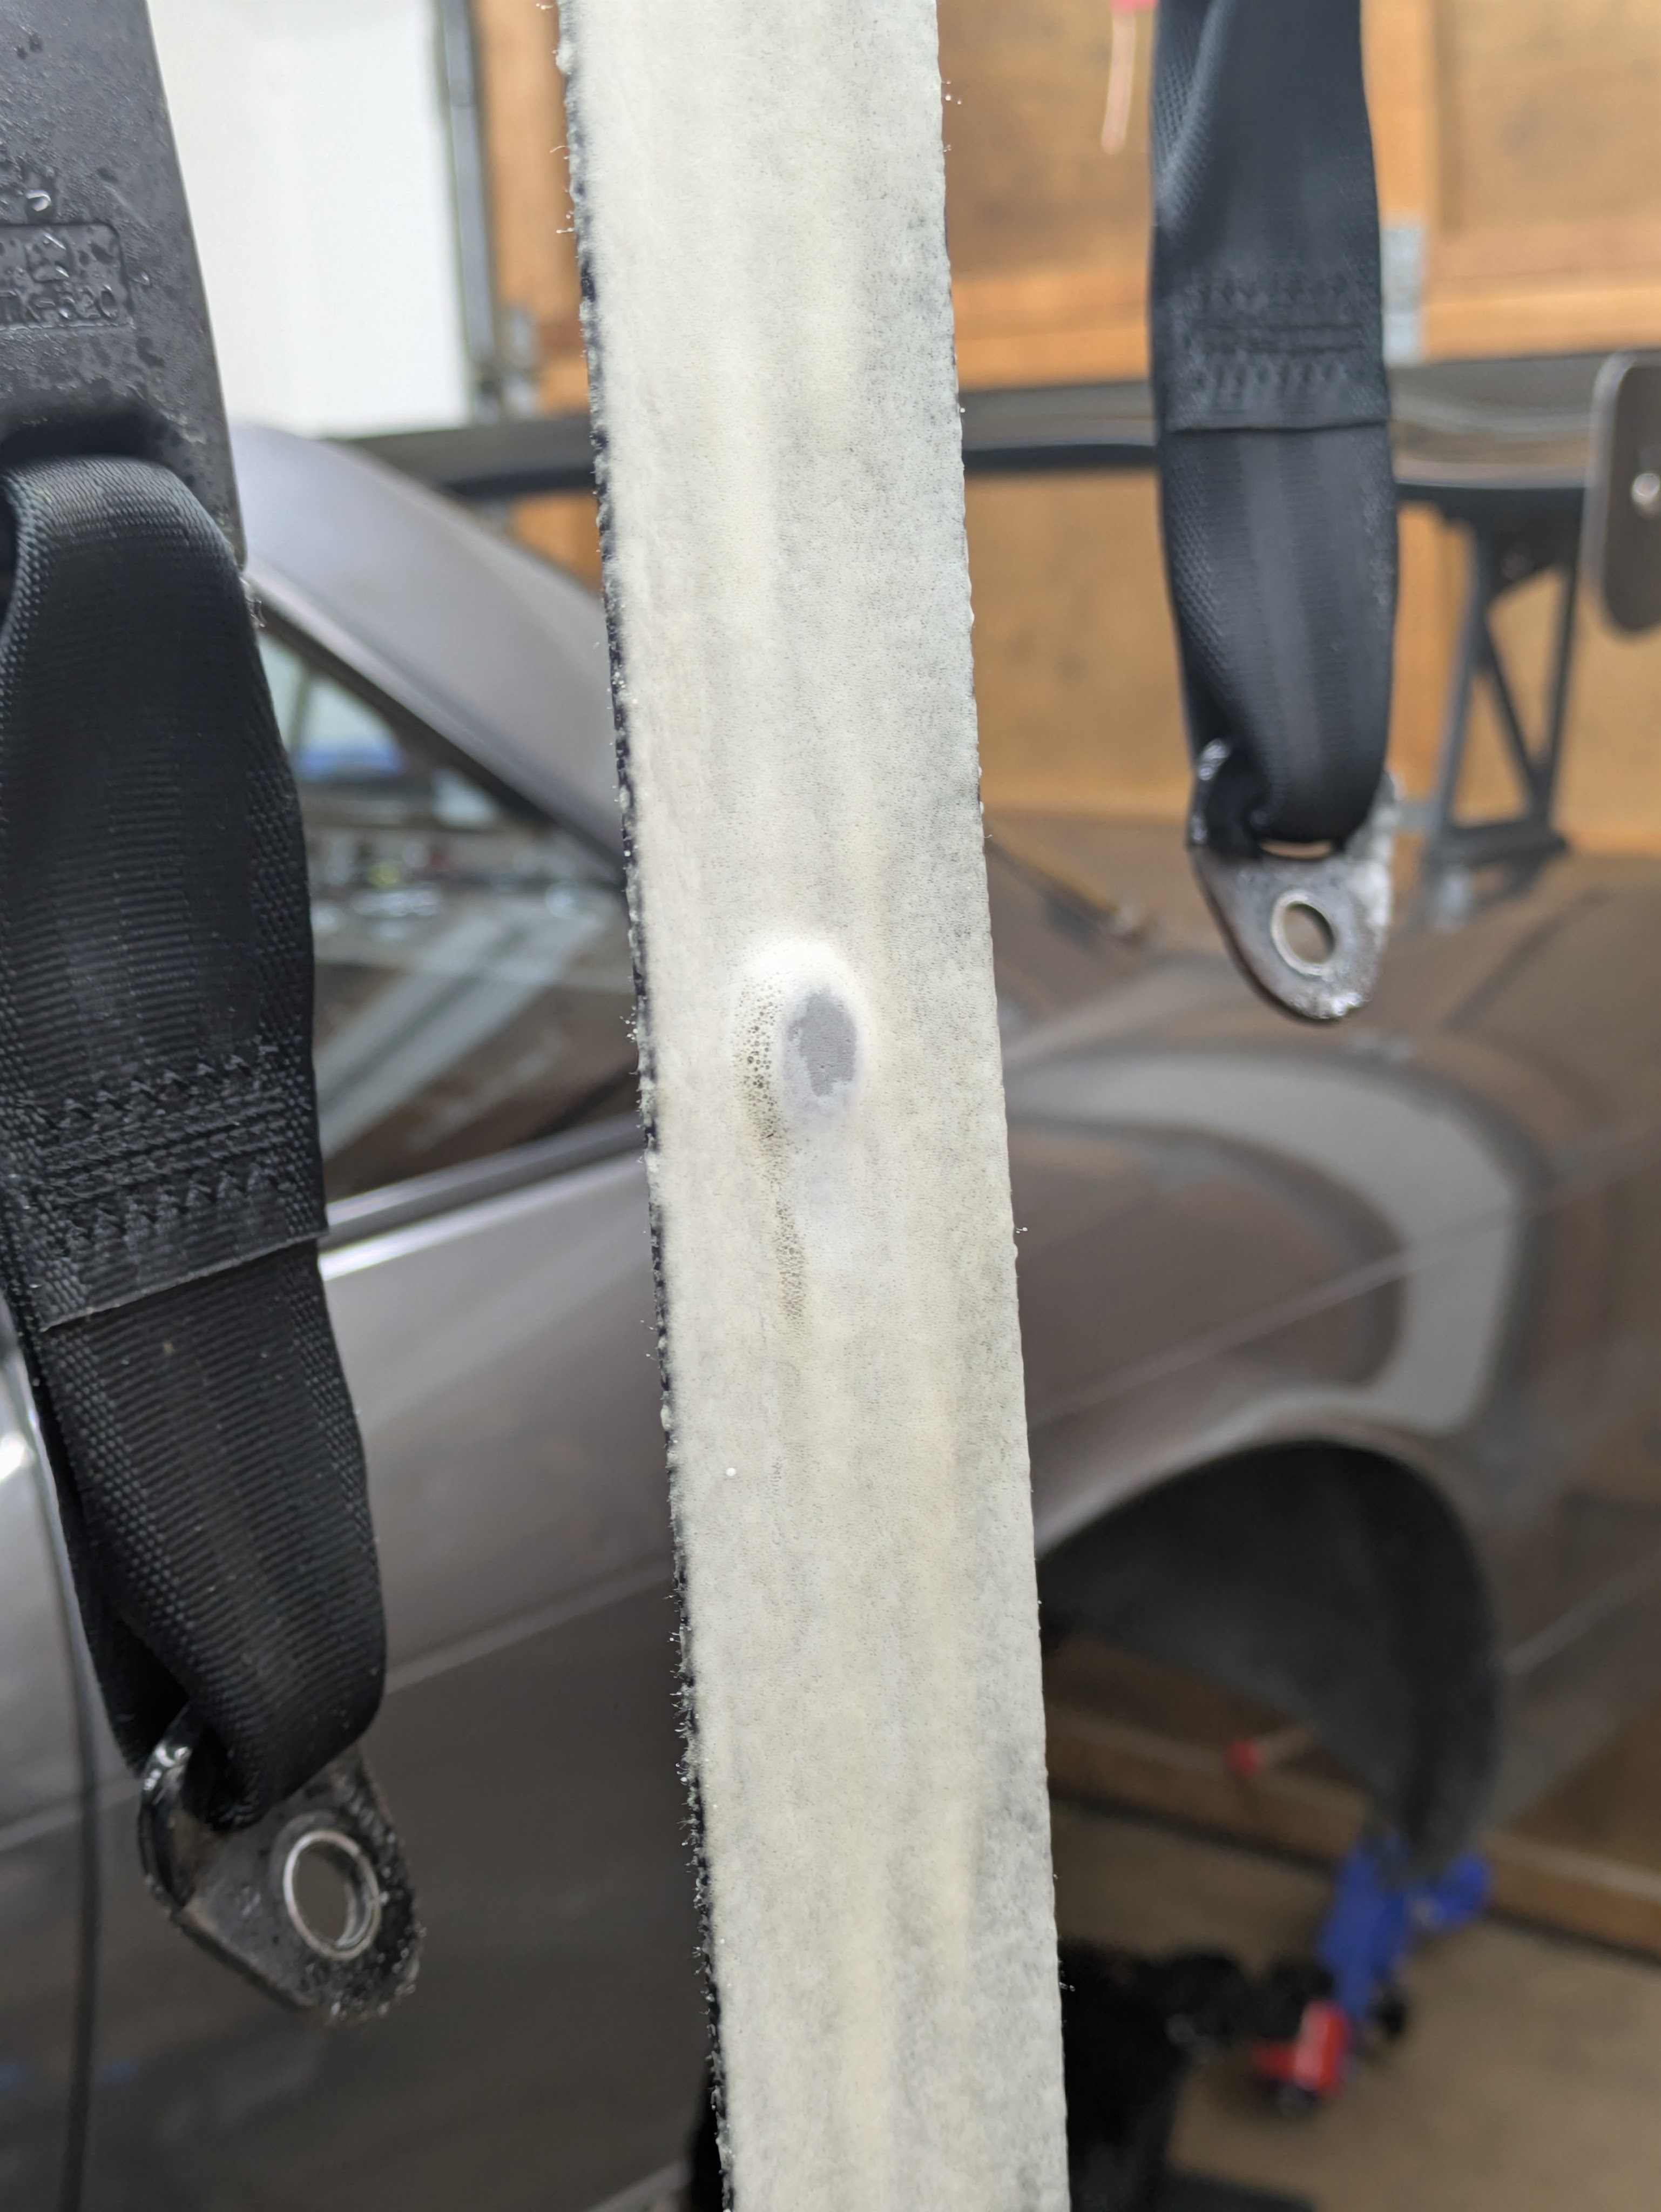
With the gigantic projects complete, it was time to begin reassembly. Once again, a significant effort has been made to “modernize” the car in terms of cabin refinement, so I spent a while taping every single clip connection and panel joint with Tesa felt tape. This was a fairly small amount of actual effort, but hopefully will minimize or eliminate any chance of rattling.

Can you tell I just figured out how to put images side by side? lol
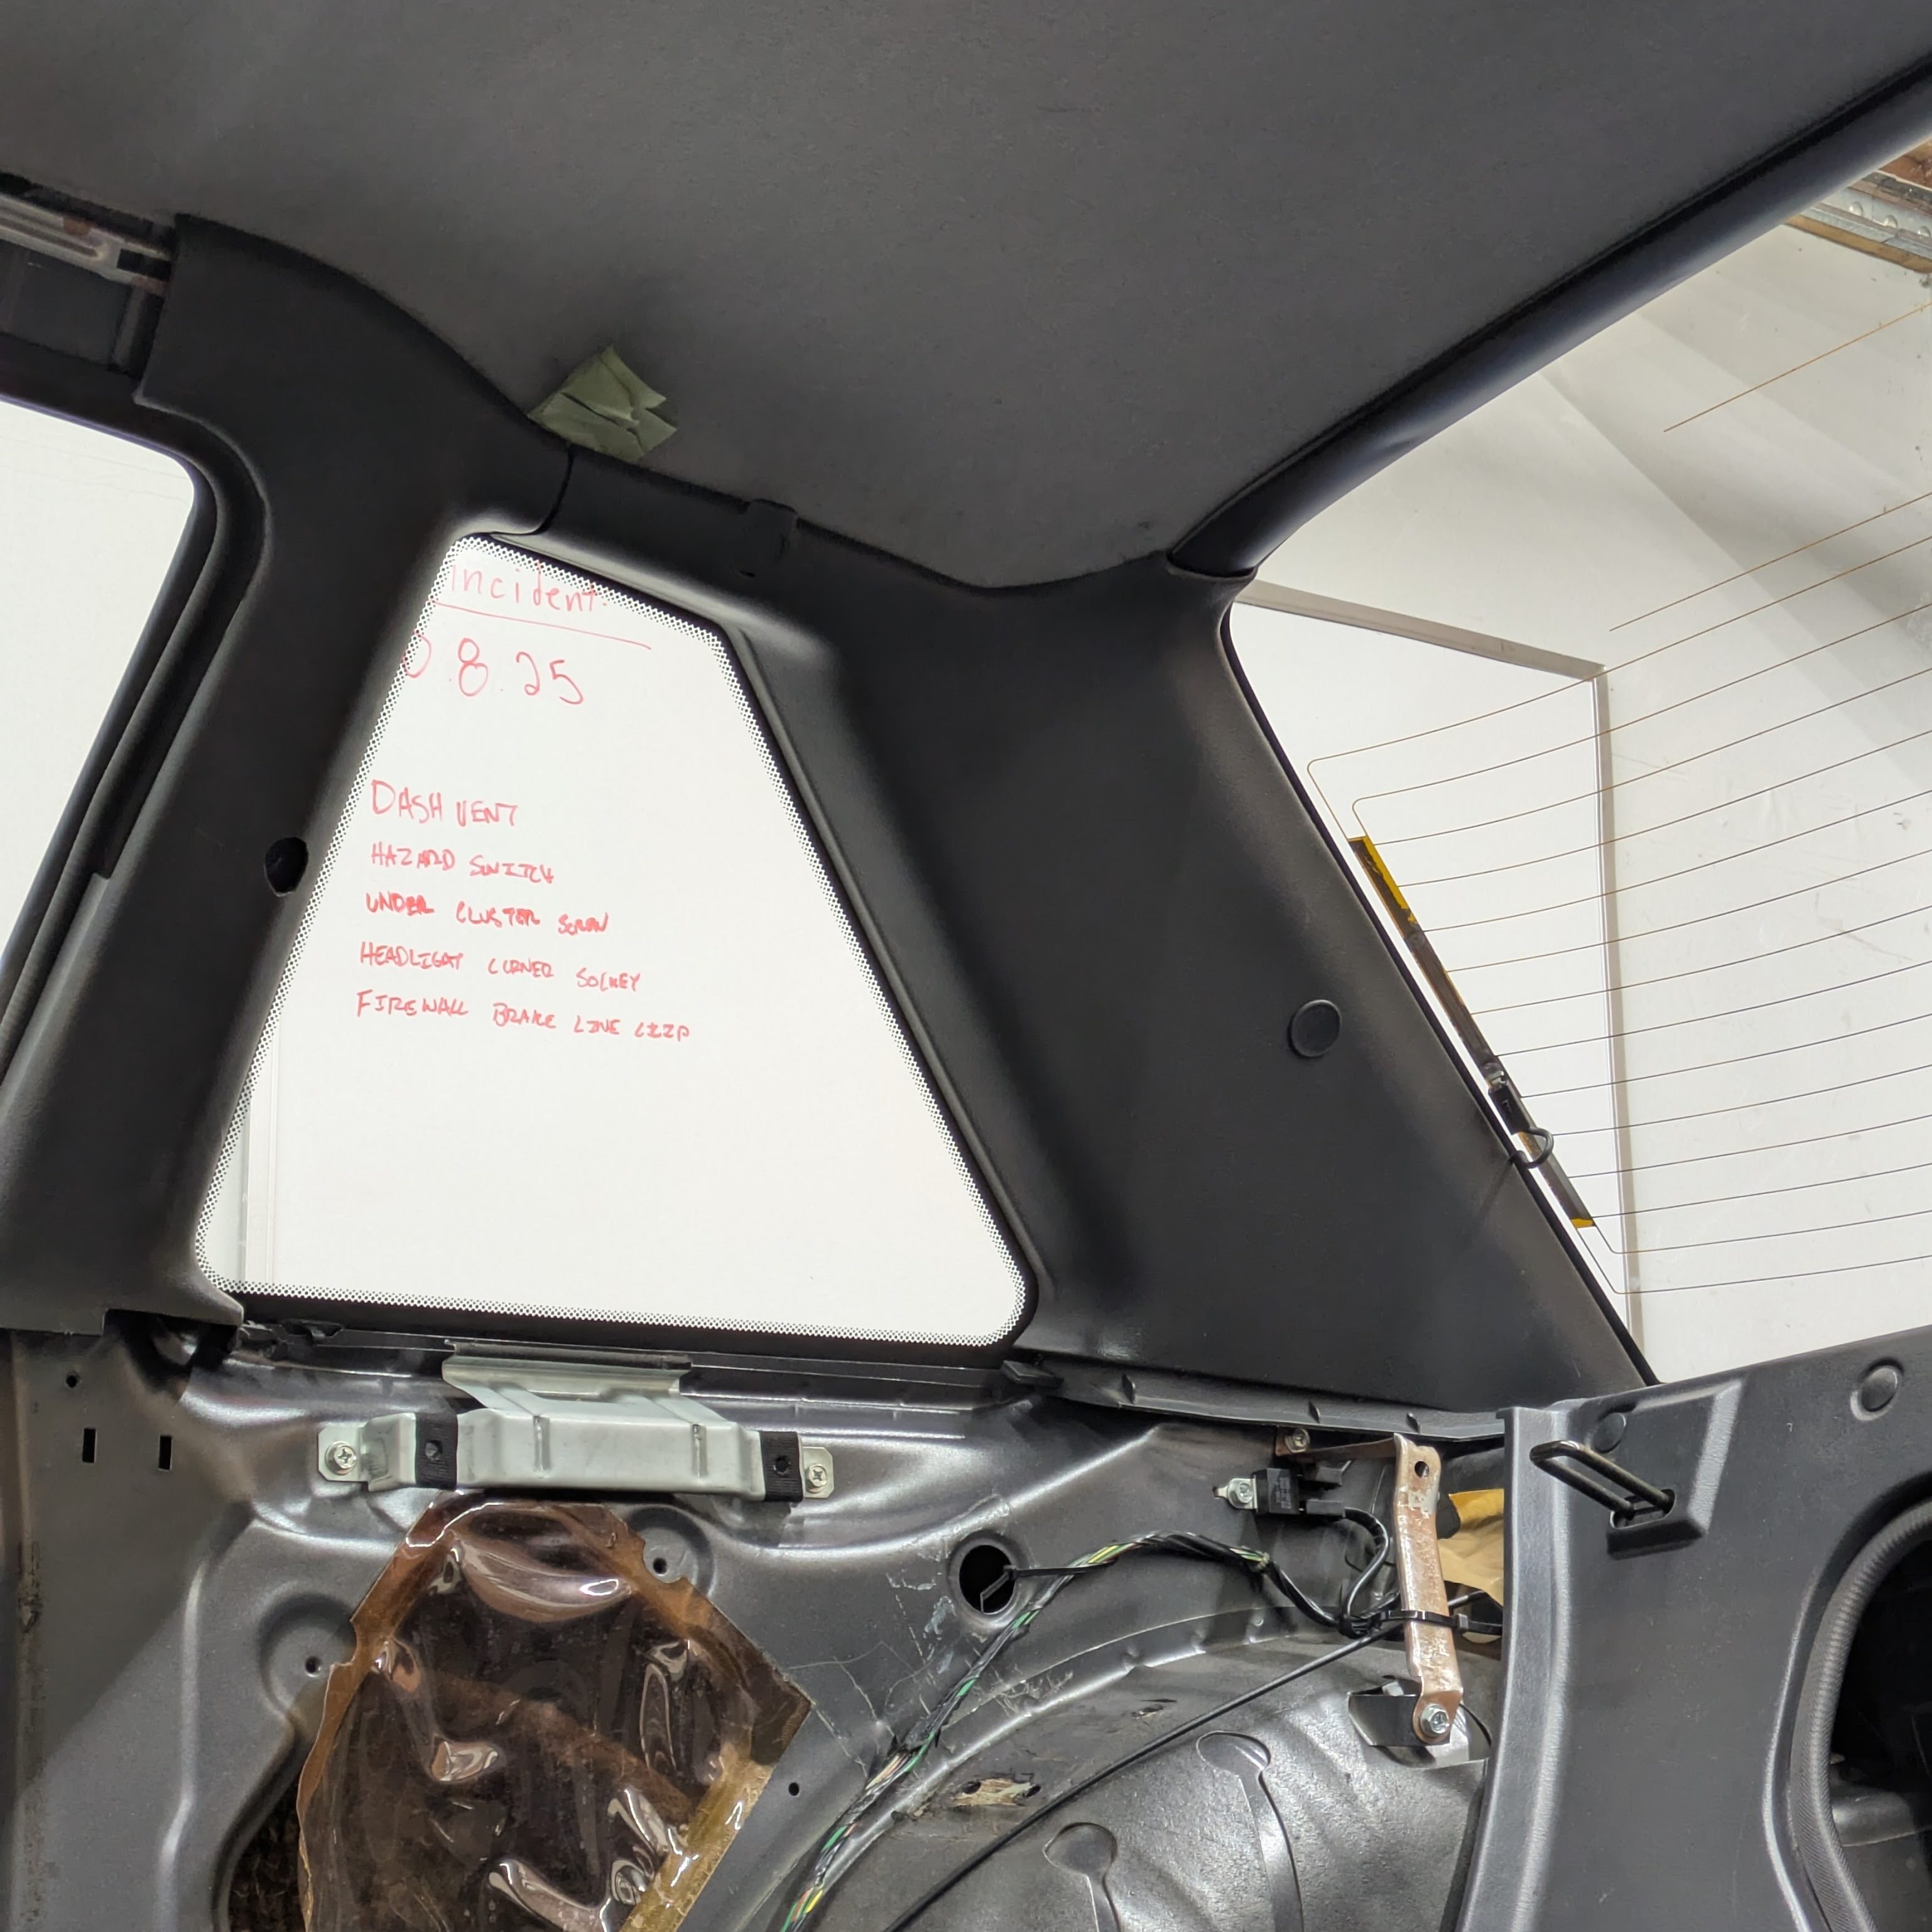
Rapid fire of the last few prep tasks before the big reinstallation effort:


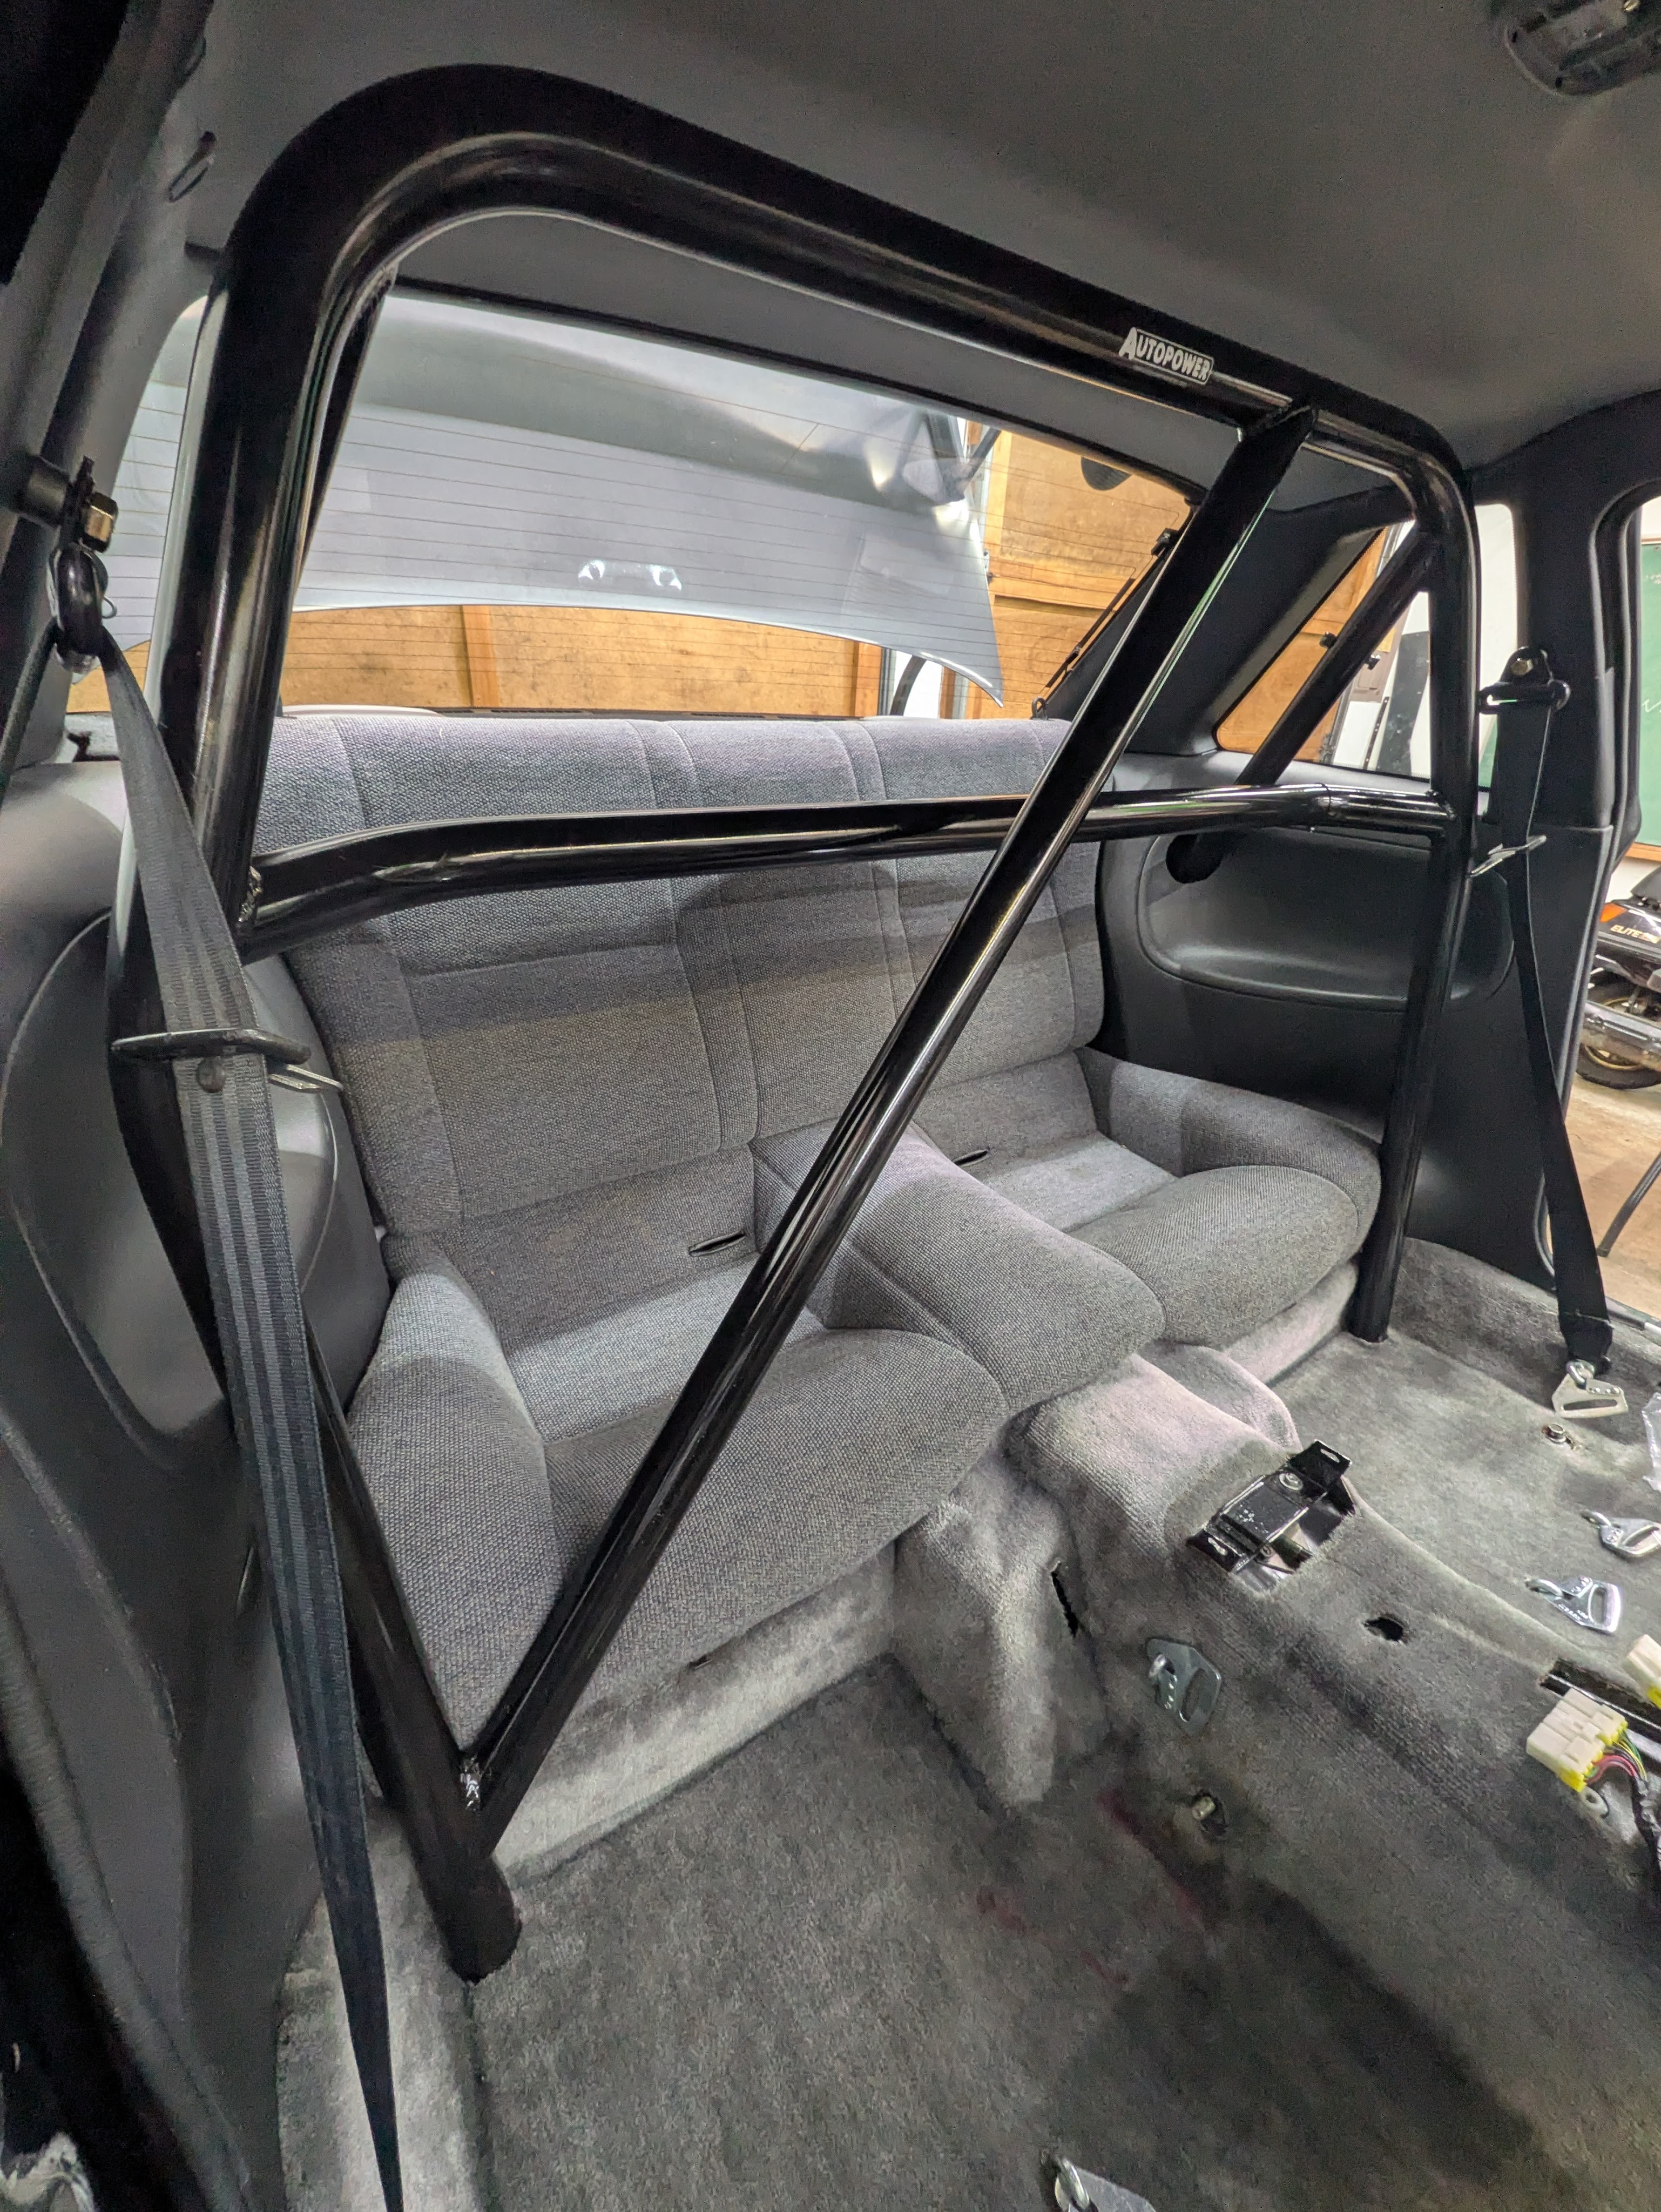
With all of the prep done, it was time to actually get everything back in, all at once. I knew this was going to suck, but was going to feel amazing when it was all done.

The install went pretty smooth overall. The only in-process photo that I have is one that Kai took of me looking like a sad dog while tightening wheel well bolts. My father and Kai both helped a ton as this job requires a minimum of two people, but it was definitely nice to have three. The cage slid in right where it wanted to be, even with the rear interior panels hooked around the bars, and it only took minor persuasion to get everything back to where it wanted to be. Tightening the bolts from the wheel well to the interior was less than fun, but it got done with the power of 30/60 degree open ended wrenches and a magnet. We were able to orient all of the bolts from the outside in, which not only looked nice, bit it also meant there were no bolts protruding into the wheel well so I don’t have to worry about hitting them with the tire.
It only took a few hours, and honestly most of the time was spent getting all of the plastic clips back in place for the interior panels to clip in properly. We got all but one in, which was impressive as the previous install had almost none of them. Again, praying for no rattles, and it feels good to have the panels located exactly where they should be. No significant casualties, and we were left with an interior that looks pretty much identical to how it did this summer, with a few very subtle yet critical changes.

It felt so damn good to have it back in, with the panels, all as it should be.

As we still had time left in the day, I wanted to get the (new to me) OEM carpet back in and trimmed around all of the extra stuff that isn’t in the factory car. We spent a few minutes drilling the sub belt points into the passenger side, exactly the same as I had done on the drivers side. Same Schroth eyelets and backing plates, all to accept the same Schroth Flexi 2×2 I had acquired a few months prior.
After the test fit, the plates were smeared in silicone sealant to seal them to the floor. I did this with all the previous harness install points, as had the previous owner when he put various plates in for the cage and harnesses. I also went back at the end of the night and sealed all of the fastener heads/threads so that water cannot ingress through any of those points.
Before we dropped the carpet in, we found two high points on the passenger side floor that had clearly been pushed up by a floor jack at some point in the car’s past. Since S13s are made out of Play-Dough, all we had to do was stomp it back into place with a well placed kick. It is incredible how soft these cars are. The sound deadening obviously came off during that reshaping effort.
With the carpet set in the car and secured to all of the hard points, we began trimming around the harness anchors. We just cut the rectangles for the heads of the eyelets to poke through, as there is nothing to access otherwise. All of these points turned out really clean. Regarding those humps in the carpet on the trans tunnel, those are where the shoulder seatbelt retractor would be for the old power seatbelt. As I can’t get rid of the lump, I took apart the old seatbelt to steal the metal external brackets to bolt back in and hold the shape of the carpet.
With every other point fixtured, we then cut the round holes and slit for the cage to poke through. I went back and readjusted this one later, but it was definitely worth the extra few minutes to make sure this turned out nice.
I threw the back seats in to get a visual of the completed final product. While its still a 35 year old car with 35 year old parts, I am elated with how it came out. It looks like a factory built Clubsport with the trimmed panels and carpet for the cage and the properly capped rear belts. It is clean and purposeful, and the Recaros and harnesses will complete the look.
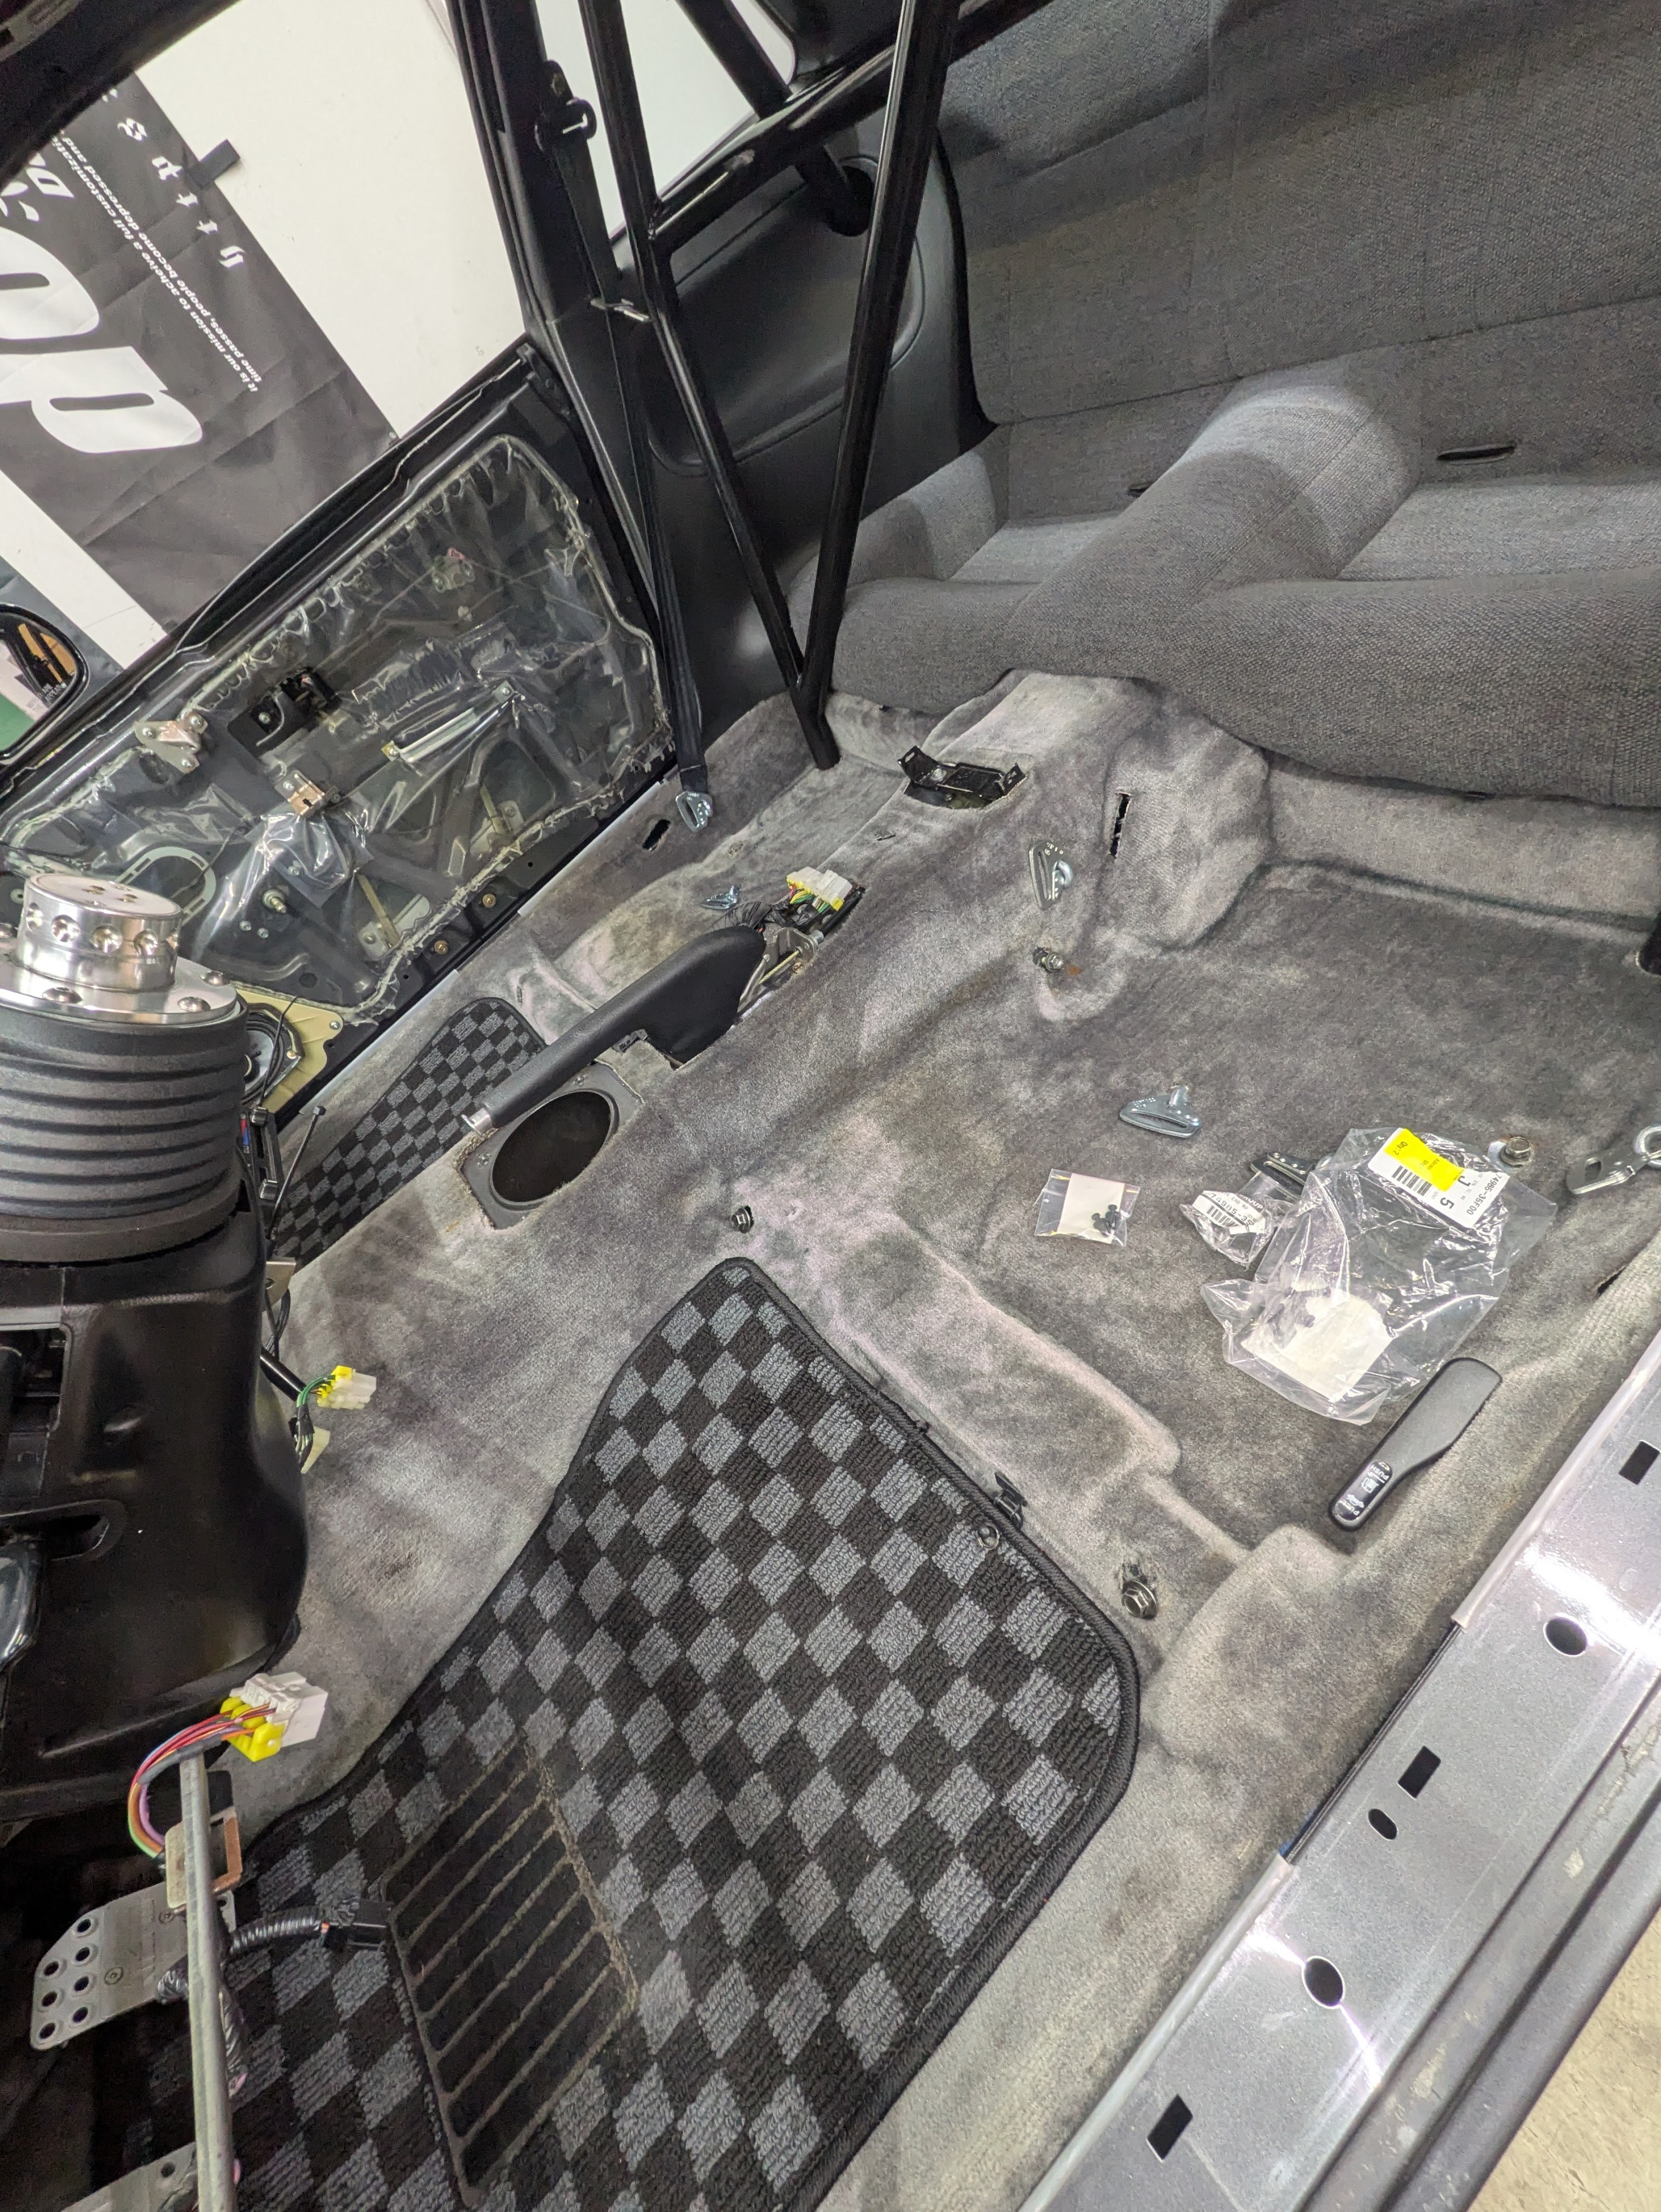
Even with all the progress, I still can’t install the carpet or backseats fully. They’ll both have to come back out for some extra cleaning and a few tiny projects, but the vision is there, and I cannot overstate how happy I am with the results.
This particular project was carrying a ton of internal mental stress, as I knew reinstallation was going to be a challenge regardless of preparation. When it all went in, with no casualties, and fit and looked right, it was definitely a weight off my shoulders.
My verbal goal to those around me was to have the rear interior back together by the New Year, and I completed it Christmas weekend. While there is still a mountain of work to be done on the entire rest of the car, the big interior projects are done. I’ve been busy with other systems in the background, and I’ll have some updates for those really soon.
Merry Christmas and Happy New Years. Last post for the year. Hope y’all are well.
Until next time.
