
I somewhat skipped over the removal of the old SR and teardown of the new SR in the last post, and as I have more photos and findings to share, I figured I would rehash it here in more detail, as well as the projects that followed. Still very much in teardown mode.


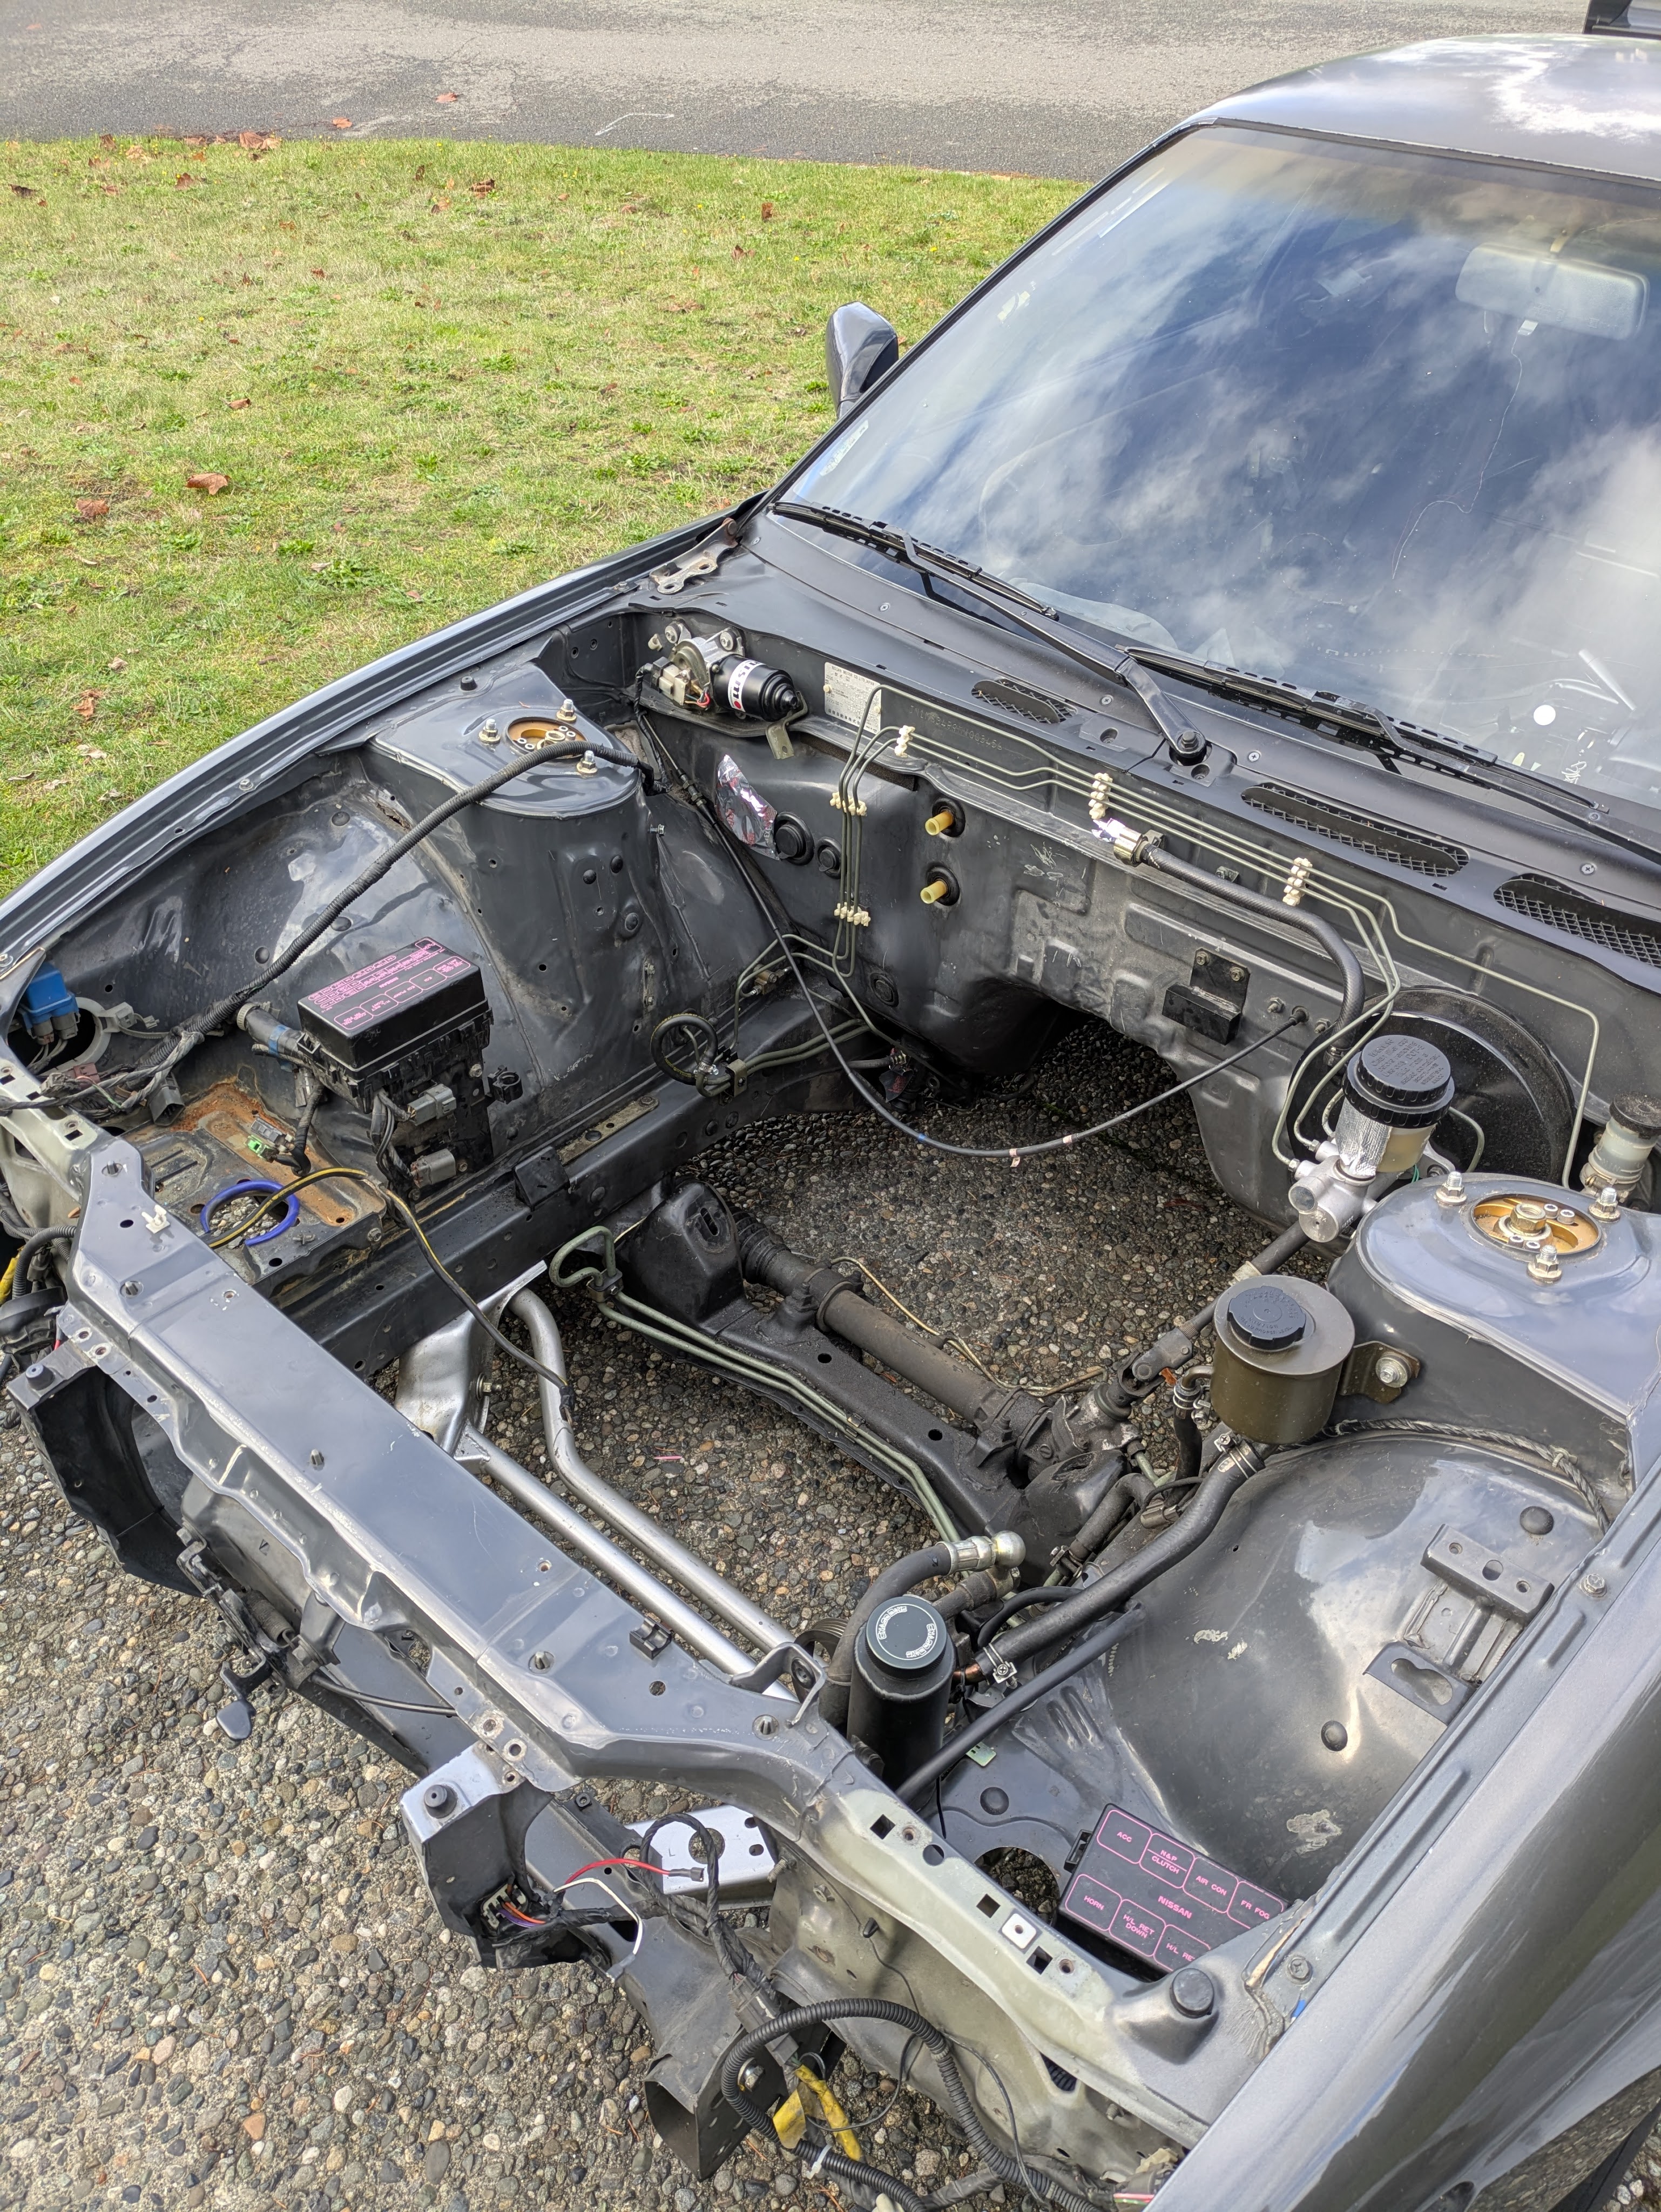
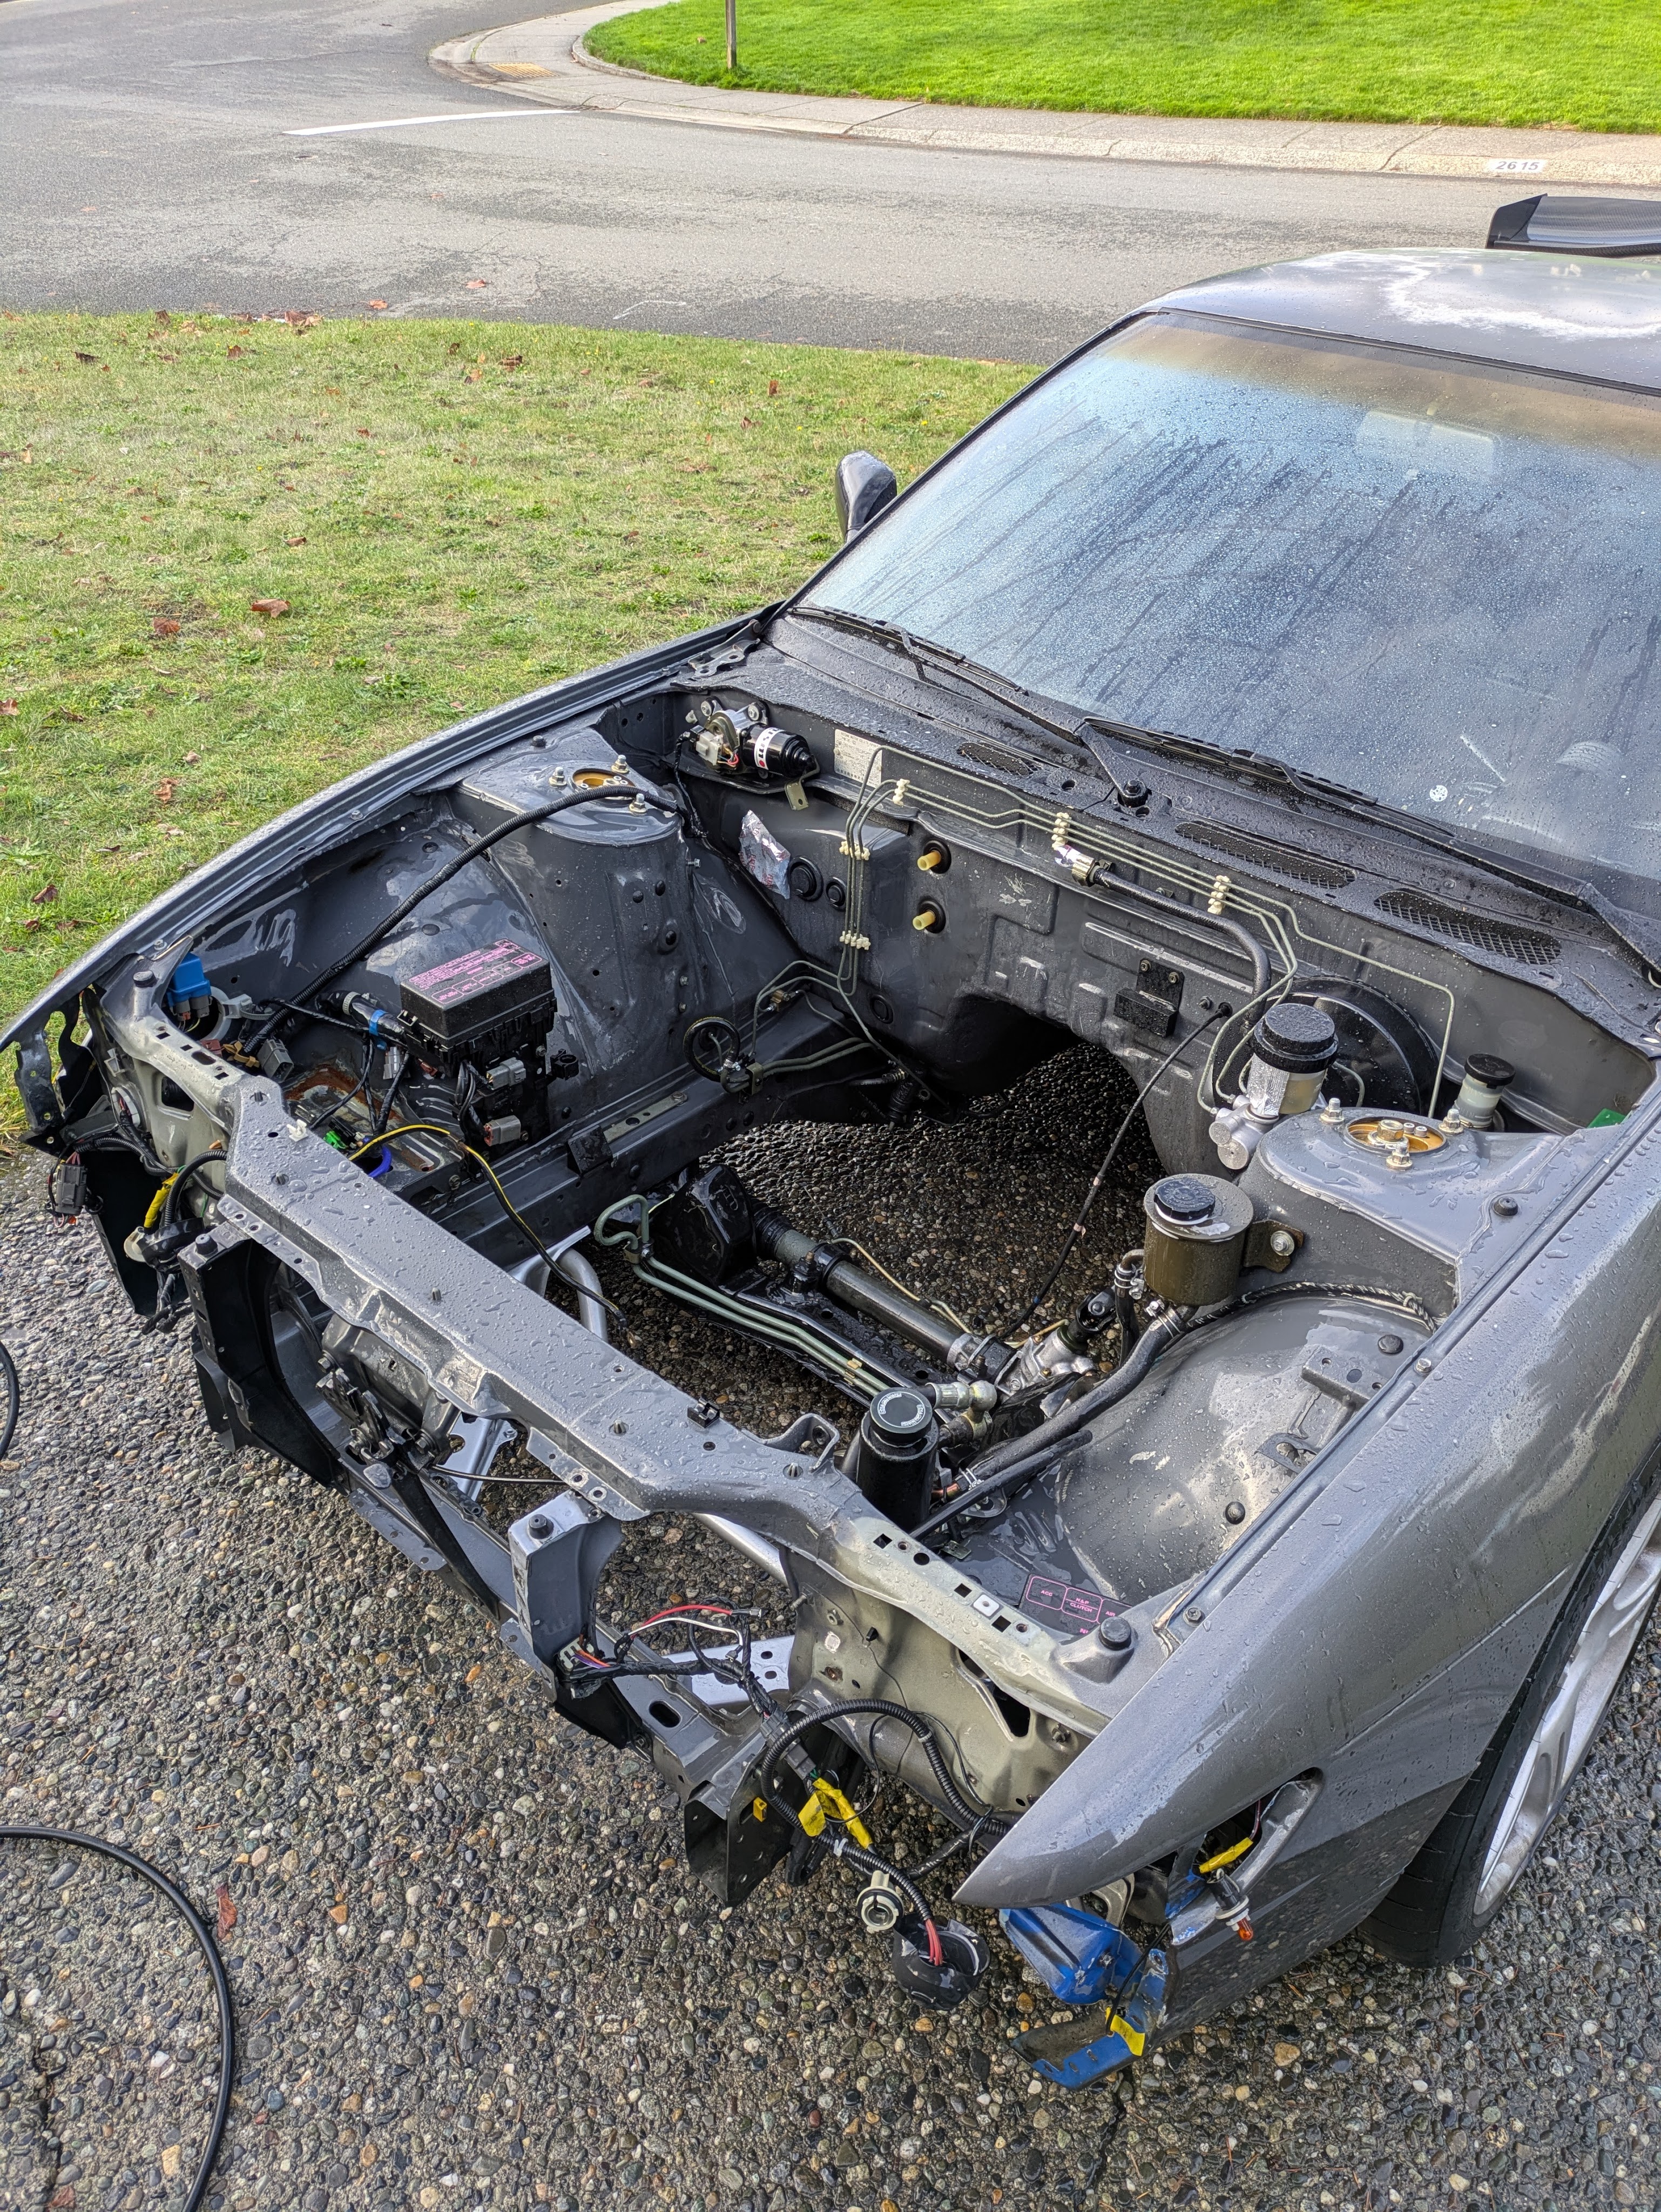
While being in the upper echelon of starting points for an engine bay, there is still evidence of 20+ years of dirt and grease hiding away. My philosophy with cleaning in this situation + intended use case is I am not looking for perfection, rather that 80-90% that is still very presentable and allows me to diagnosis leaks without having to peer through previous messes. Perfection is a great way to chase your tail, so I leave some patina behind. Below is the starting point.

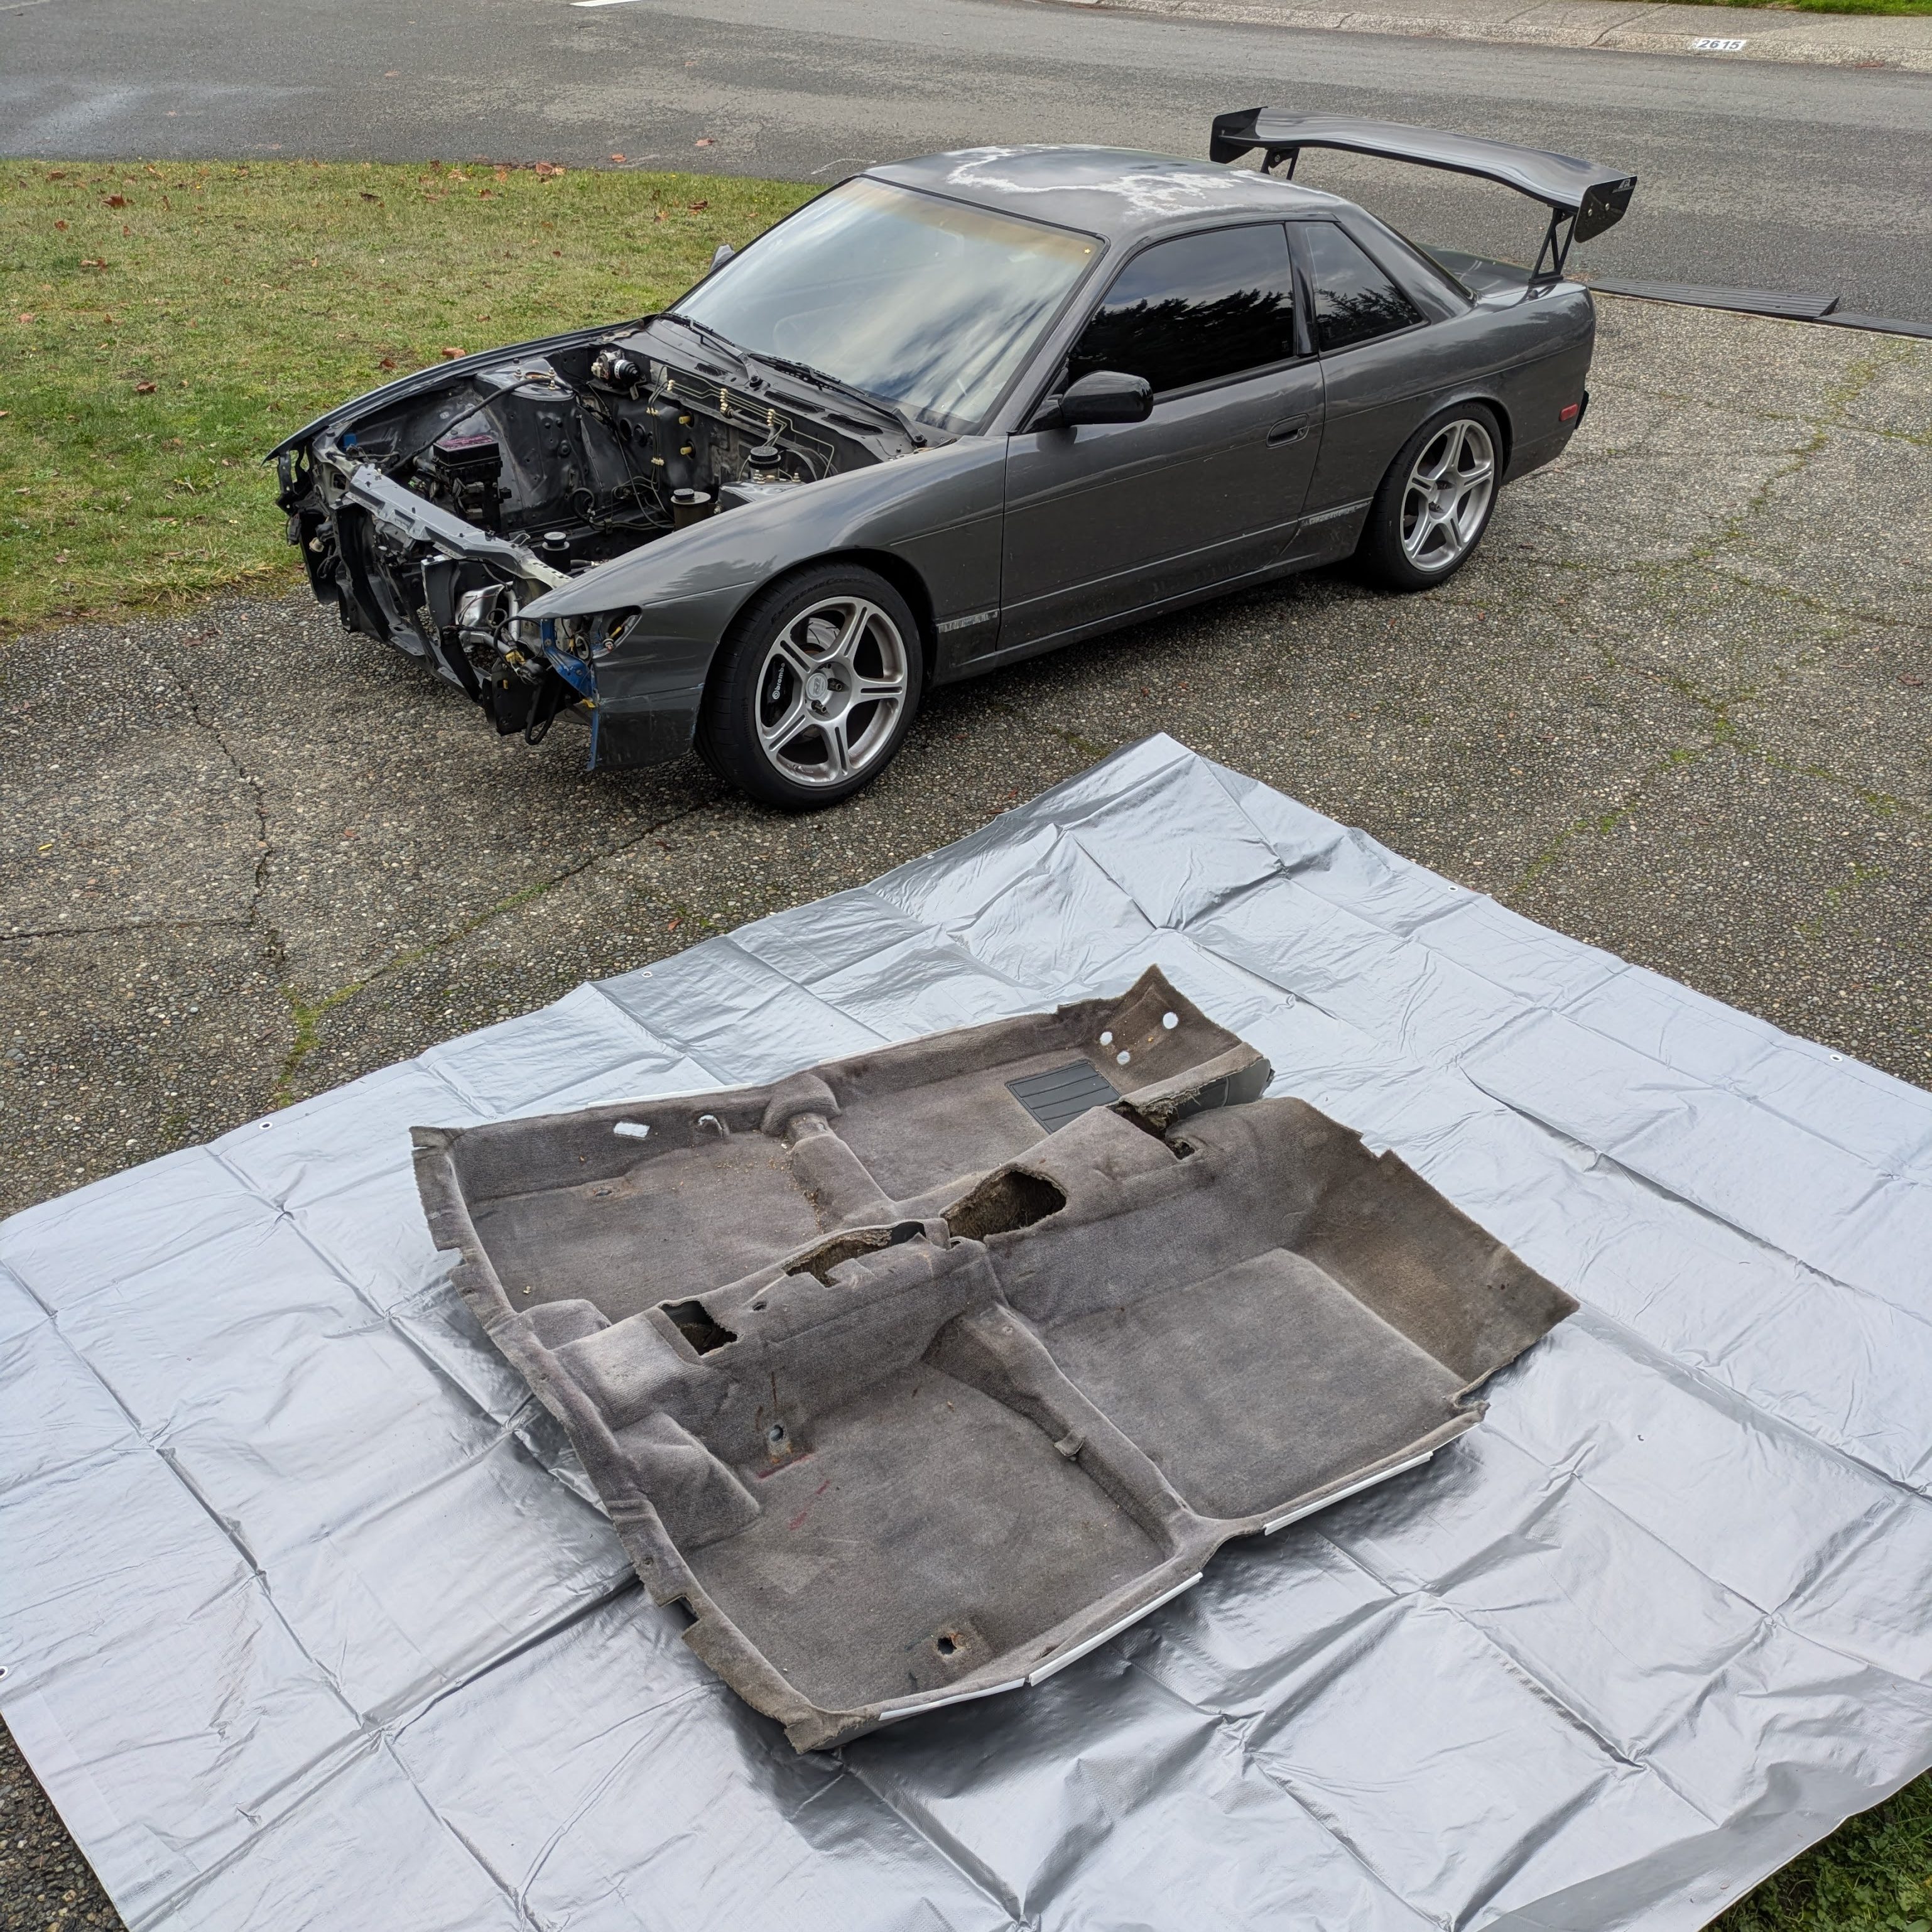
I also hauled the new-to-me carpet outside to clean while I had the pressure washer out. I have been very wary of the aftermath of doing this, as it seems like a nightmare to properly dry out. As I had a ton of time to let it dry, I figured I’d give it a shot. The carpet was already in really good shape with minimal dirt or stains, but might as well while its out.


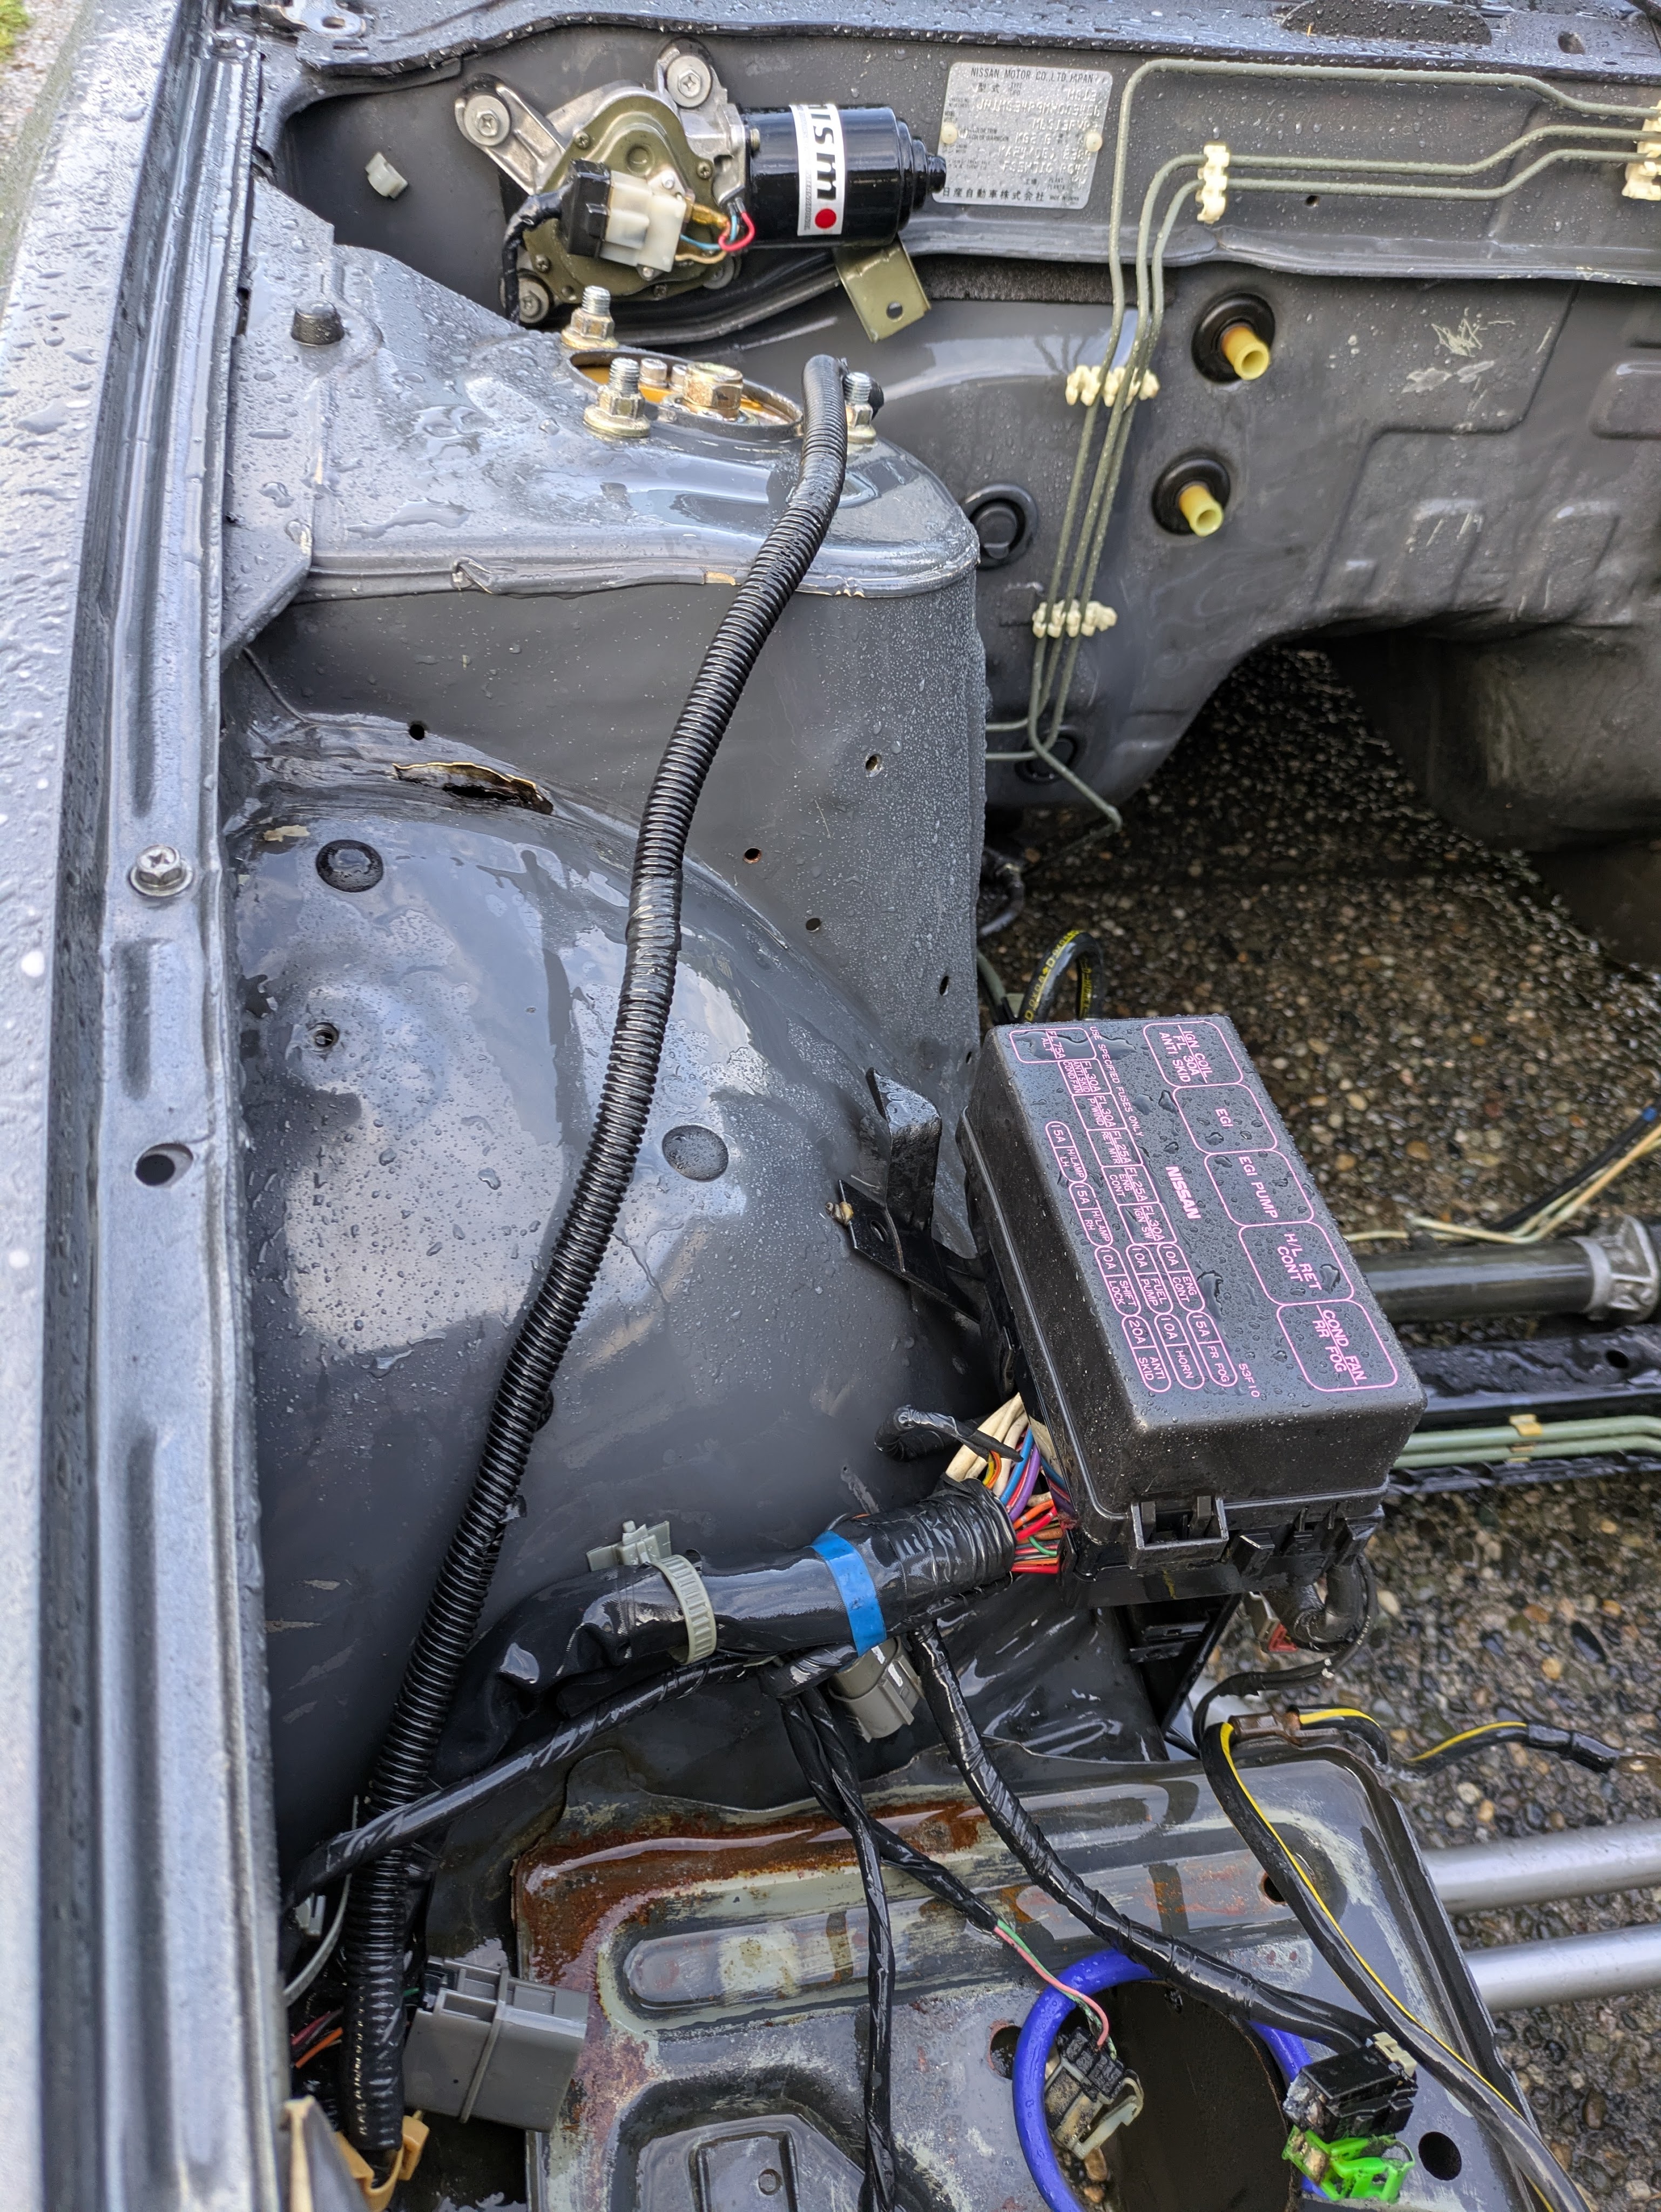
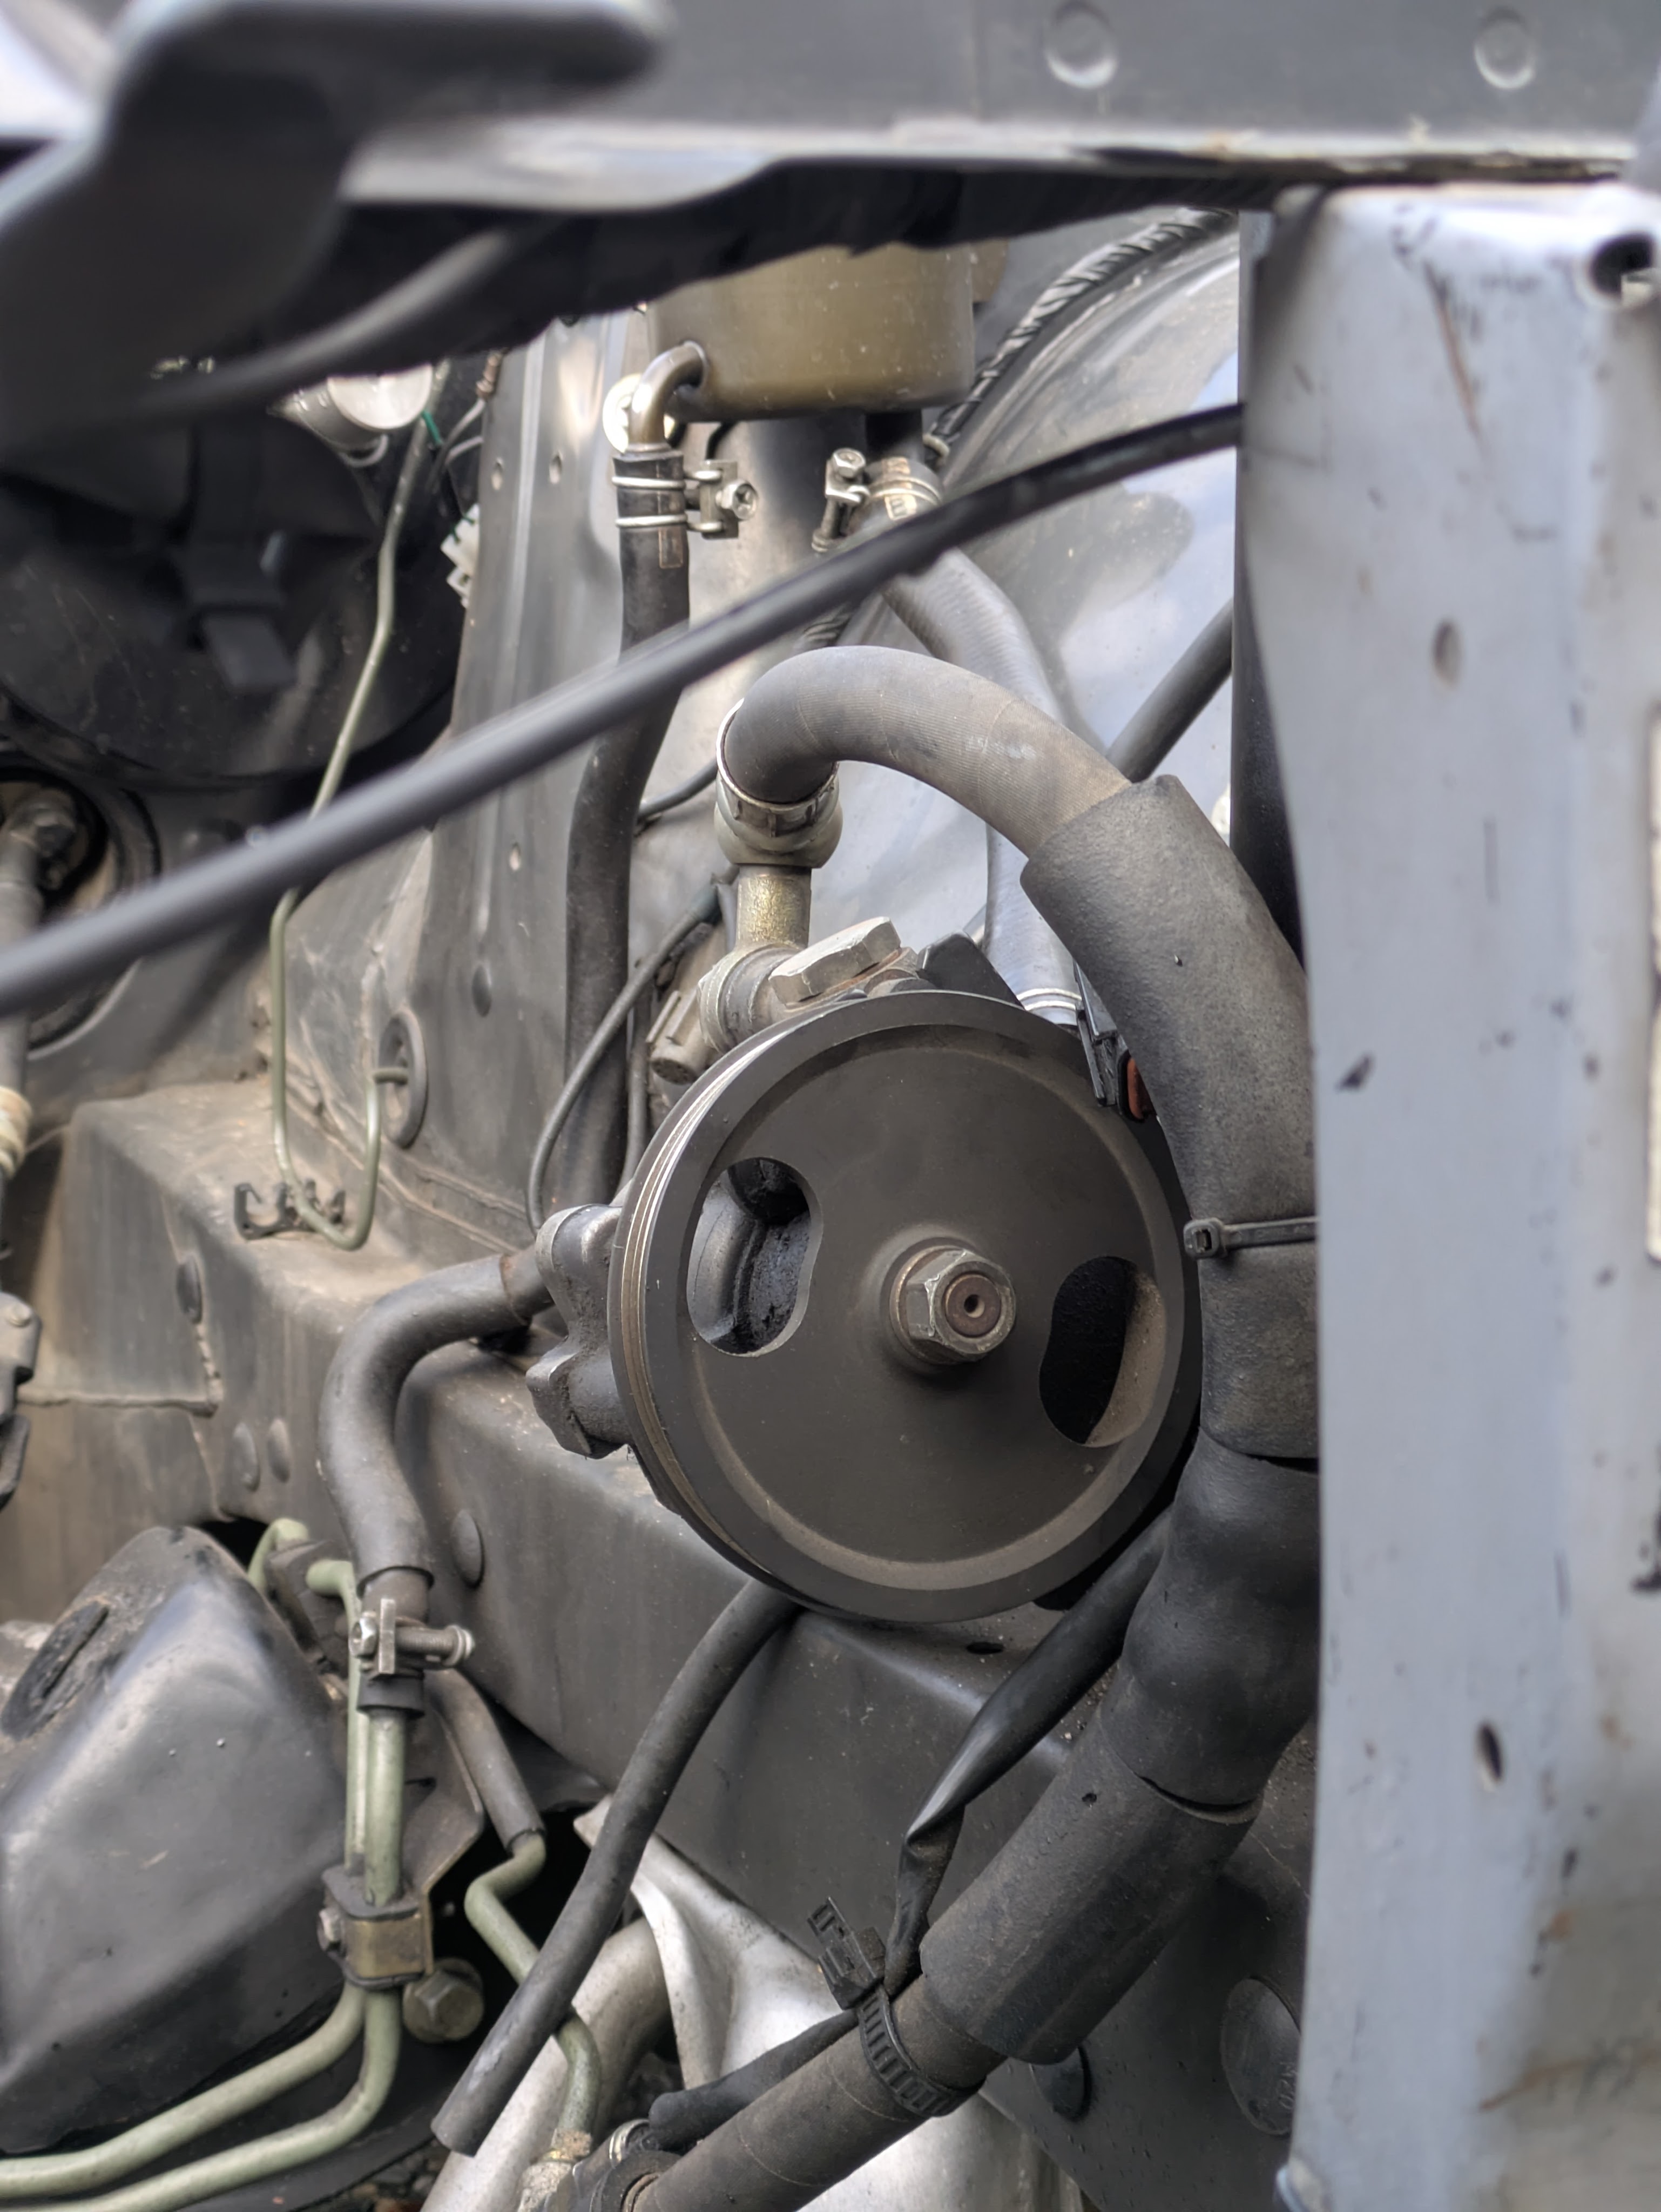
The bay turned out so good with so little work. Honestly far less of a fight than most of the engine bays that I have cleaned. The crispness of color in the chassis harness is what gets me. Those little things make it pop so much harder.
Side note: that distortion in the seam sealer on the passenger side wheel tub is where the tire has rubbed clean through the sheet metal. This happened because the car had a tendency to lower itself on the old set of coilovers since it had enough torque to crack it’s own retaining collars loose. I have literally no idea what I am going to do about this damage other than see how much the 255s rub and evaluate from there. I refuse to tub this car so we’ll see what the future holds.
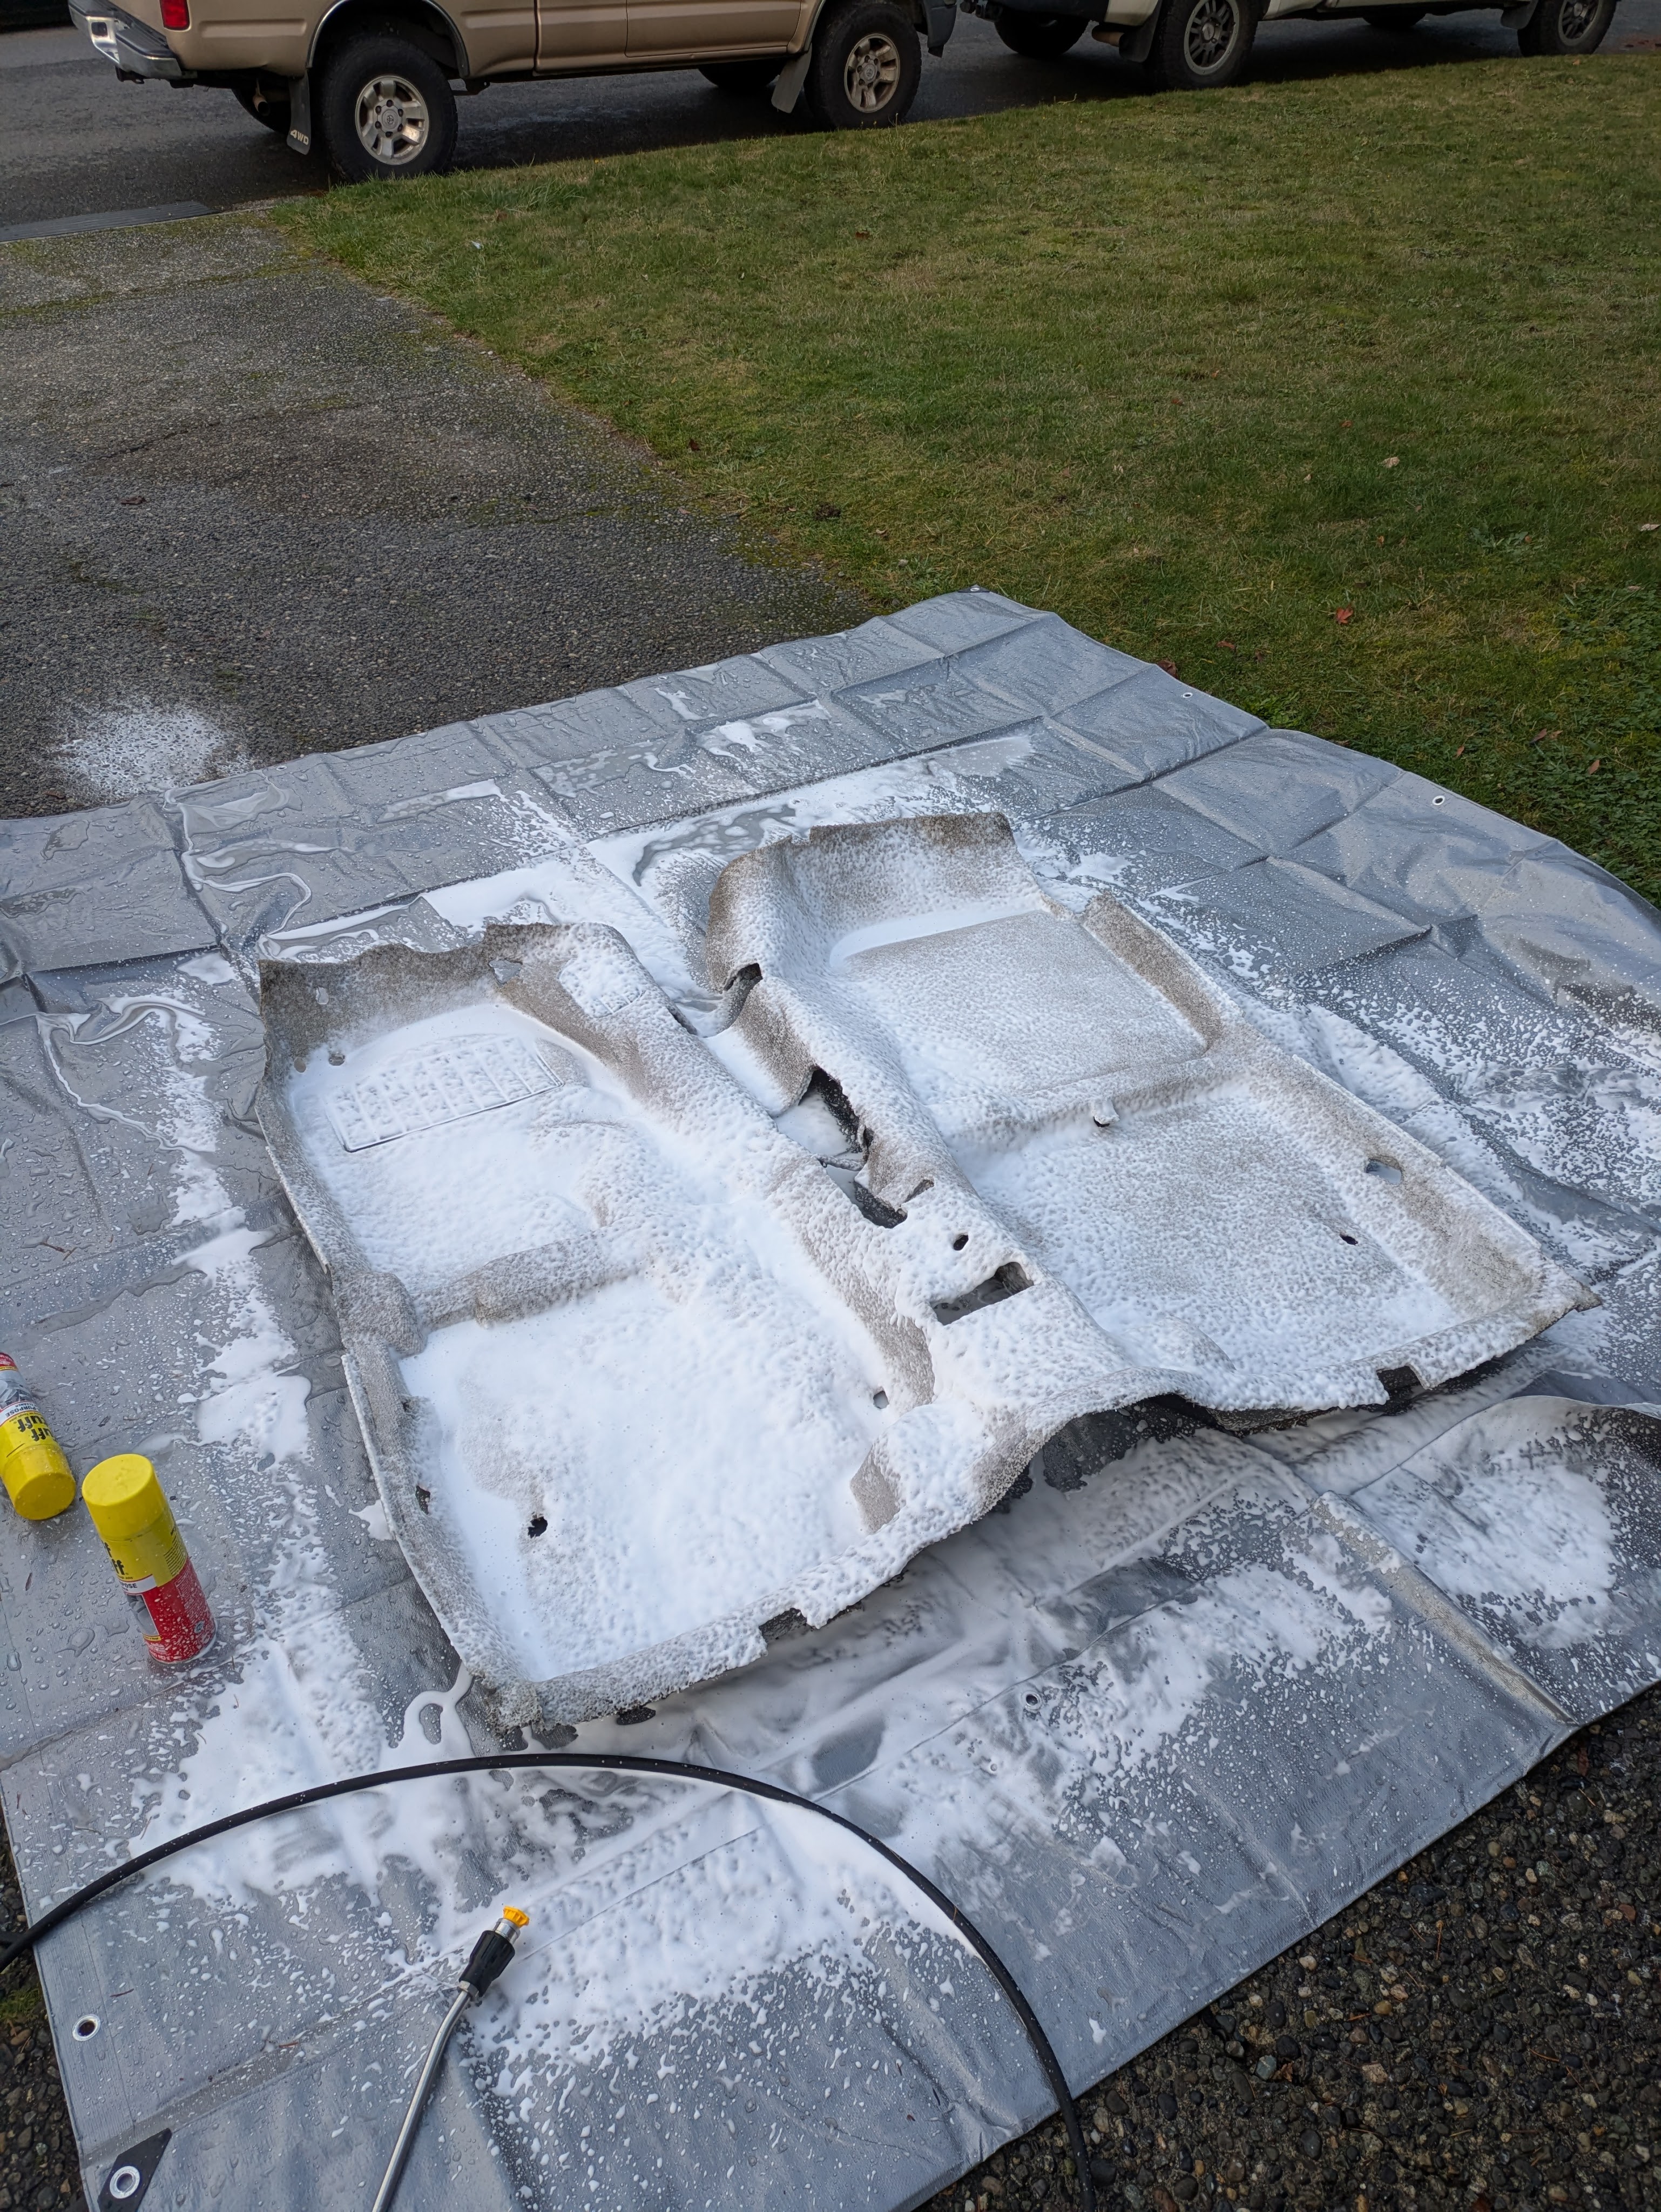
The carpet got its fair treatment of foam and agitation. This was mostly Chemical Guys carpet cleaner that I’ve had forever, and honestly is totally meh, but it foamed real nice out of a foam cannon. When combined with Tuff Stuff foaming carpet cleaner and a drill brush for agitation, there was a river of dirty water flowing out as I was rinsing.
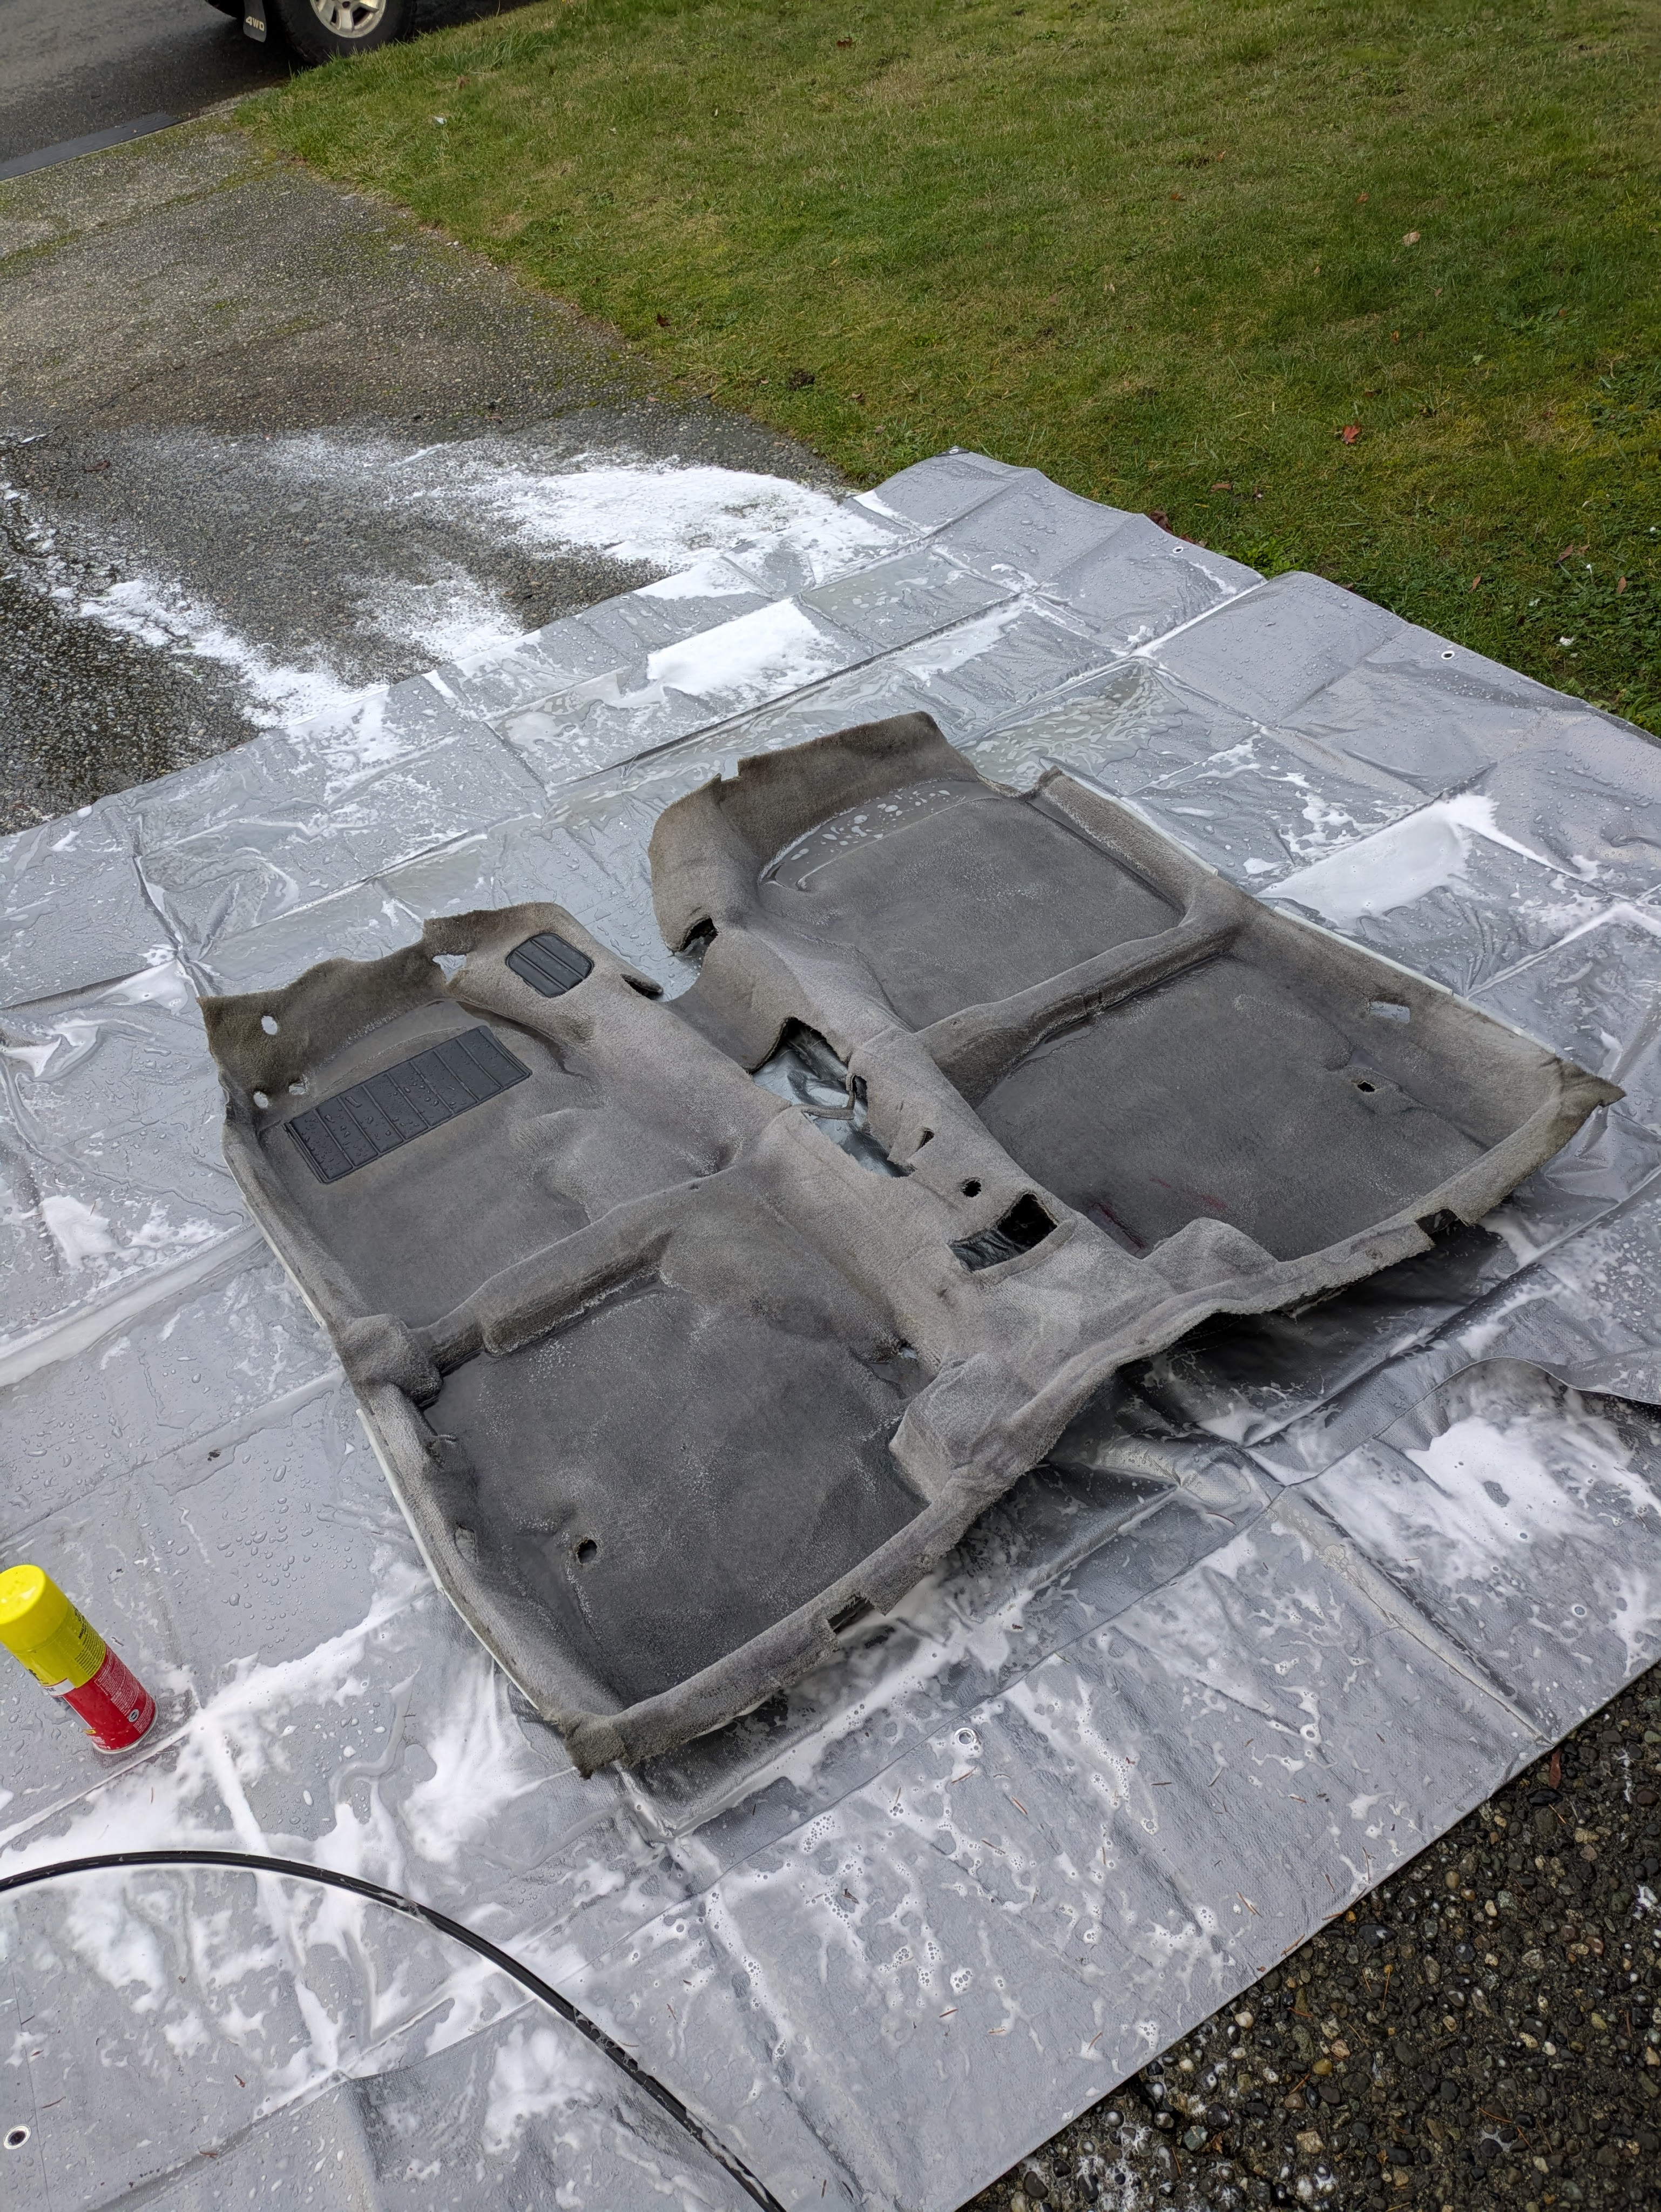
Obviously its a bad demonstration when it’s soaking wet, but it was way better. I ended up putting it on body shop stands on my front porch to let it drip dry, and the humidity was so low that it was mostly dry come nightfall. A few nights indoors flipping it over, and it was dry and looking/smelling fresh.
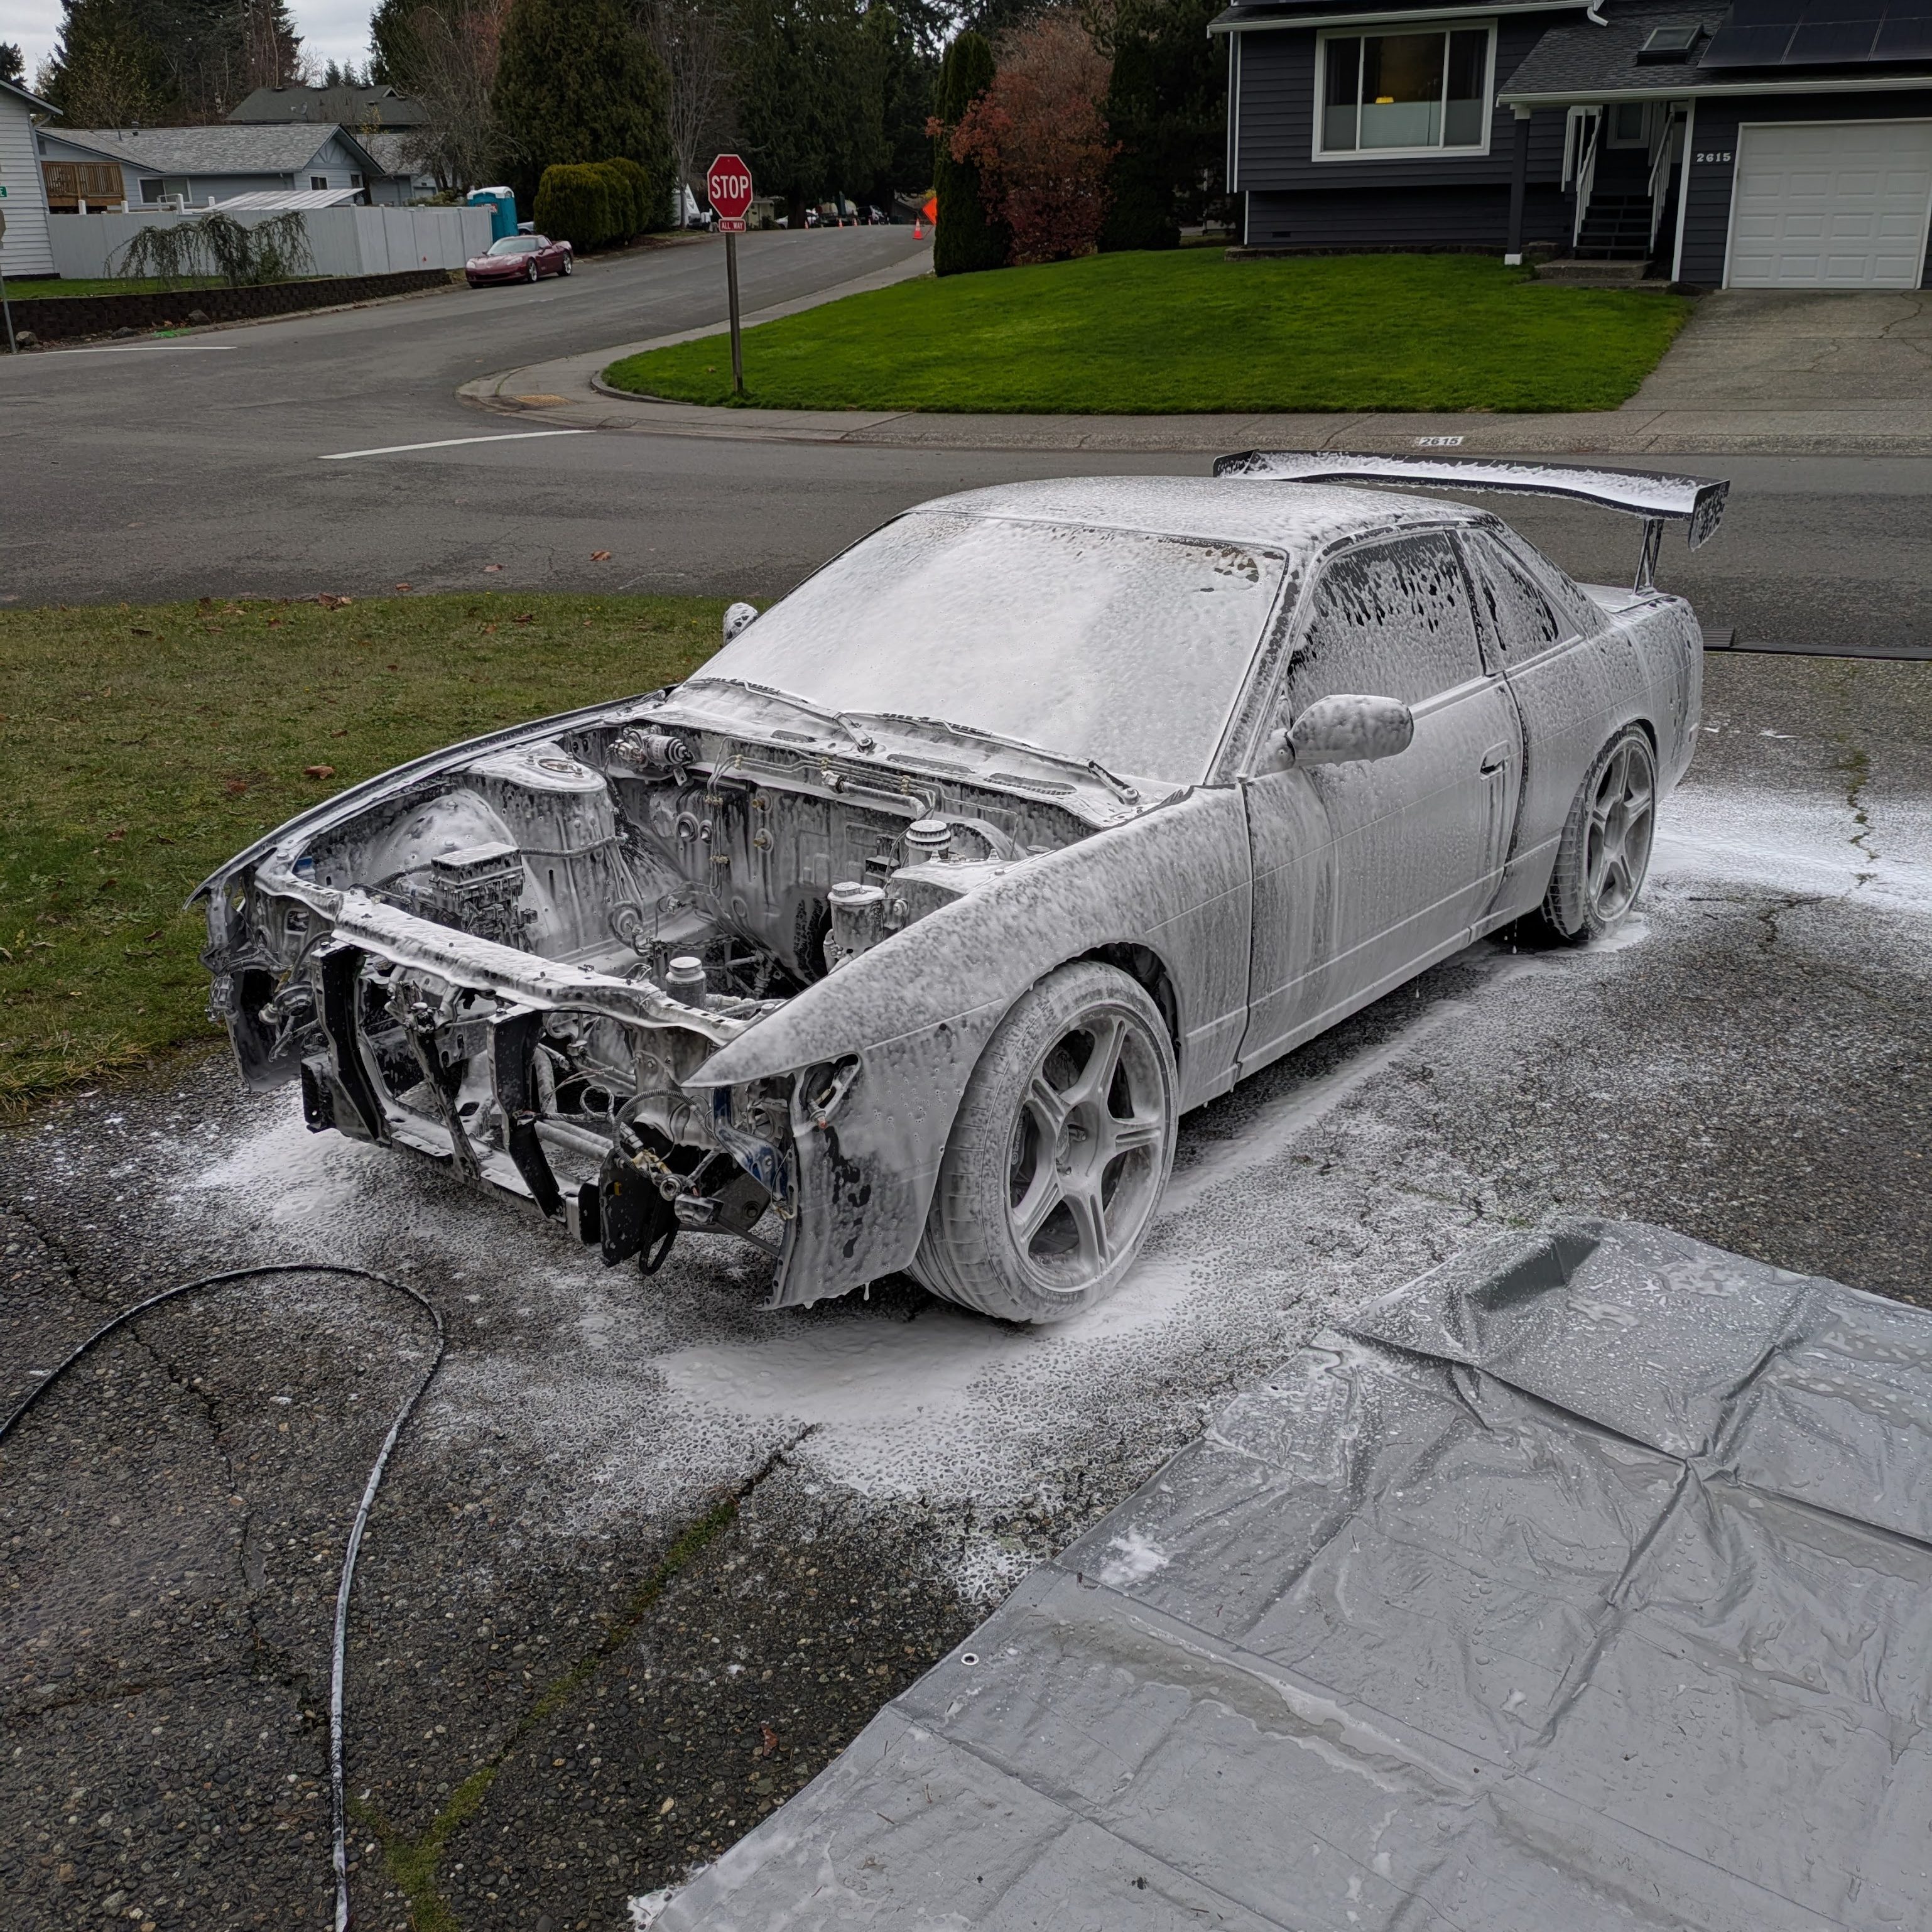
I then gave the car what I can only describe as a half assed wash. This was Bilt Hamber Touchless with no agitation, and like always, its far better than touchless washing should ever turn out. I did clean the wheels as those would be going up for sale., but I wanted the car to be free of any extraneous filth so it wouldn’t be an eyesore in the garage.
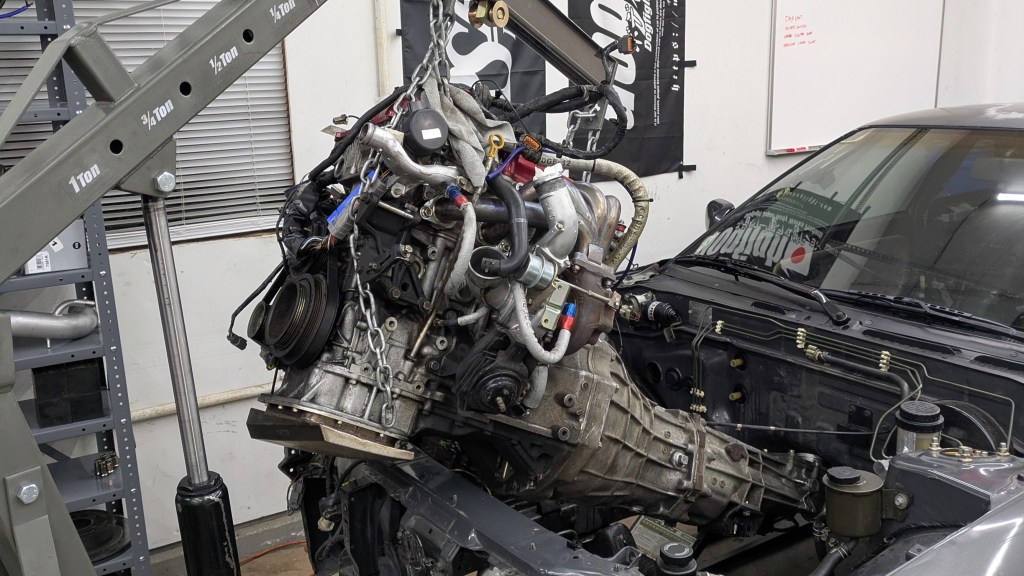
With the chassis prepped, it was time to move on to tearing the motor down for cleaning, evaluation, and upgrades.

I wasn’t great at documenting during the teardown as my hands were disgusting, but everything went pretty much as expected. Below is the most shocking finding of the teardown, and explains why Luis’s car was such a torque monster when he put the T28 on.
Yup, the wastegate flapper is tac welded to the exhaust housing. This was certainly not what I expected, and when asked, Luis was also very perplexed. He had purchased this turbo “new” and didn’t have any good explanation either. It looks like I’ll be able to cut it away without damaging the shaft, so hopefully some time behind the Dremel will reintroduce boost control to the feature set.
***EDIT*** I’M A DUMBASS – That tac weld is to the outer sealing sleeve for the flapper valve. The wastegate works fine.
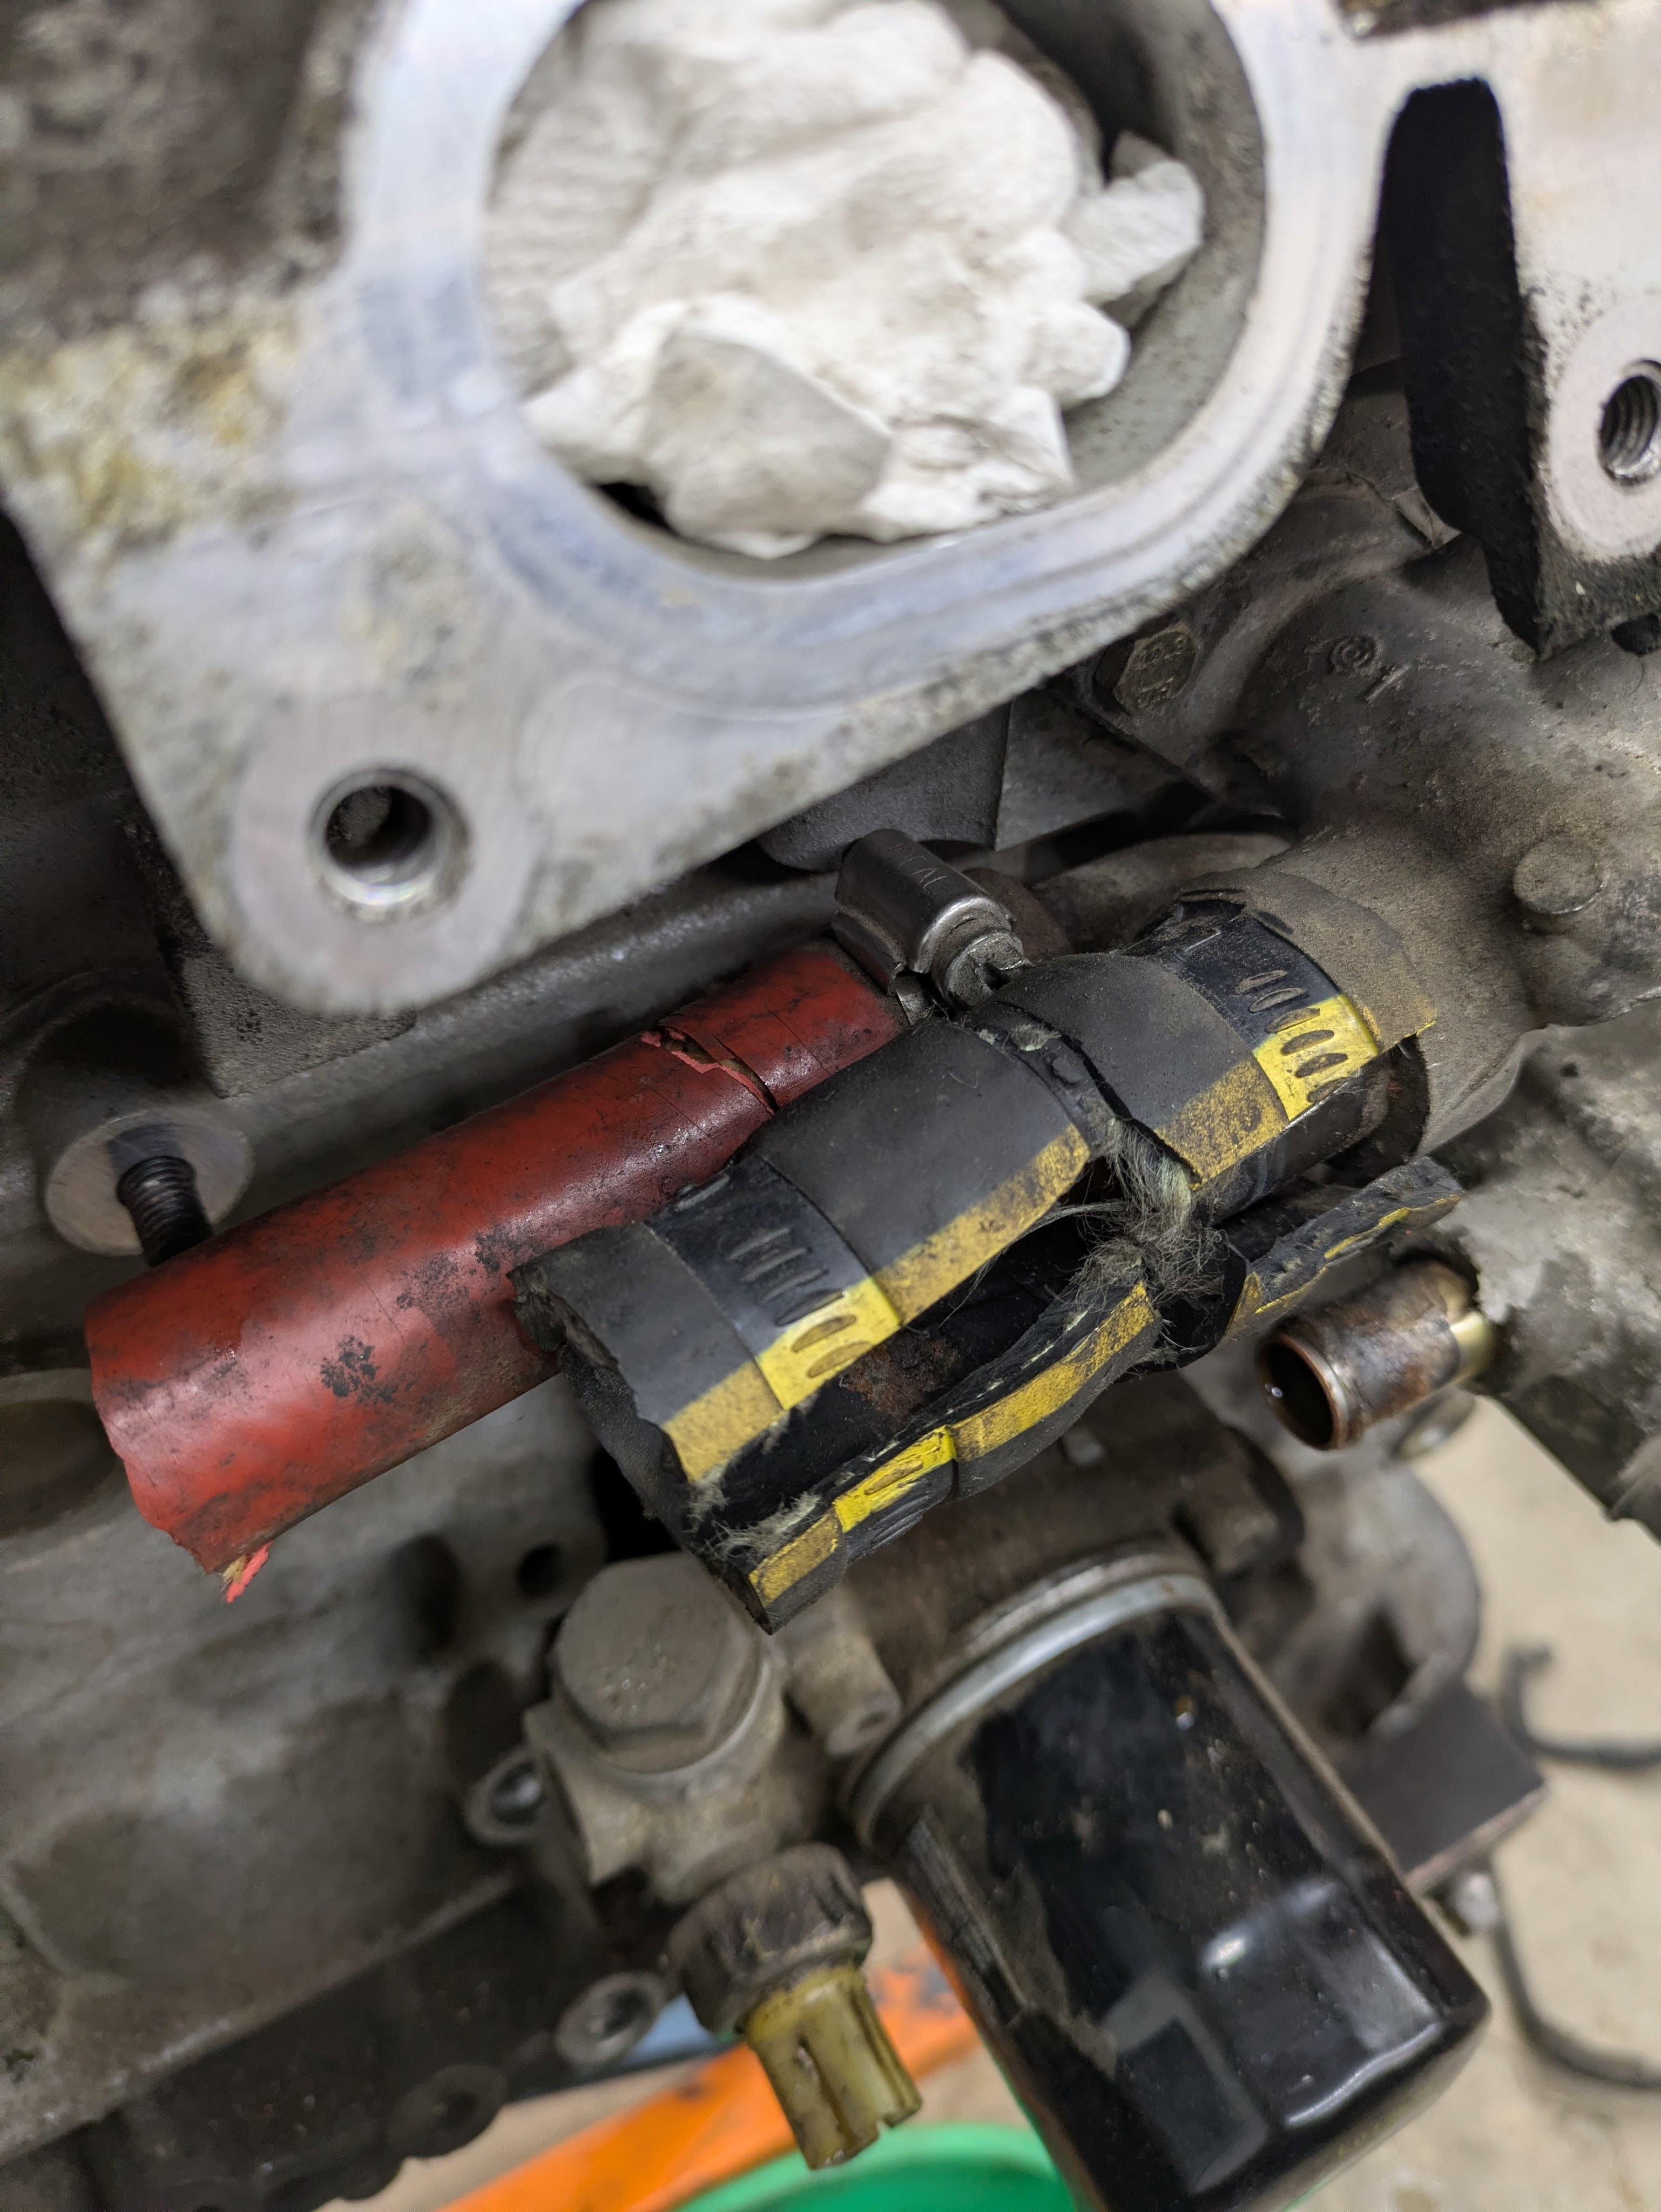
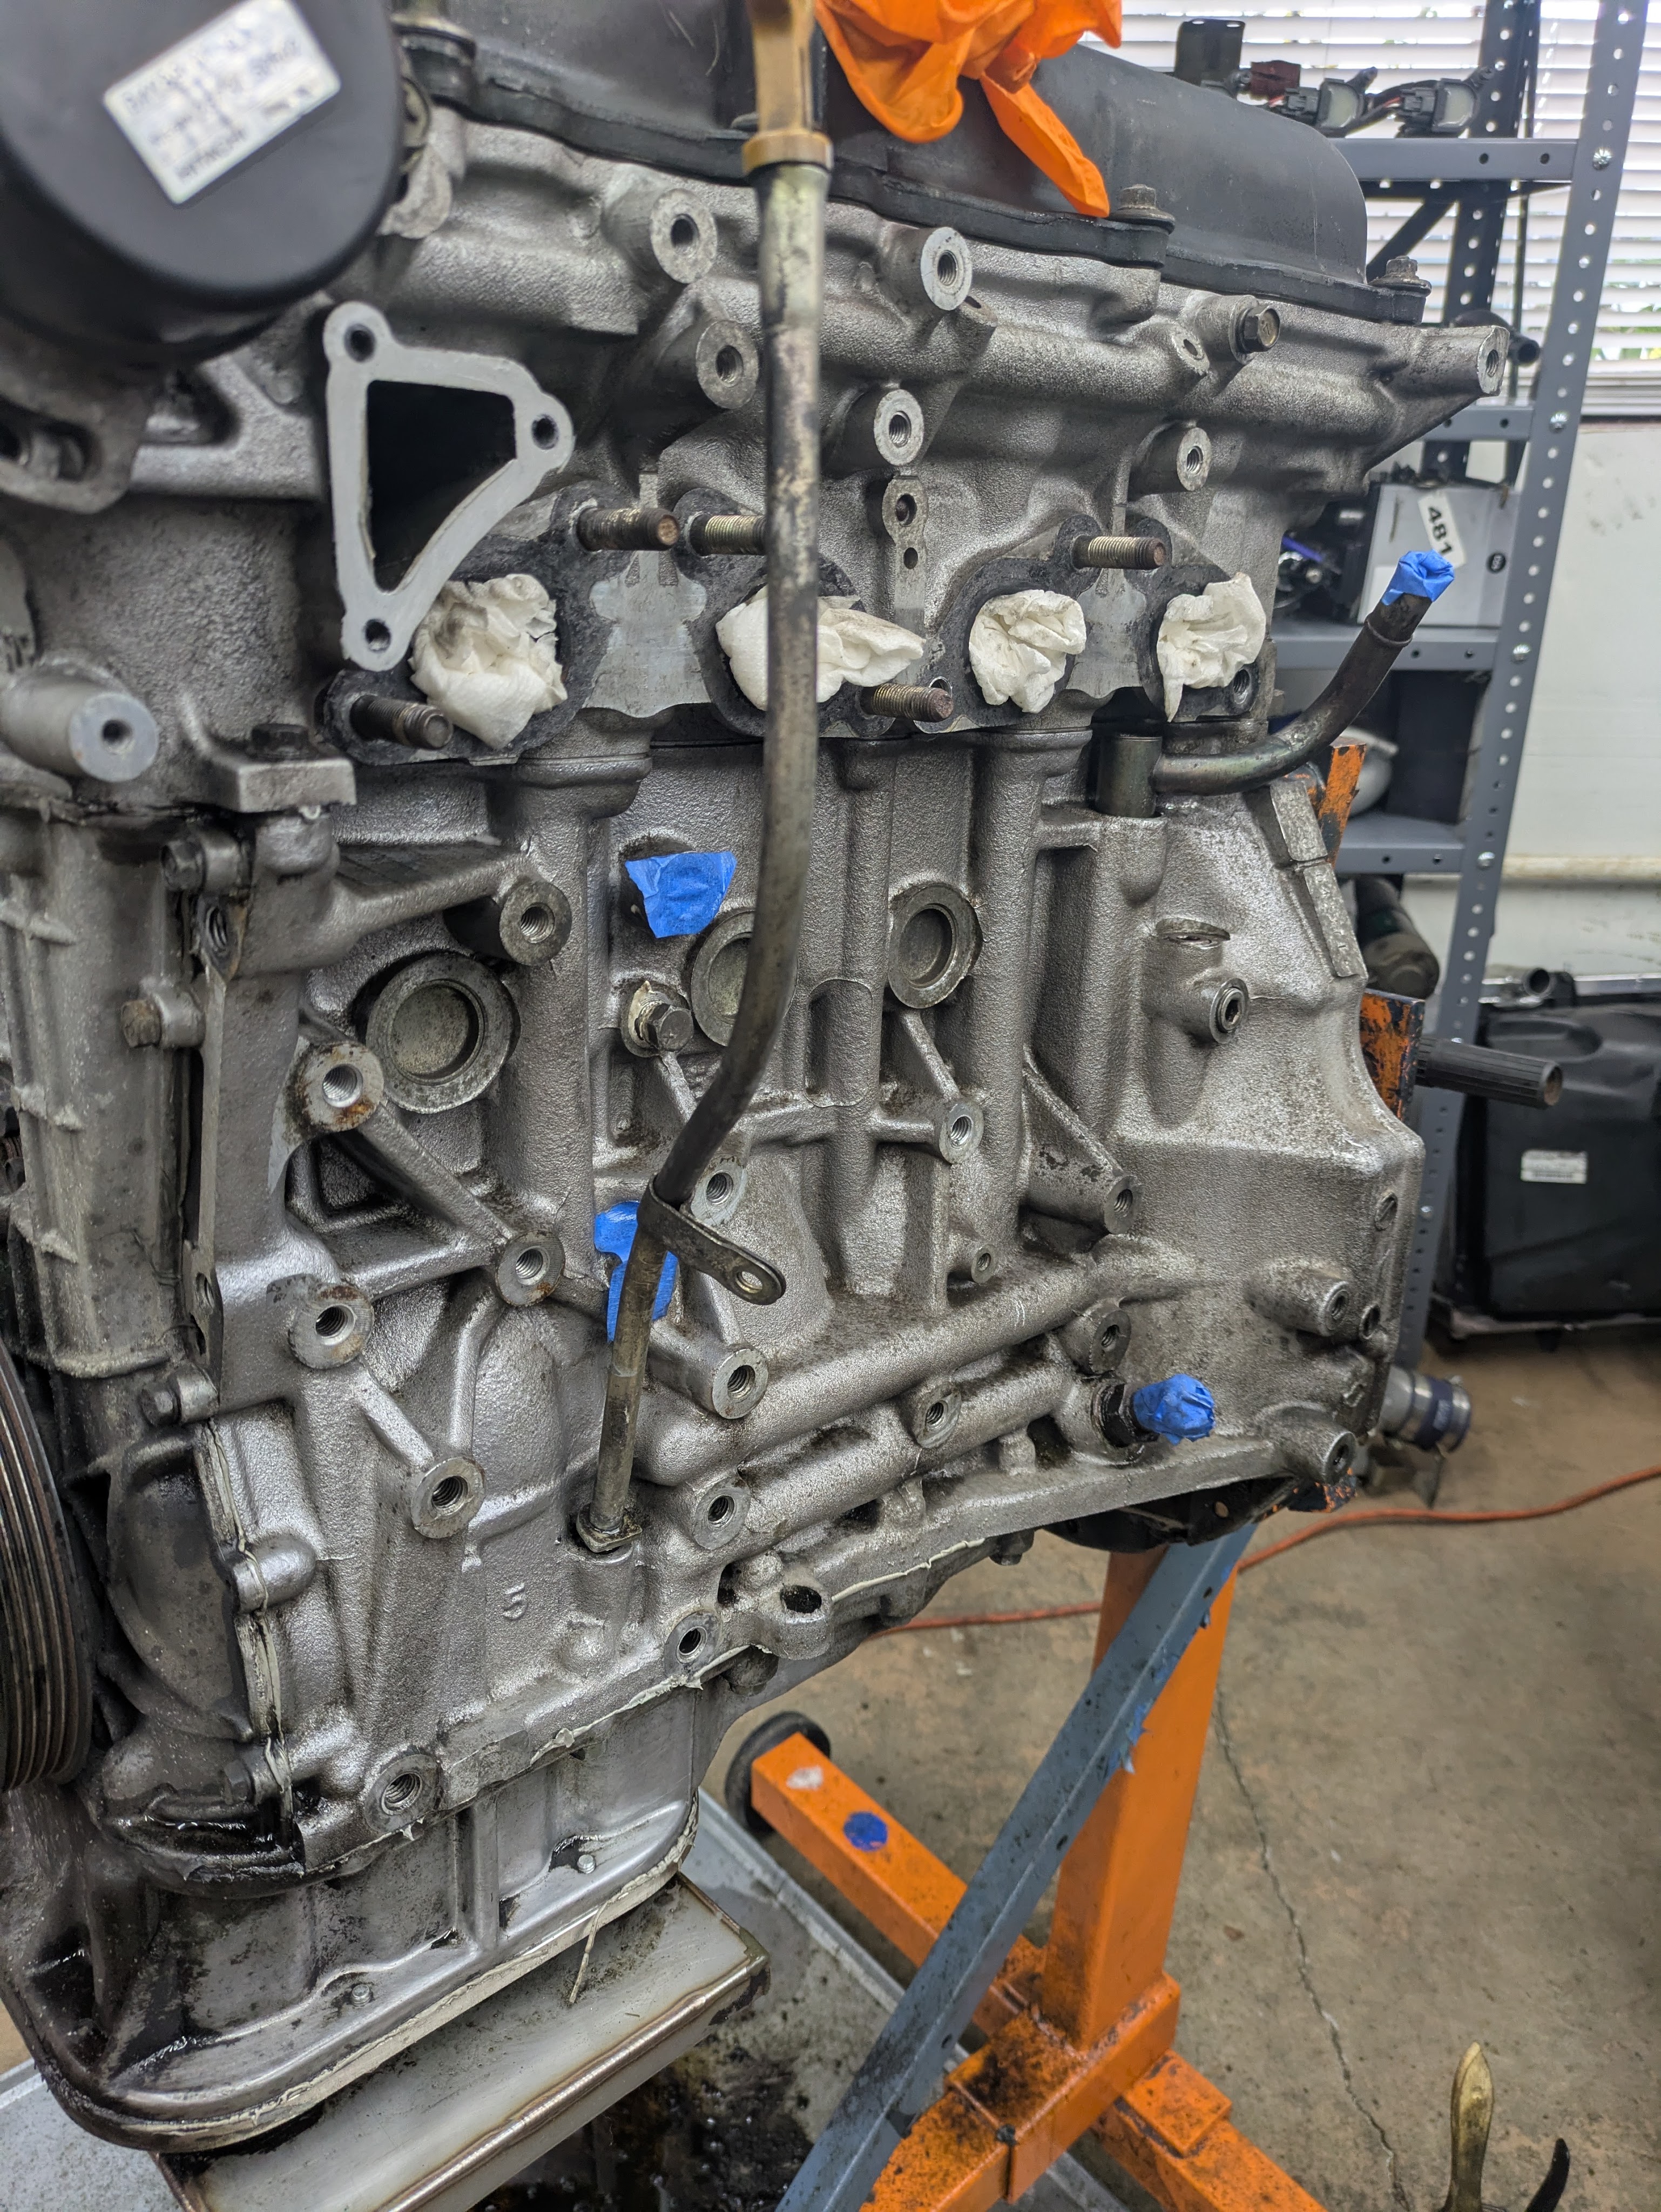
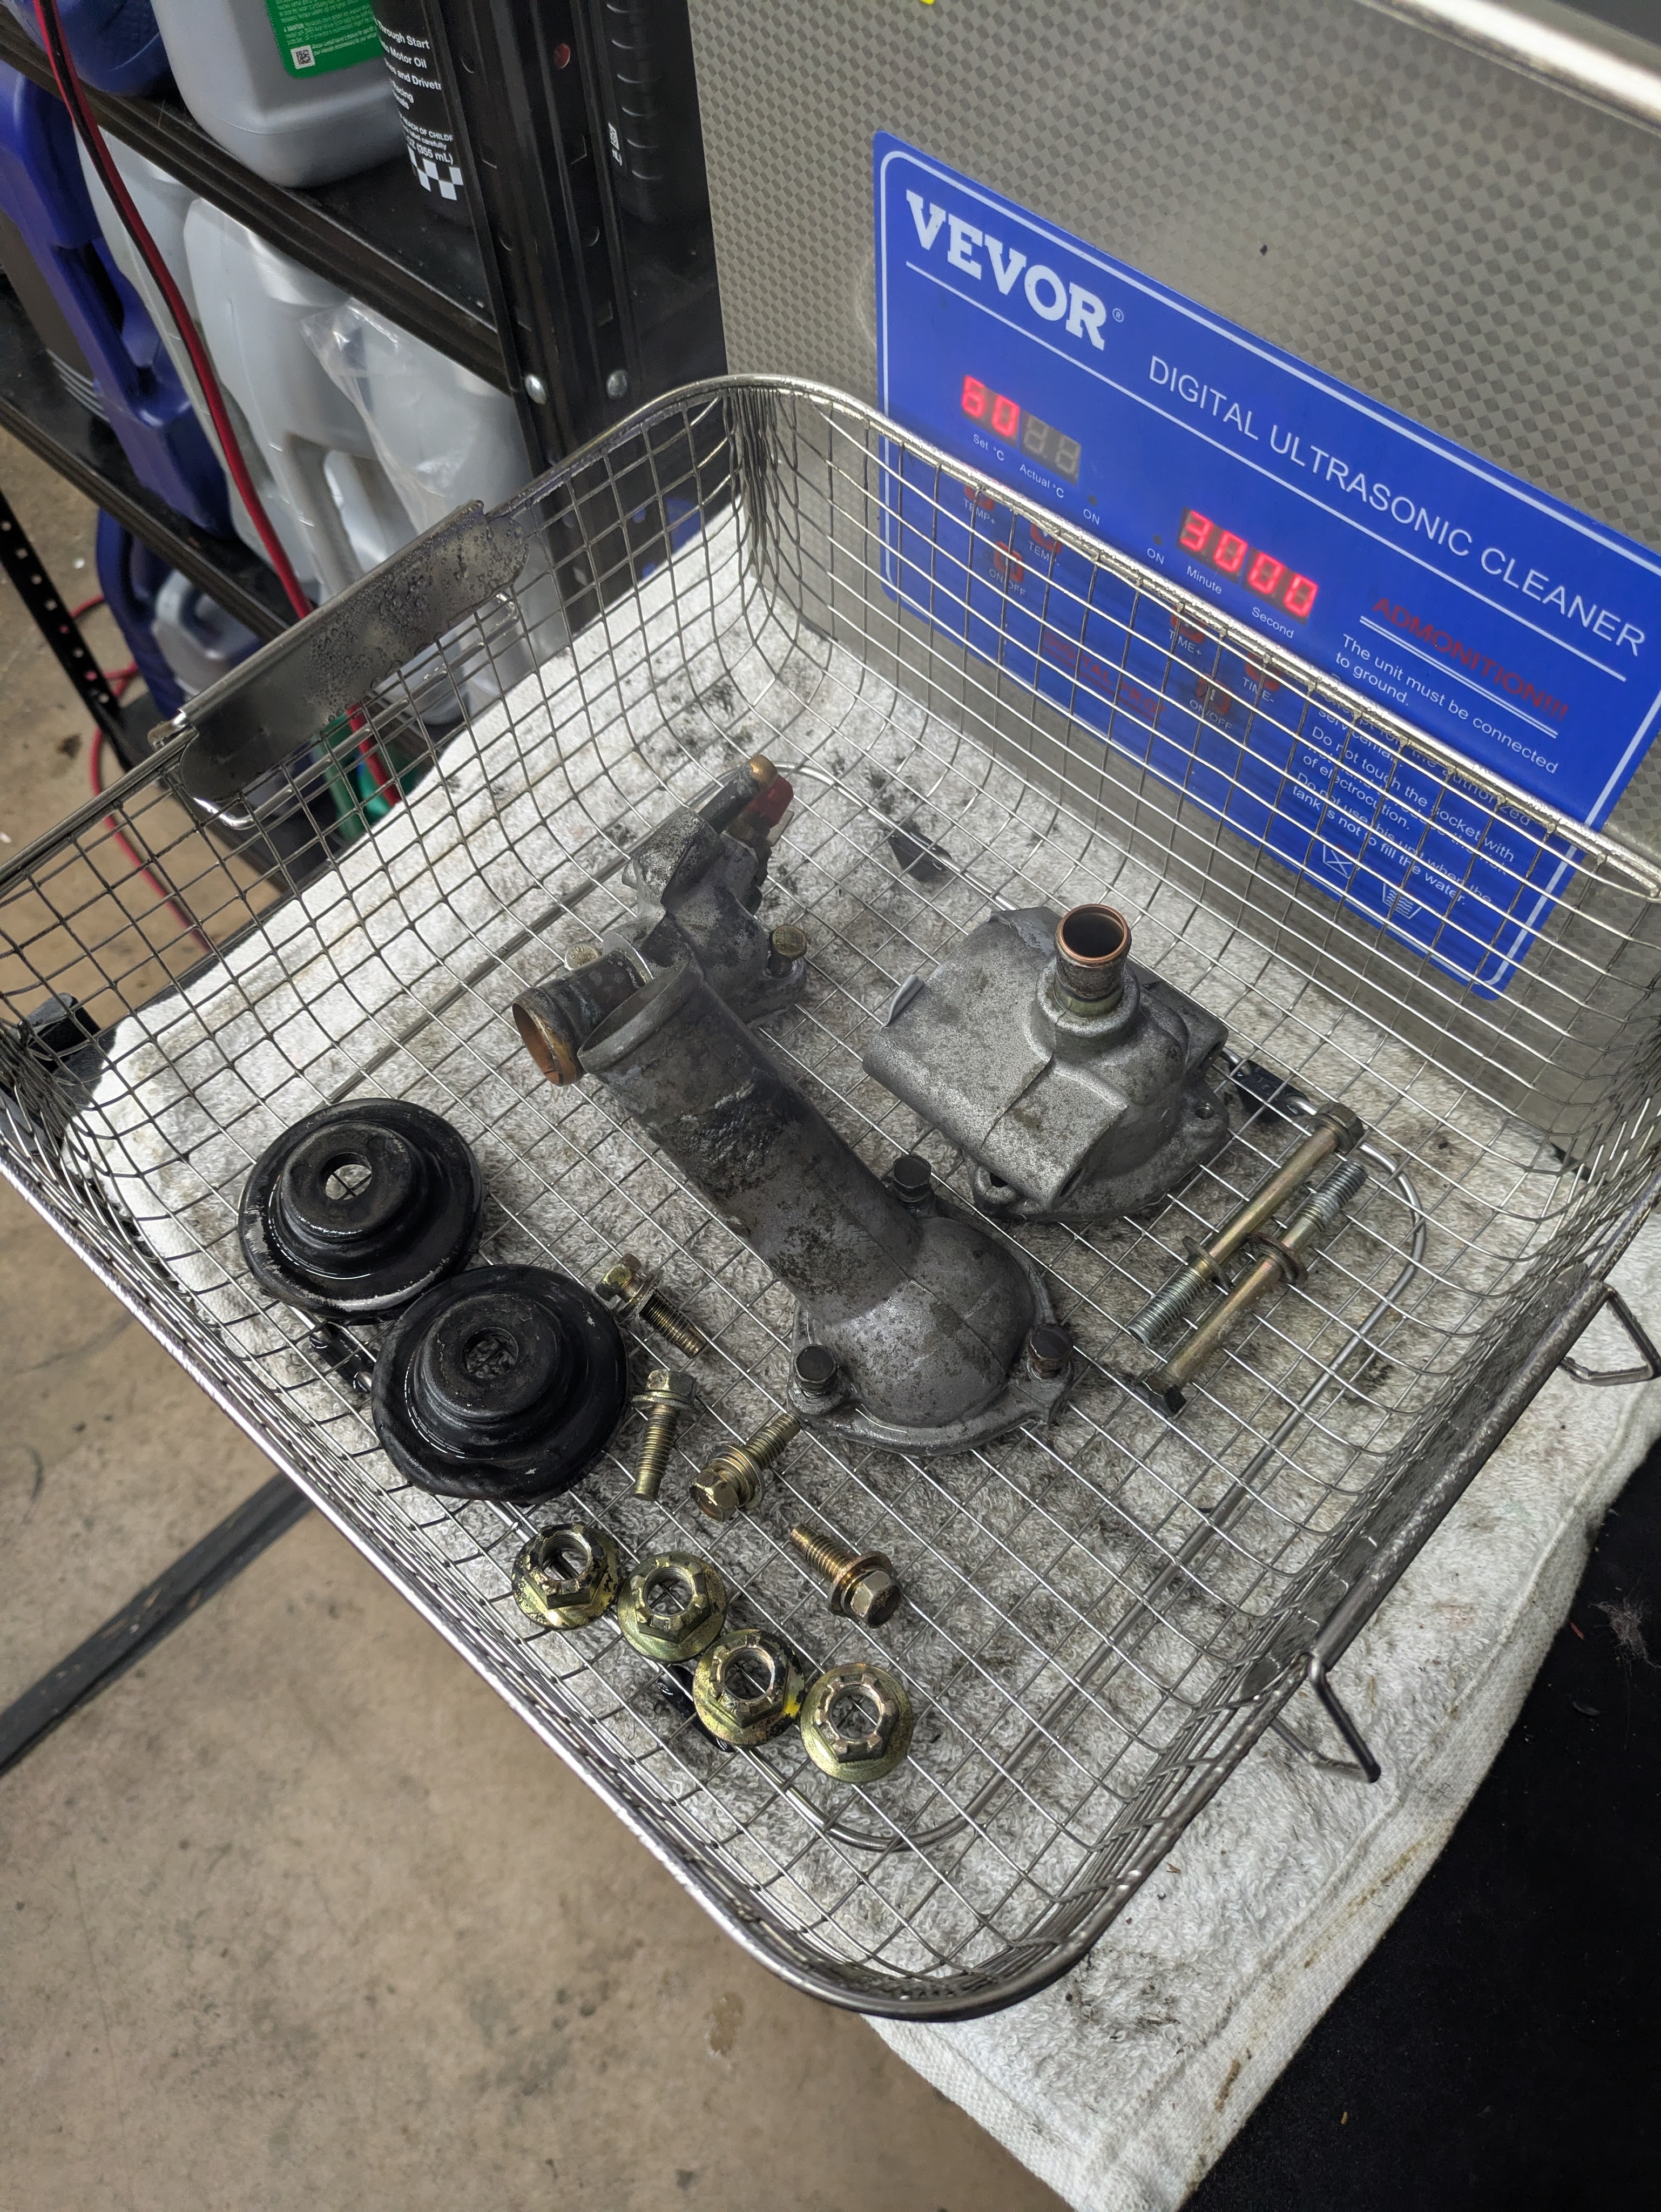
Other findings include these aftermarket hoses under the intake manifold that were installed during the engine build. I’ve since ordered new OEM as these are beyond their service life. I obviously cut them here, but they were stuck as hell and very crunchy.
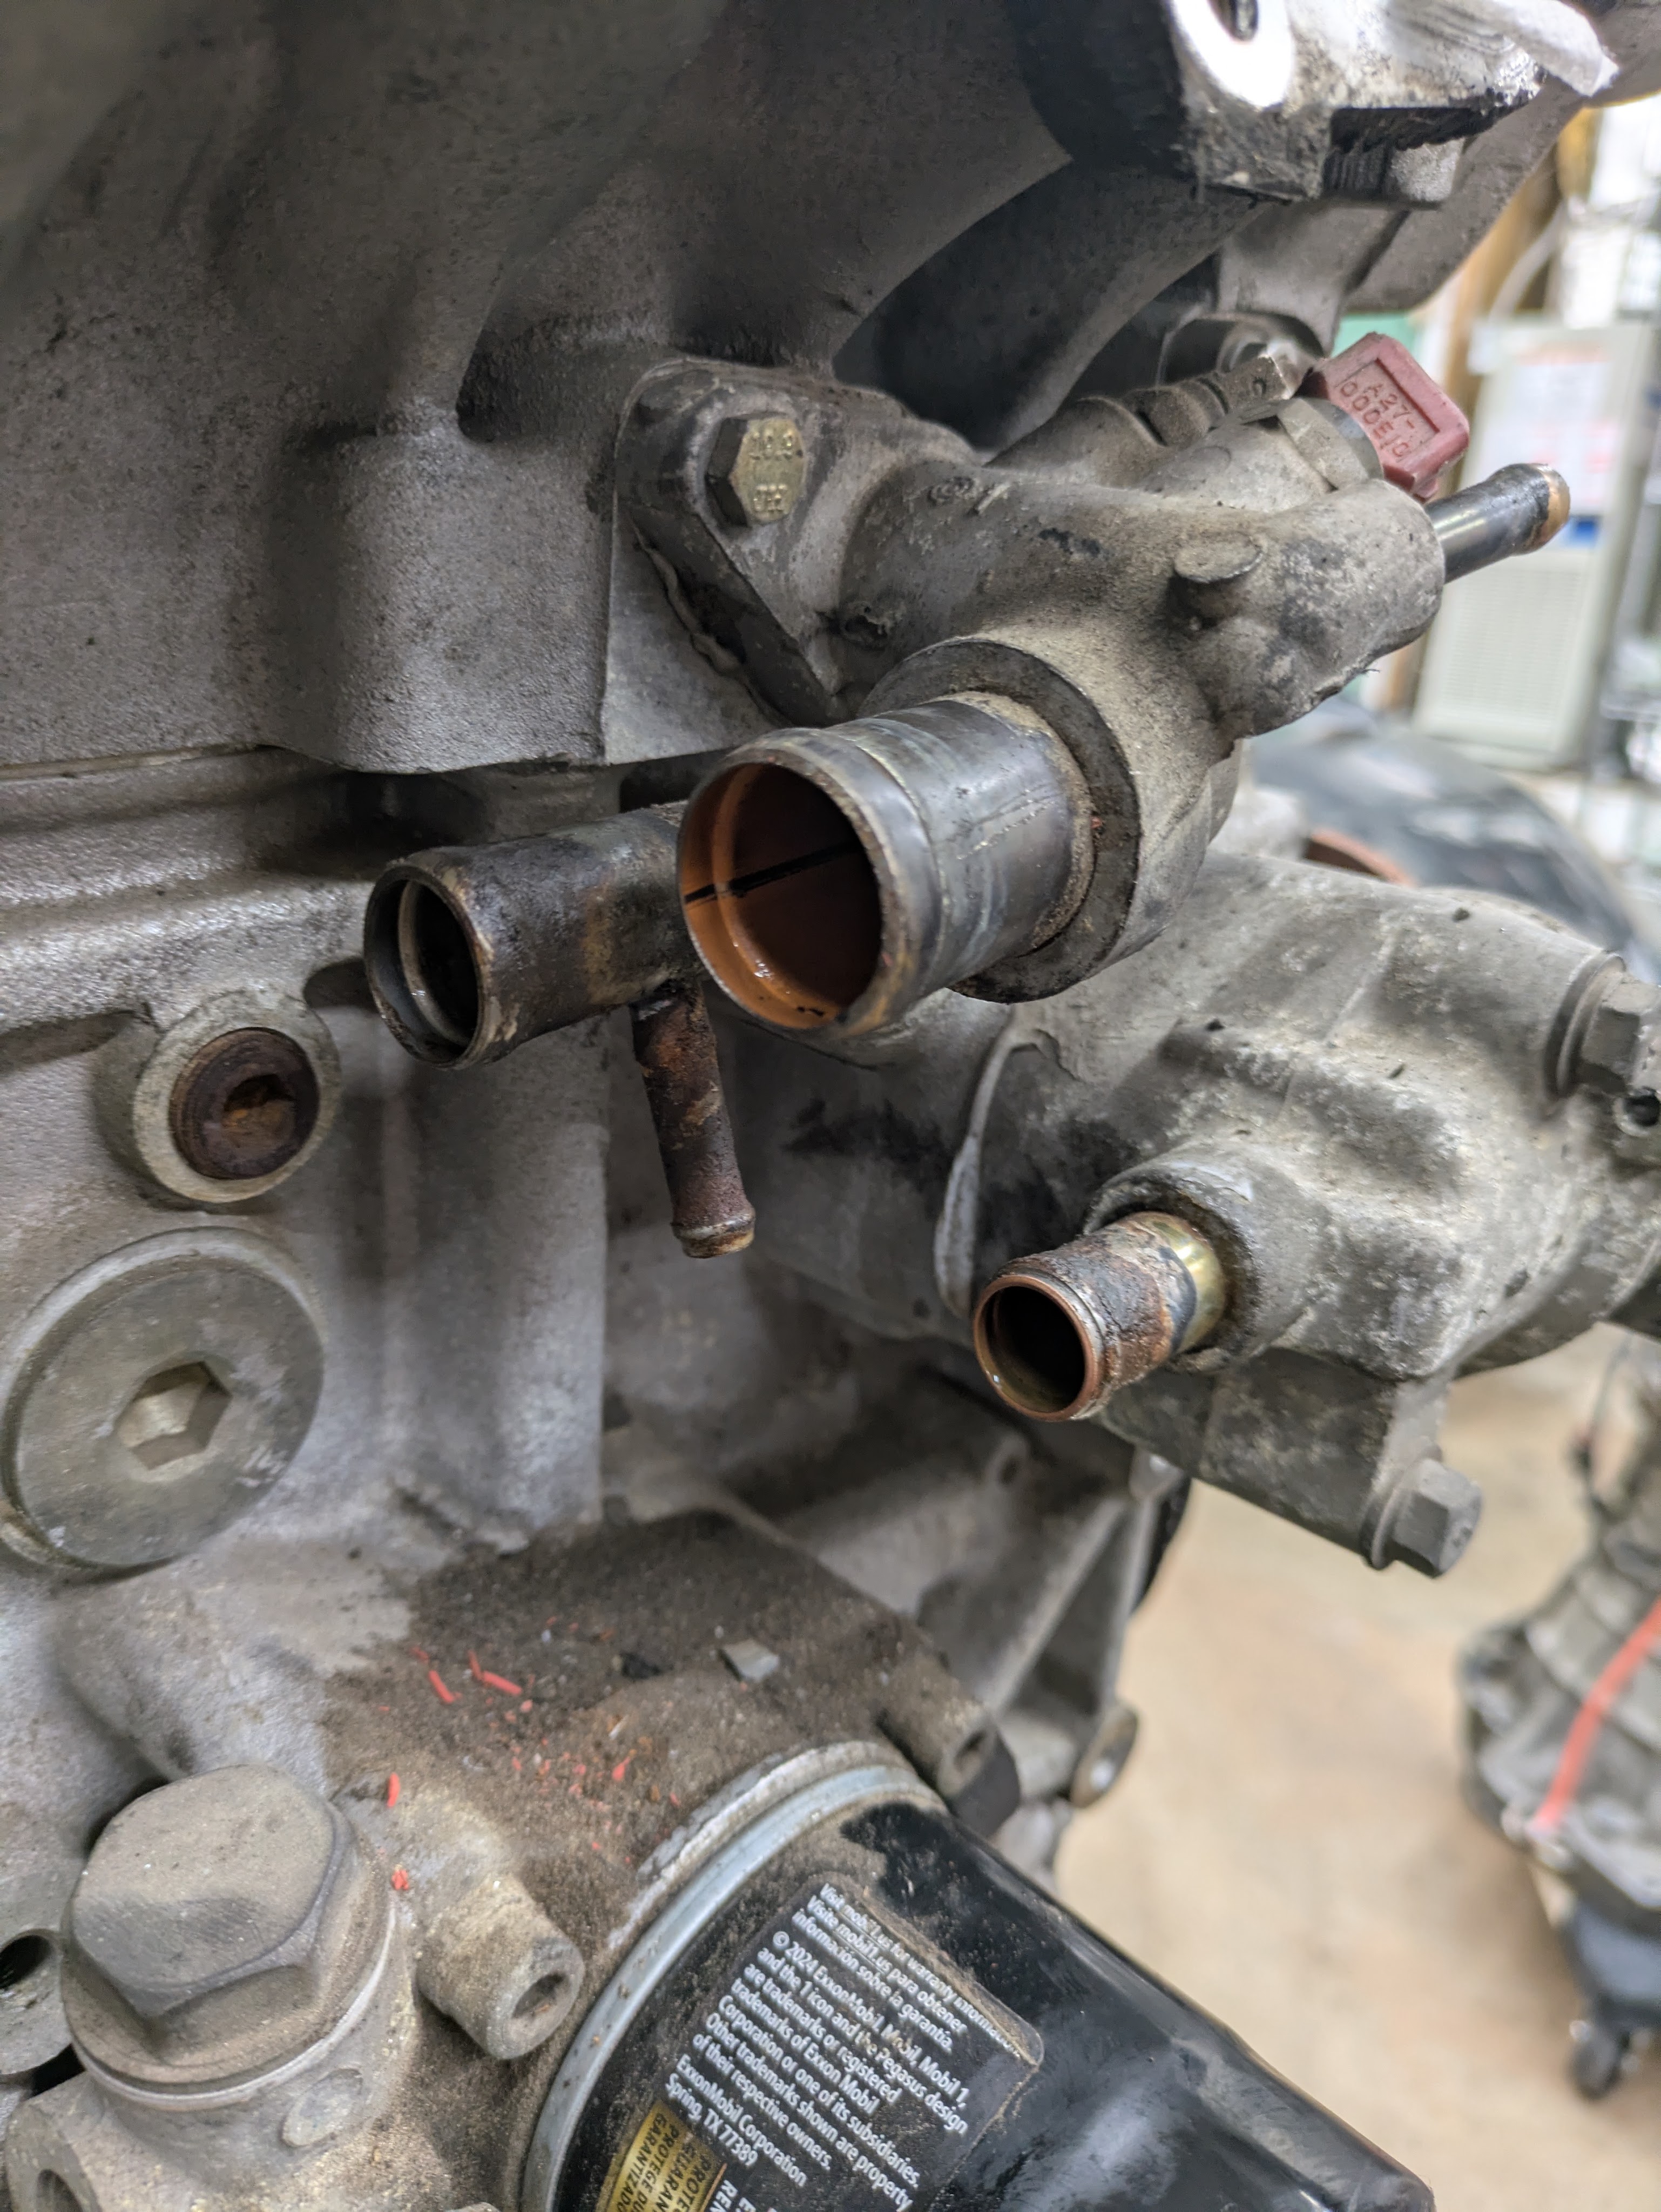
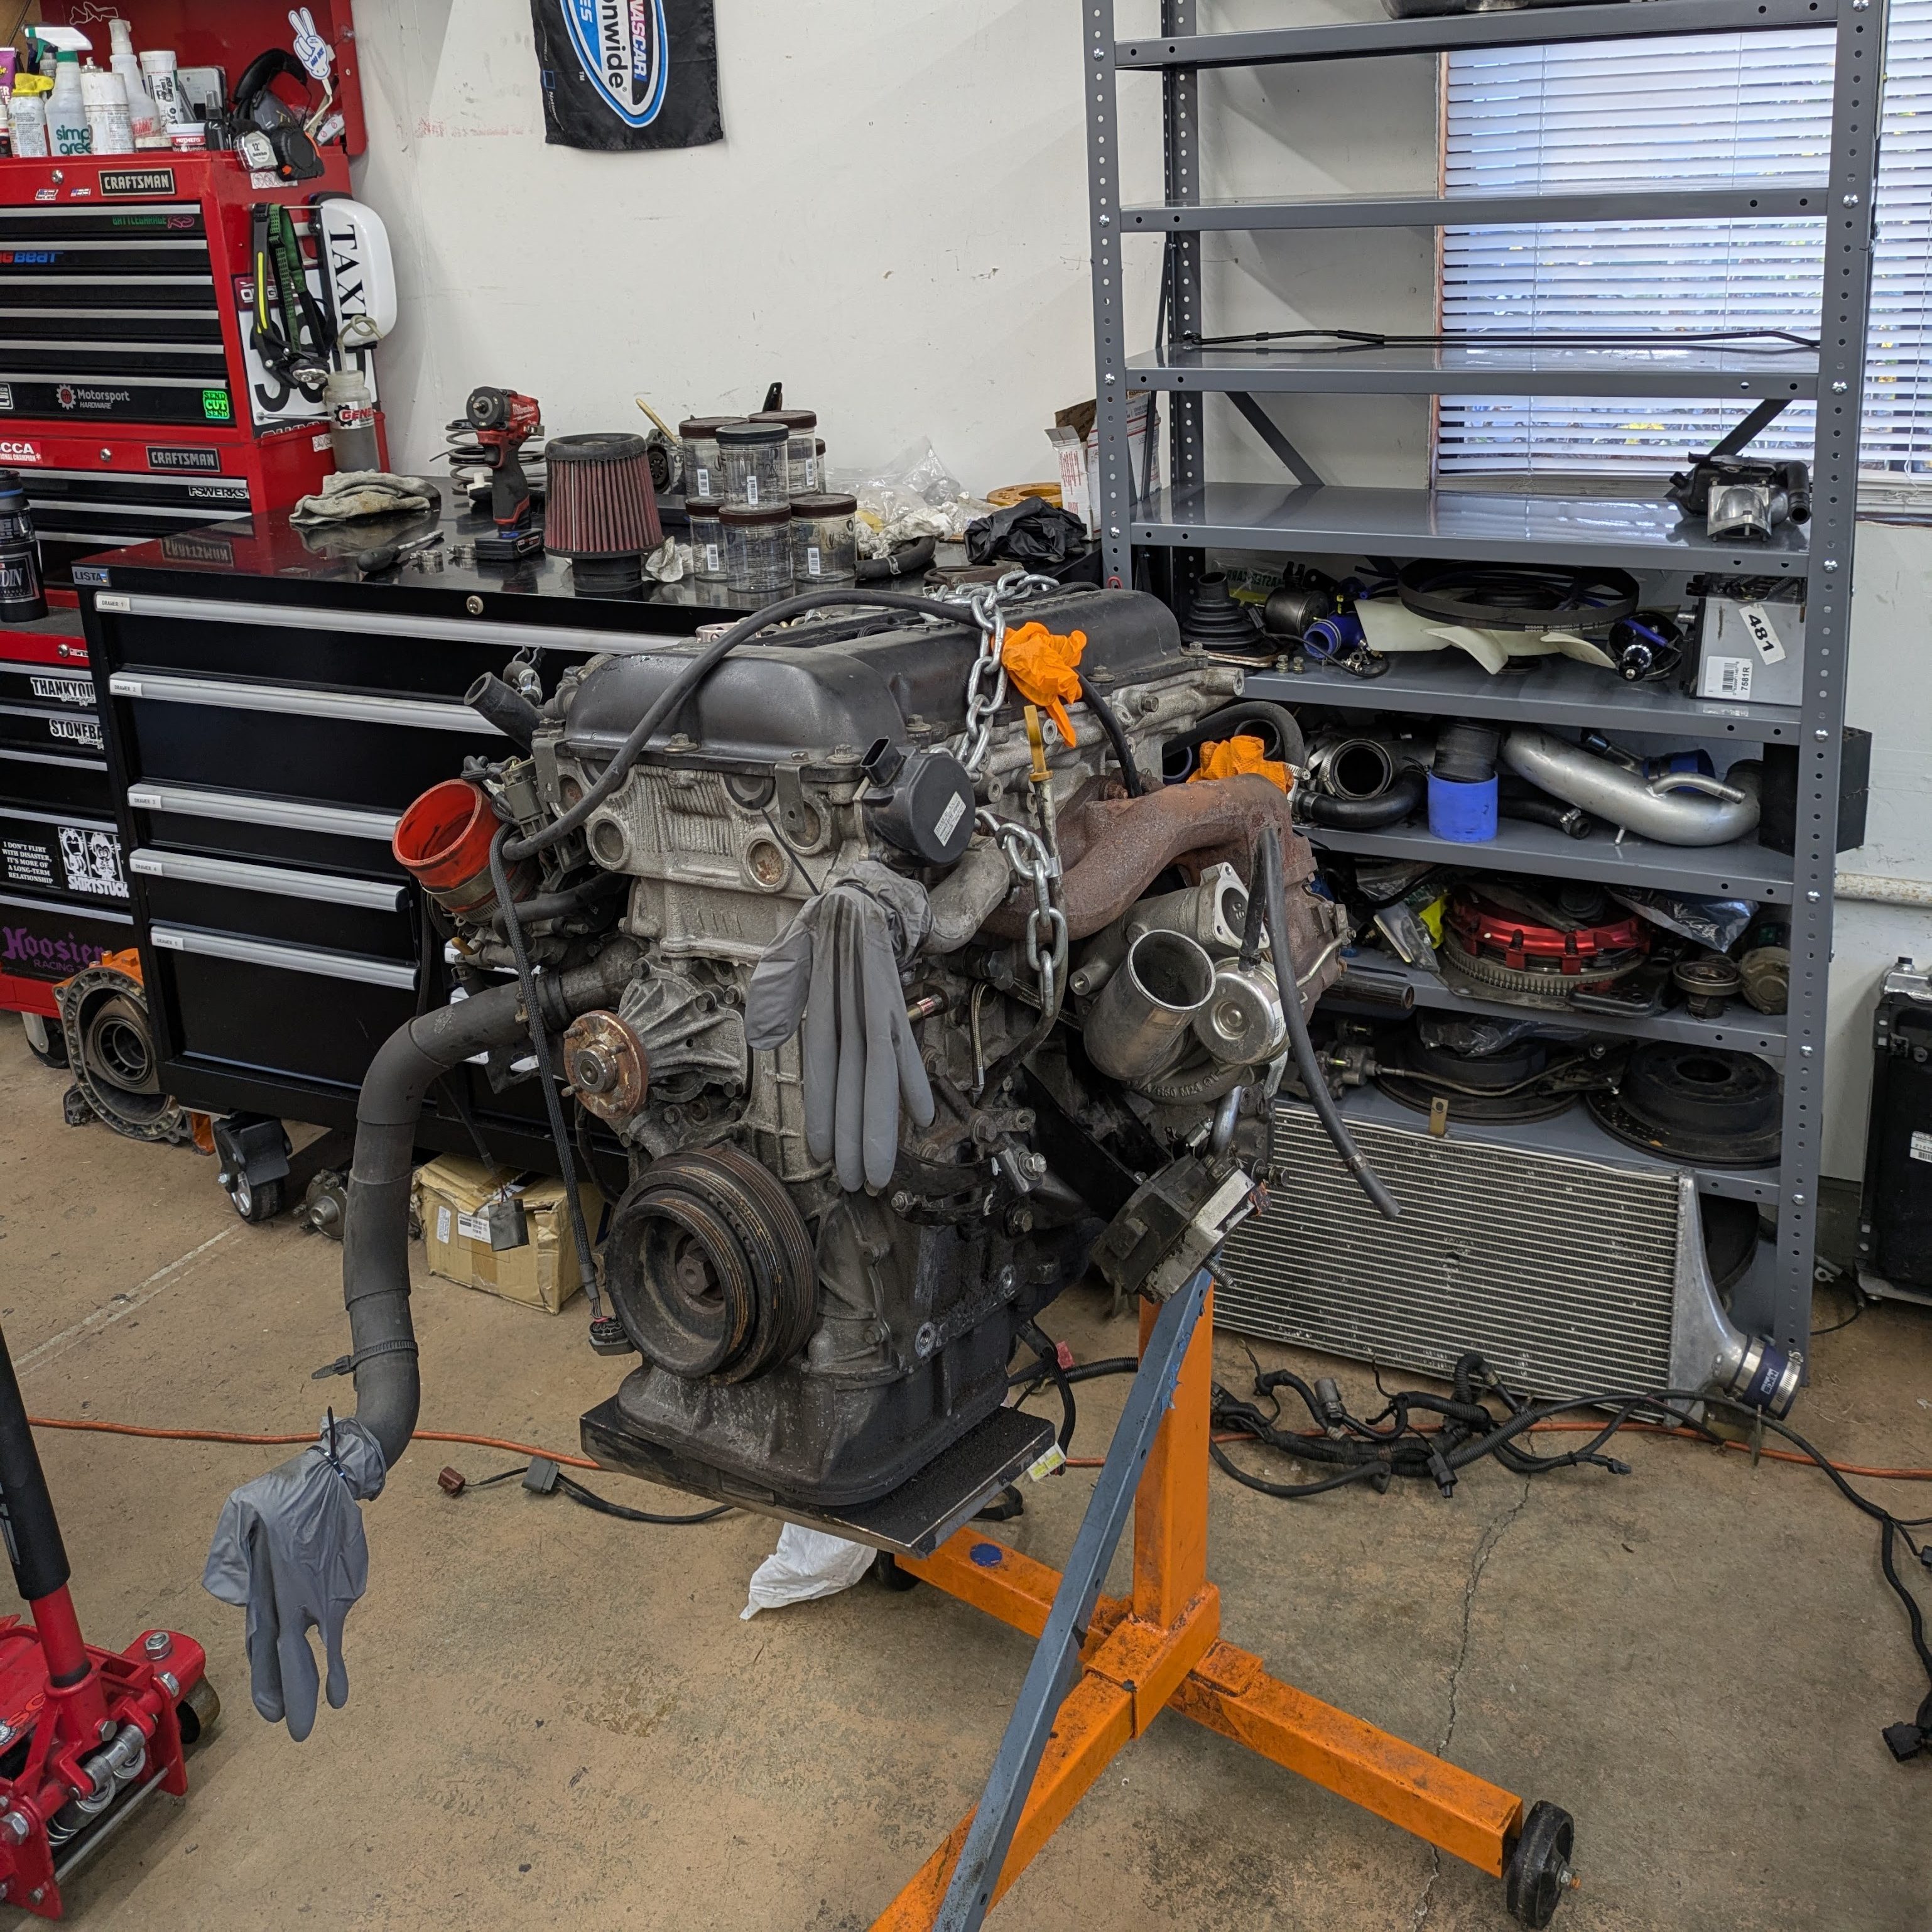
Next we get to the less than glamorous part: cleaning a greasy used engine.
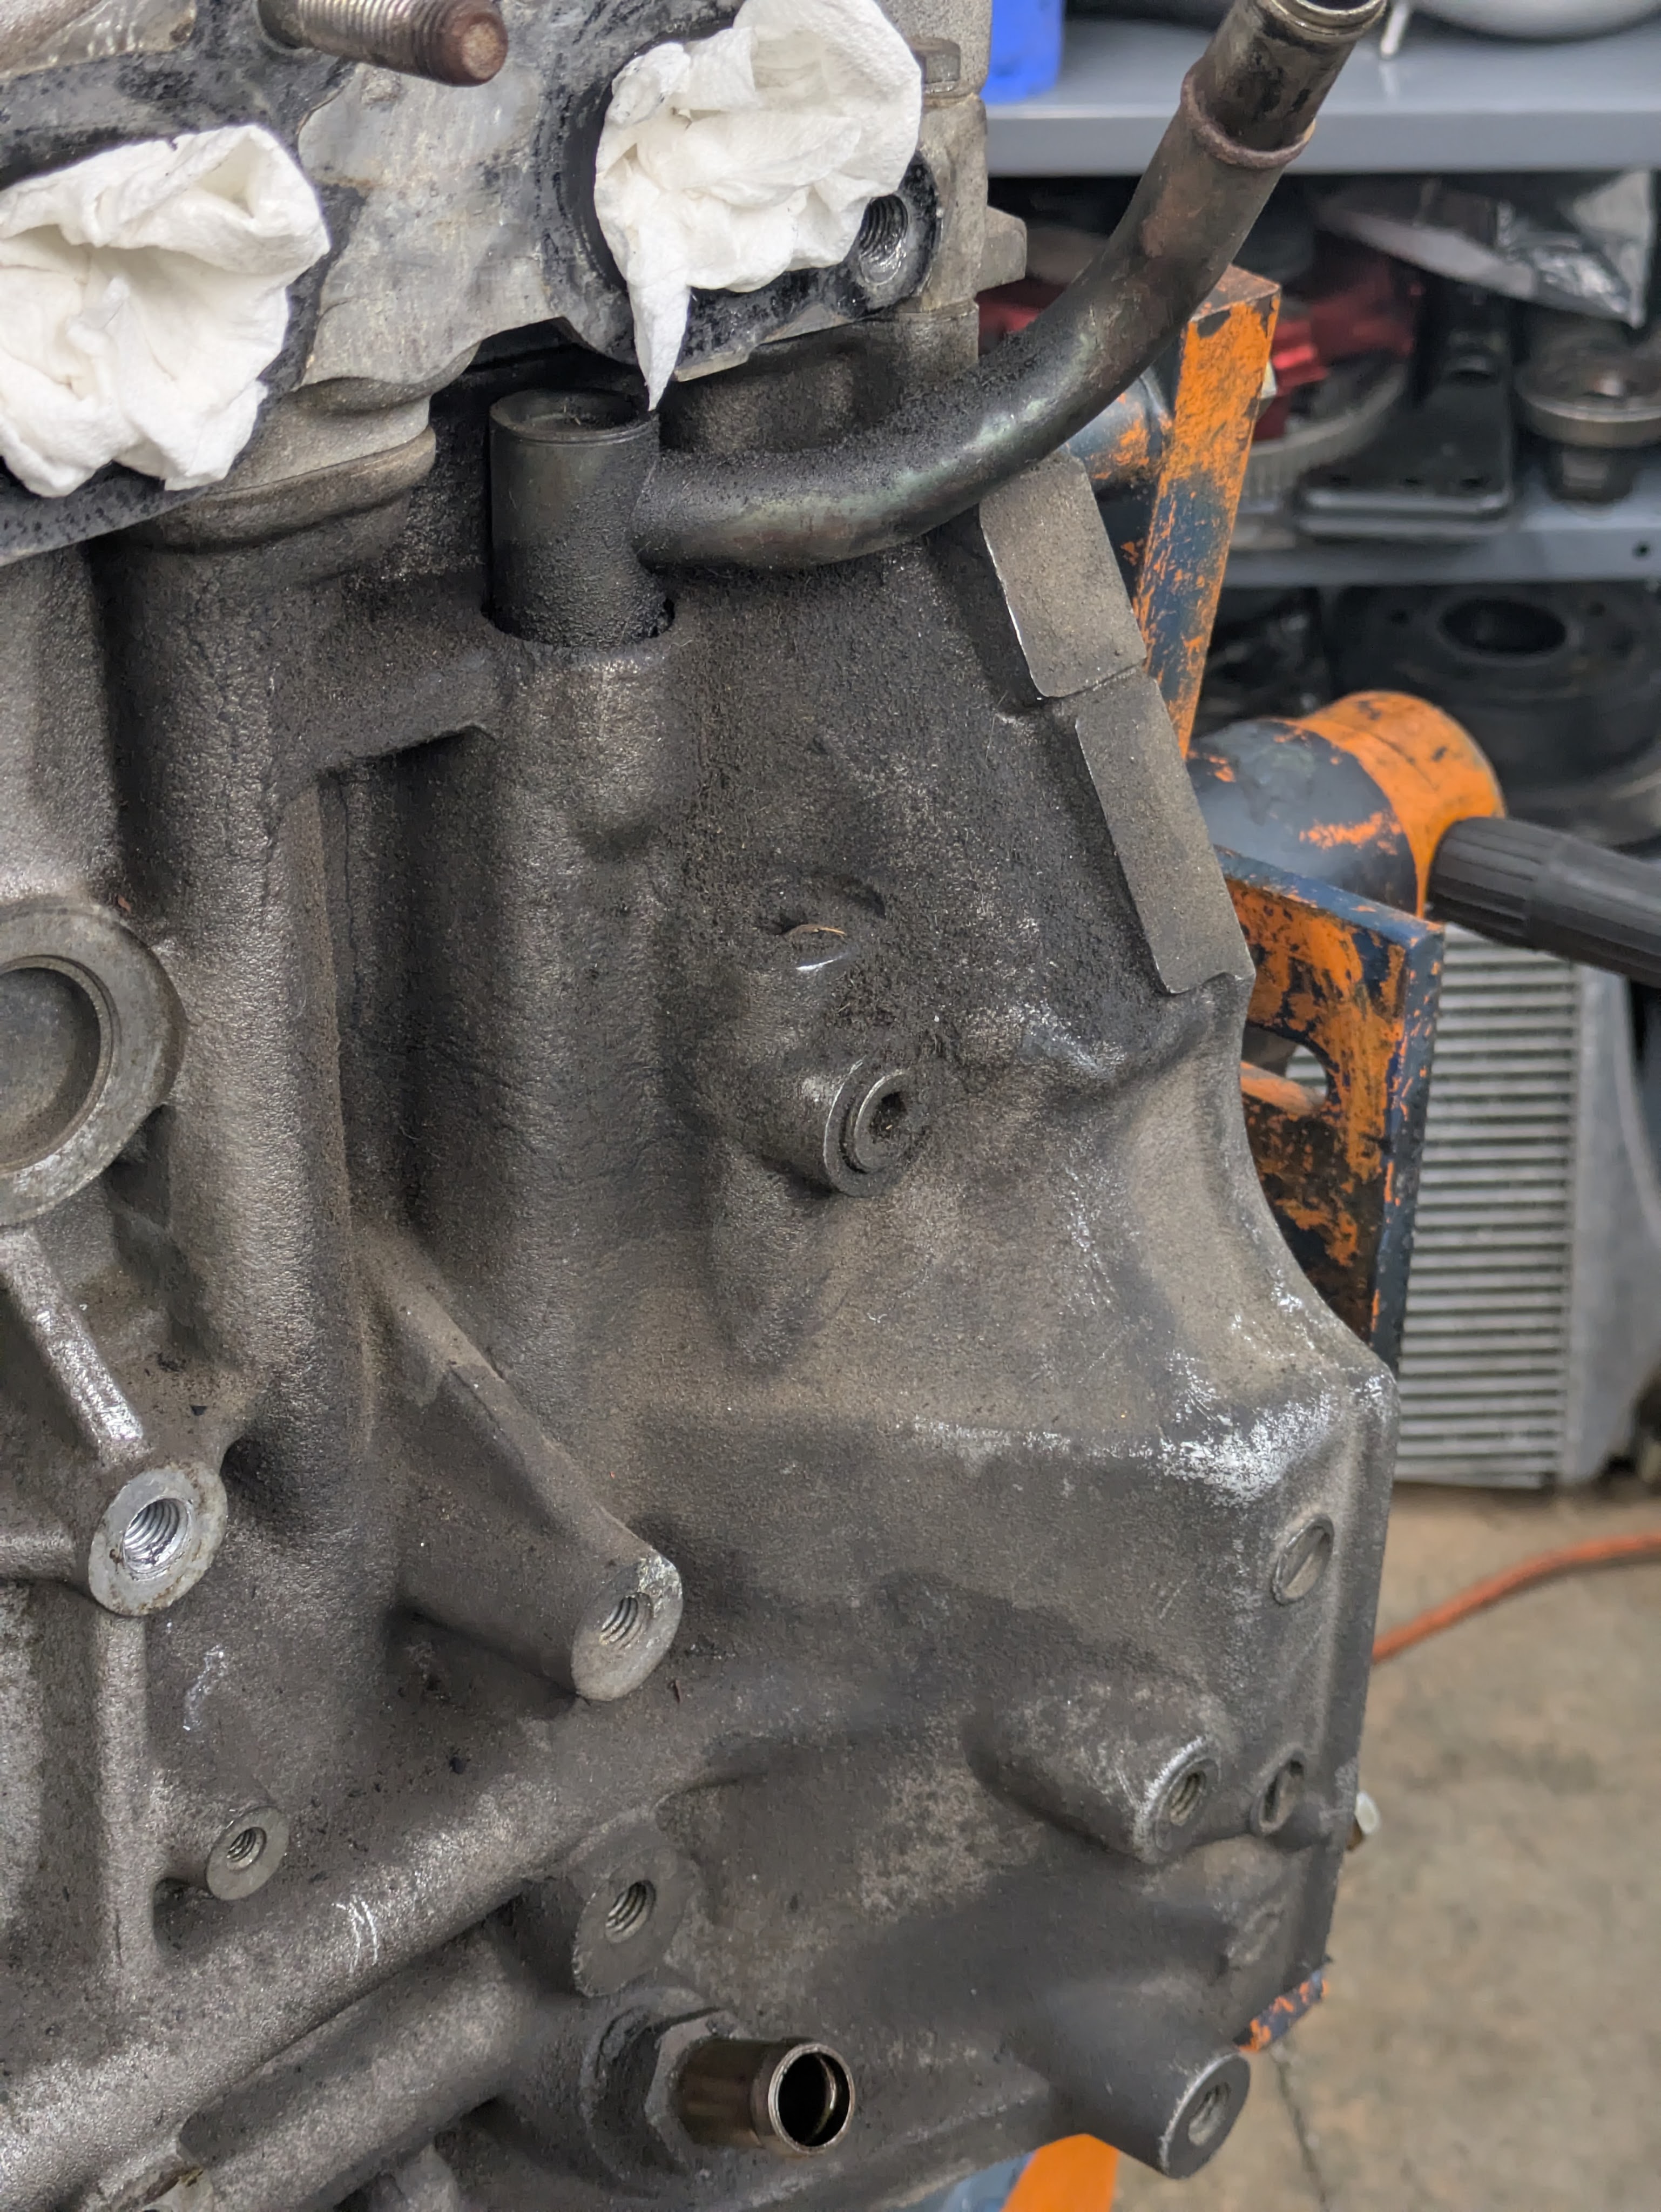
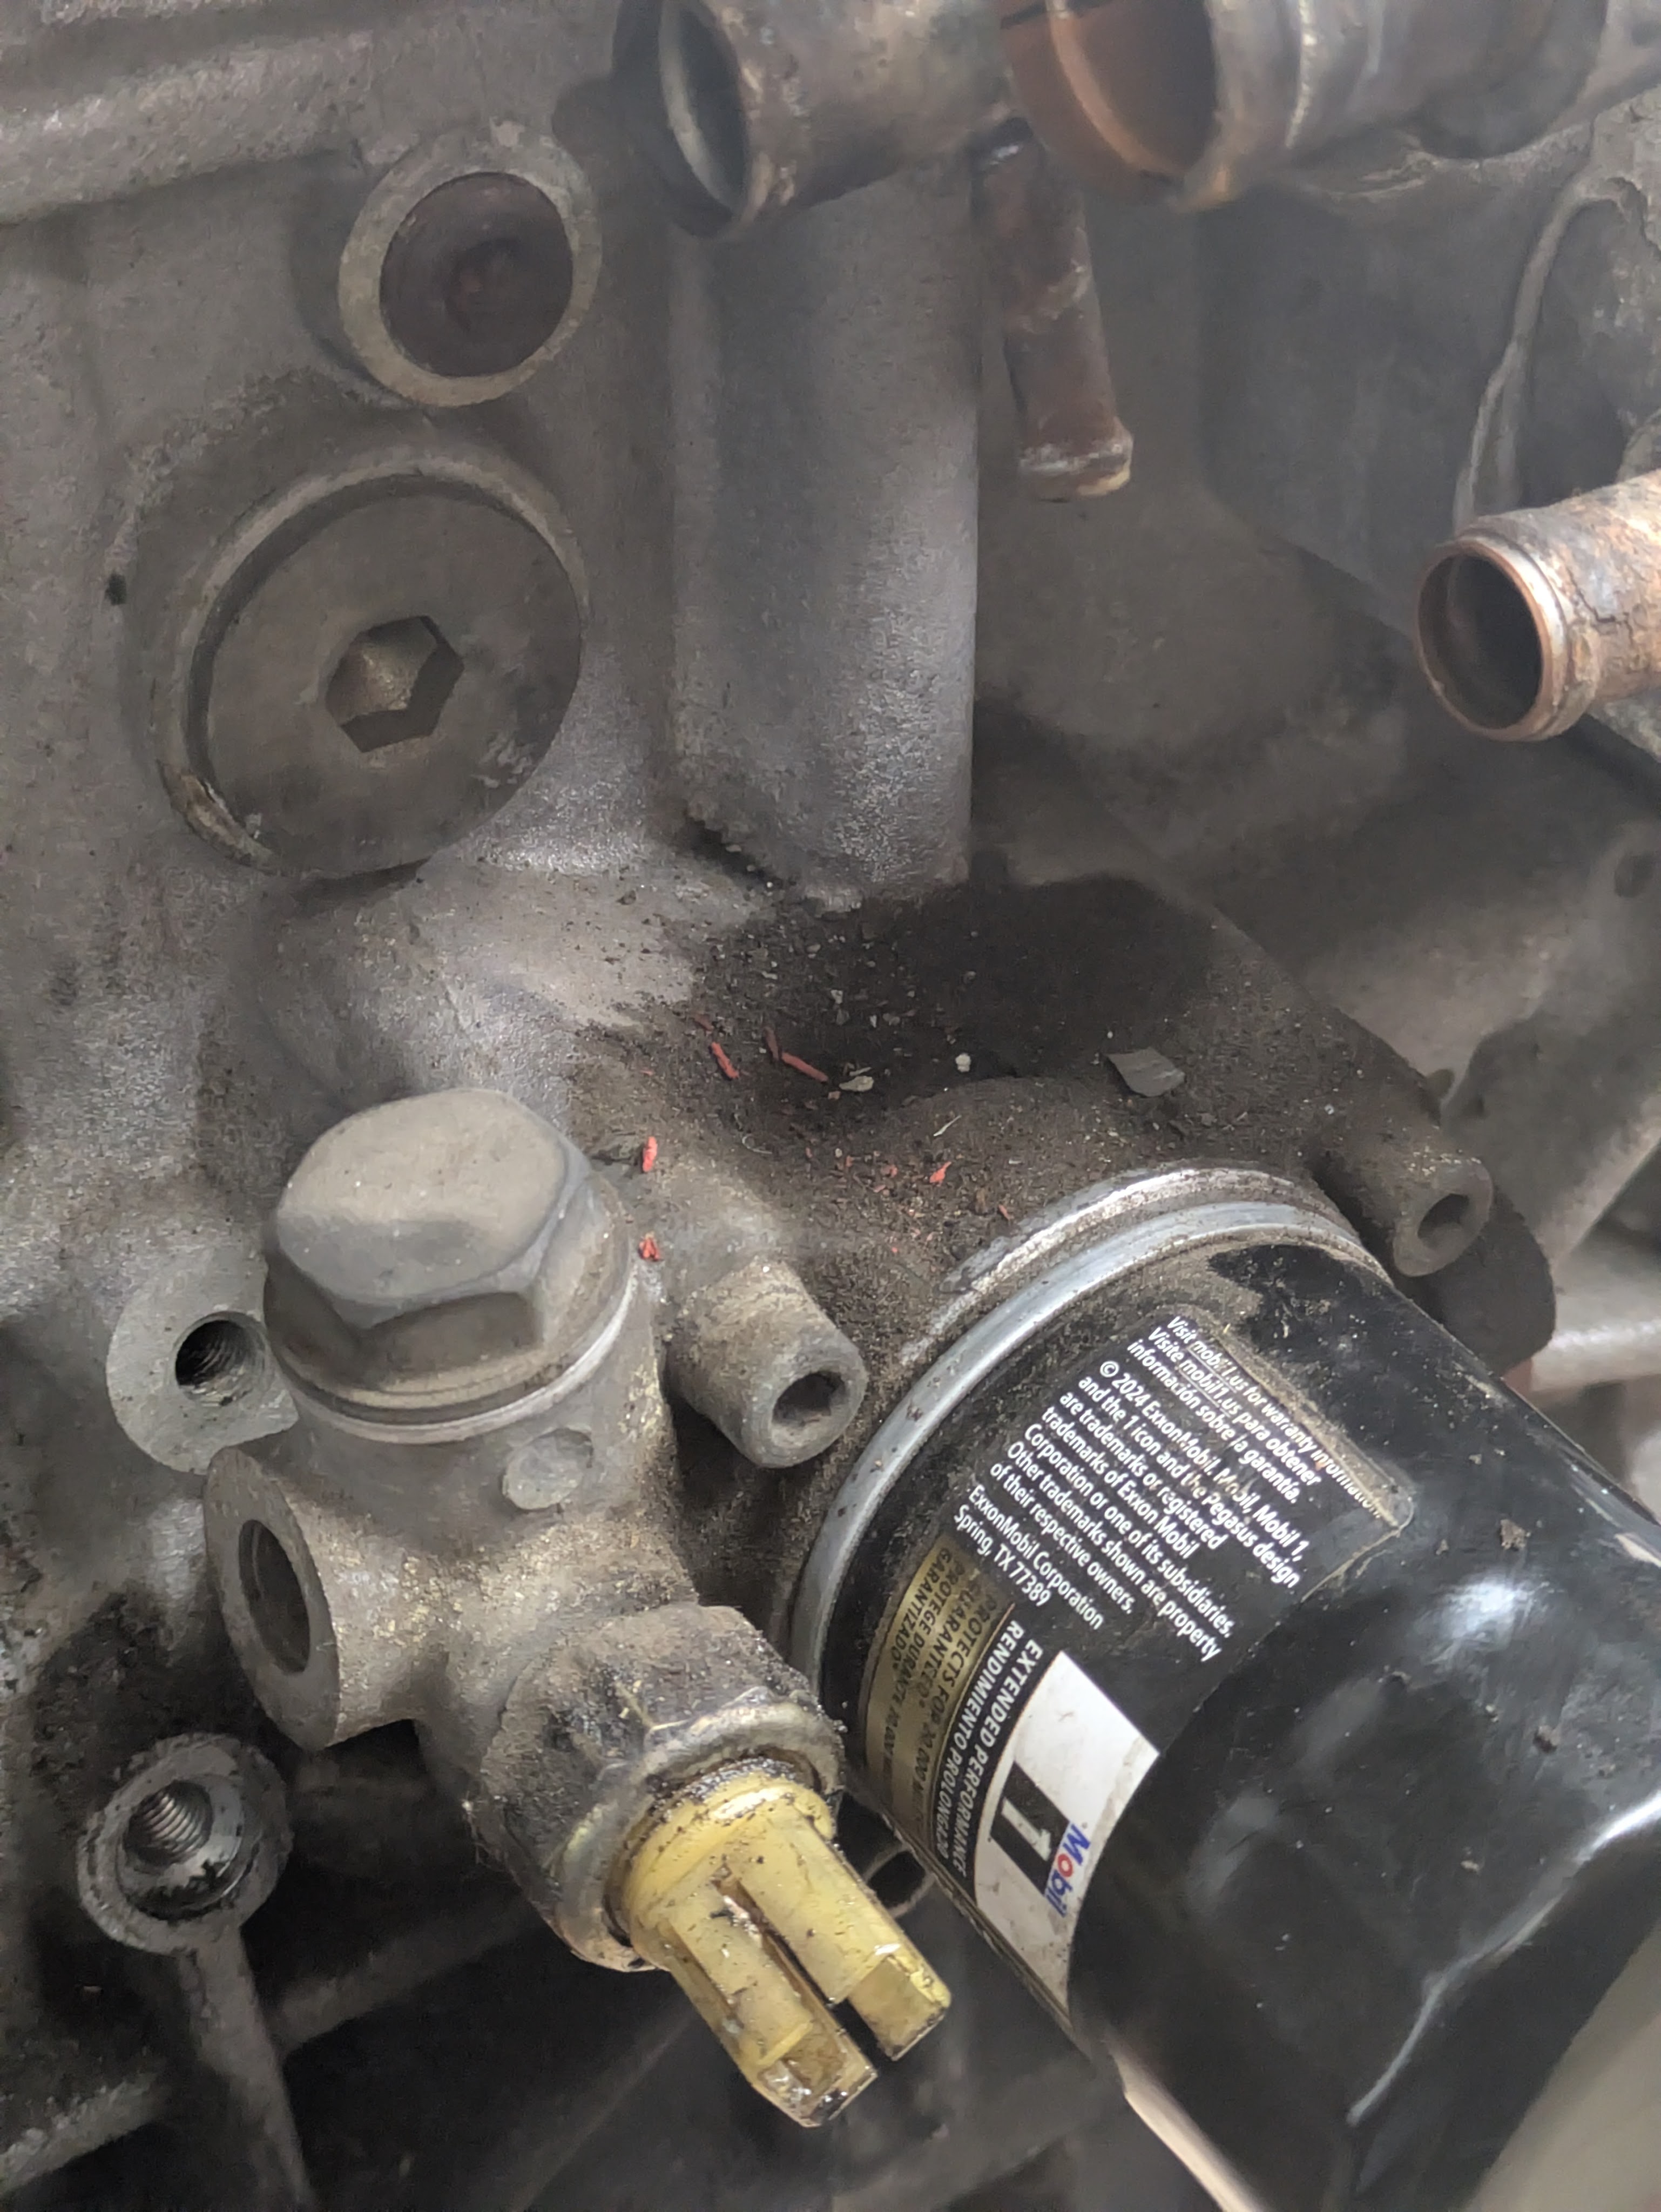

I don’t mind this kind of work as long as the setting and tools are correct and present. Good lighting and a space that holds heat ok makes it far more enjoyable, both of which I am blessed with in this garage. Cleaning intricate stuff like this is almost therapeutic at this point; I used to hate it, but once my patience for the processes built up, and you see the results enough times, the effort expended is worth it. Especially when you can work on the car in the future without getting dirty.
Below is my process I’ve found after cleaning probably more than a dozen used engines with various techniques. It’s by far the most controlled and one of the most effective.

I highly, and I mean HIGHLY recommend to start with mechanical removal of what you can easily get off with a plastic scraper. These gigantic plastic scrapers and an old interior trim tool are excellent for it, and it alleviates the solvent of having to do a ton of work to cut through grease that would otherwise fall off. 5-10 minutes now will save time and materials later. This is the part I initially resisted when I was younger, because I wanted fast results, but it turns out better and goes faster in the long run.
Jump cut to it being done (sorry, no in-process photos). The trick to this is a kerosene-based degreaser and a chip paint brush meant for painting trim. The kerosene is good because it doesn’t flash like aerosolized brake clean, which actually works better in this scenario as it gives you some real working time to let it soak in and lift the grime. The chip brush has long bristles to get down into cracks, while still having some agitation power. Chip brushes are super cheap in bulk, so I bought a 30 pack box close to 10 years ago, and grab a new one whenever I need. You can cut the bristles down with a pair of normal scissors if you want more scrubbing power or to get into tighter areas. Its a really nice tool to just have around as they are effectively disposable.

The final step, since the kerosene won’t evaporate, is to get a pack of terry towels to wipe down the surface with. Since they are a heartier/more rugged towel, they have some abrasion of their own, and are great at digging into the pores of the metal and lifting any last dirt that may be trapped. After scrubbing the surface down, you are left with a really clean/dry surface.
Now, I won’t dispute brake cleaner’s function. It’s great as a quick and dirty way to clean something, but the overspray gets everywhere and it’s way more expensive. Even after I complete the above process, I’ll usually hose the part down in it to get any small areas I can’t get the brush or towel into, and to make sure there are no remaining oils on the surface. But I use it like a scalpel, not a sledgehammer.
Power washing faces similar issues. I really don’t like how uncontrolled the overspray is, and the grease you do get off just flies everywhere, usually onto you. You have to be so careful sealing up the motor when power washing, where as I can just tape up ports and brush around them (hell, its so controlled that sometimes I’ll leave them open). If there’s more dirt than grease, I like a scraper + vacuum + light water rinse, but for any of this greasy stuff, I have found the process described above to be the most effective method short of vapor honing or a heated jet wash, both of which are far more than a surface process.


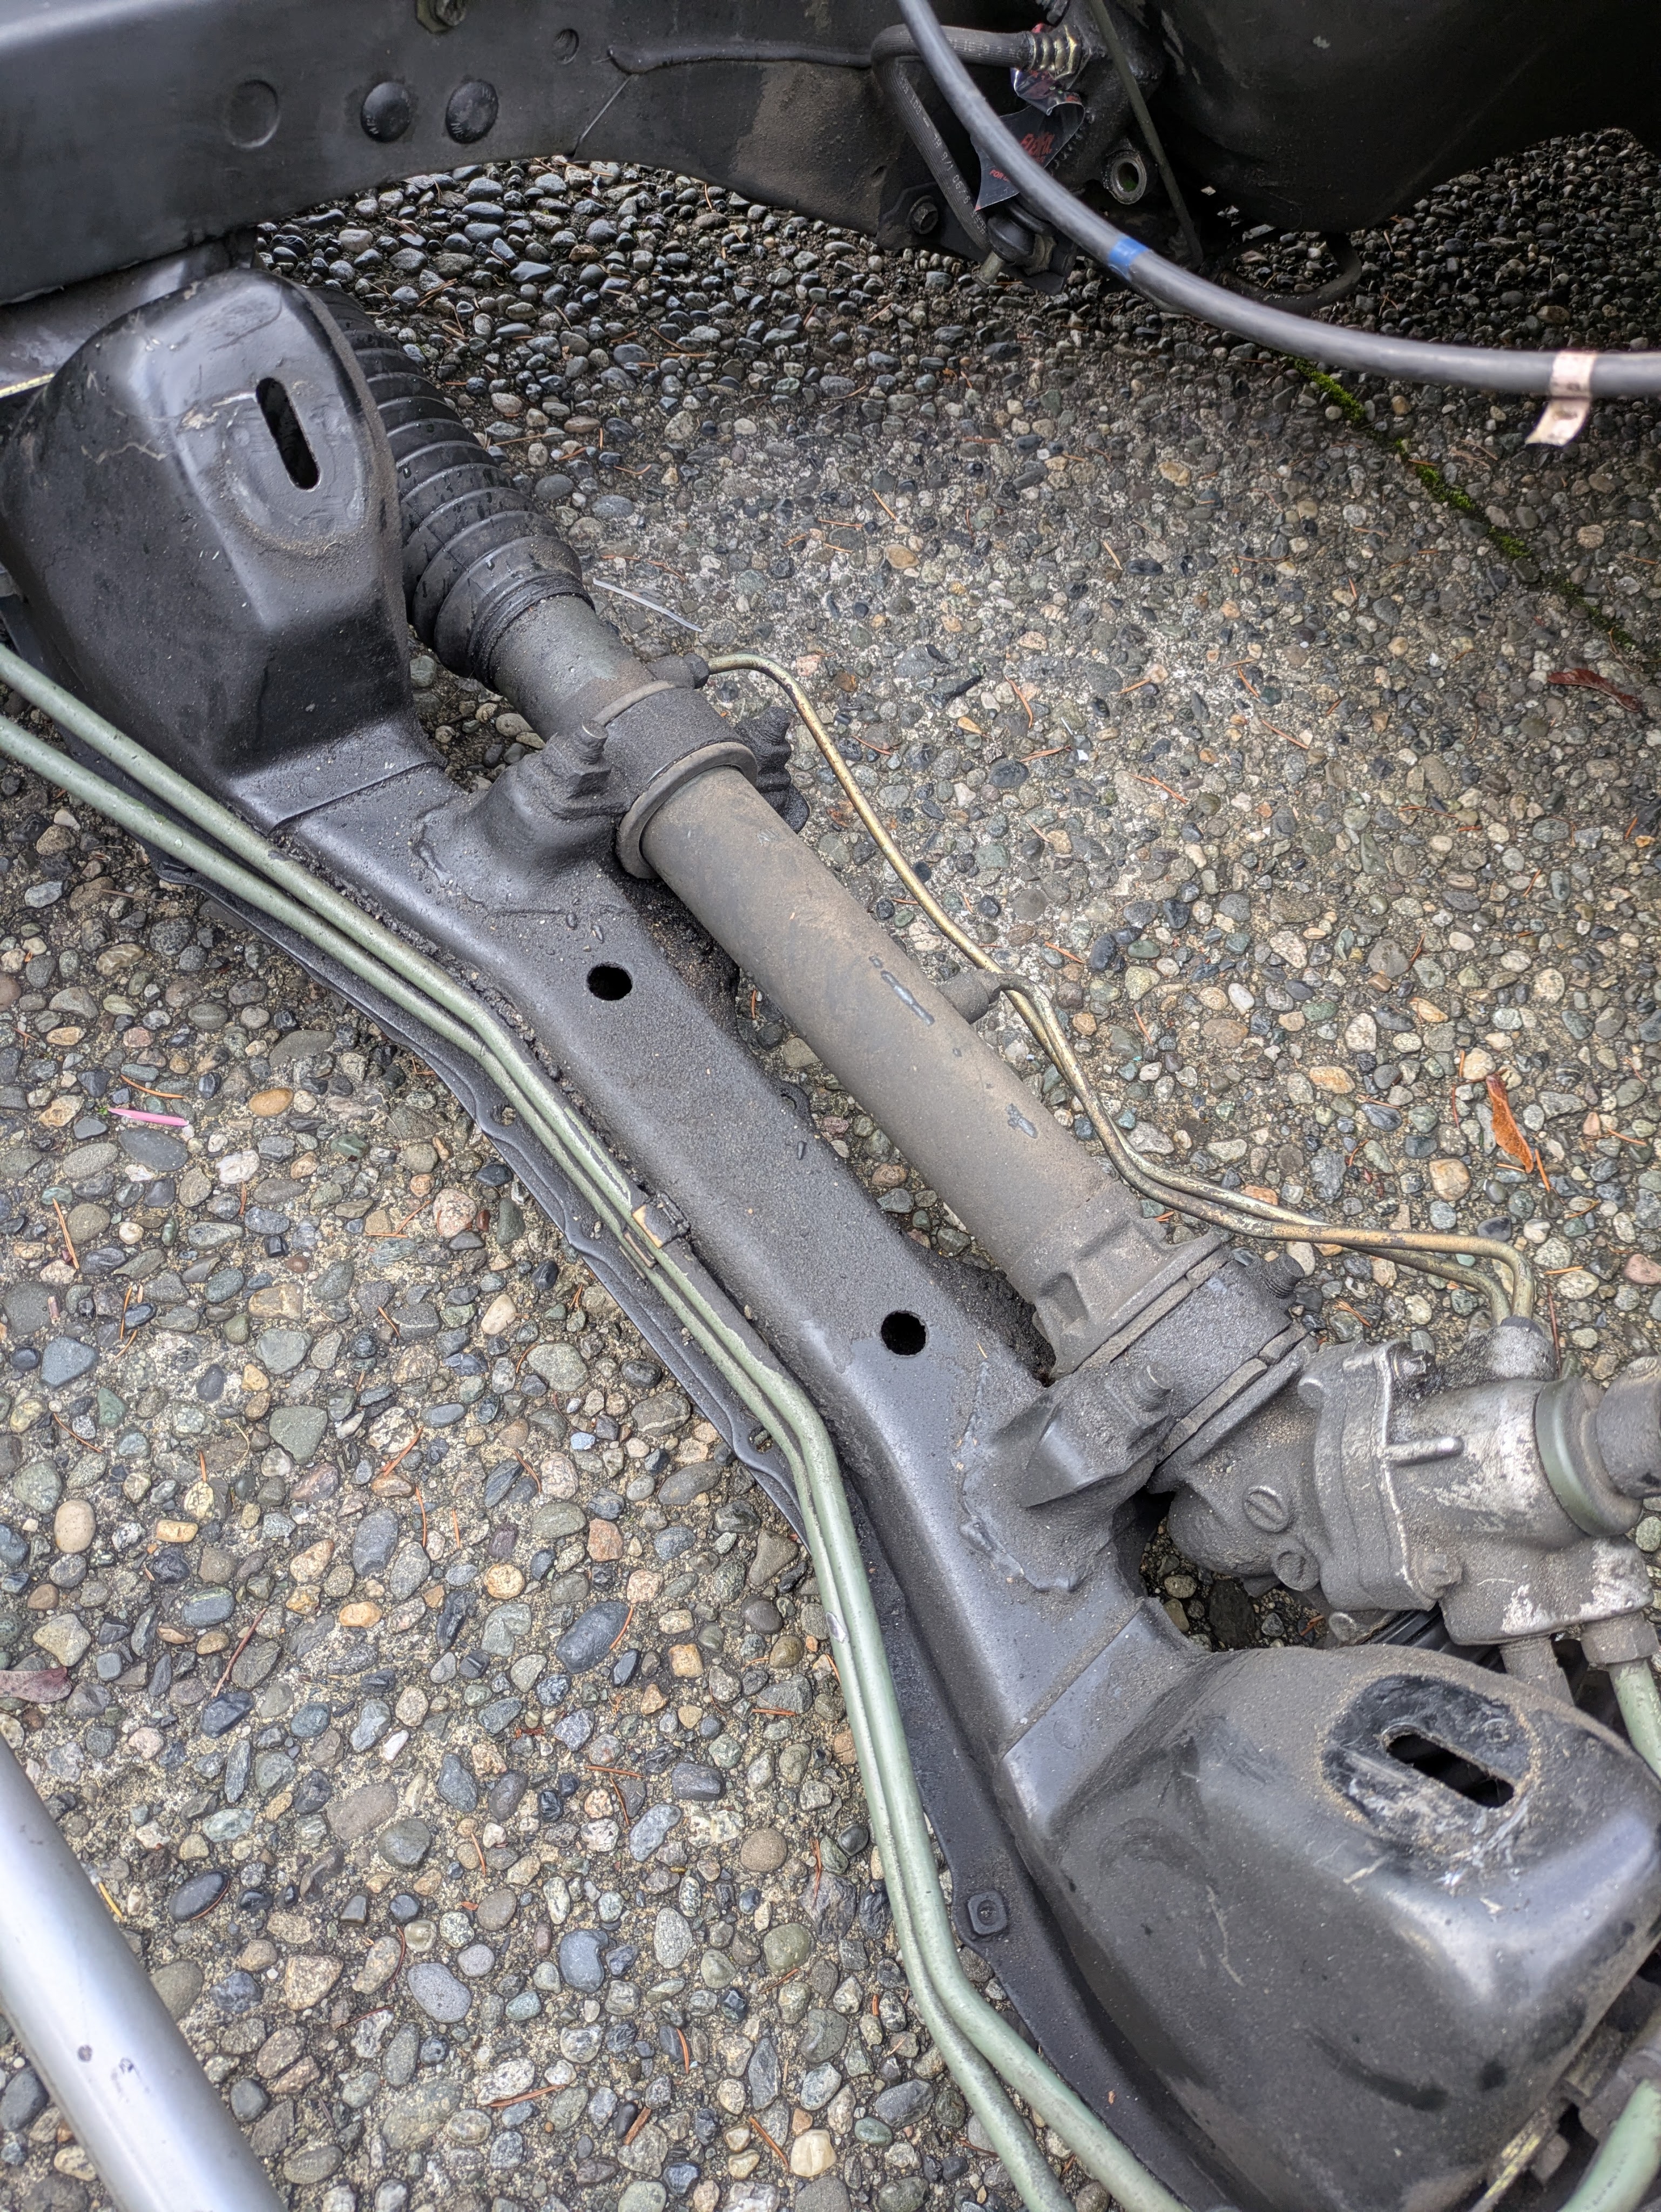
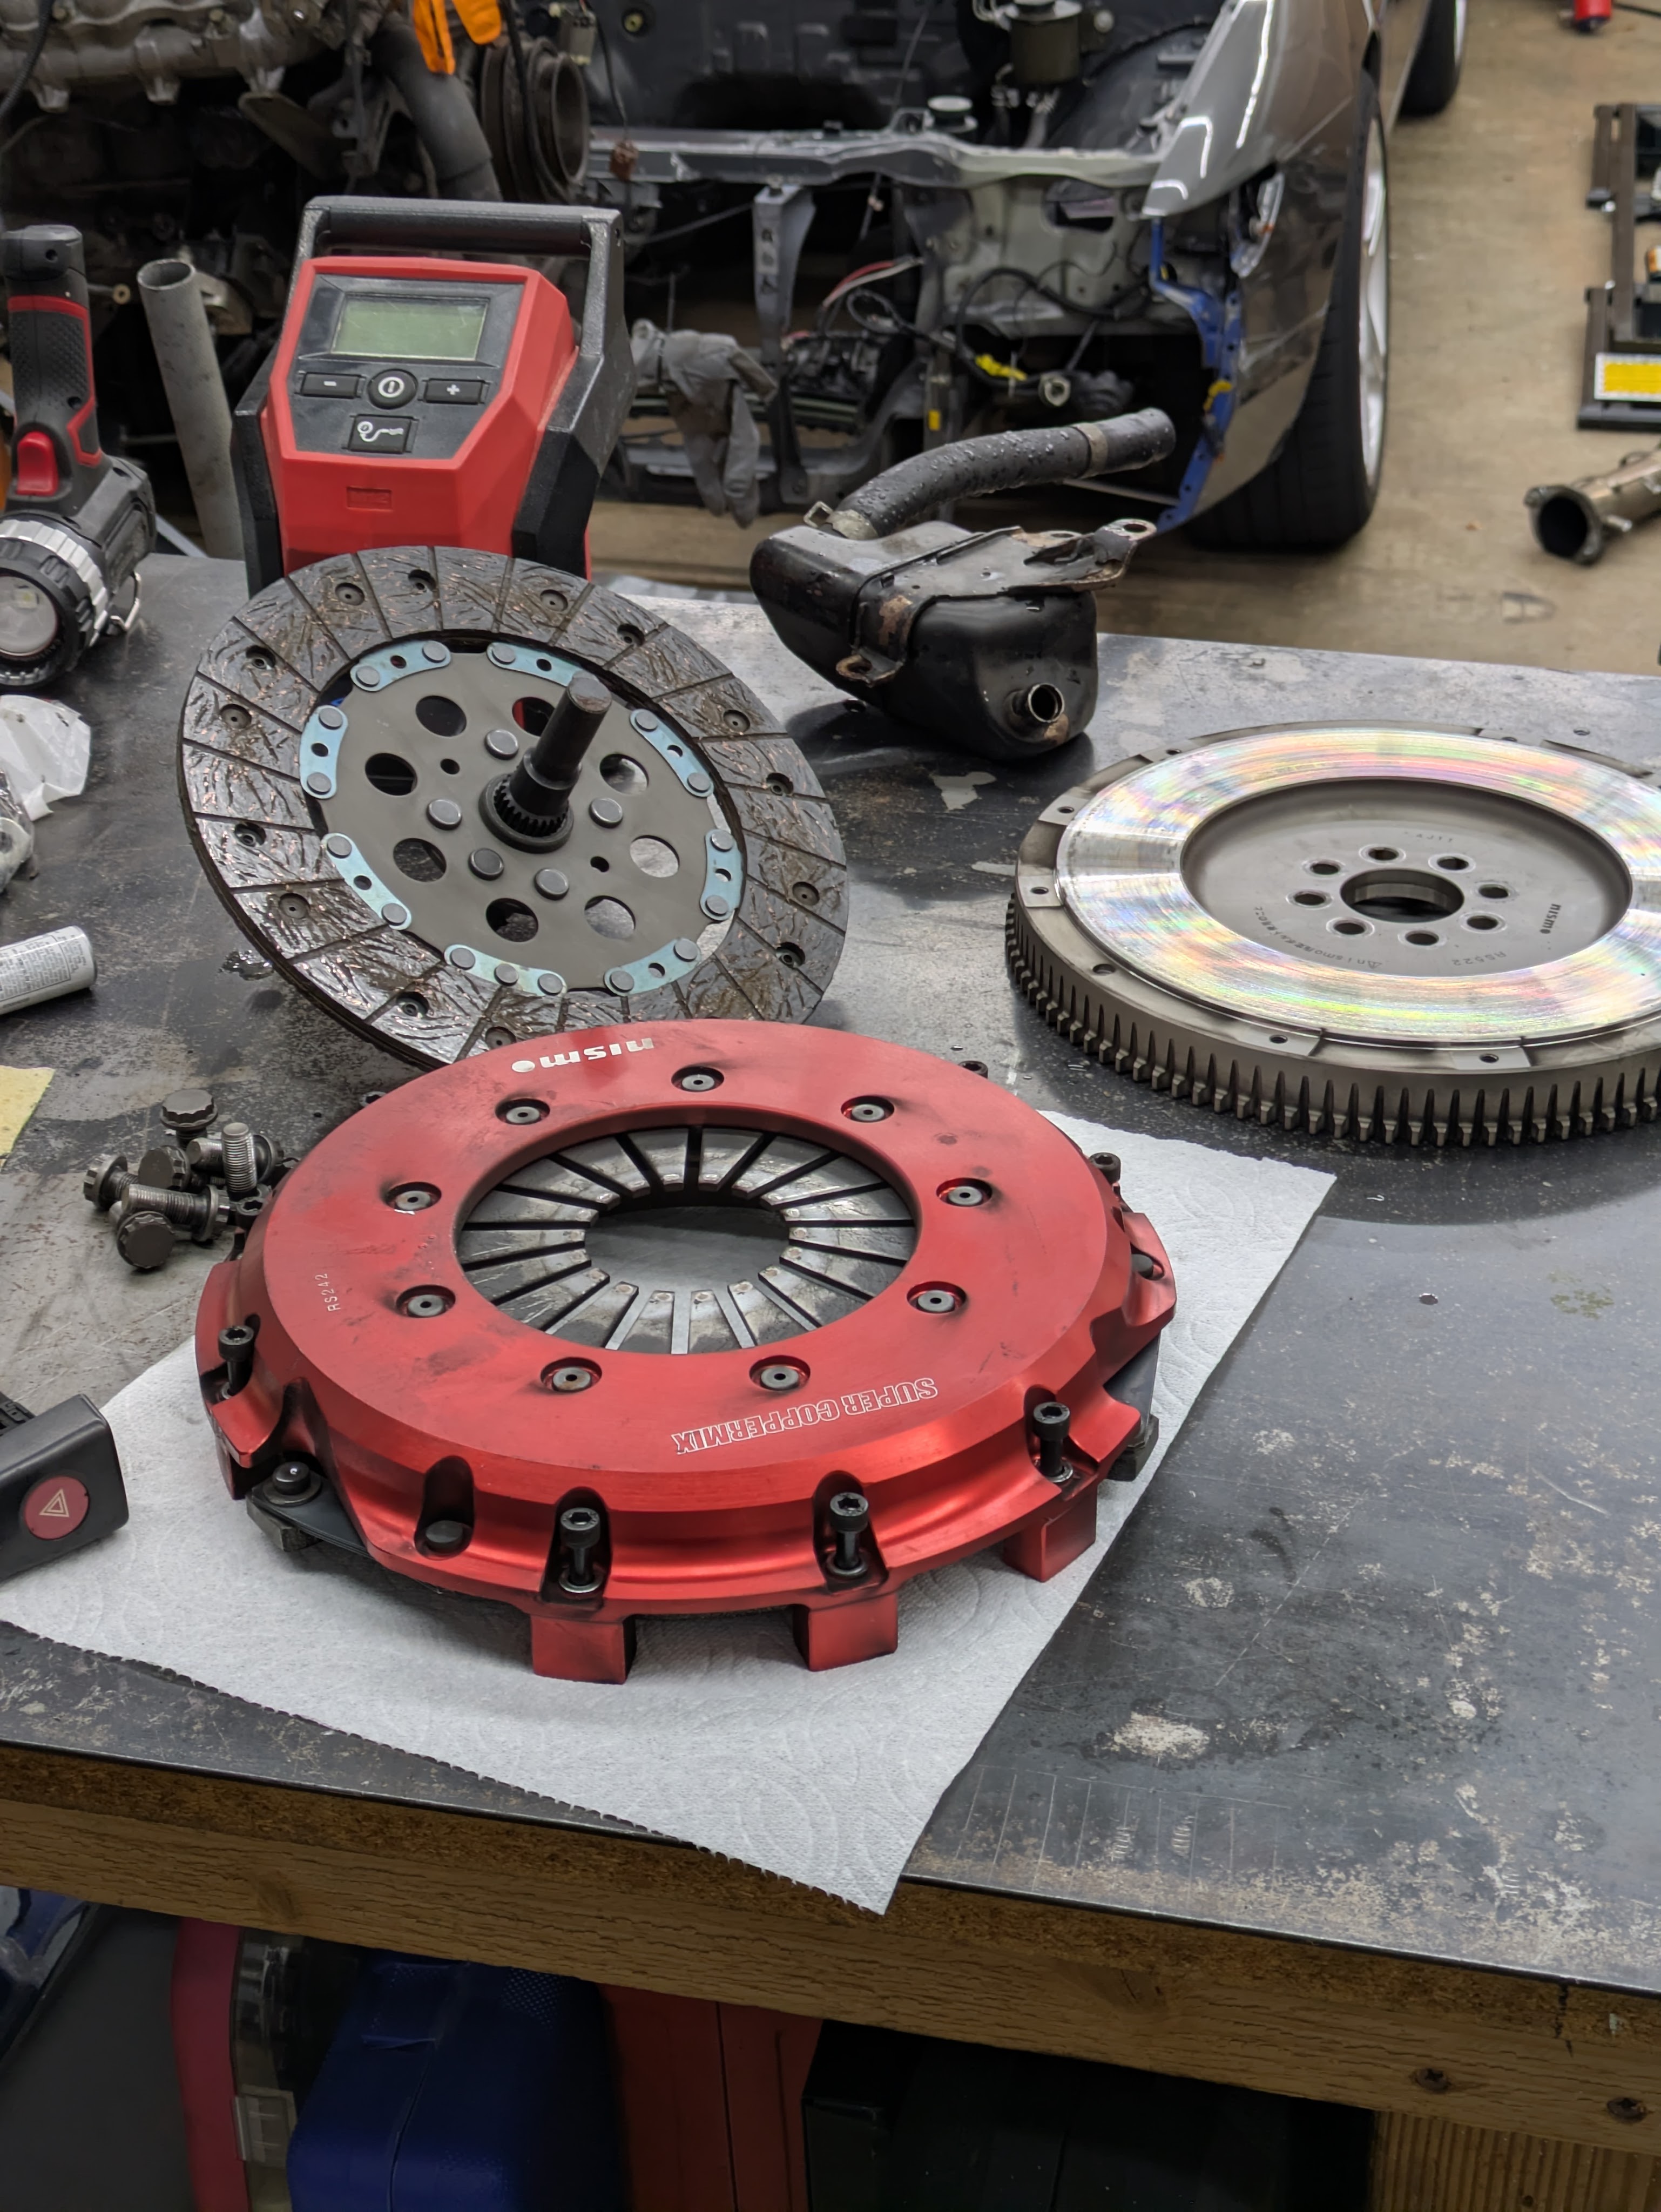
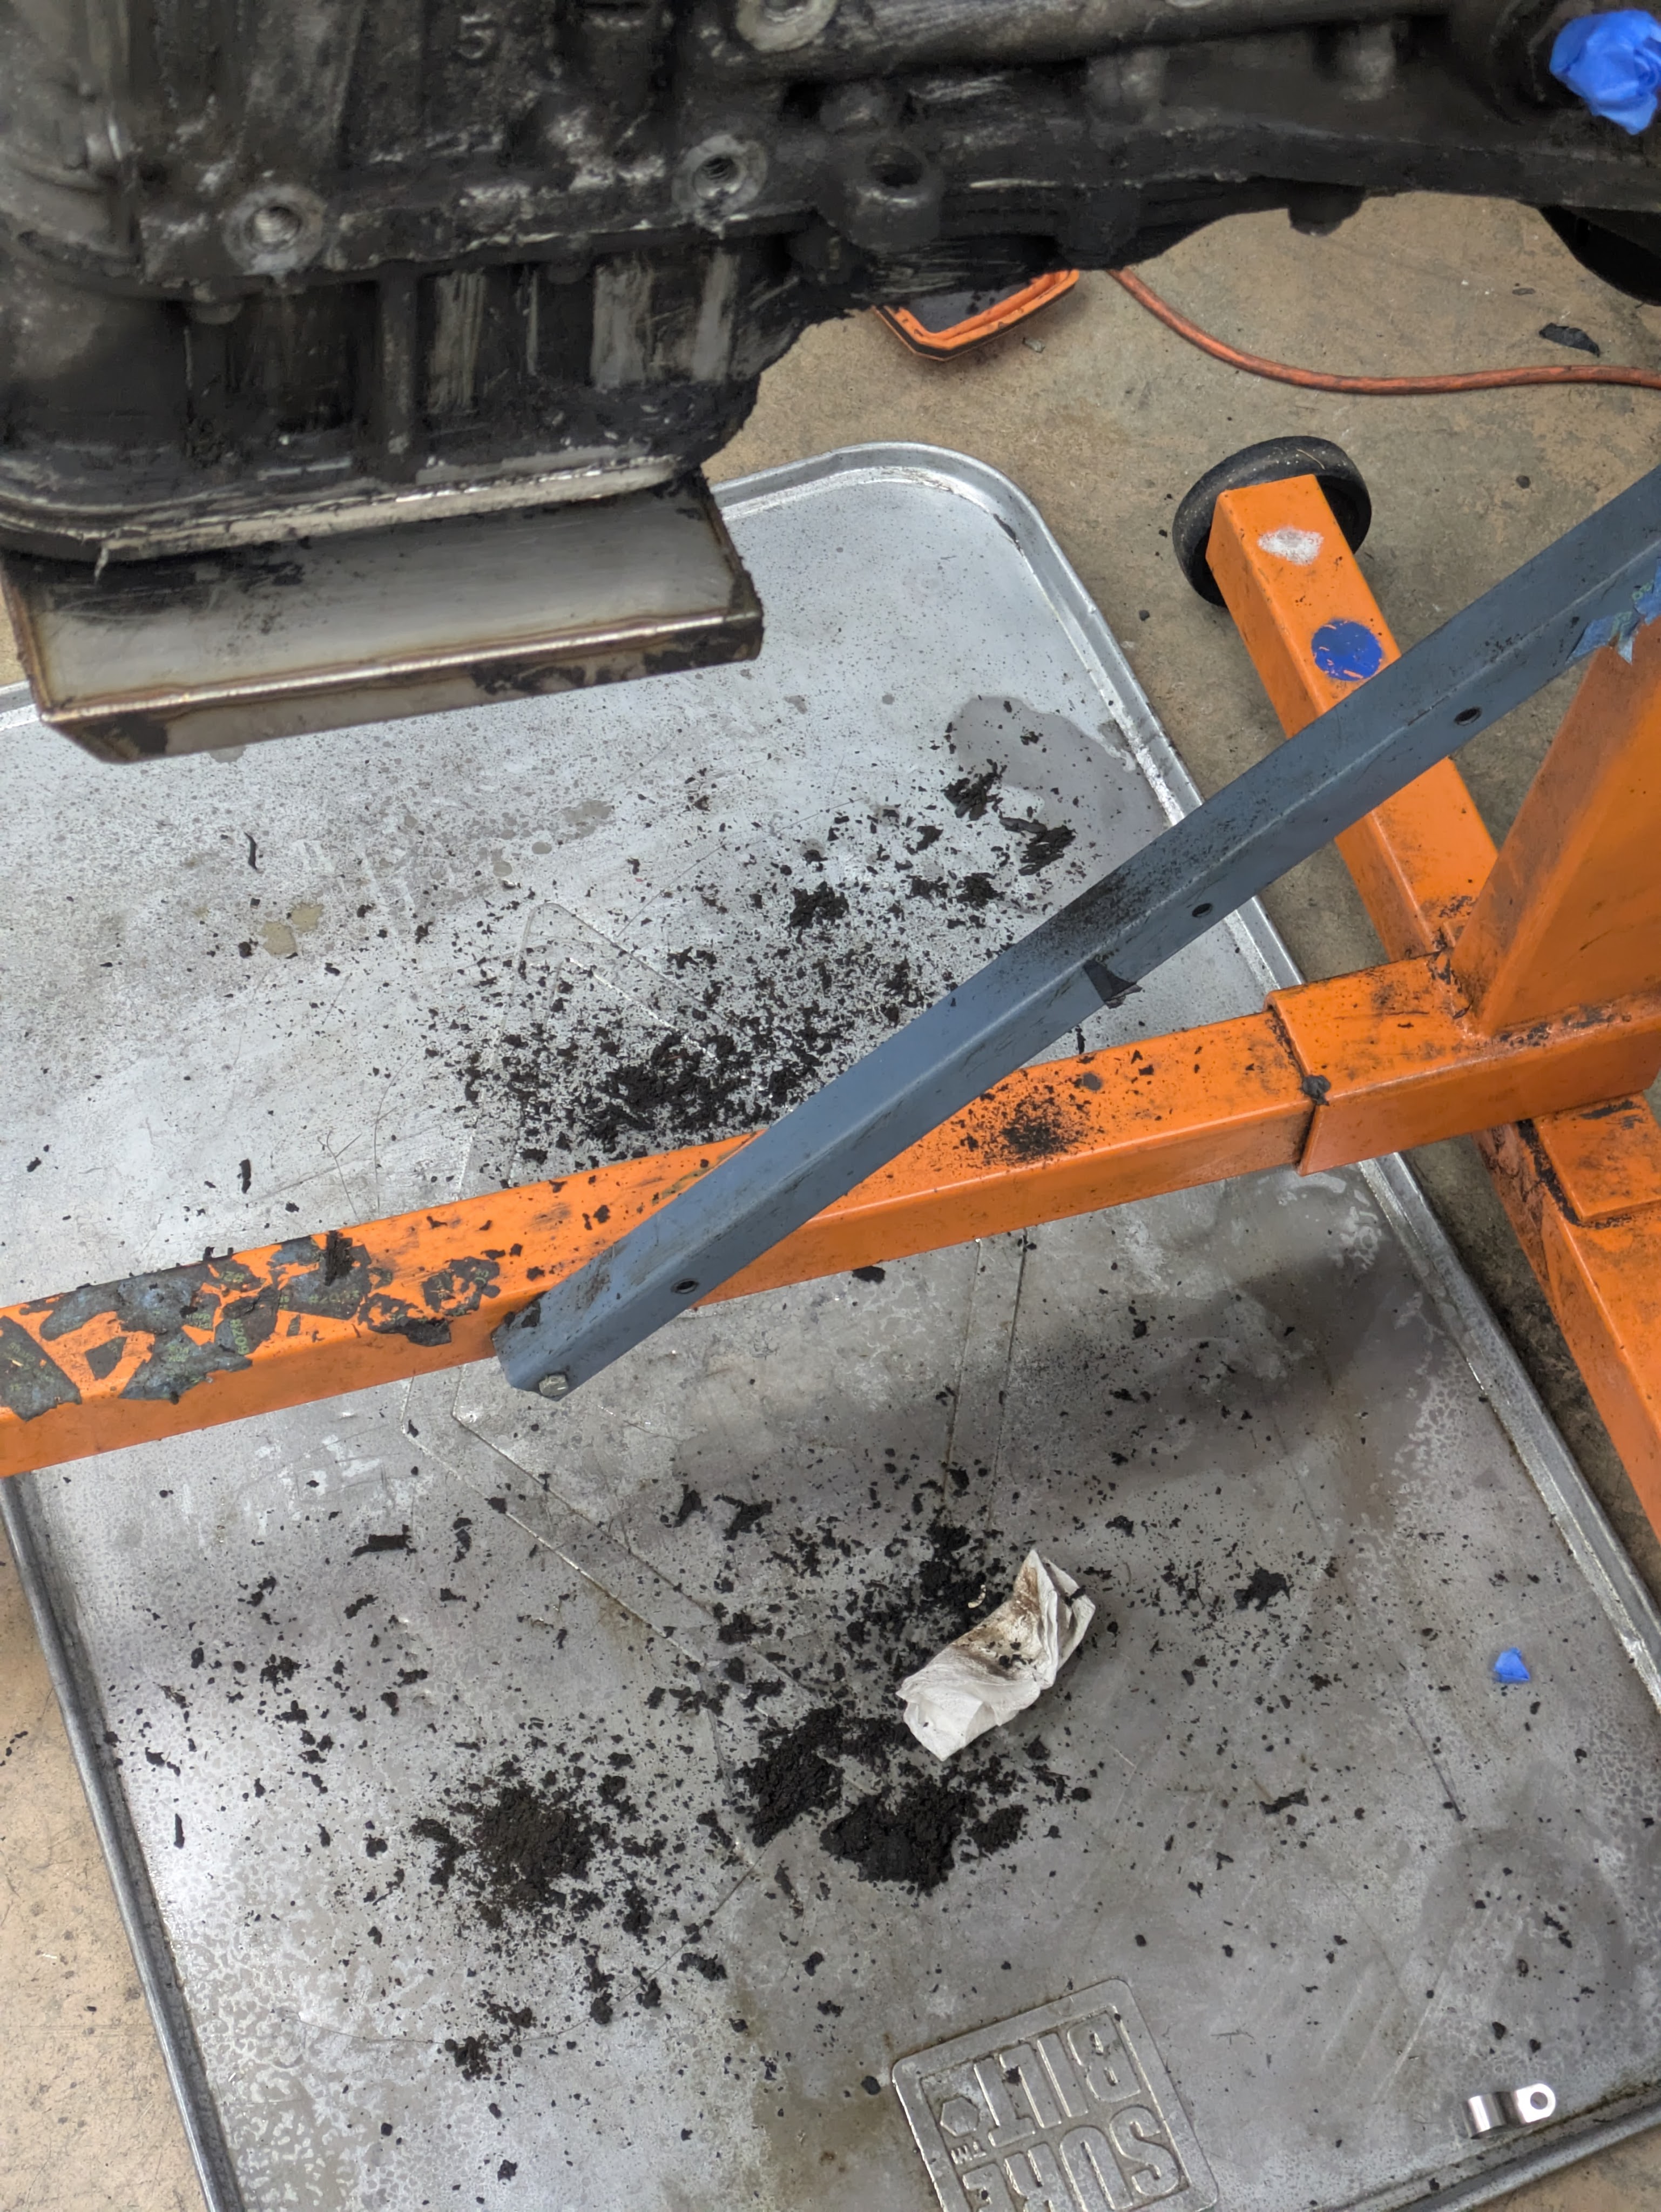
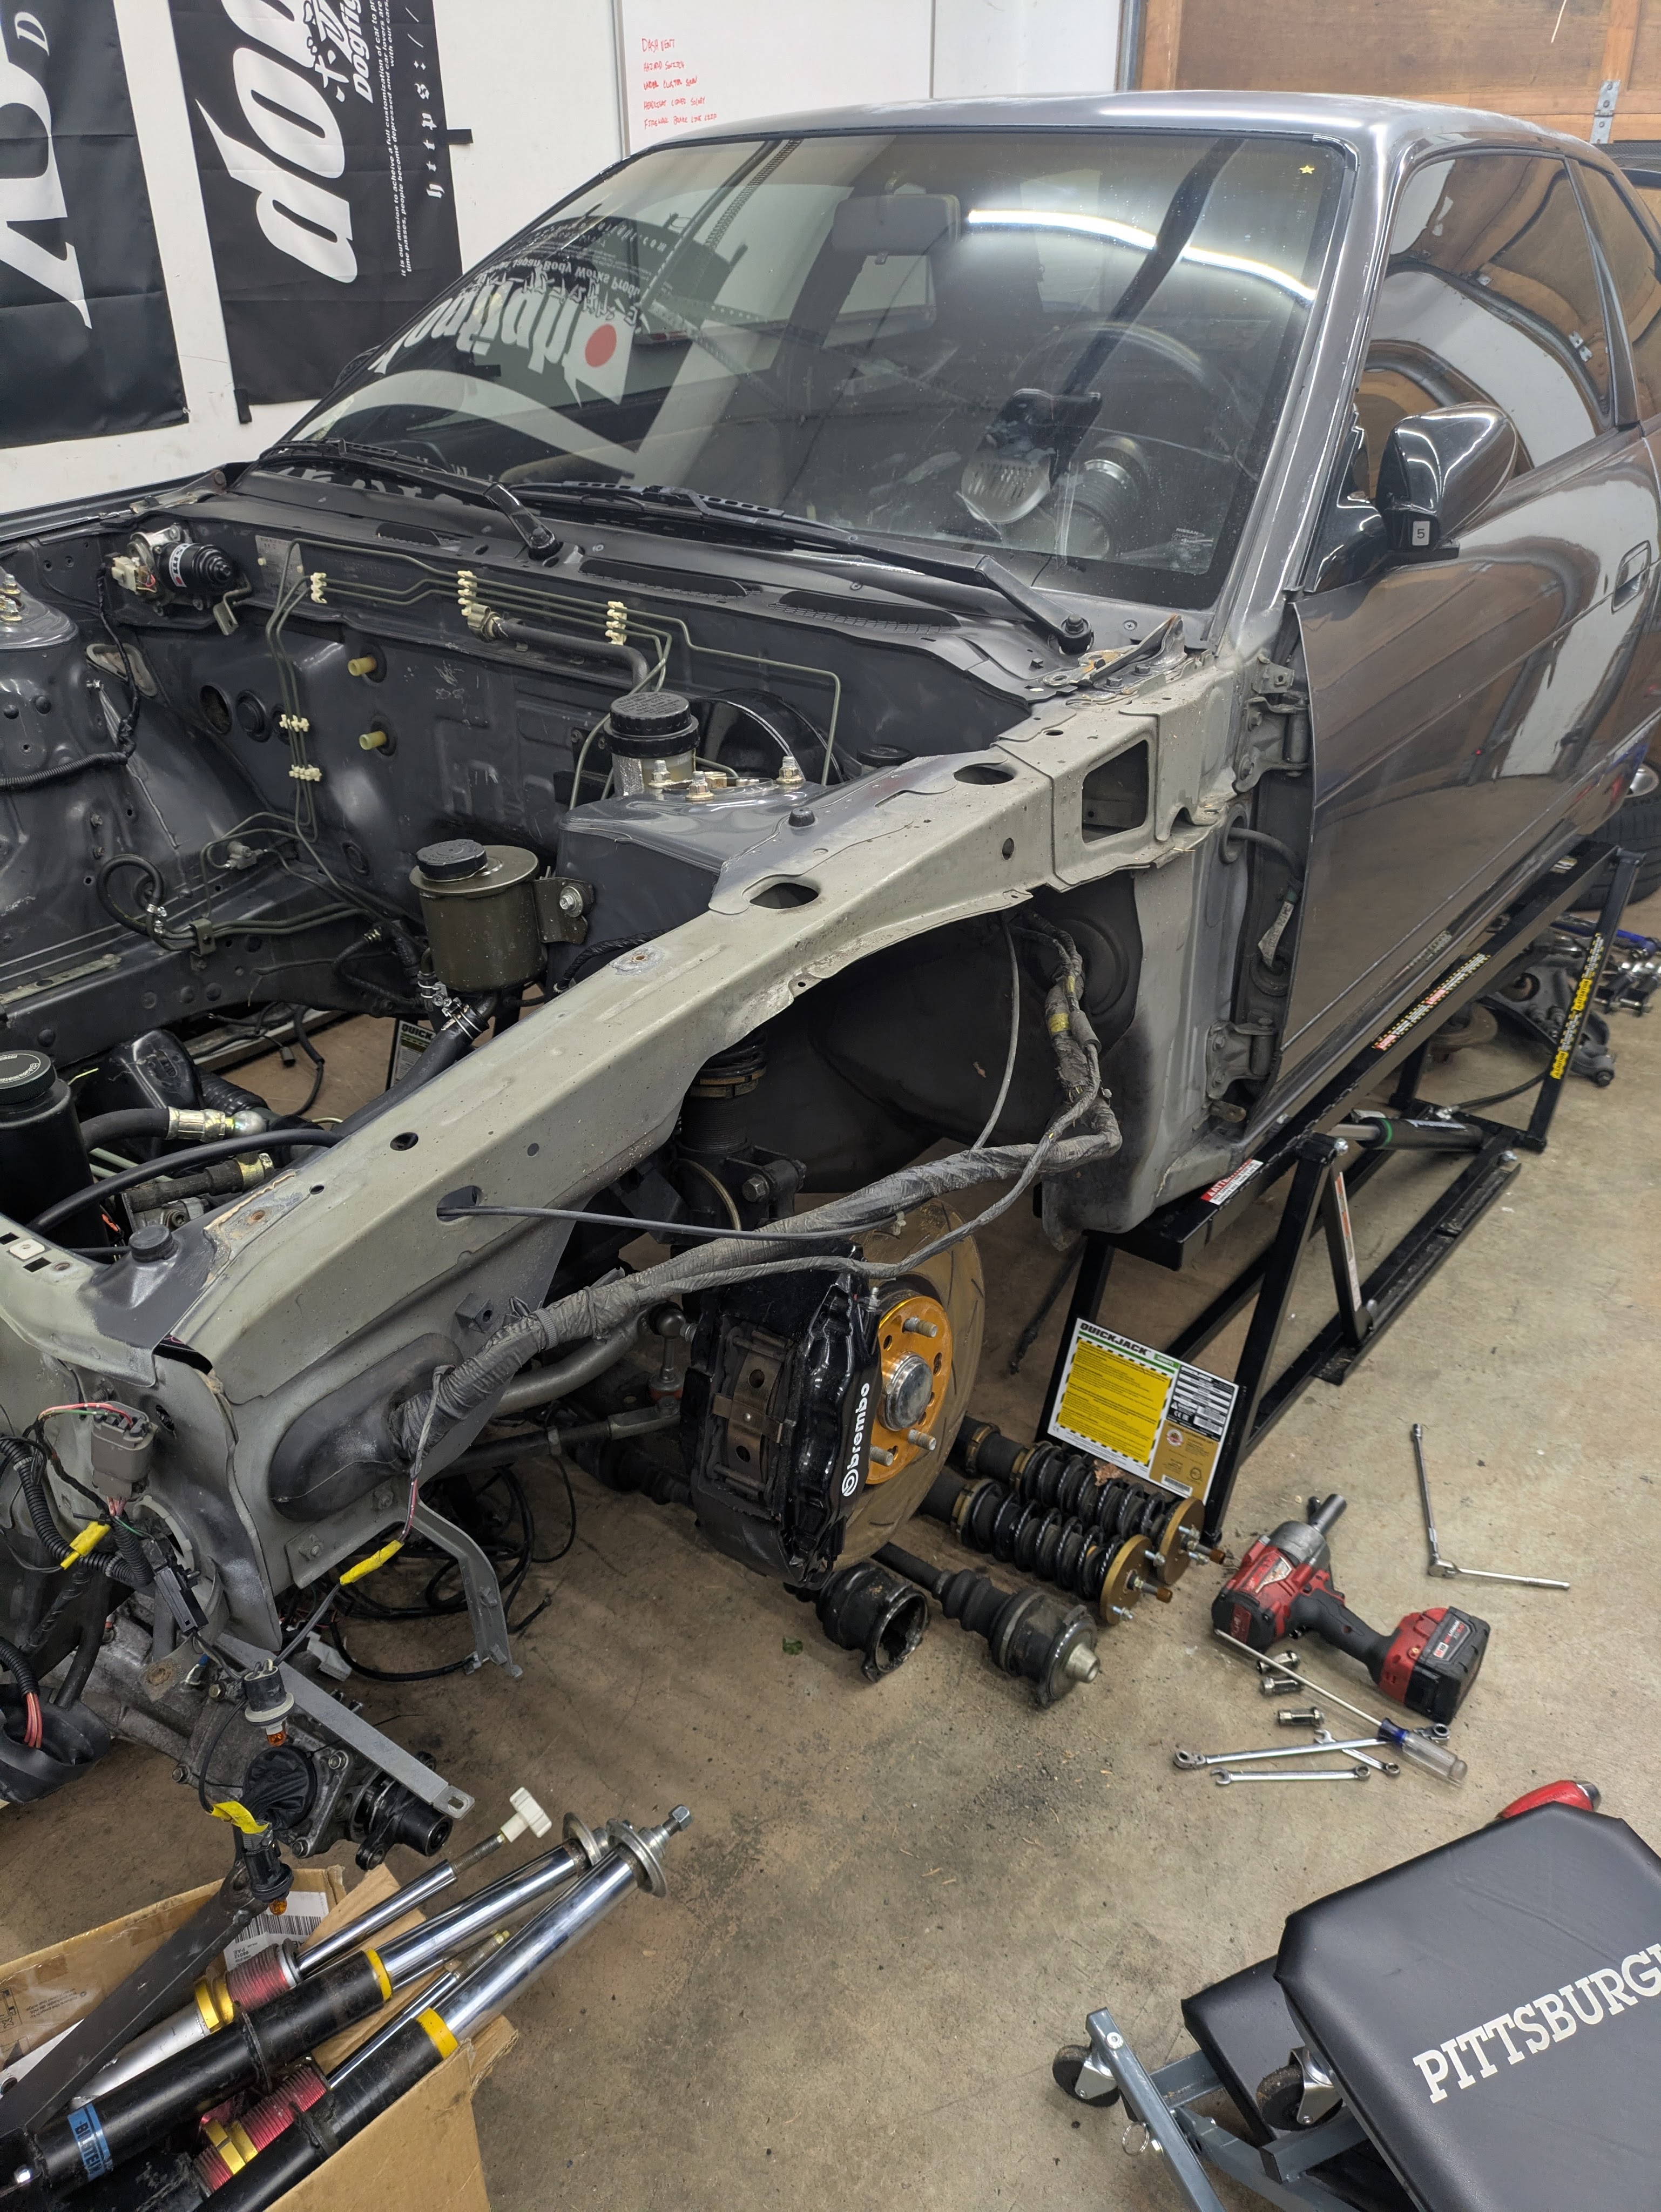
With the motor cleaned and replacement parts ordered, the next big task on the agenda was removing the rear subframe. It needed to come out for a modicum of reasons, mainly bushing replacement and some welding. I enlisted the help of neighborhood kid Kai, who we jokingly refer to as our intern. Like most S13 tasks, was not difficult versus other cars I have tackled.
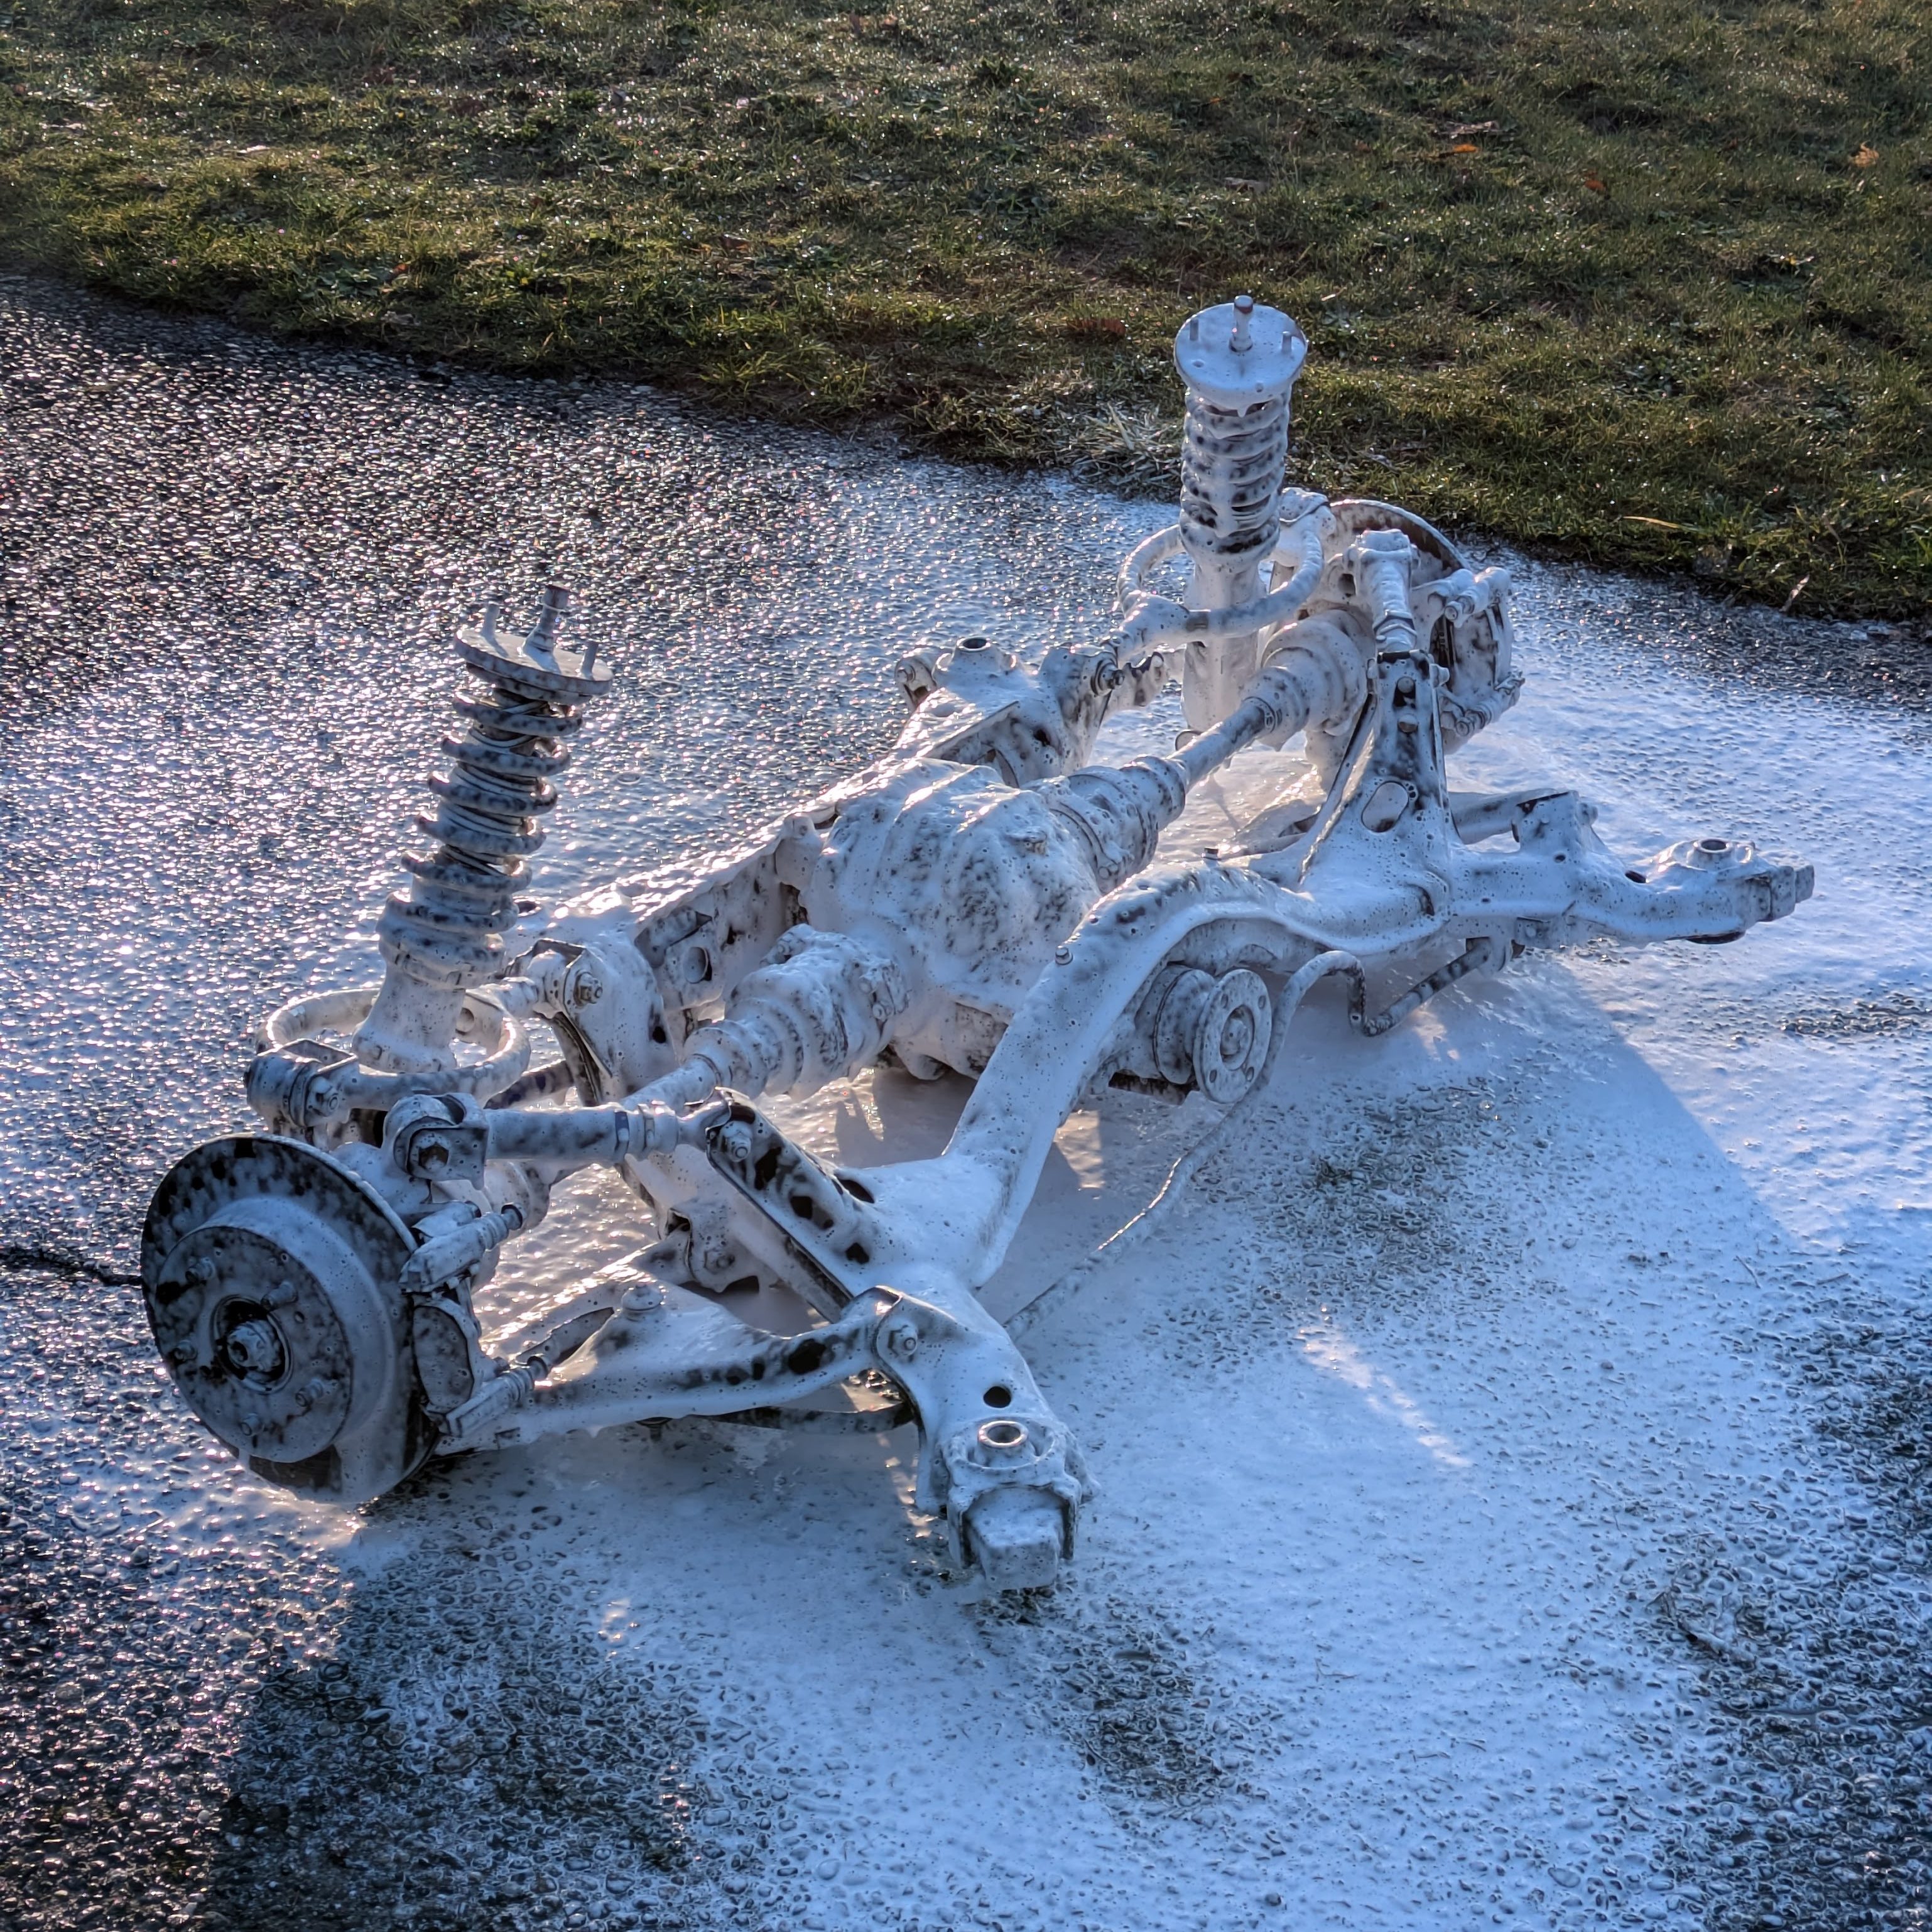
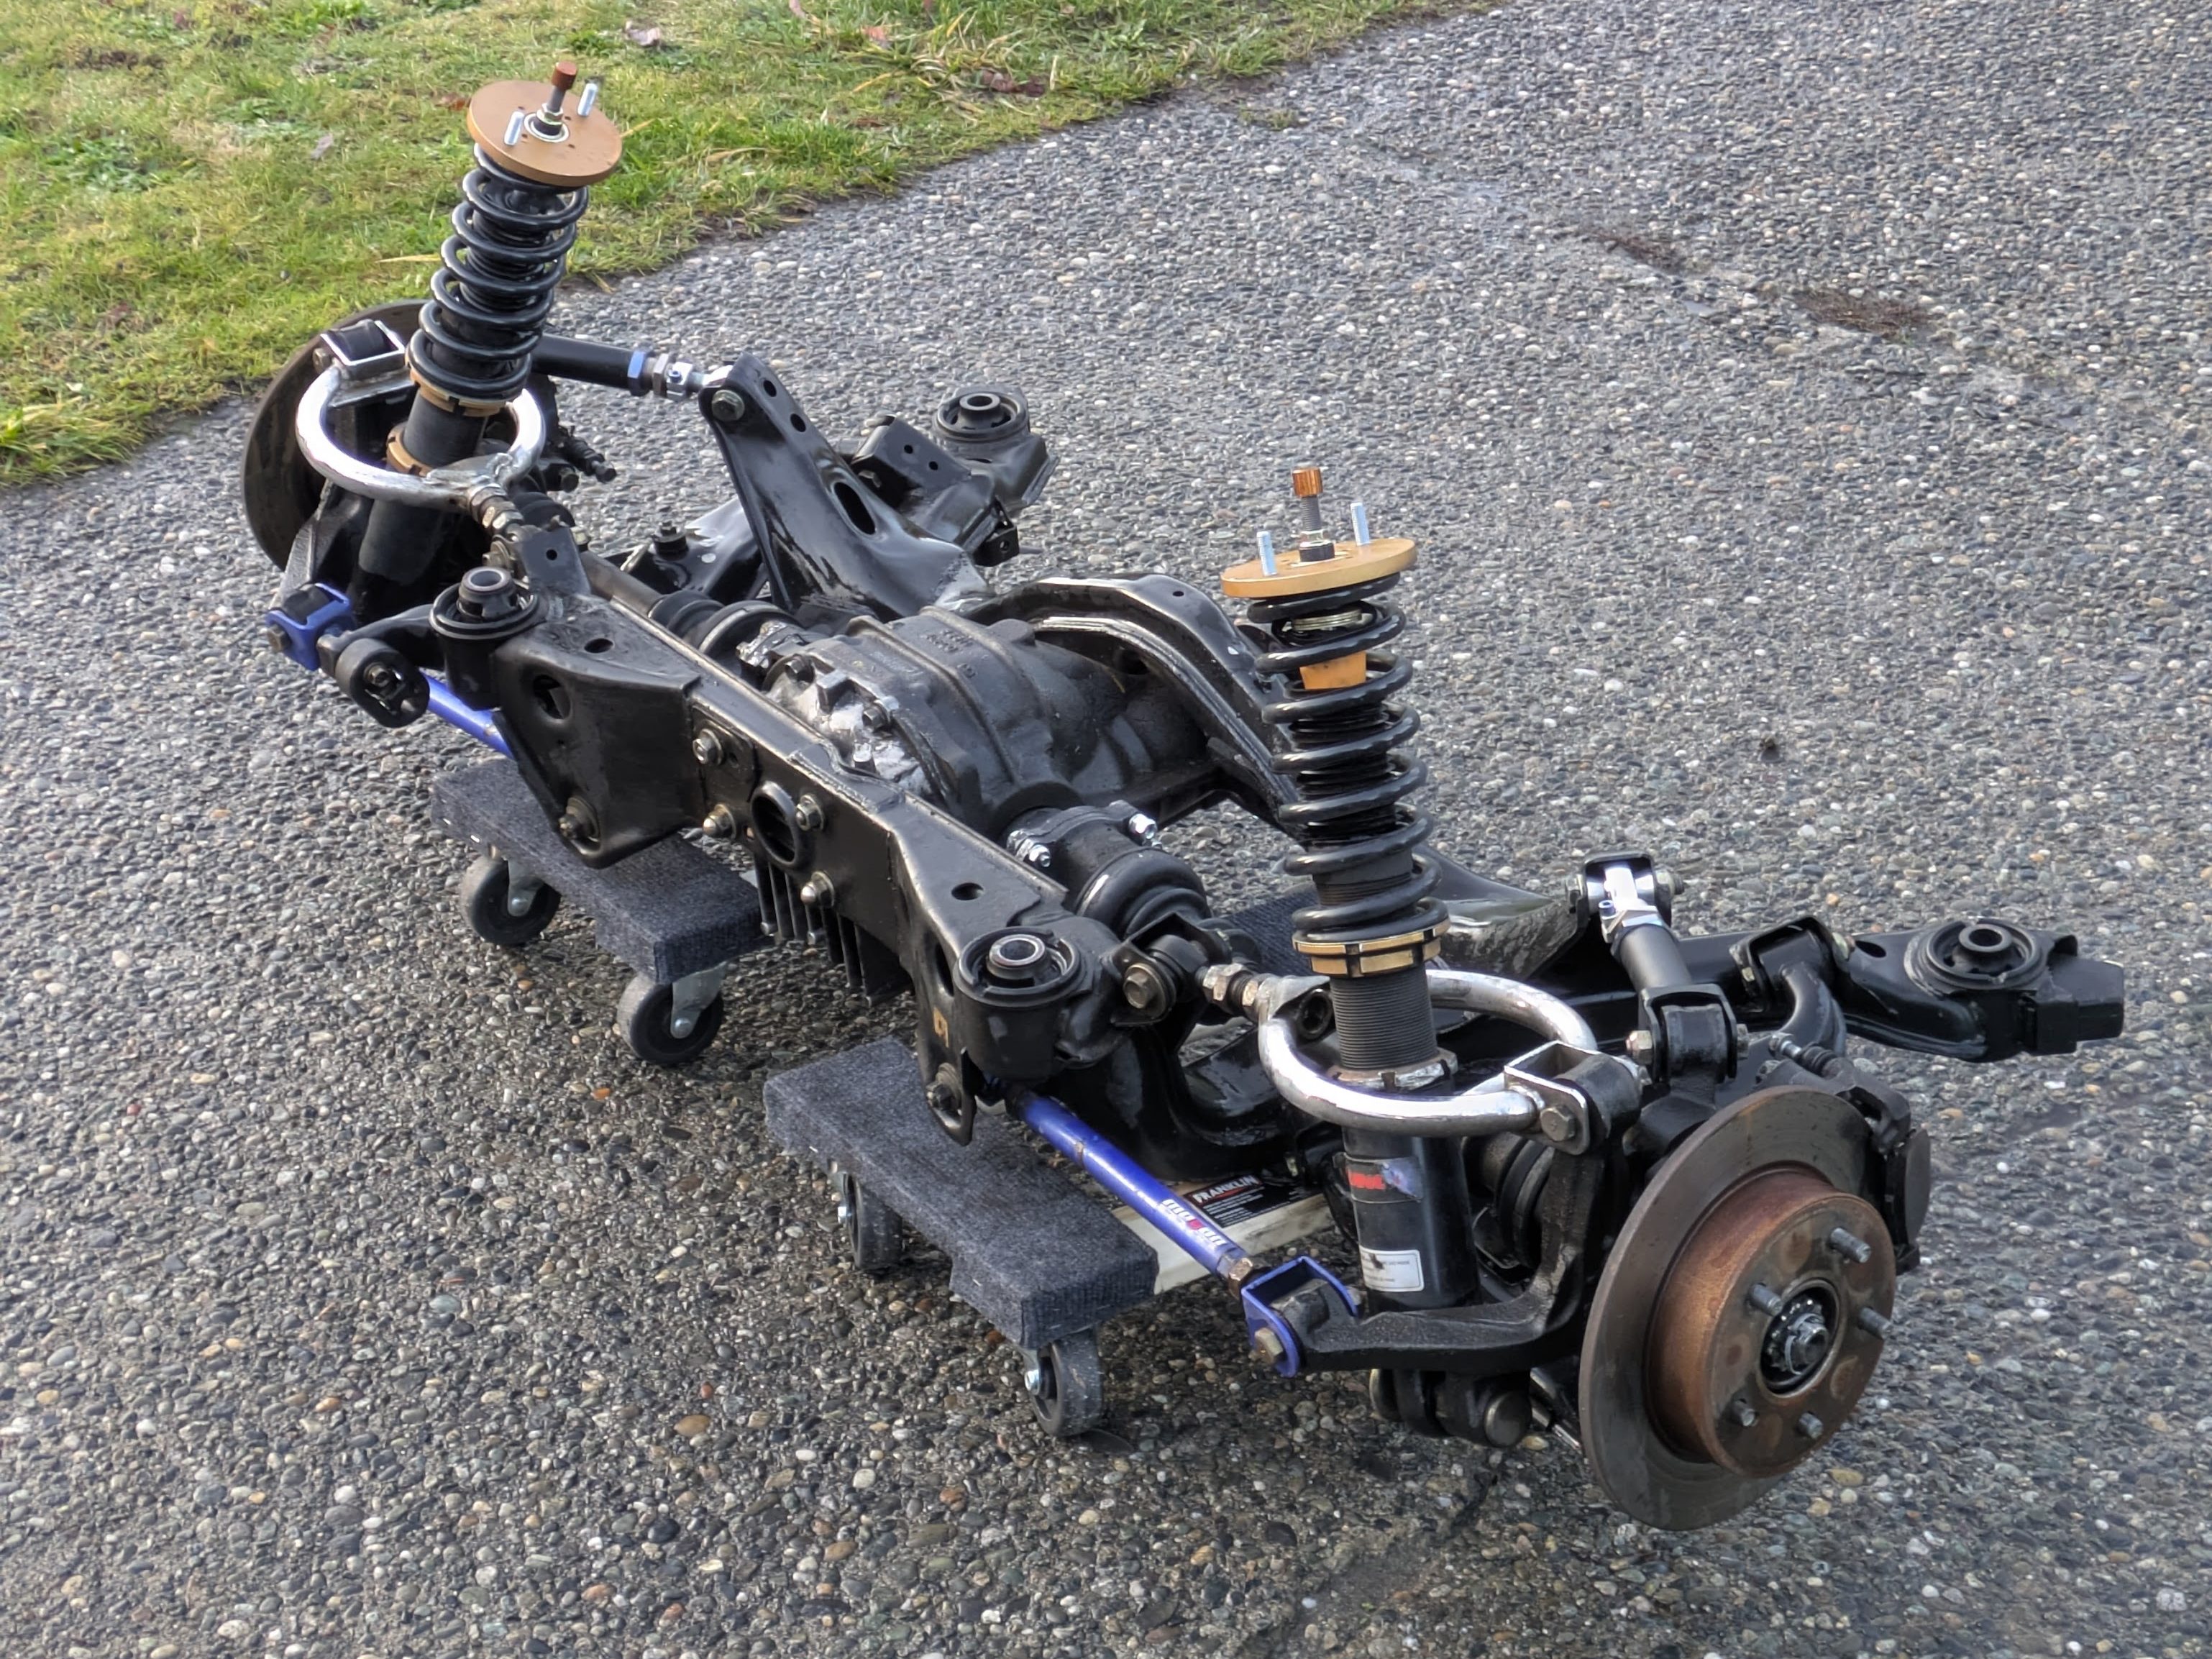
We stripped the subframe bare off camera in preparation for it’s pending work. Impacts are beautiful devices.


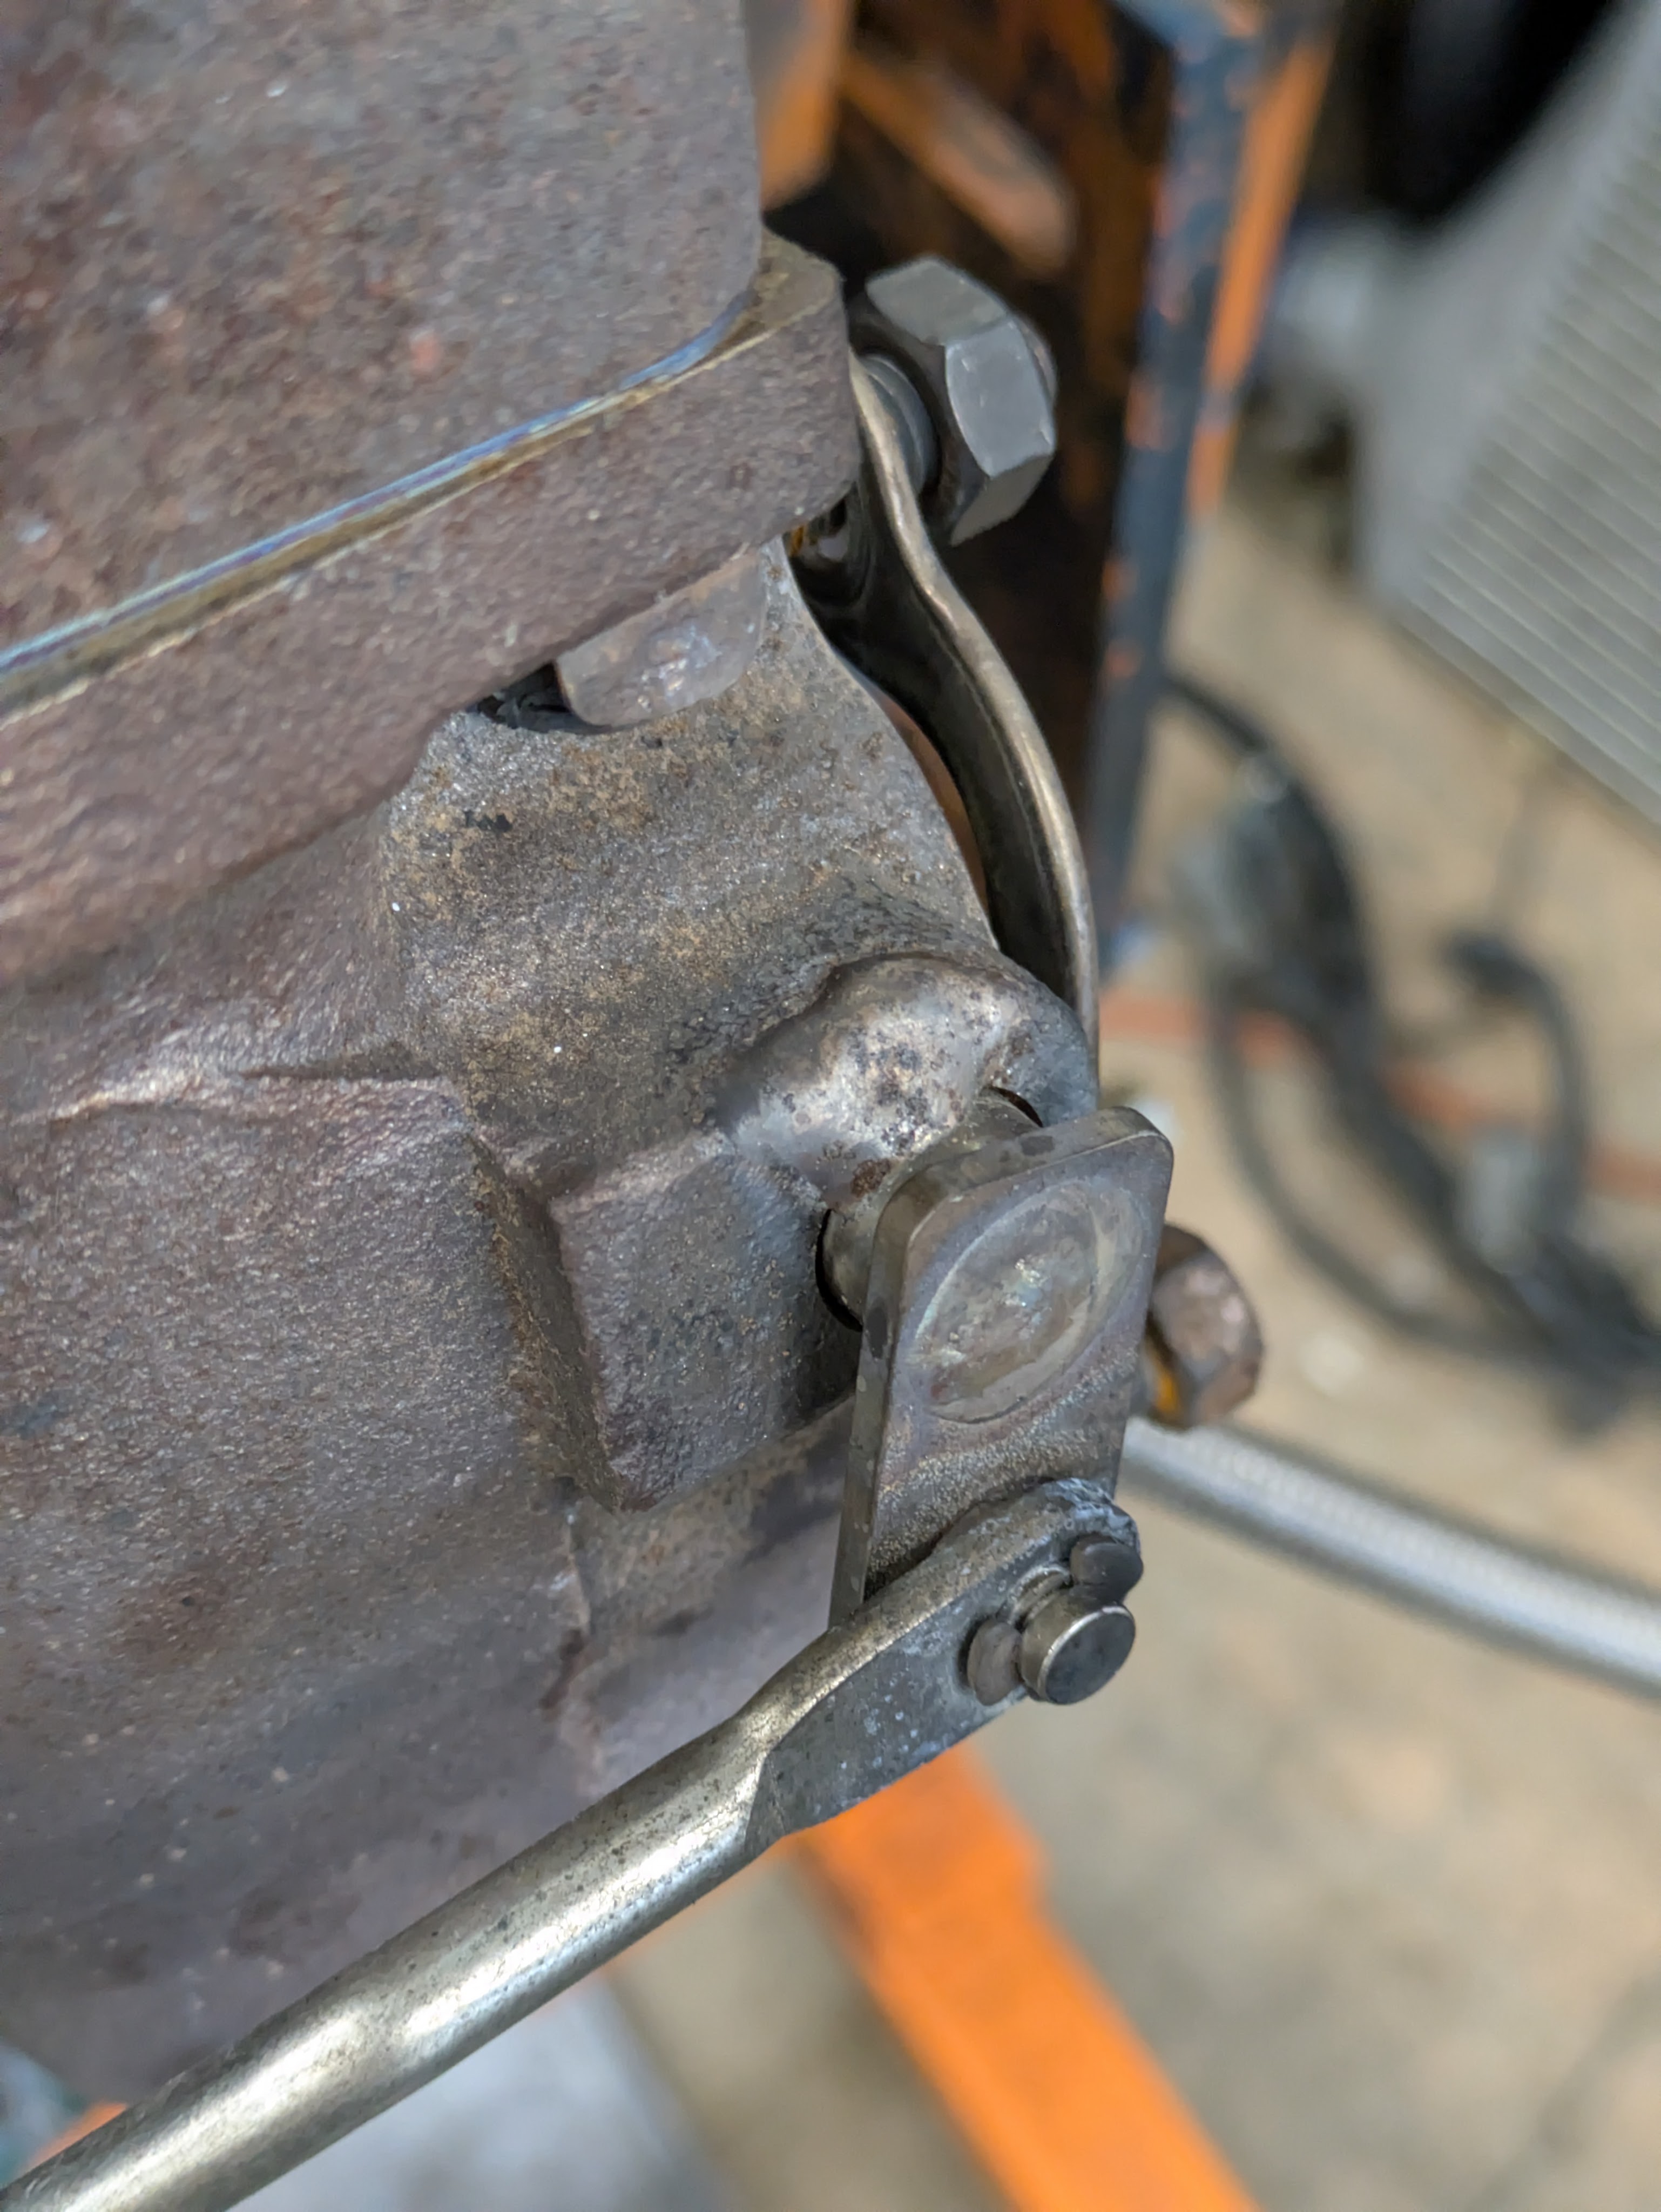
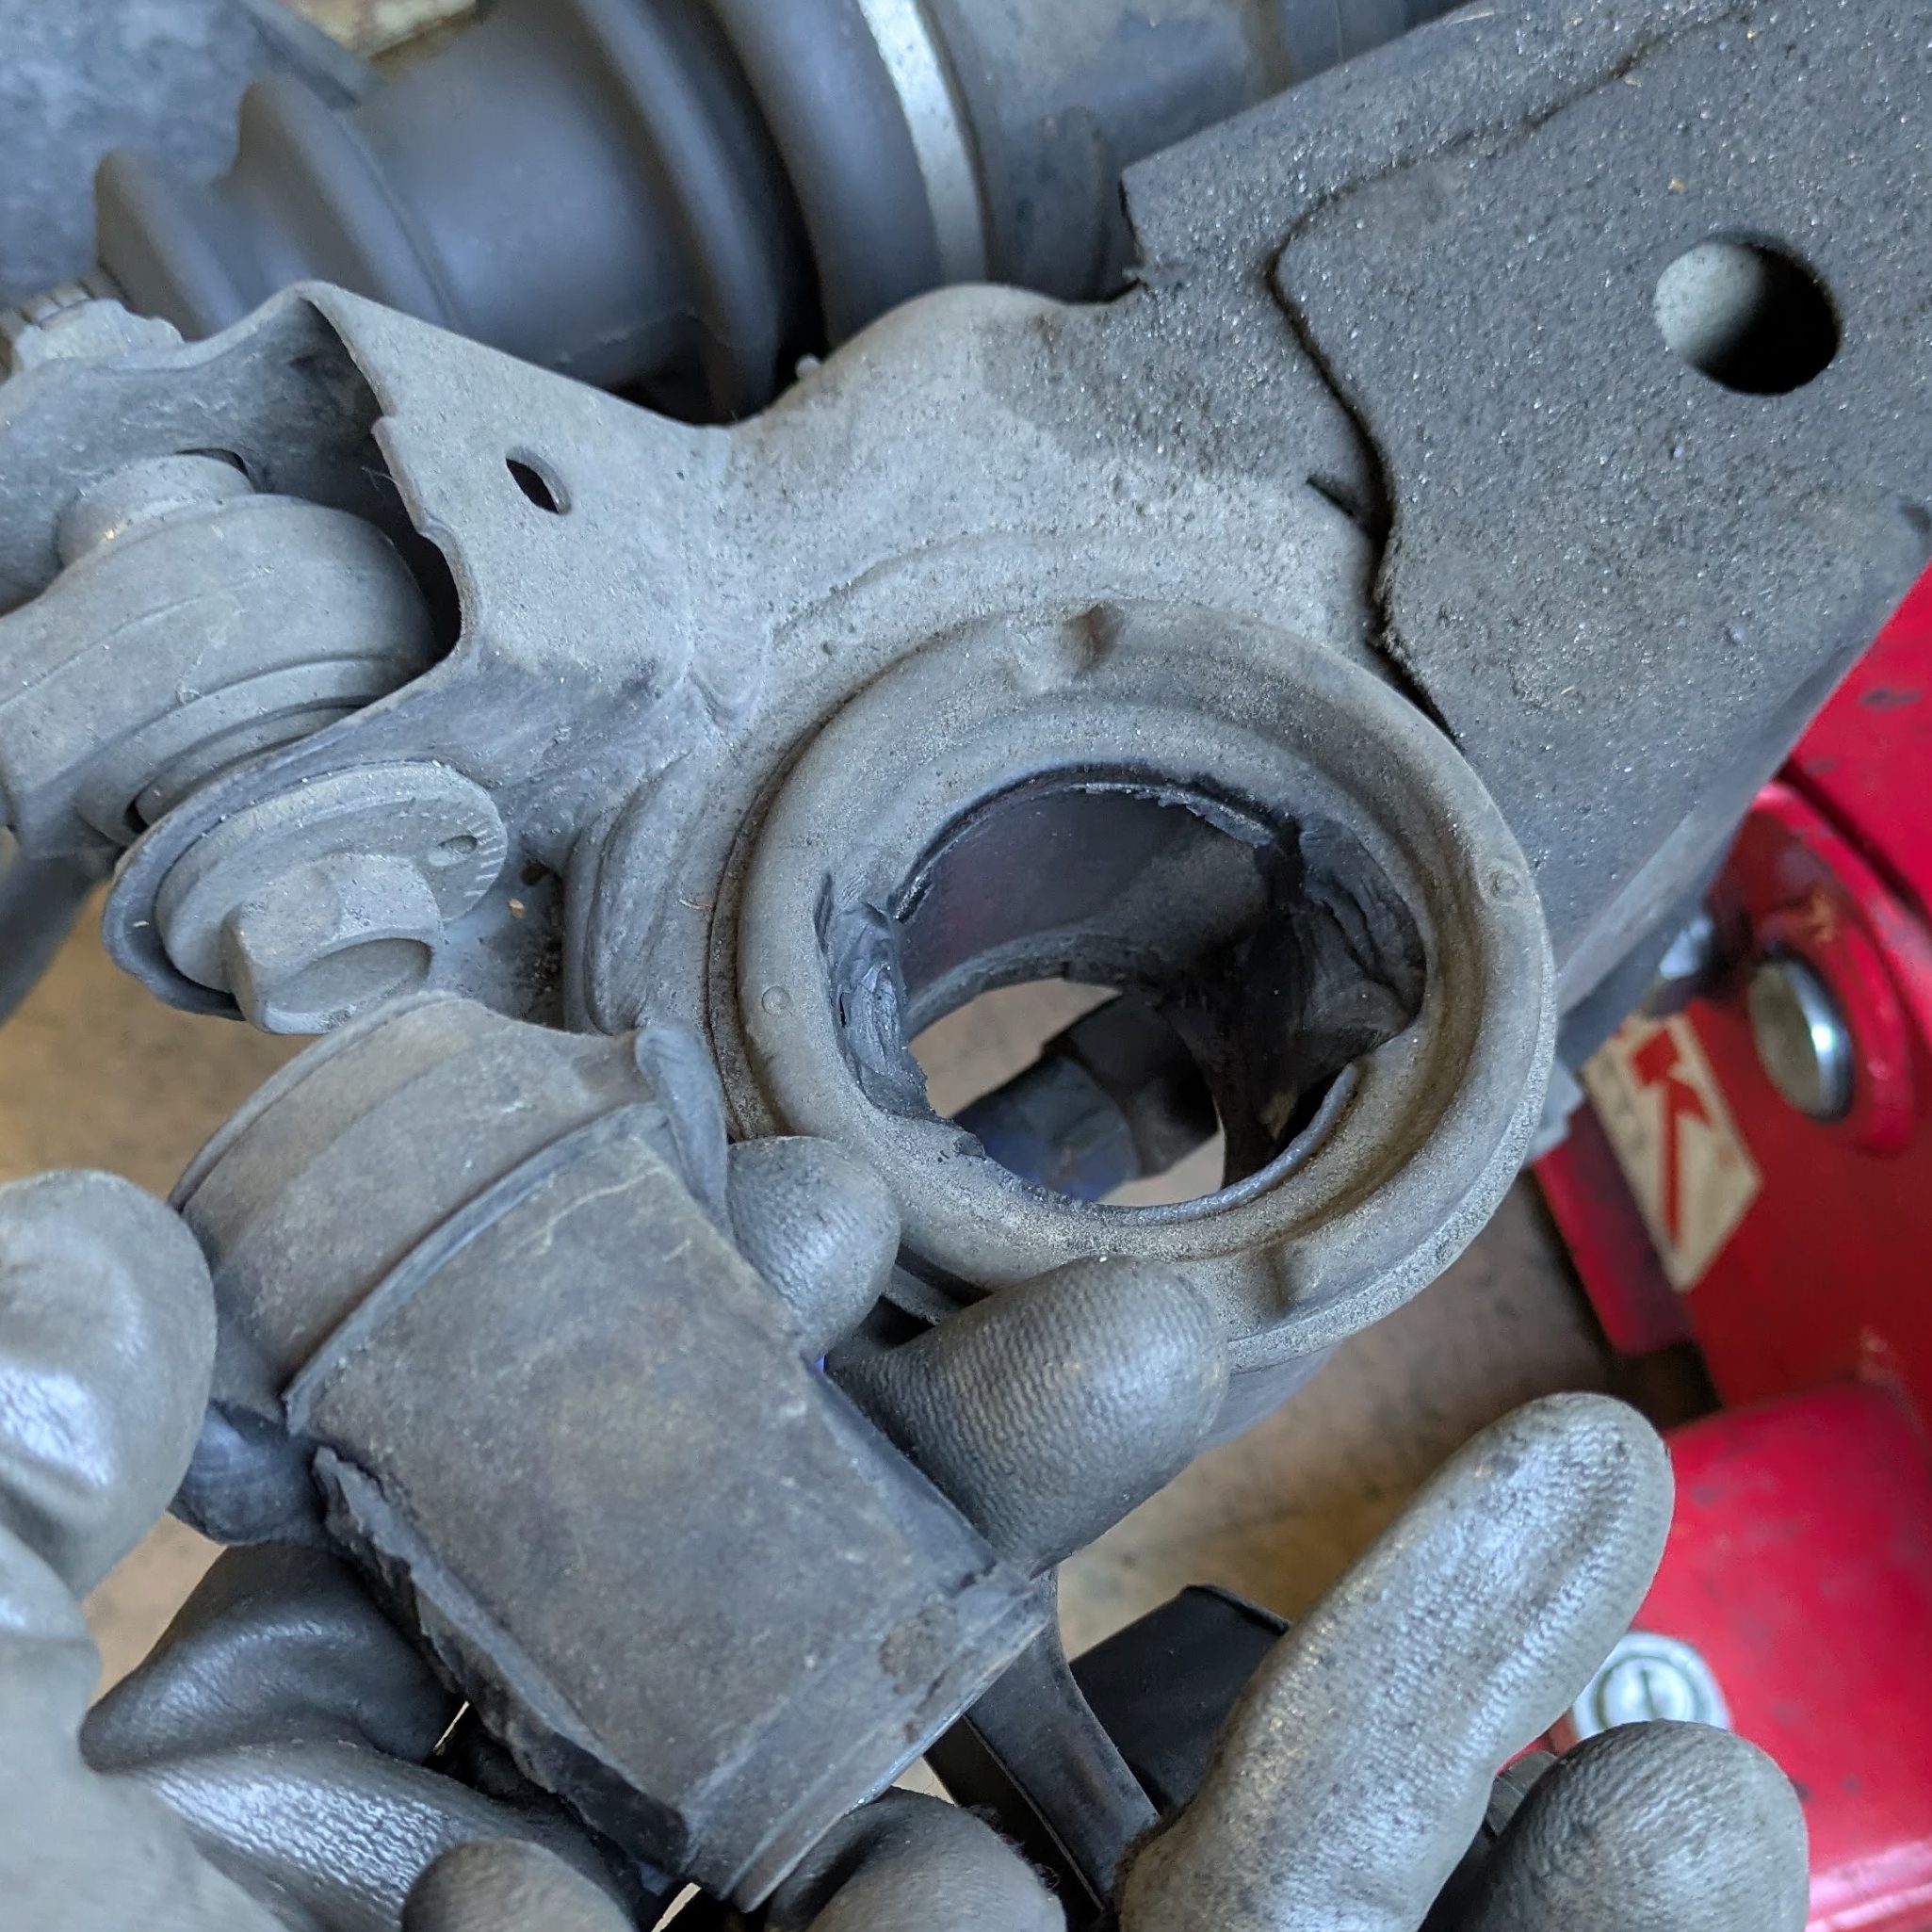
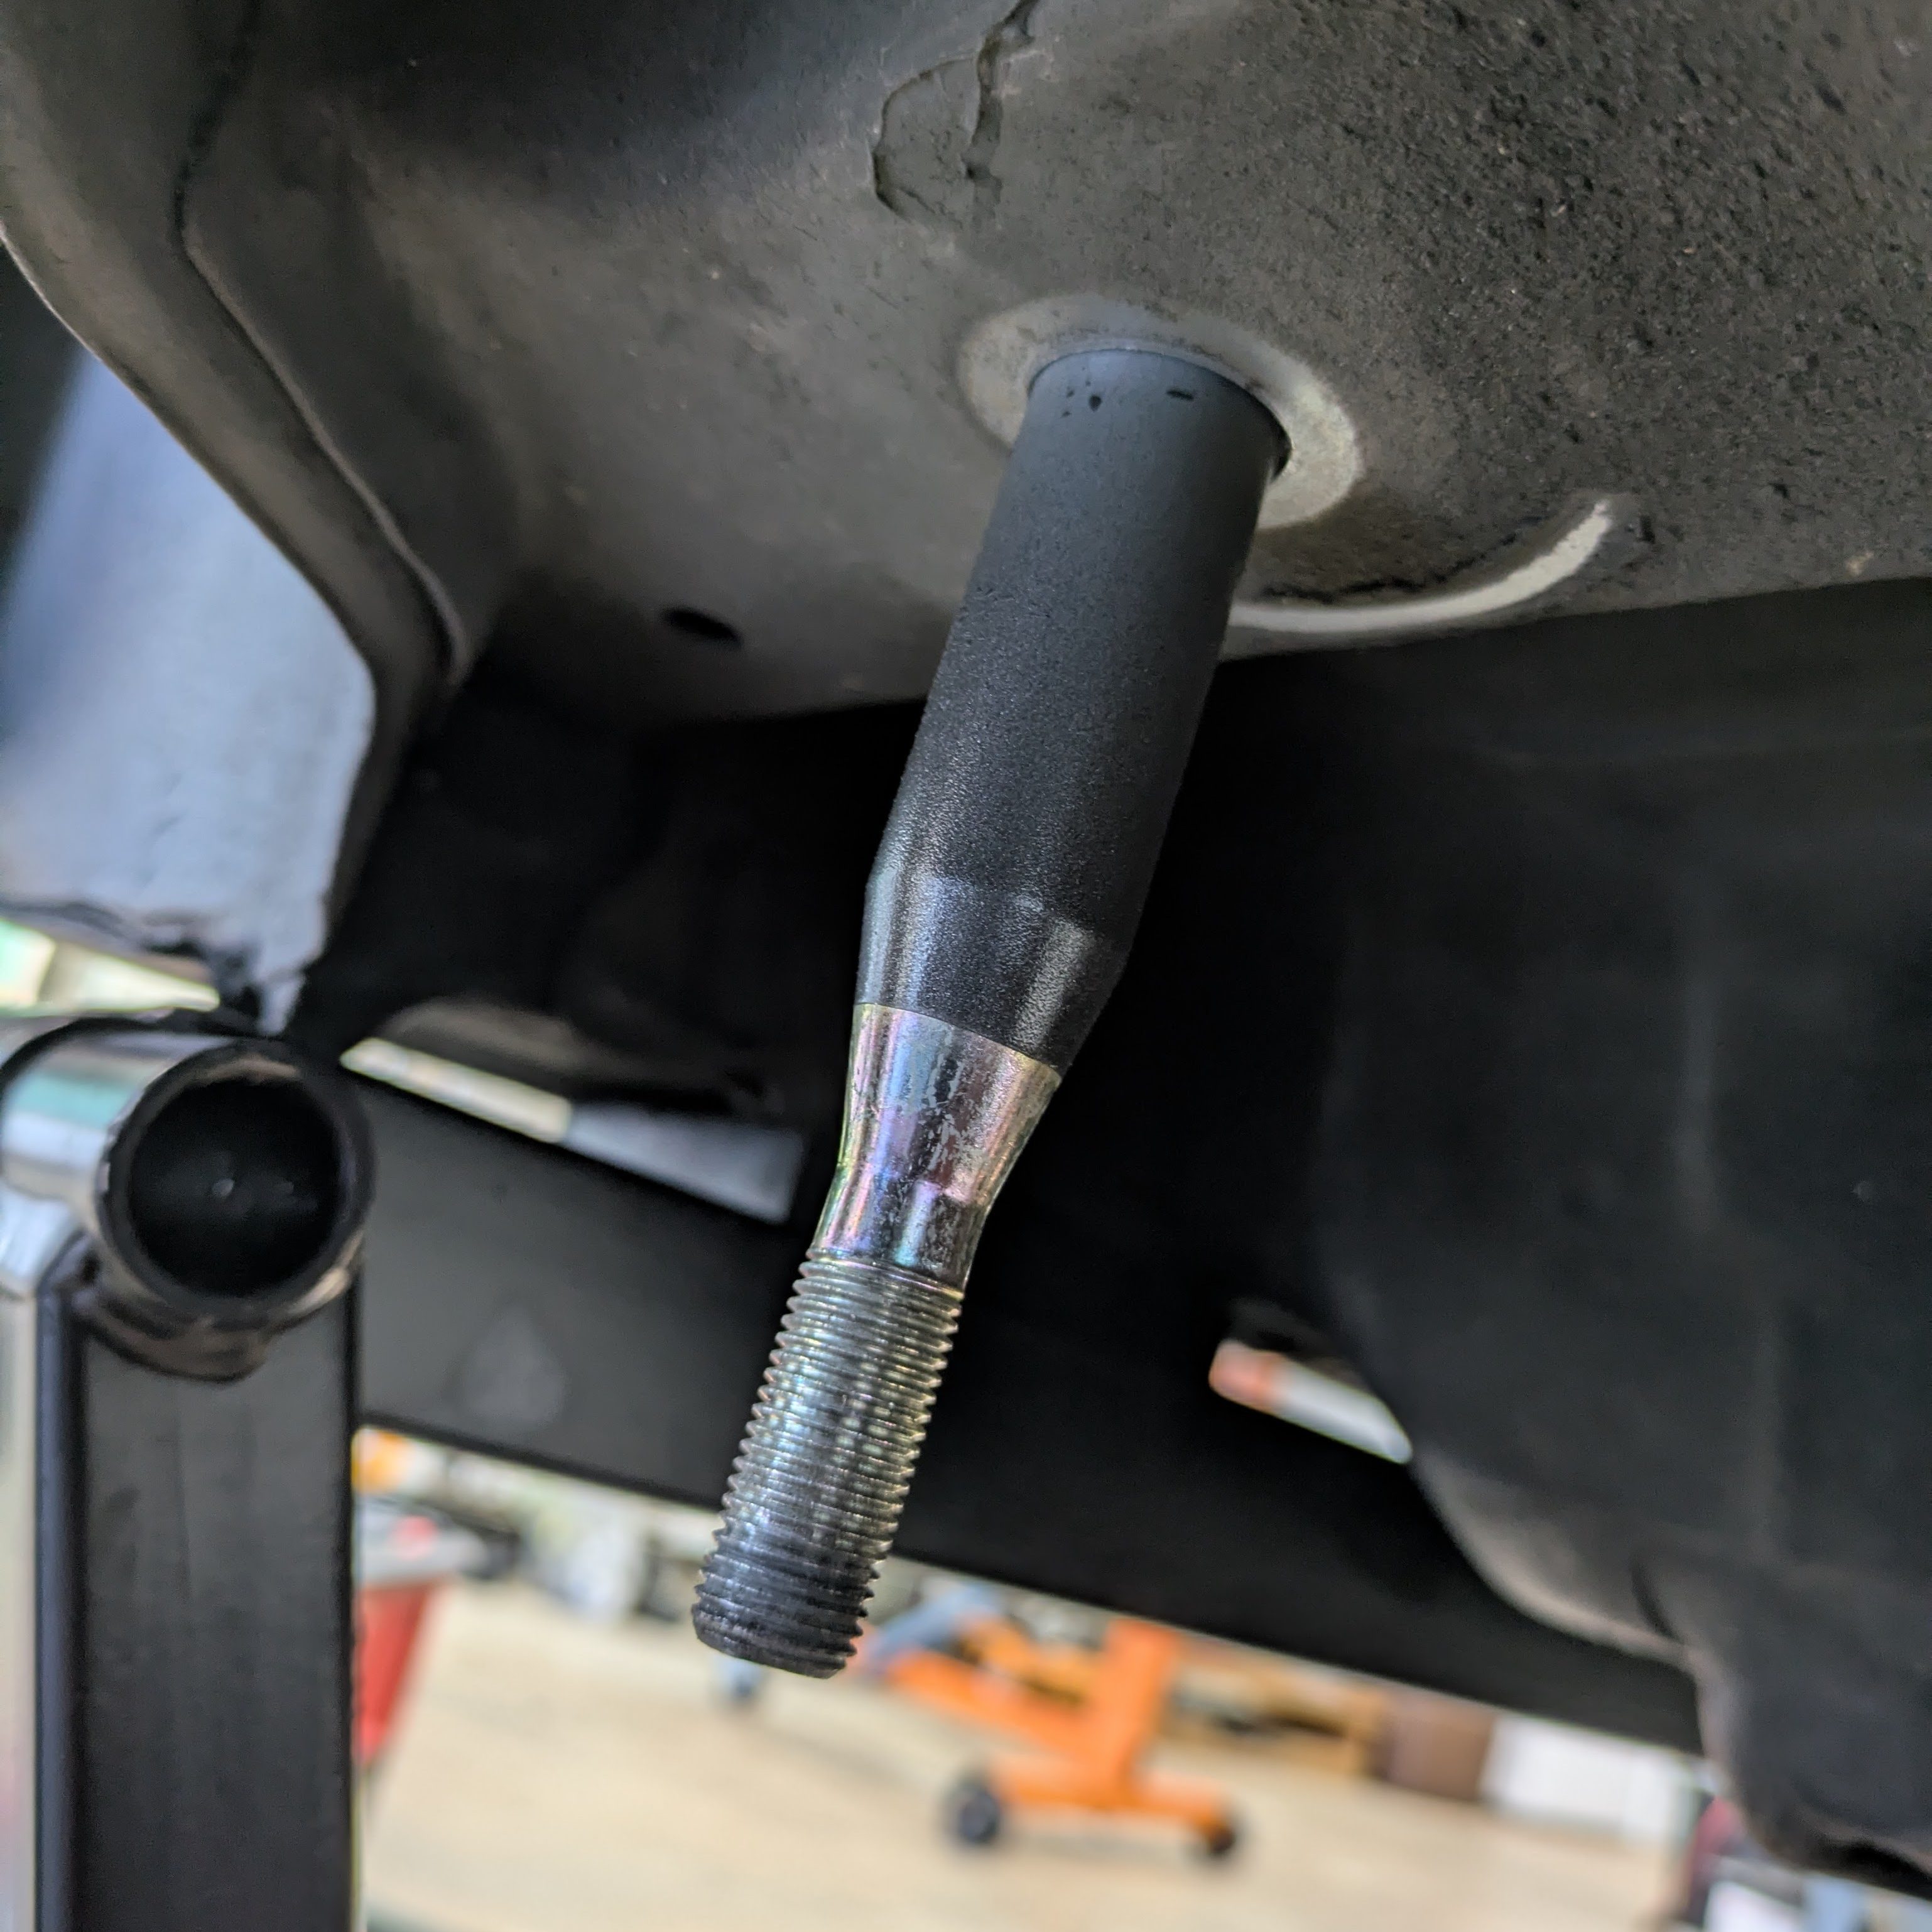
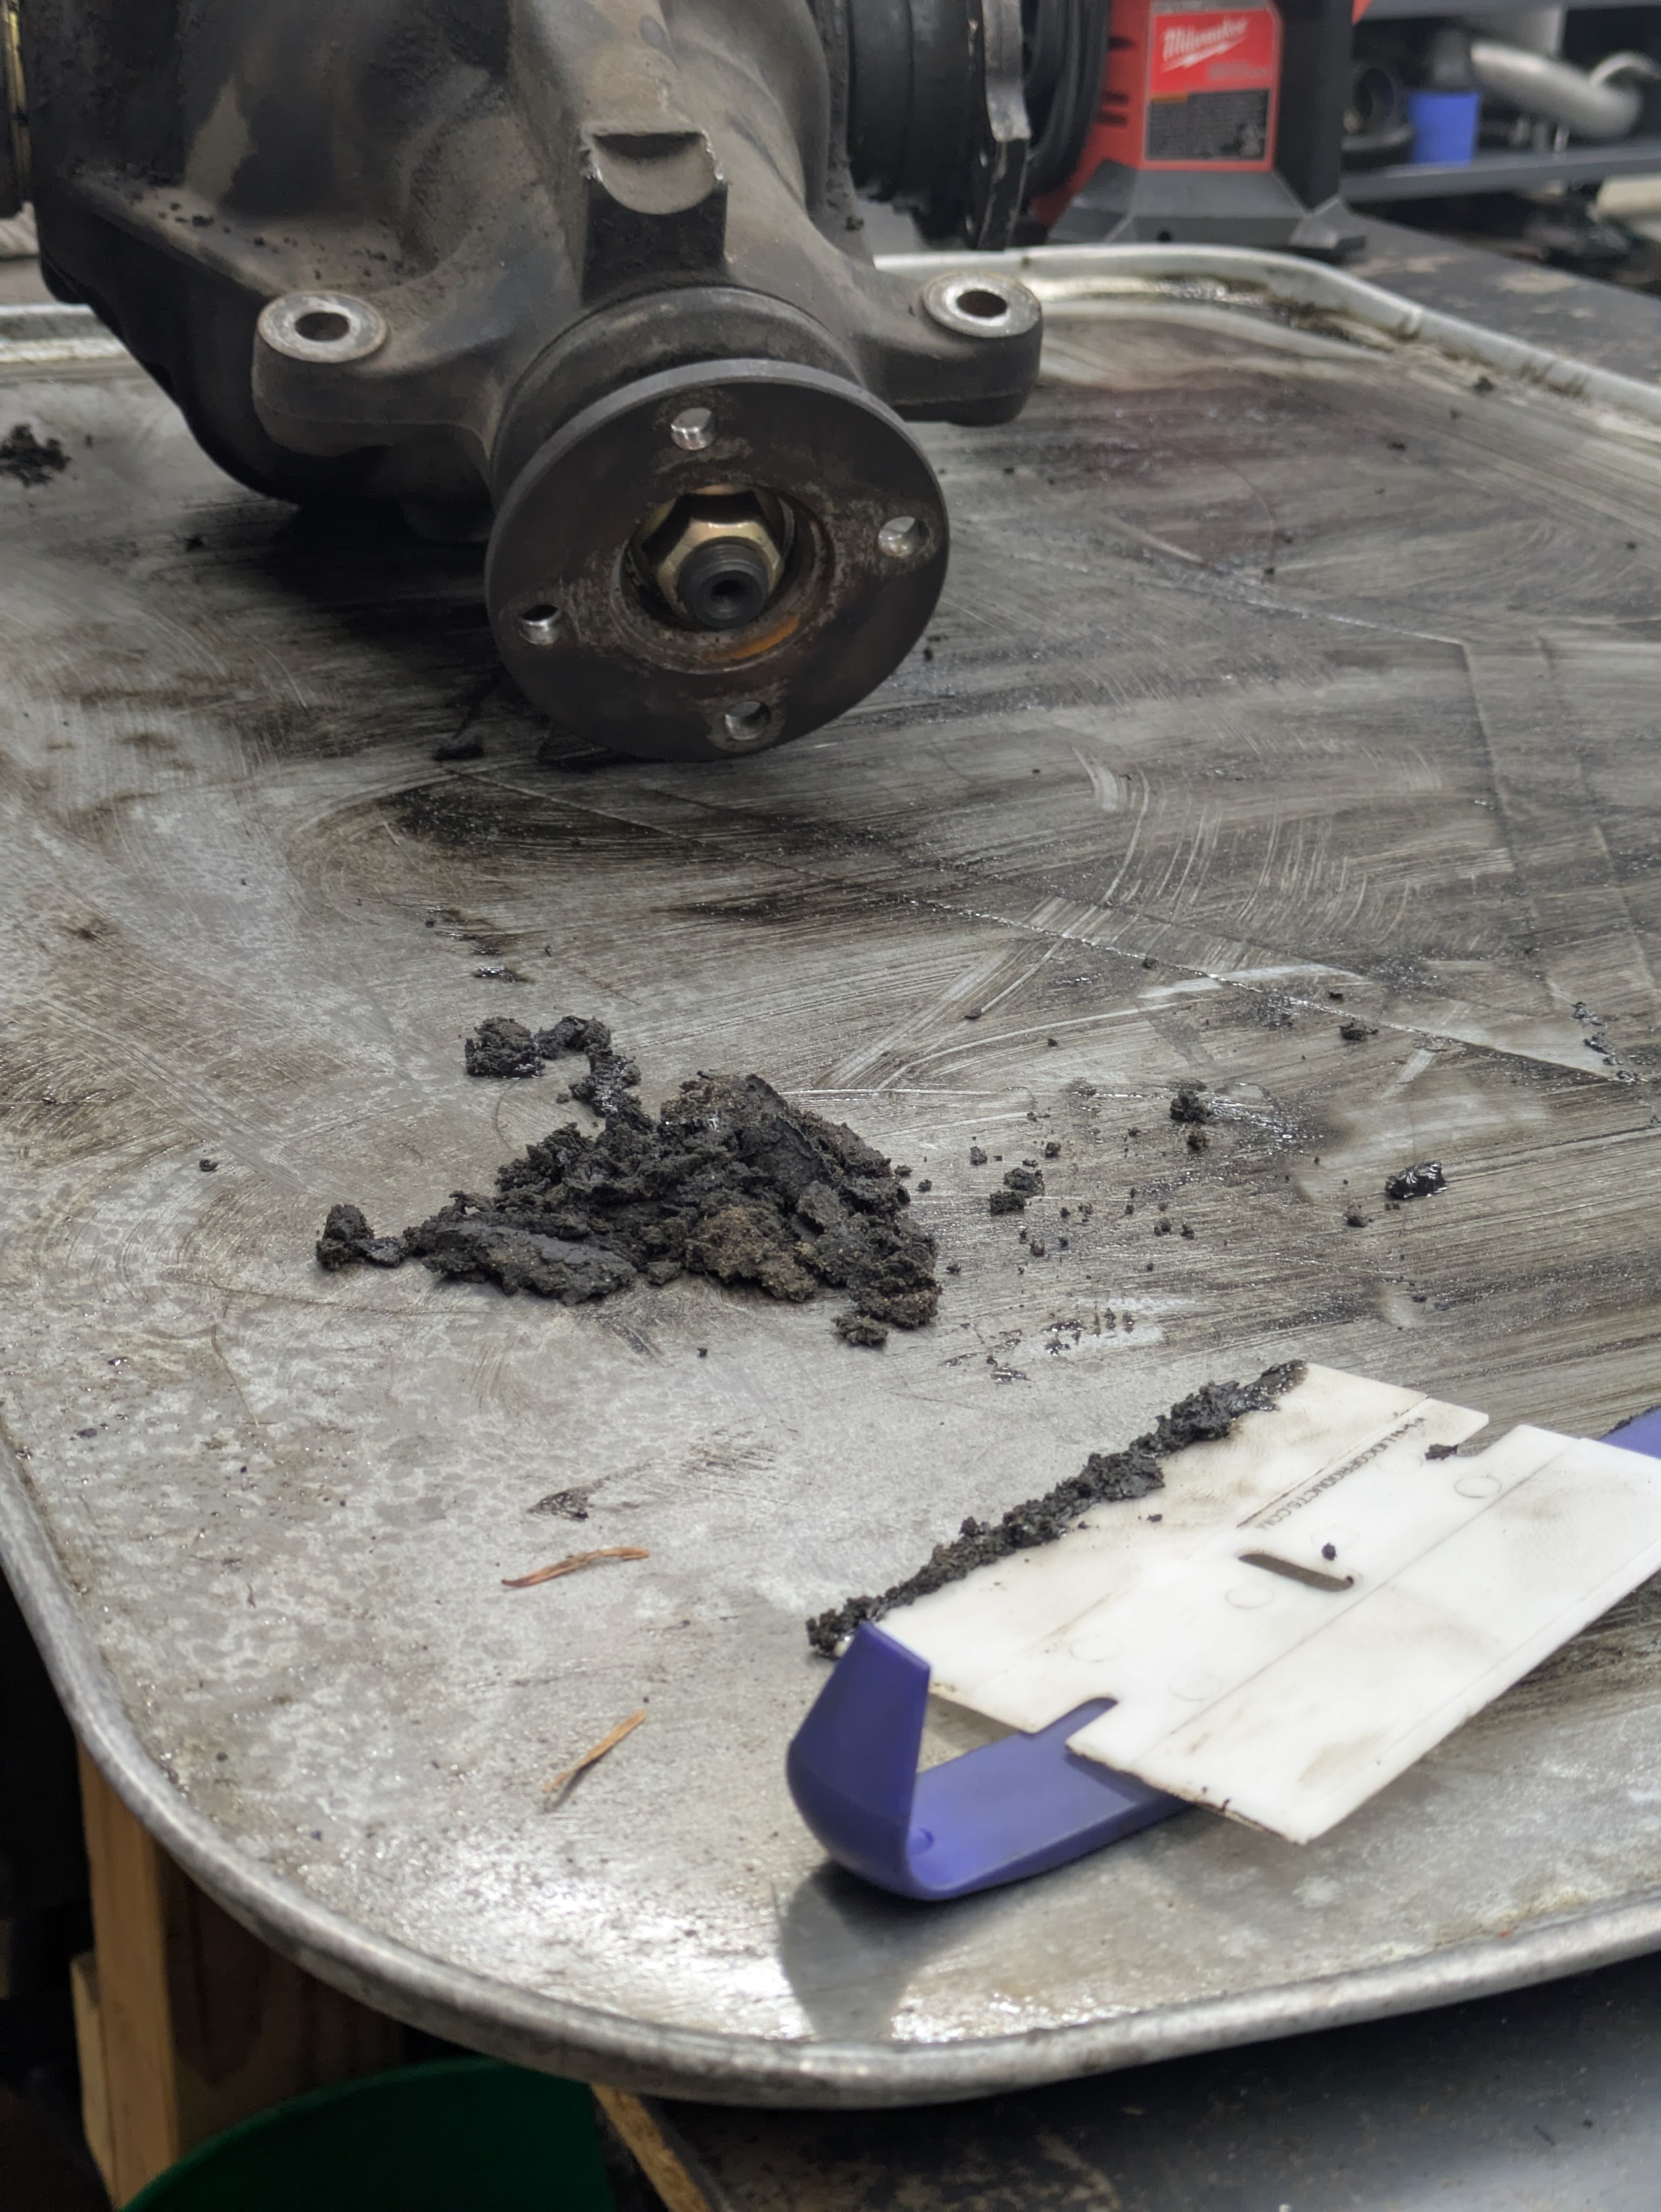
Ok, absolutely wretched photo, but this was the far less ideal part. The subframe welding I had mentioned was caused by some incident in this car’s past, which broke the ear off the passenger side axle, bent the flange and wallered out the holes in the stub shaft, and gouged the subframe. This was the biggest discovery to date I have made with the car, which in the grand scheme of things is pretty good. This stub was far worse than I had remembered, which prompted a bit of panic that particular evening. This would need to be replaced, so I knocked the stubs out of the diff and got to measuring, hoping for good news.
I had a asymmetric, 2×3 30 spline stub shafts, which raised questions about what LSD I actually had. The car was advertised with a Nismo GT Pro 2 Way, but after removing the stub shafts, it was very clear it wasn’t one of those since it didn’t have the preload adjusting hex buried in one side. Thank God it wasn’t because those take a custom stub that only certain Nismo diffs had.

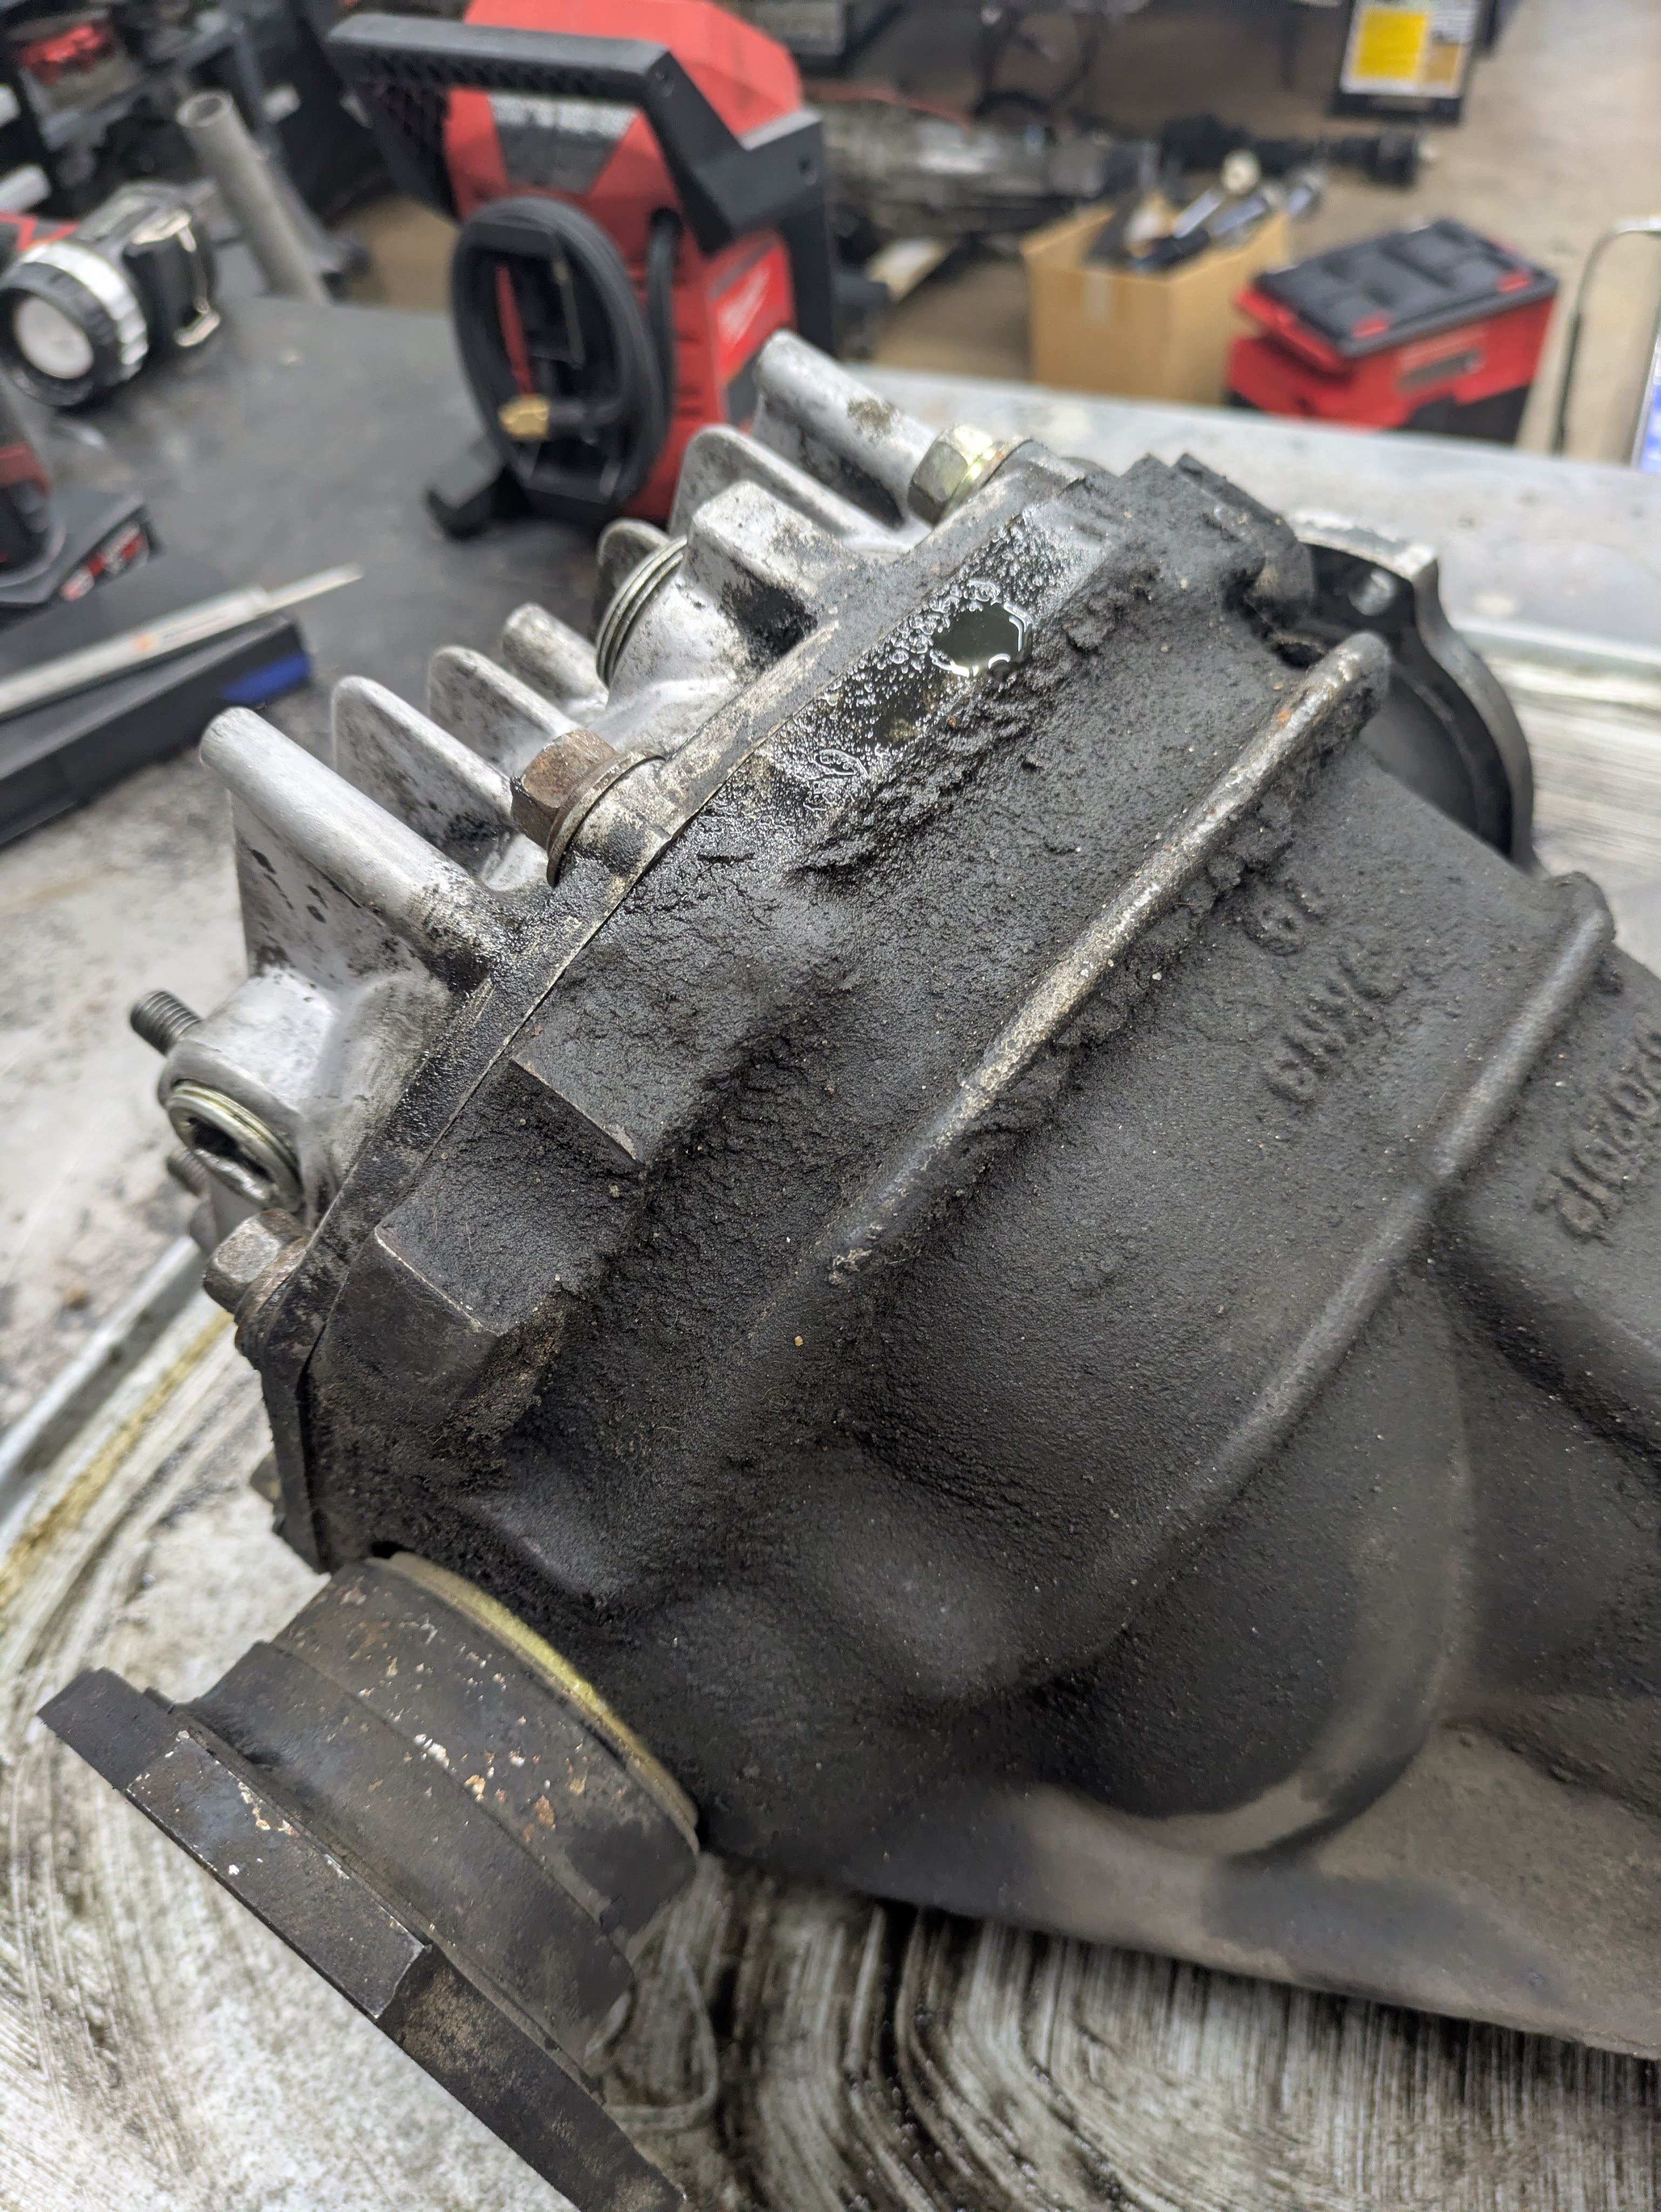
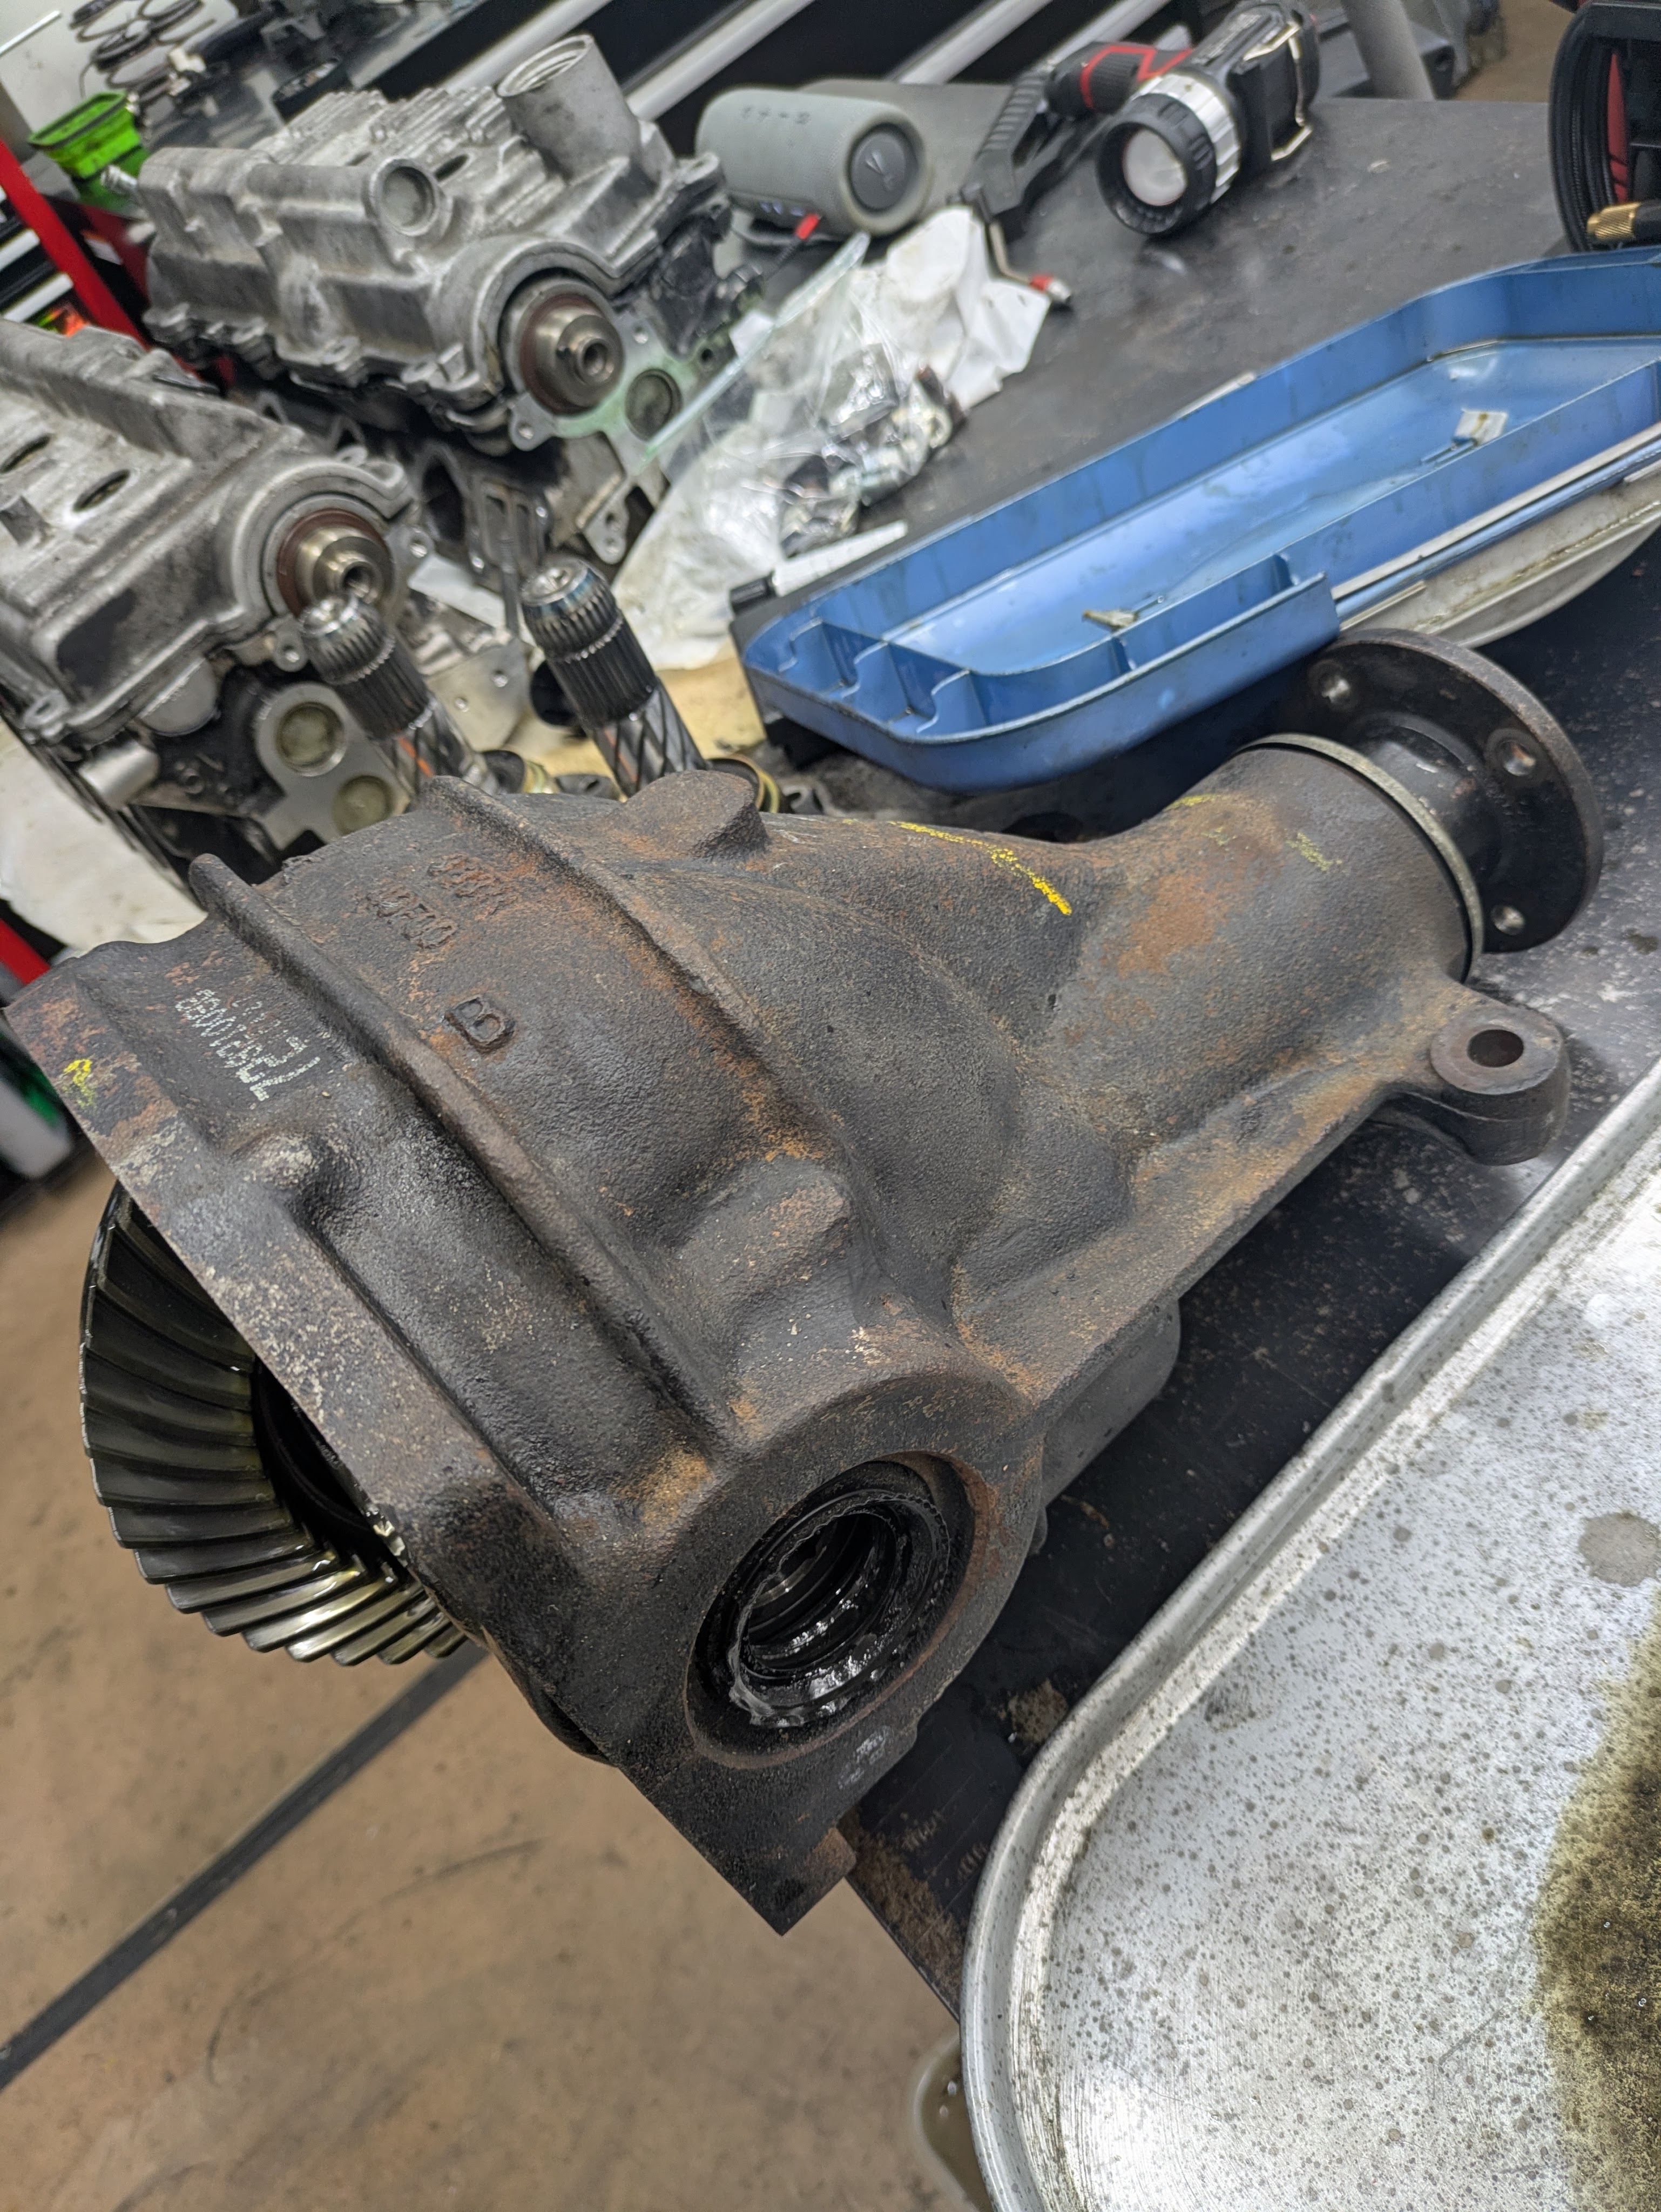
The diff was disgusting, and normally I deep clean things before I disassemble them, but this time I was a little too worried that my winter expenses would include a diff build. So I scraped a bit of grease, and off the rear cover came.
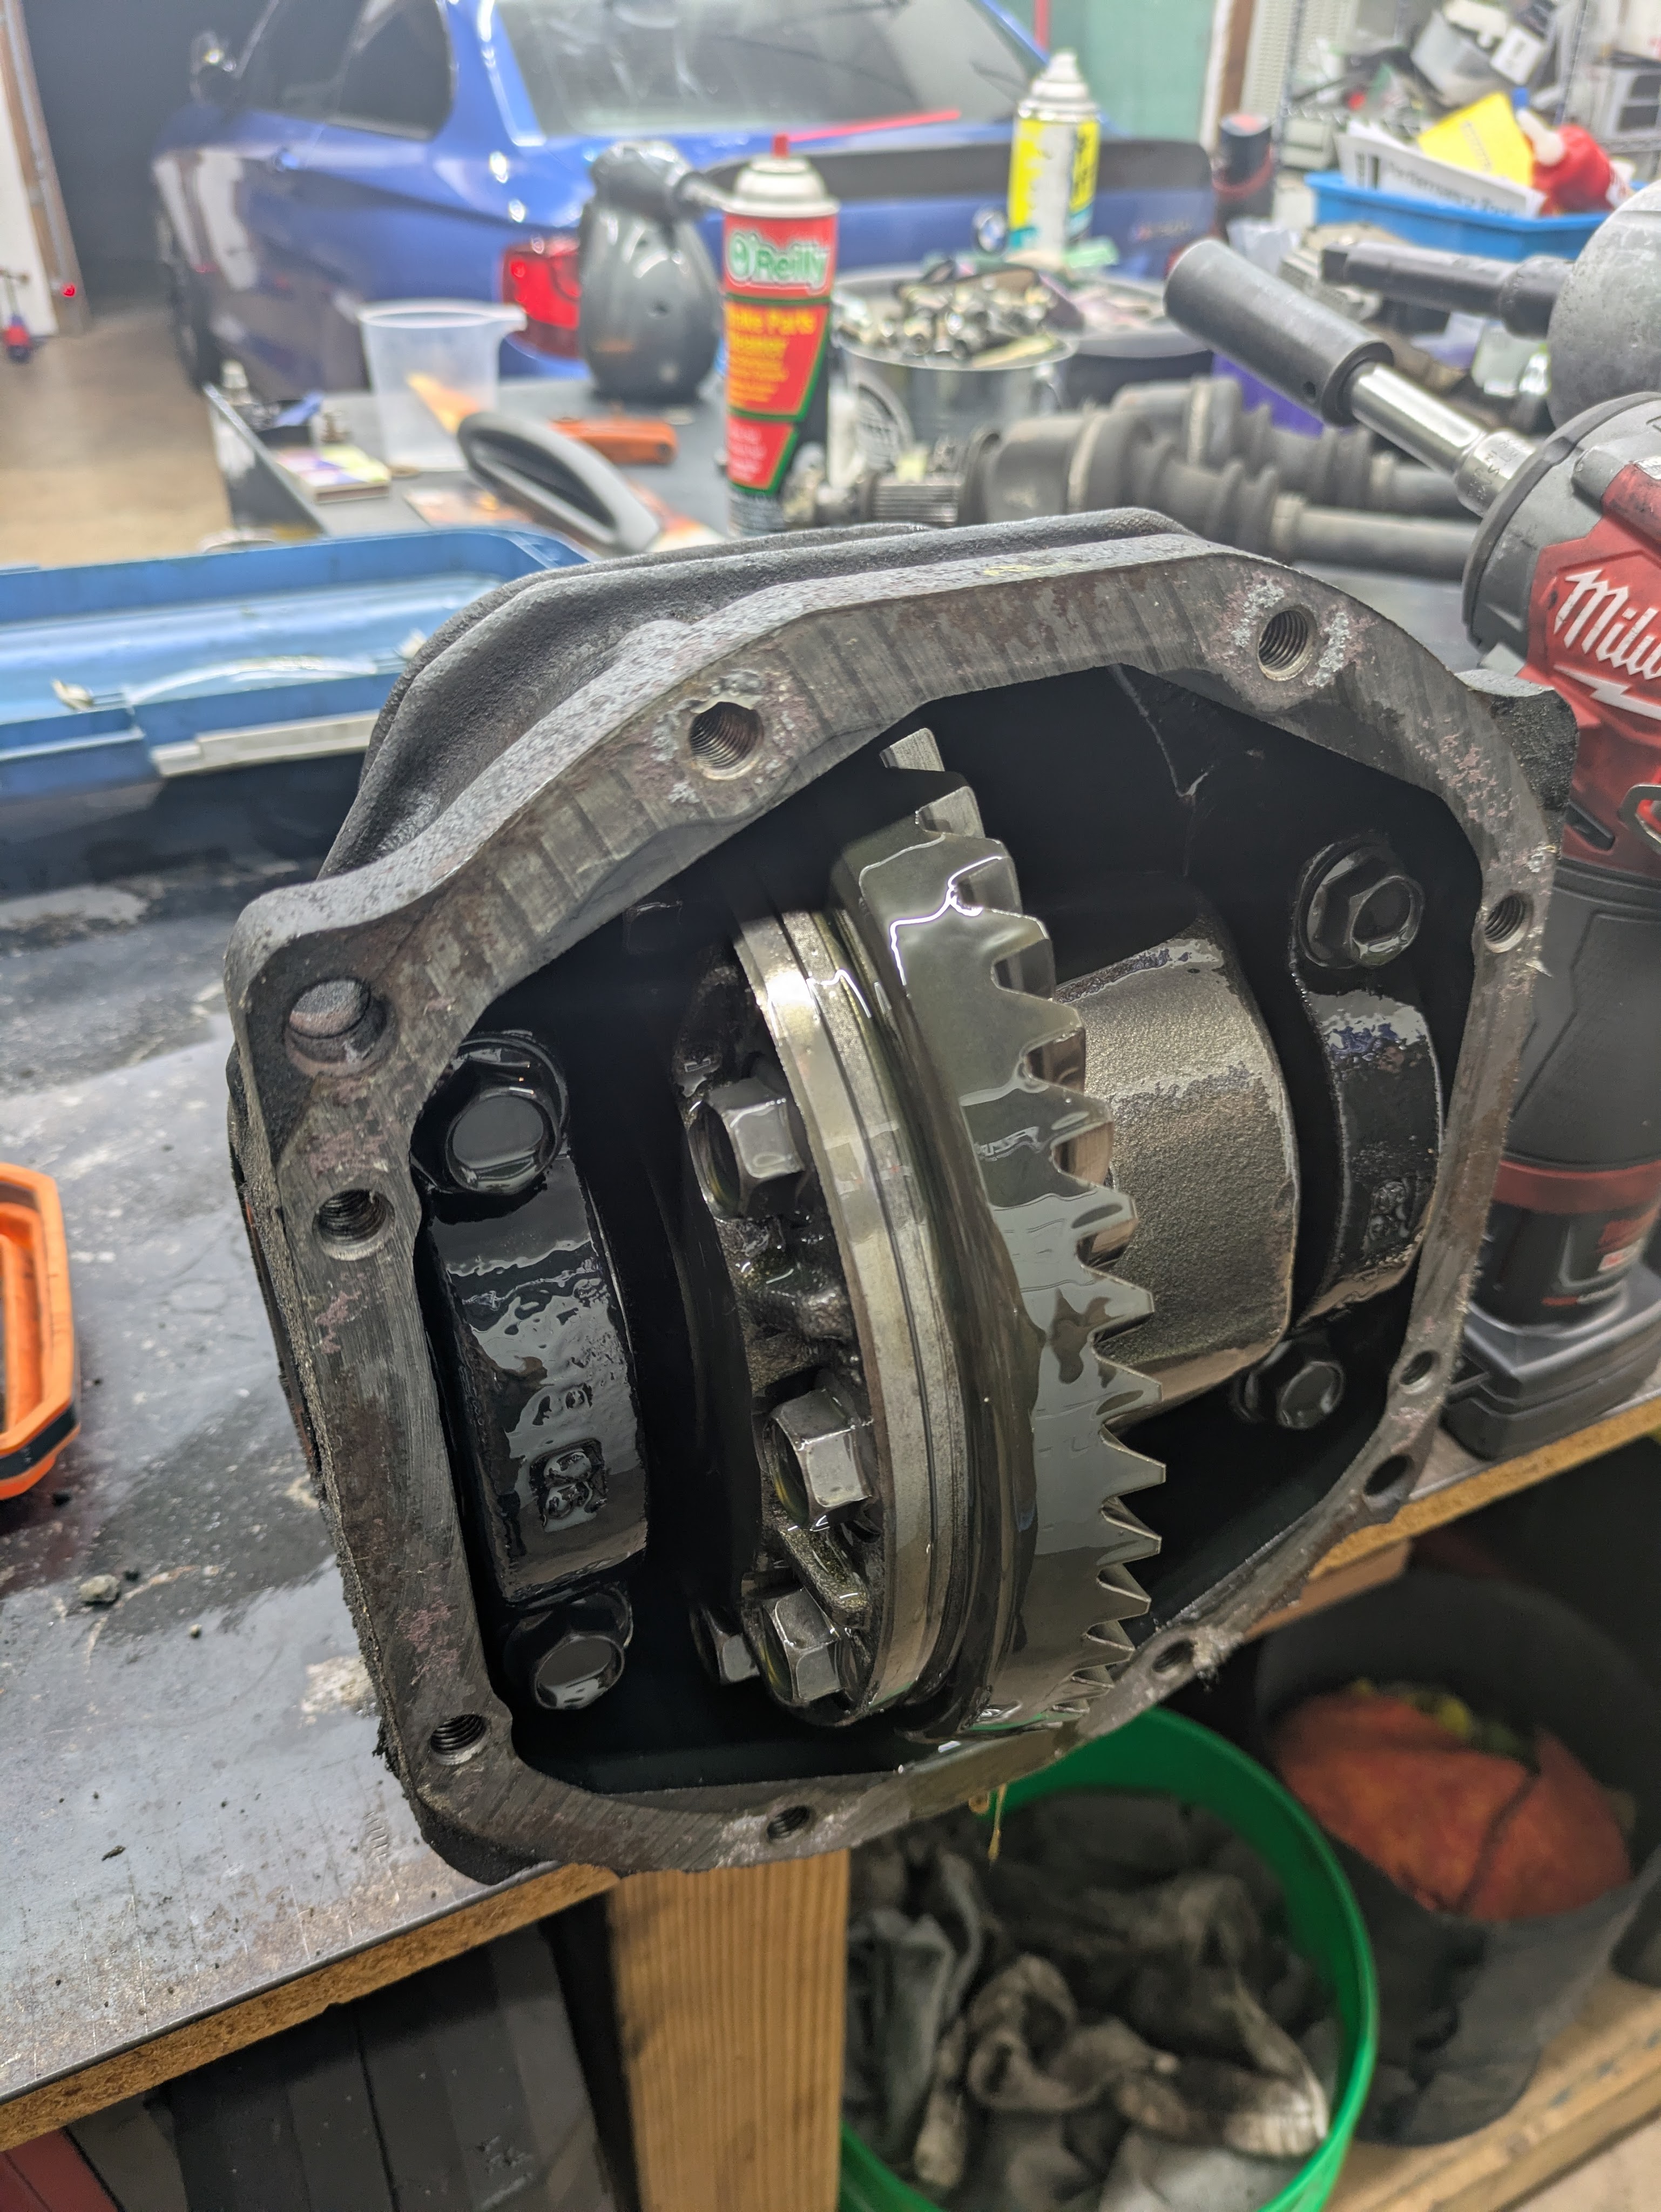
Ok this downgrade was actually good news. We (myself and Alex on the phone) figured out that this was a Nismo Mechanical LSD, which pre-dated the GT that most people have. The most obvious tell is the cast housing vs the machined of the GT and GT Pro variants. Ok, at least I know which one I have now. But stub shafts were still a mystery.
This investigation occurred at the most untimely week possible, as a few days prior, Zilvia shut down, and thus all the knowledge that would have made this a 1 search problem became a much deeper documentation deep dive. As Russell Walker put it when Alex texted him “Zilvia been closed for a day and mfr already itchy for esoteric info. The scrolls are lost, brother. The Library burns before us.”
Despite our struggles, after measuring and comparing to every other thread we could find (thanks Reddit for having the best one of them all), we found that this diff takes S15 Helical LSD stubs. A quick eBay search and I had some on order. While painfully expensive for what they are, it’s still cheaper than building a diff.


A couple last discoveries from fully stripping the car down. Despite my careful efforts, my early warning system (electrical tape) had tripped again, meaning the tire can still contact the harness in it’s current routing. So off the fender came again for re-adjustment of the harness. I’ll have to cut a new notch in the apron, but I have the slack to tuck it in such a way that it should never be an issue again.

My custom S14 lower control arms also had their fair share of issues. Namely the lack of rack stop leaving the suspension to cycle however much it wanted to. Turns out my rack stops have have been the tie rod shanks clipping the LCA, which is not ideal for anything involved. Seems like rack limiters are in my future, but that will be evaluated once I have the new wheel and tire package on.
As this article is wrapping up (I’m a little behind on writing relative to working), I have sold the old Stance coilovers, as well as some of the rear arms that I replaced during Black Friday. The hoards of parts have started to roll in, and I am very excited to start putting some things back on the car.
There’s a mountain of work to do, but I am enjoying it. Every day that I get to pick away on stuff makes me that much more excited to drive it this spring. Just gotta keep at it.
Until next time.
