

Long story short: I Rammed when I should have Dodged.
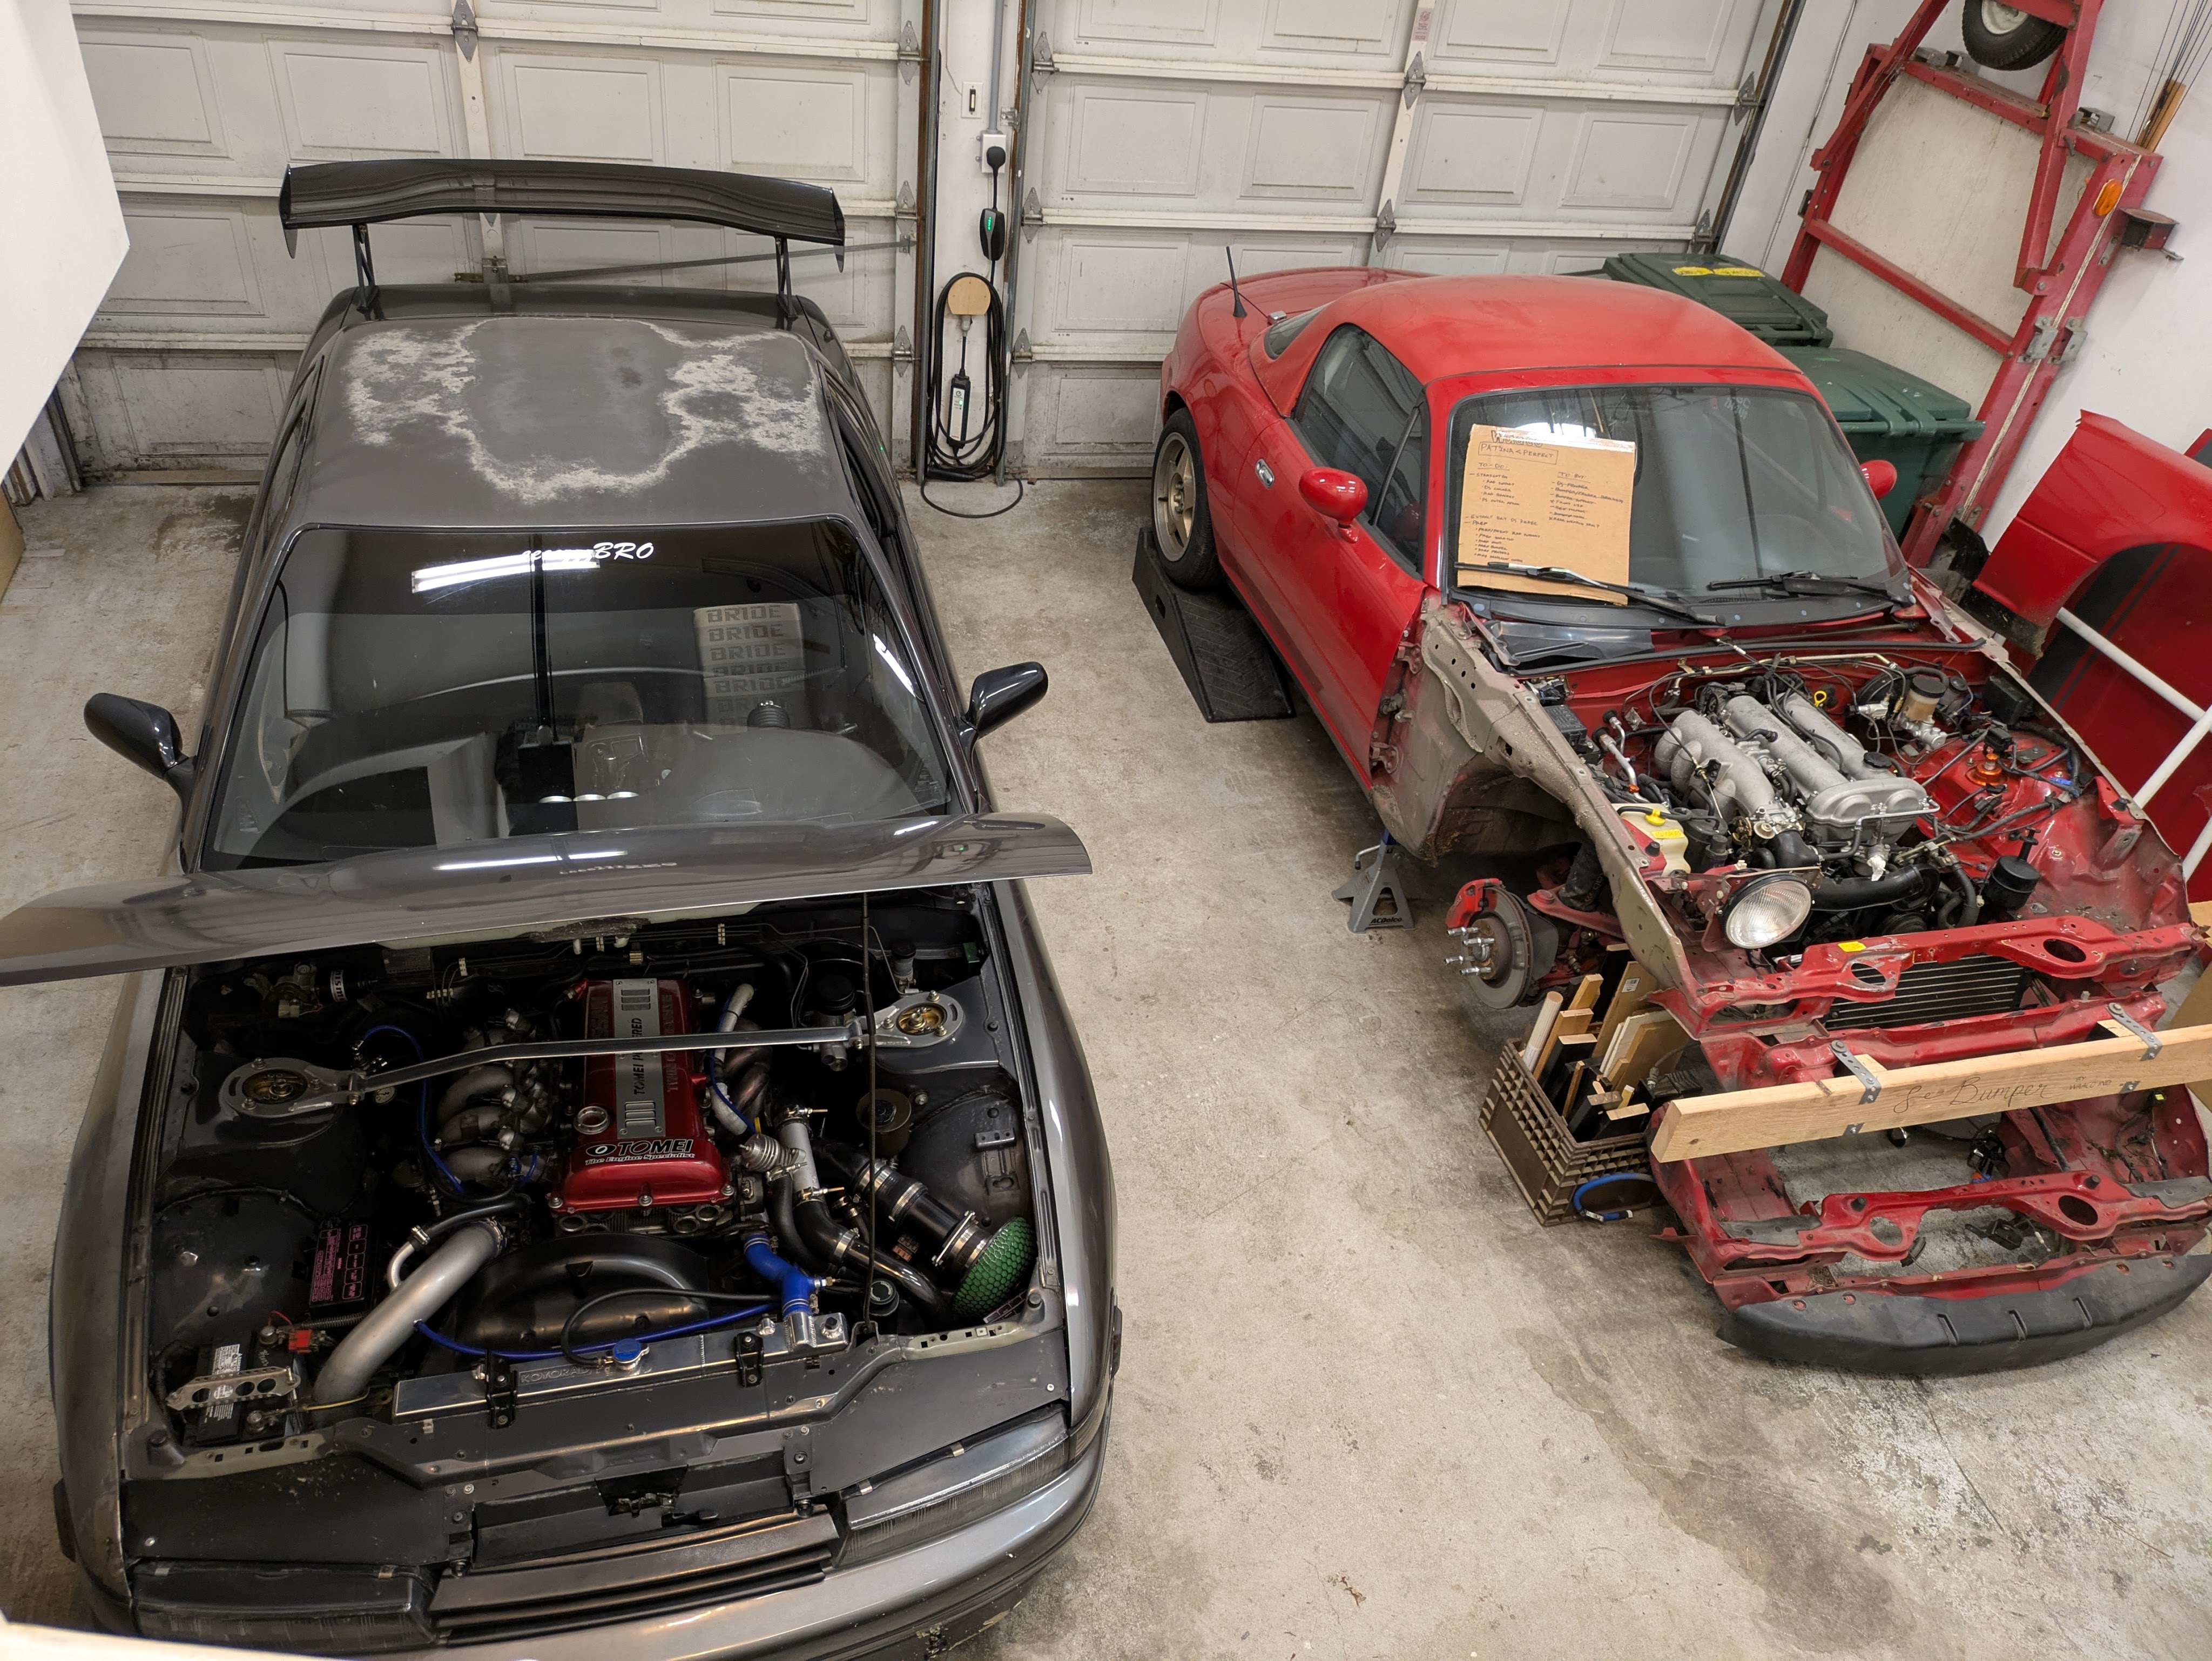
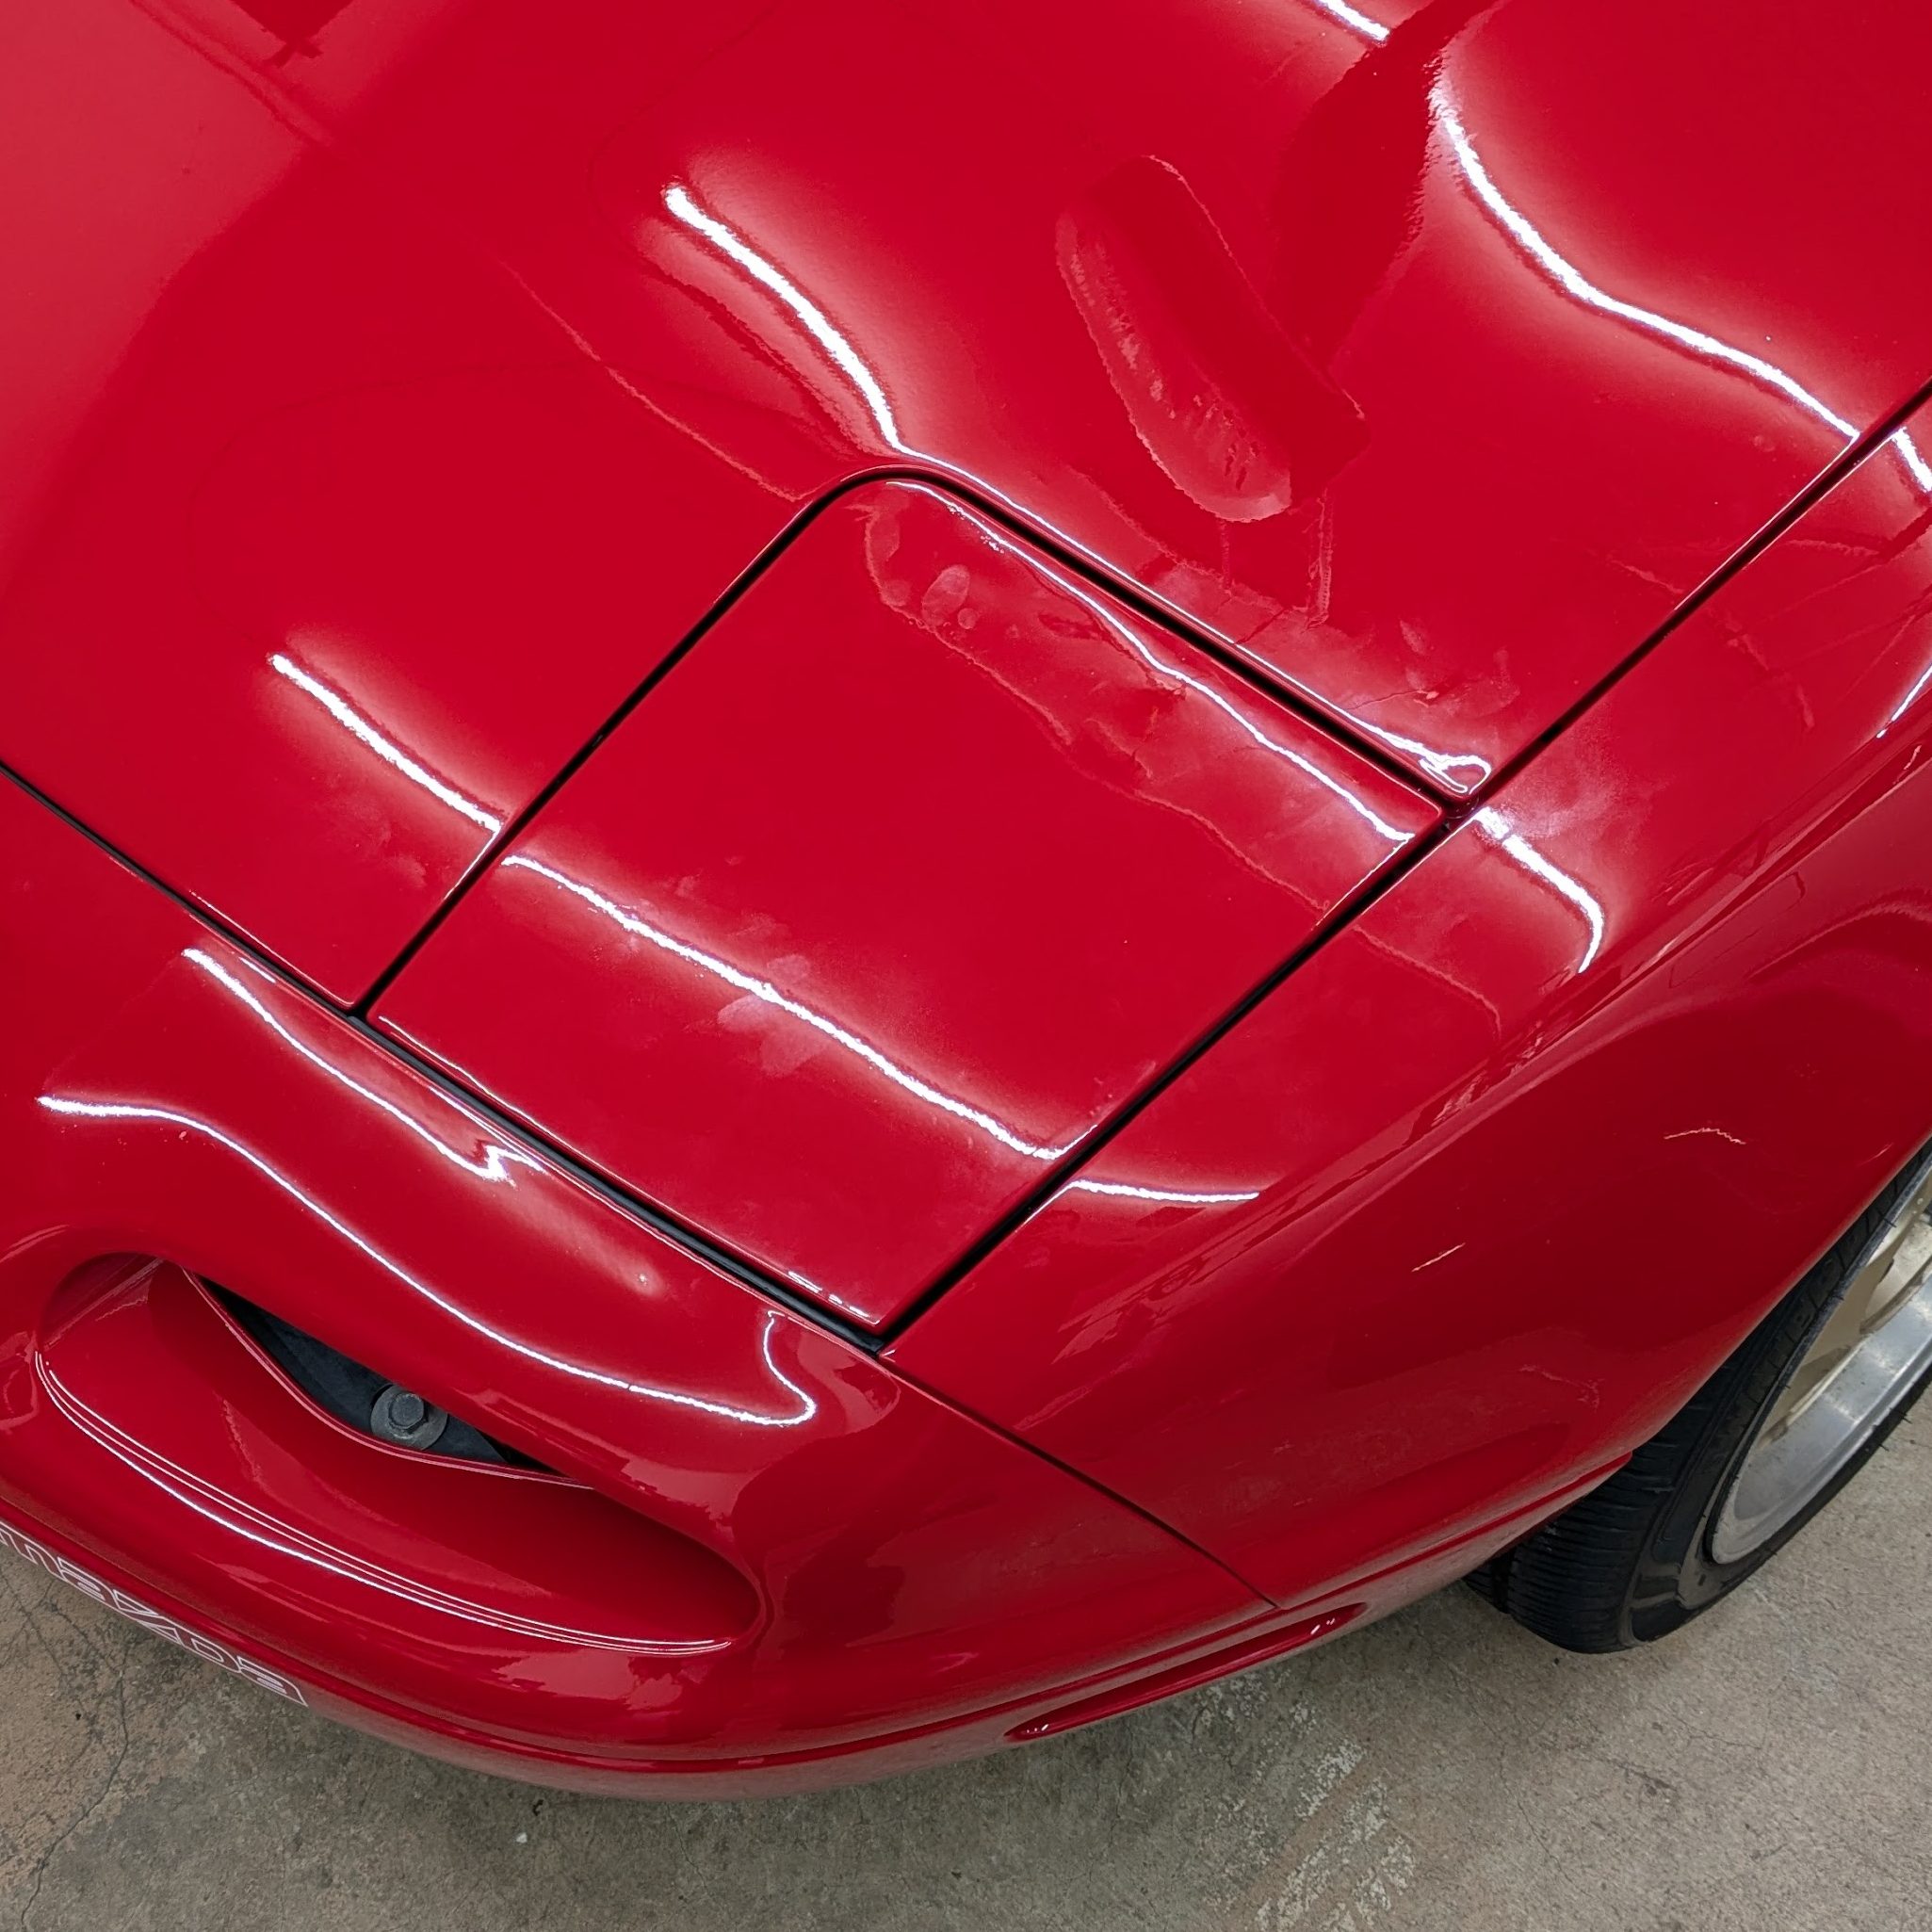
This unfortunate series begins with an unintentional collision on the way to Miata Reunion. A combination of bad weather and less than stellar tires lead to an impact with a Ram 1500 in traffic in due to a yellow light.
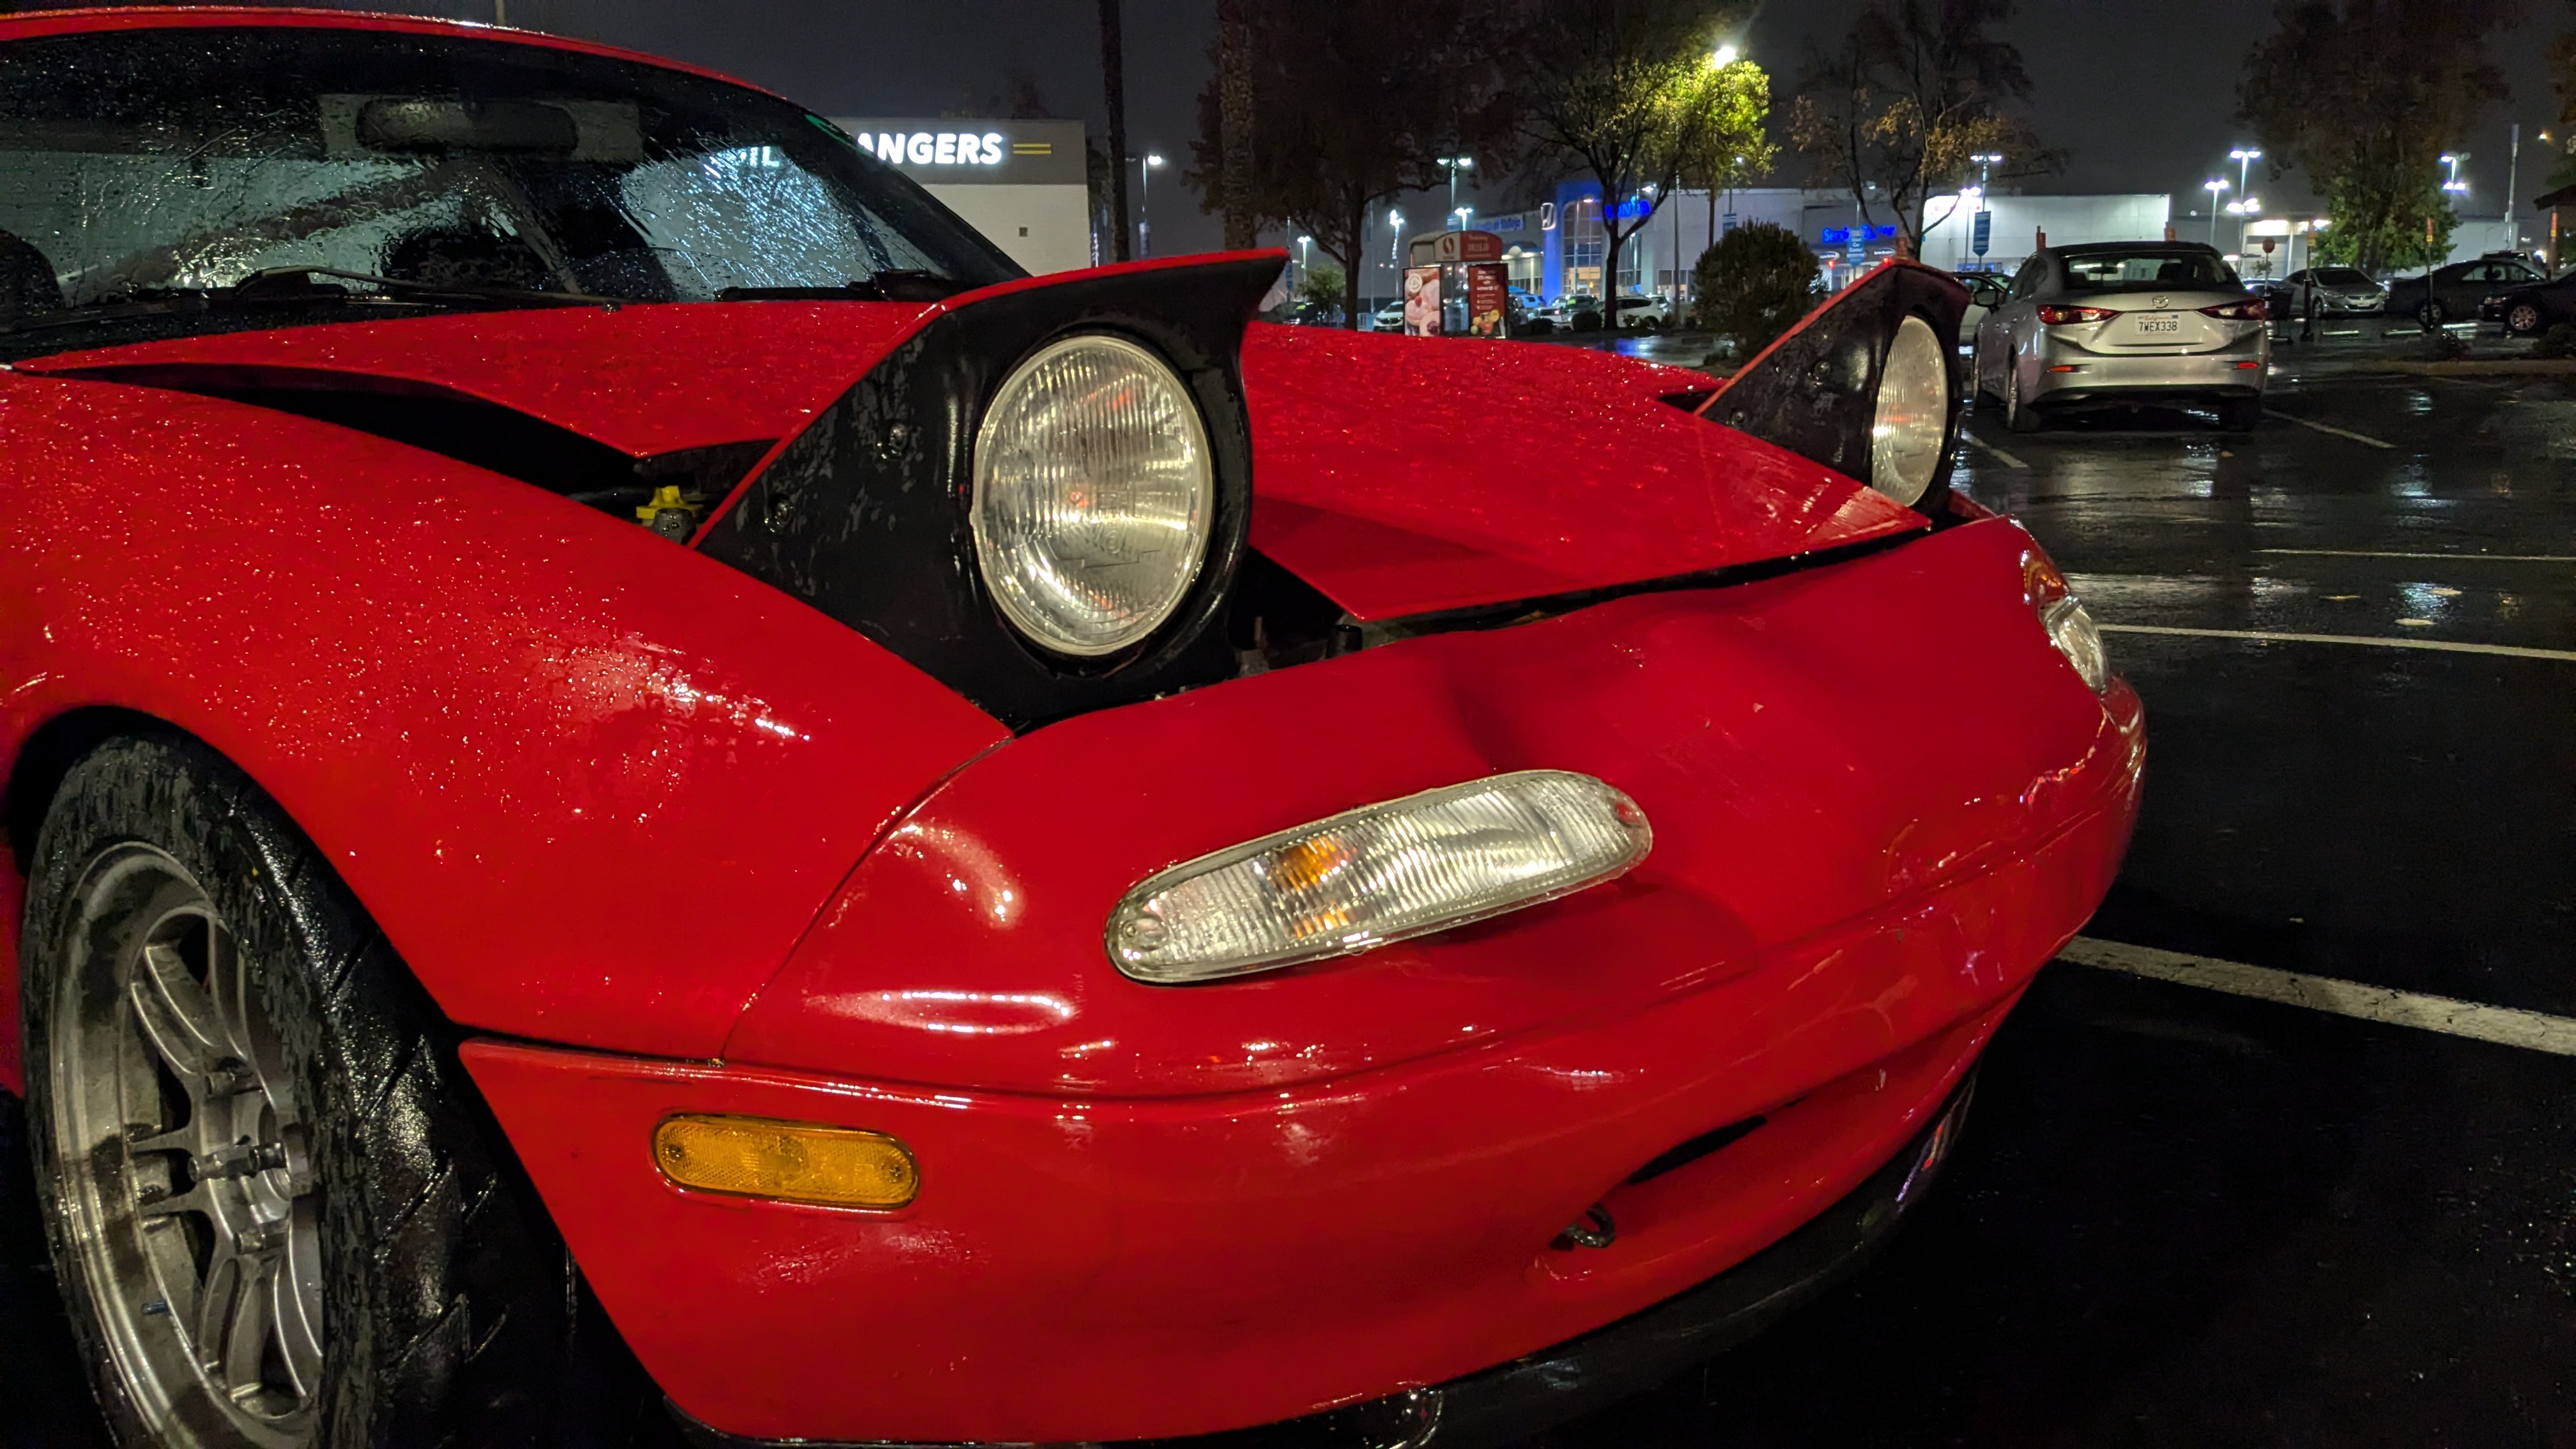

Other than the tweaked exhaust tip, the truck was completely unscathed. We exchanged insurance info on the side of the road, and nothing ever came of it. I guess homeboy felt bad enough for me for duffing the front end of my car, so if you ever see this Douglas, shout out to you for being a cool ass dude.

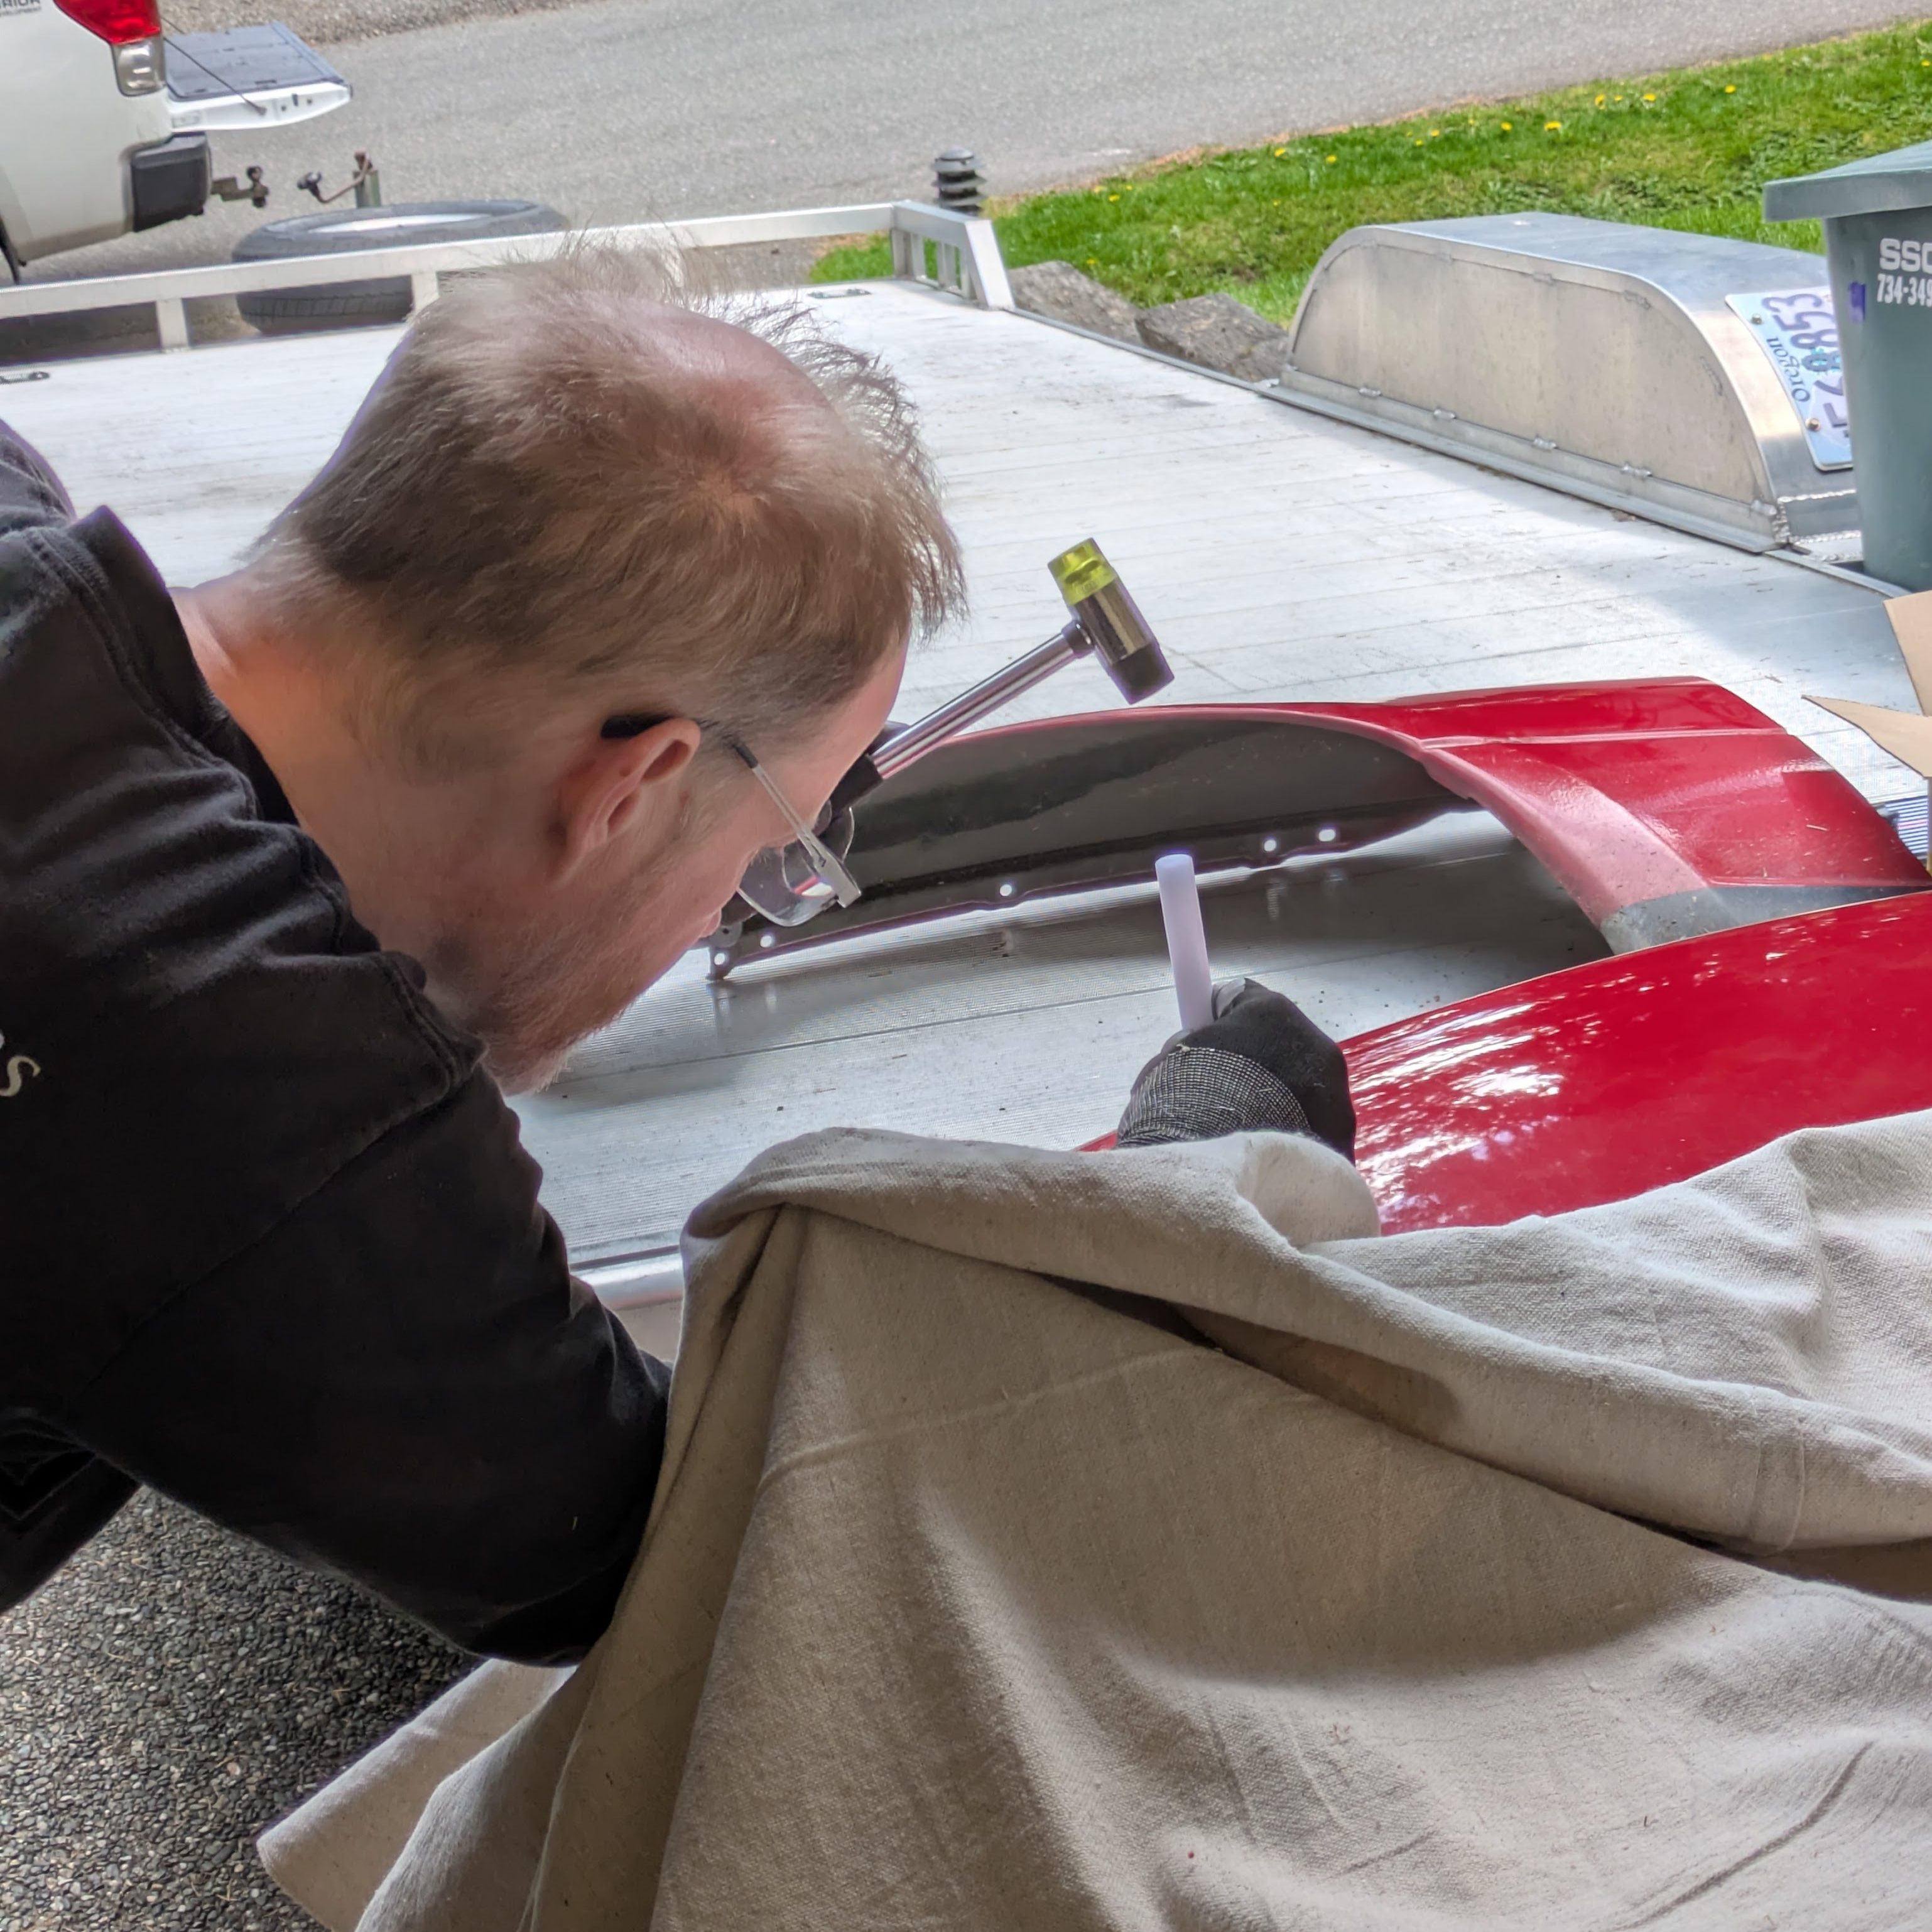
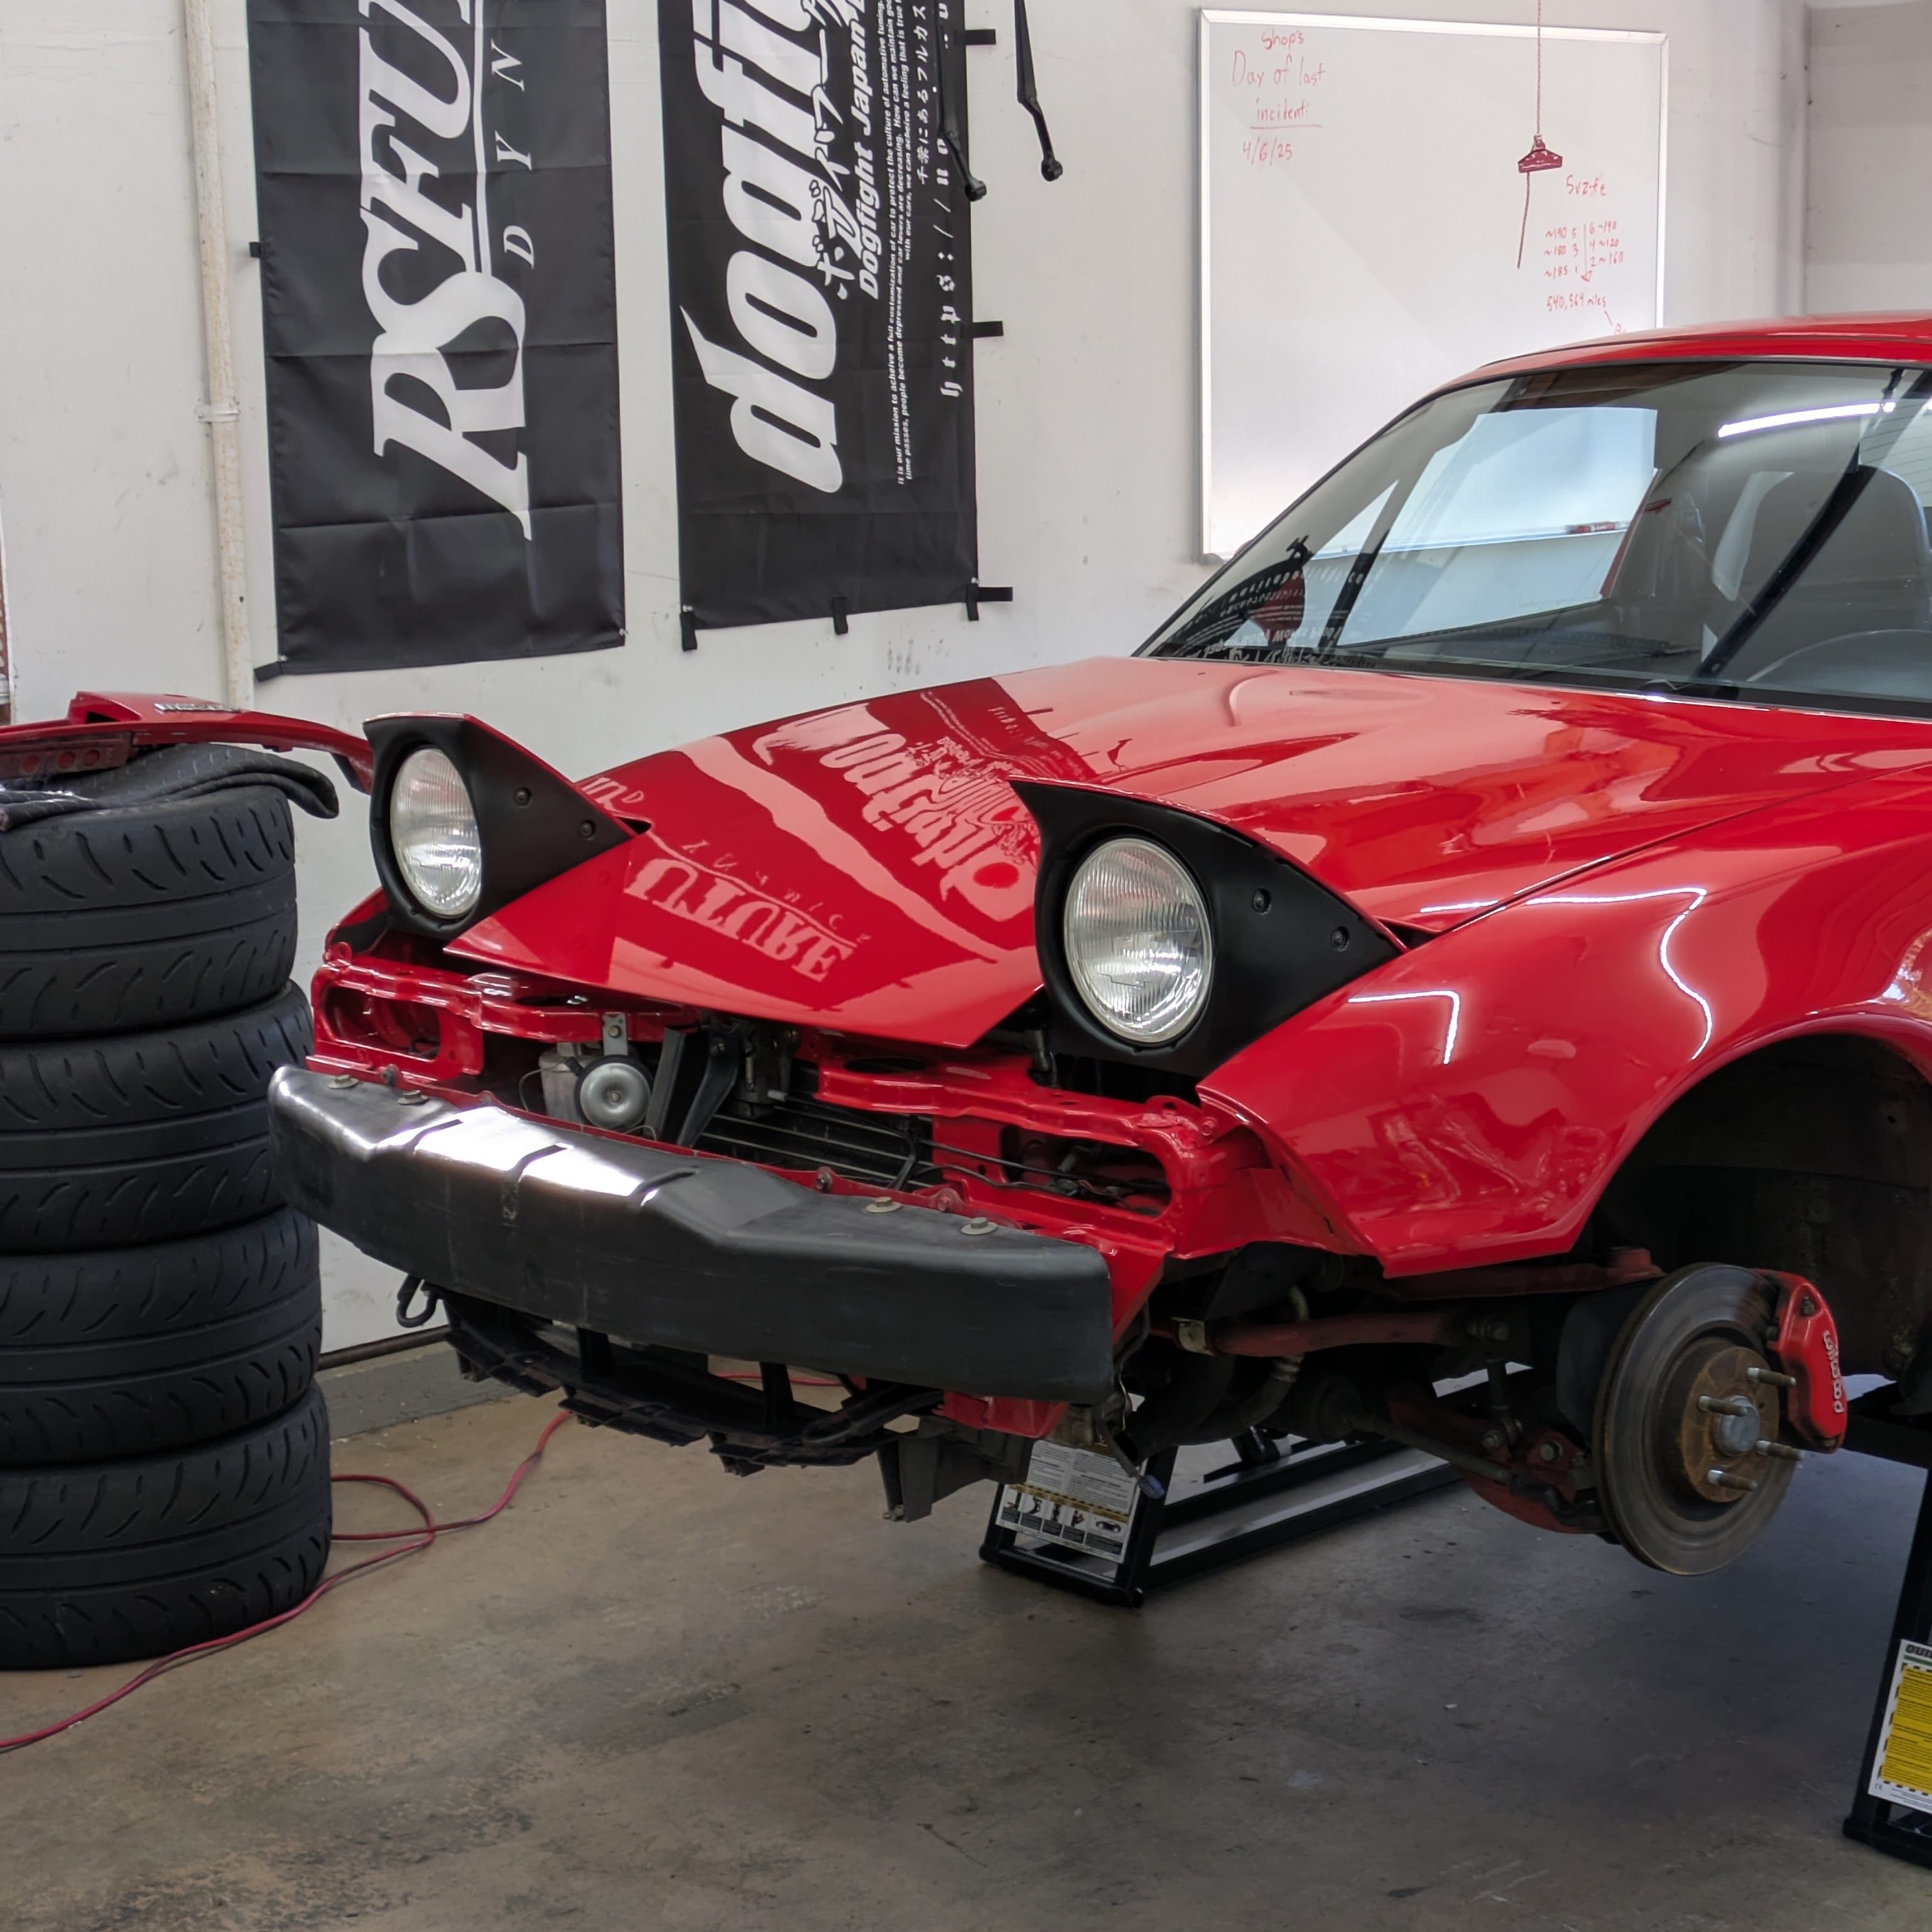
For whatever reason I had decided to pack pry bars and a hammer in my tool bag, and thank god I did. I was able to straighten the core support enough to close and latch the hood (it didn’t latch after I popped it to asses accident damage) and make sure nothing was touching any vitals. I did this under the harsh lighting of a really sketchy gas station in Vallejo near my Airbnb. I ended my mentally exhausting night with some grocery store sushi and was sourcing new panels from bed. I ended up finding a new core support, front bumper, and hood all that evening.
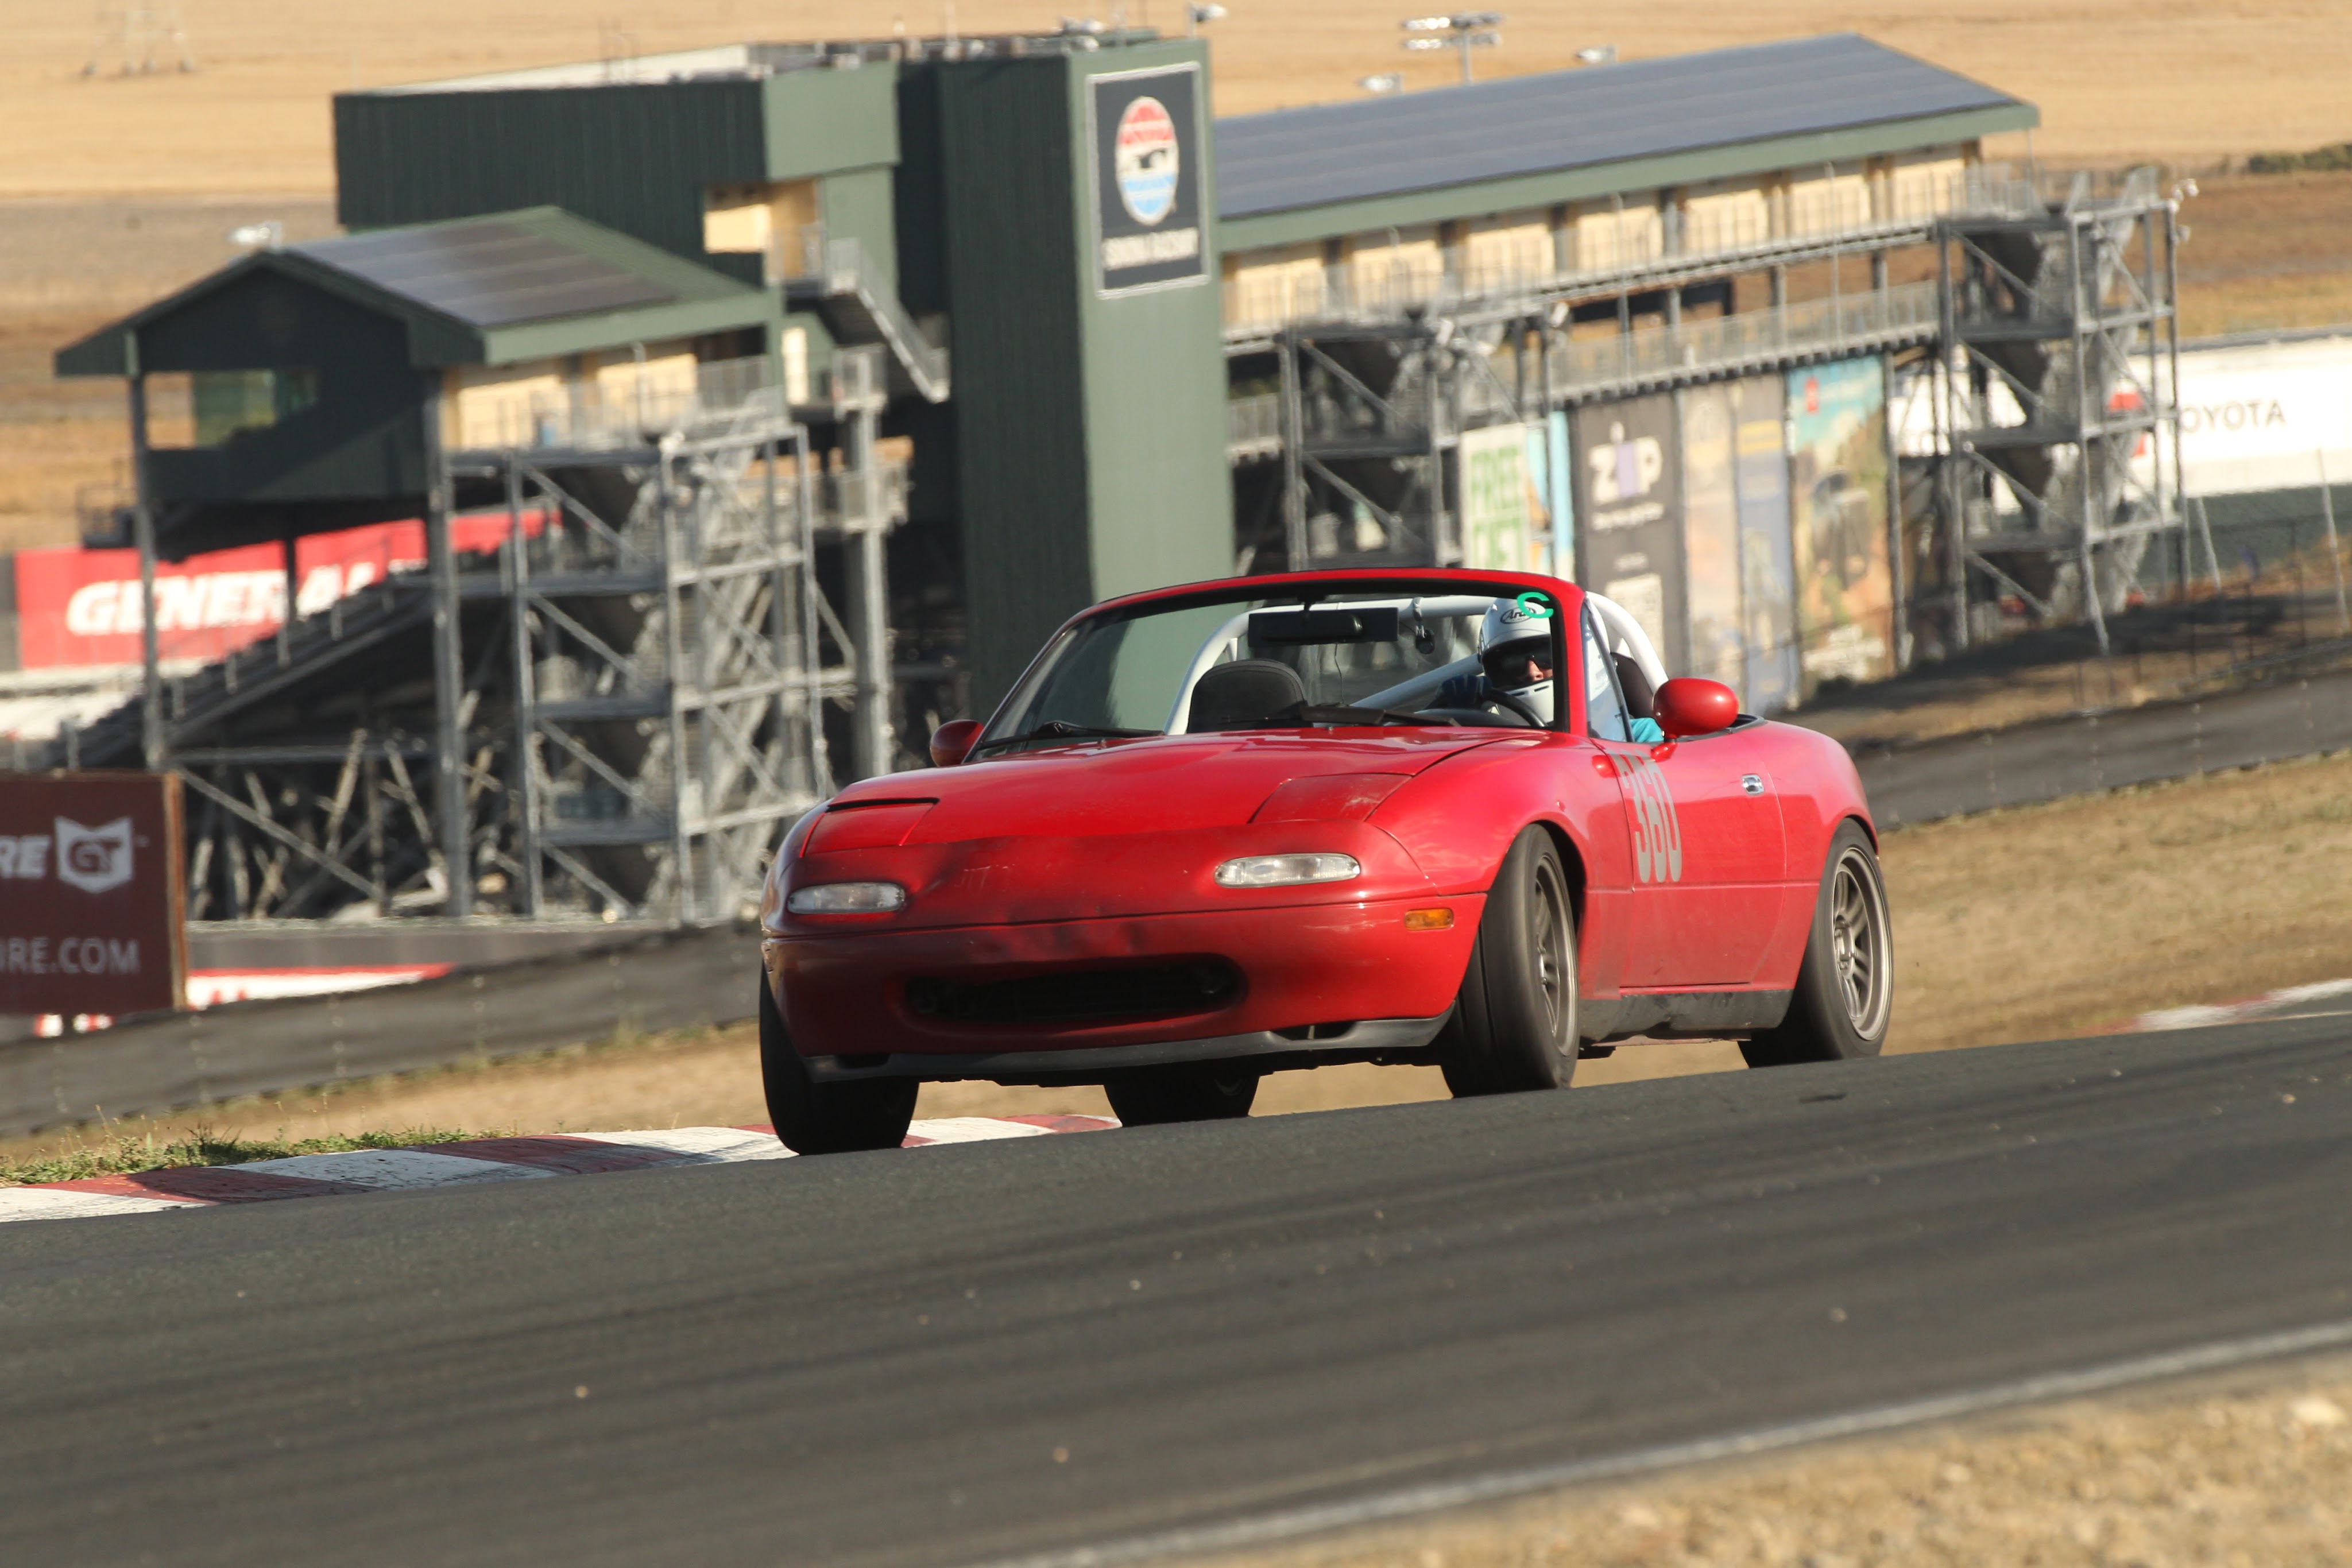
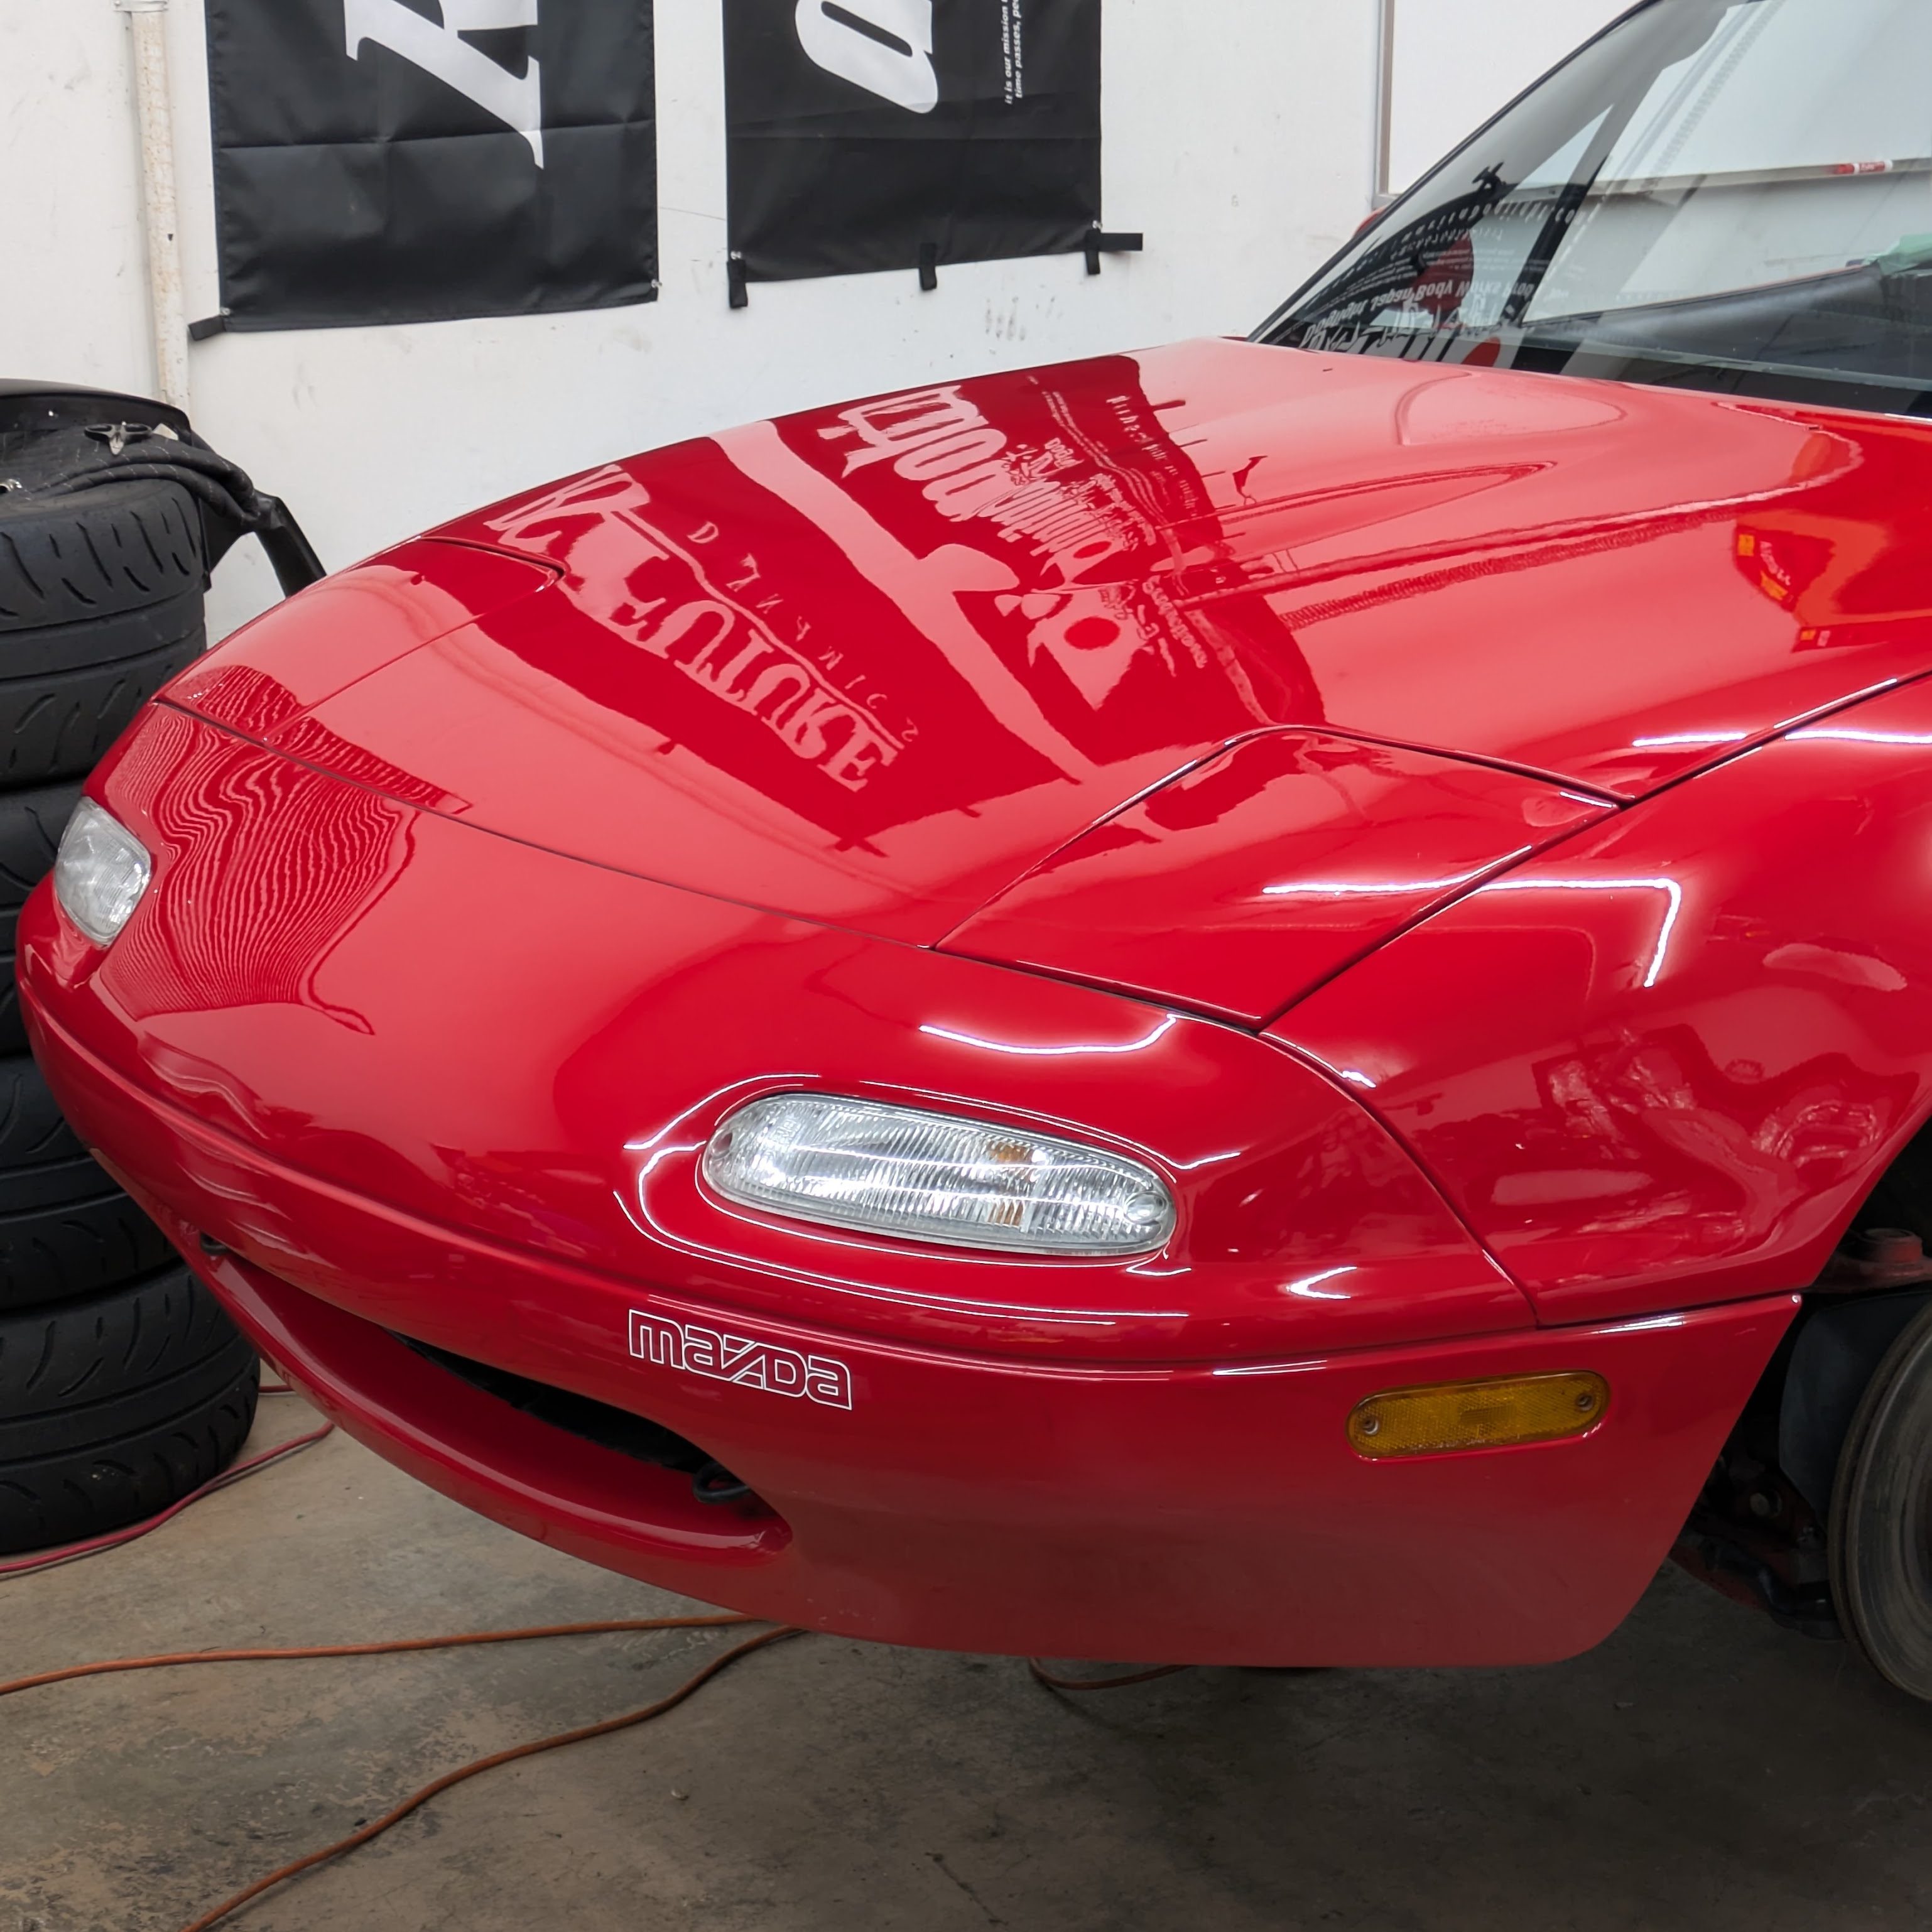
I’m happy to report that the rest of the event went swimmingly. None of the mechanical components were touched (not even the AC, which was wild) and I had a great time at Sonoma with my friends, with an uneventful drive home to Seattle the following day. Miata Reunion is a true joy and 1000% worth it even with a long drive.

The following weekend, after a quick wash to knock the track grime off, I immediately tore into it. I did not want this car down for longer than necessary, and looking back on it, if I was prepared to spend the money that it took to eventually fix this thing, it would have been achievable in a reasonable timeline. Regardless, panels came off and measurements were taken.
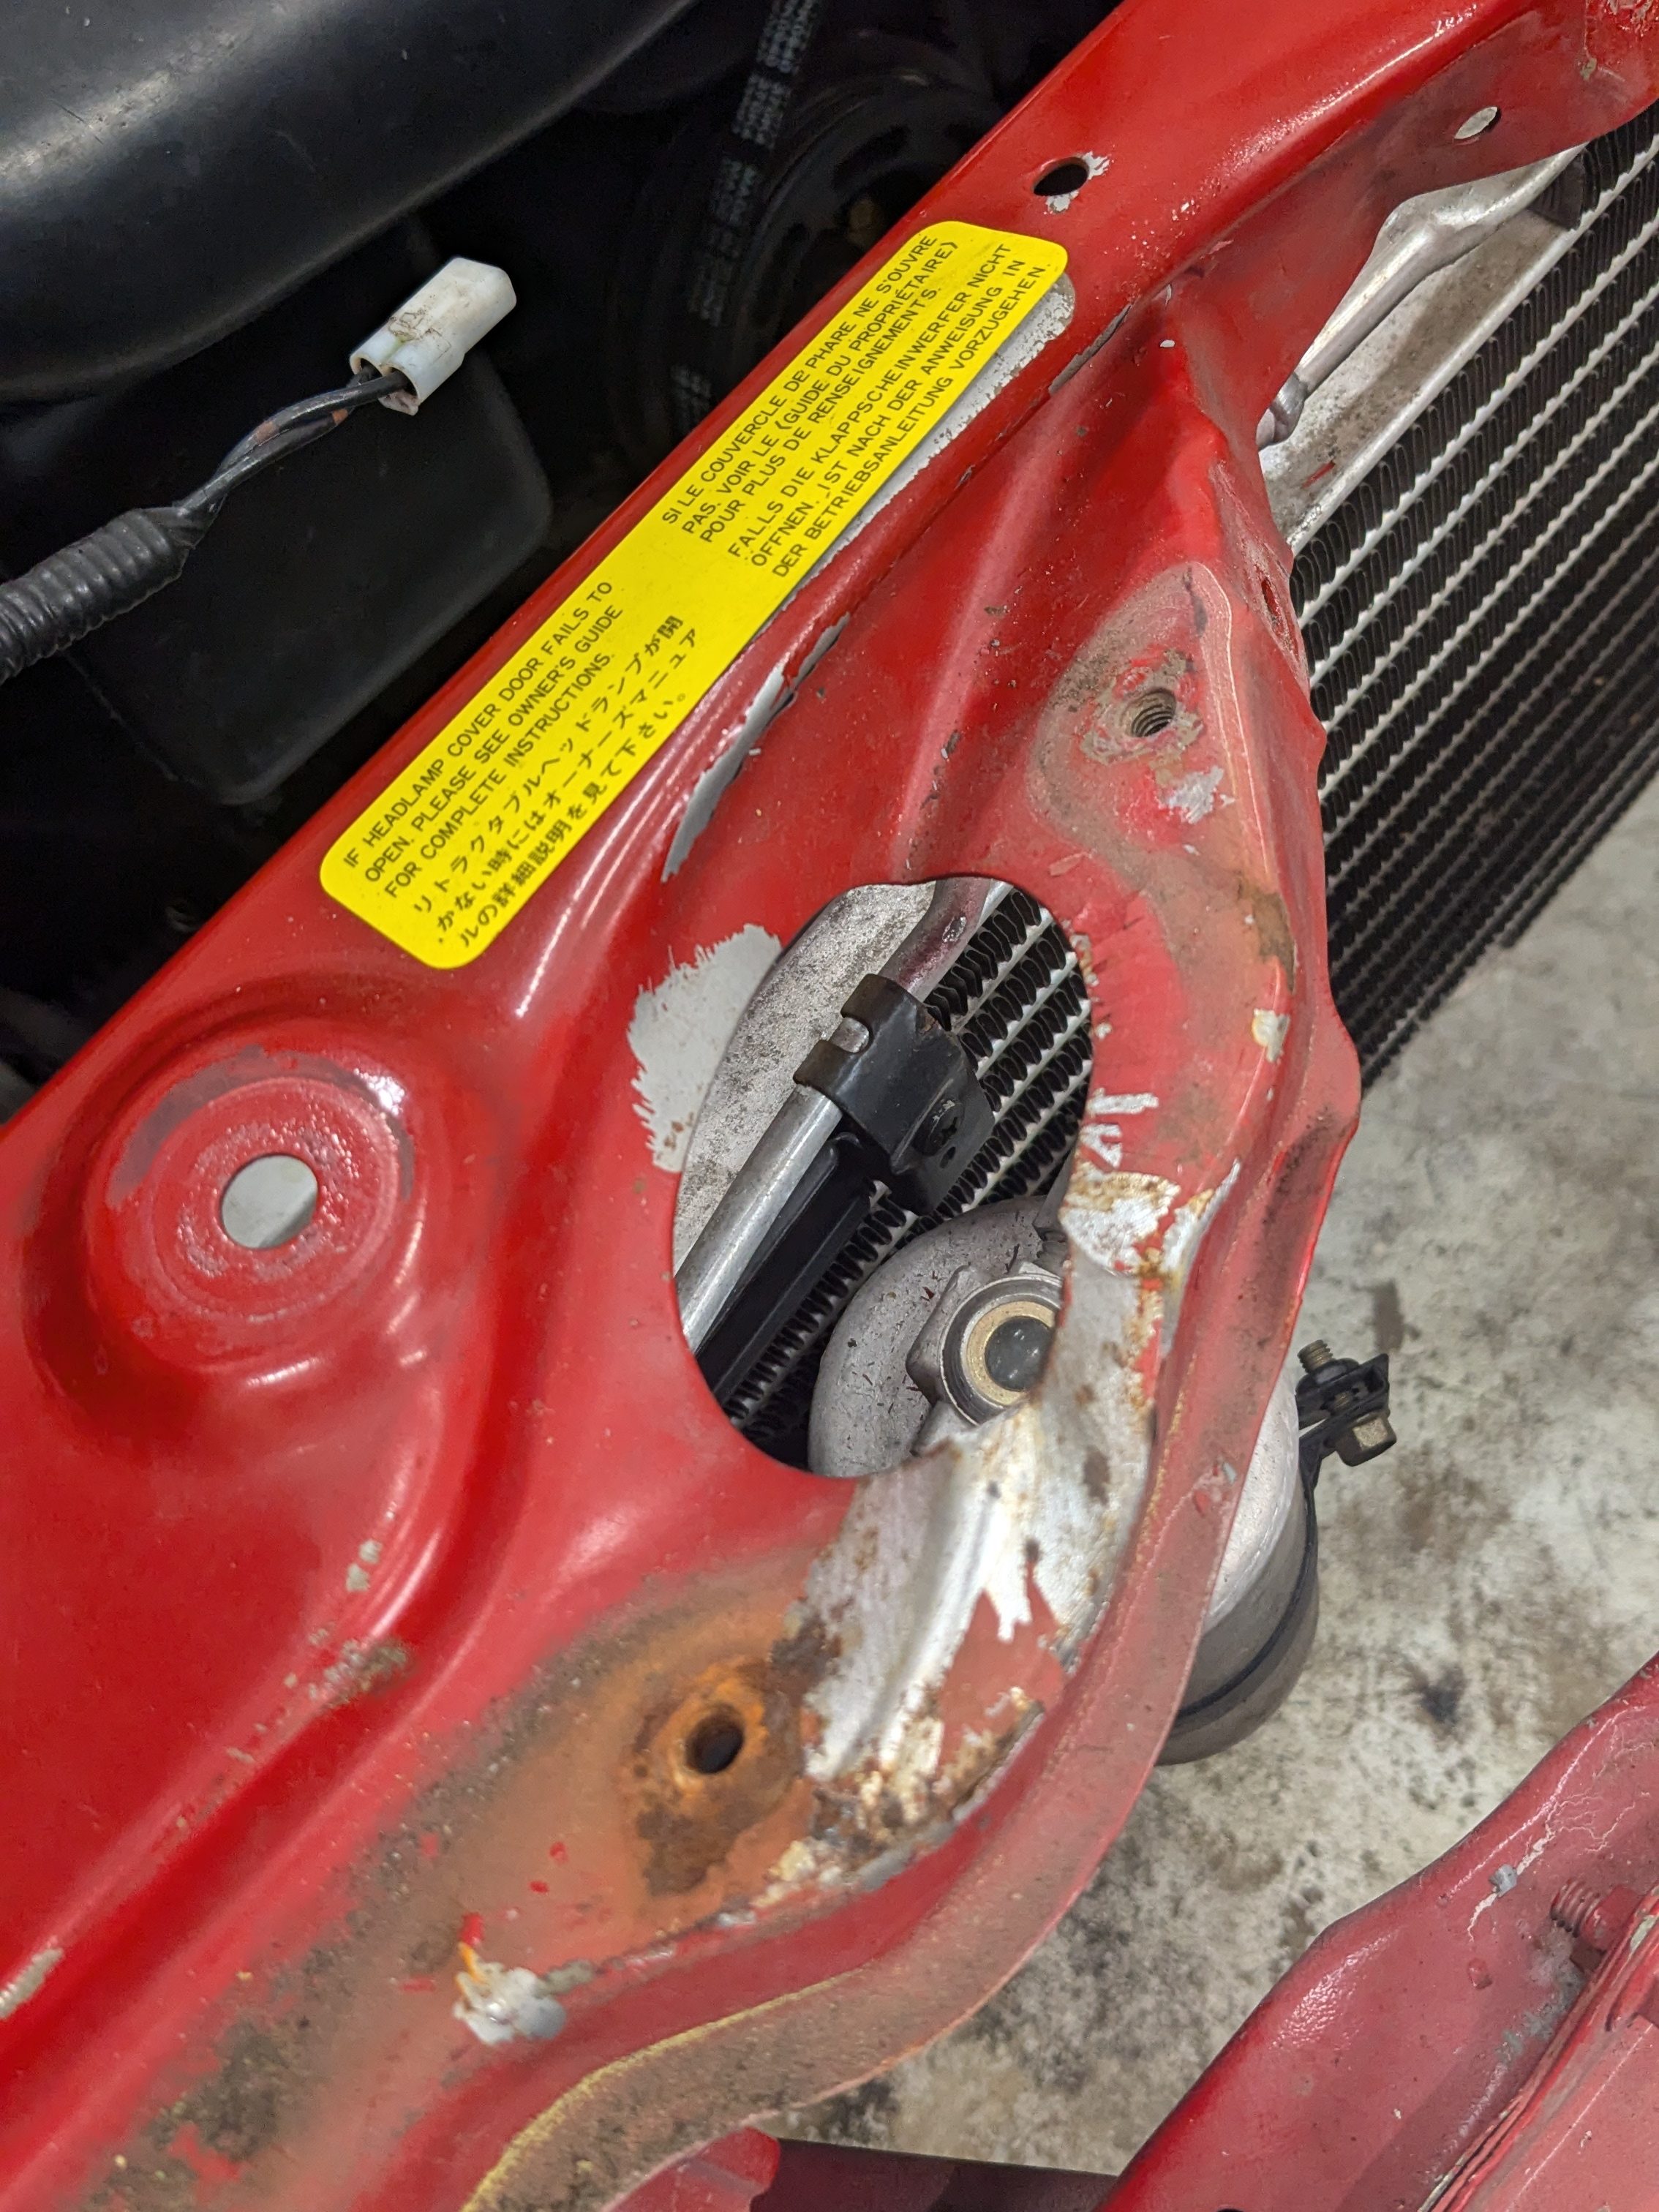

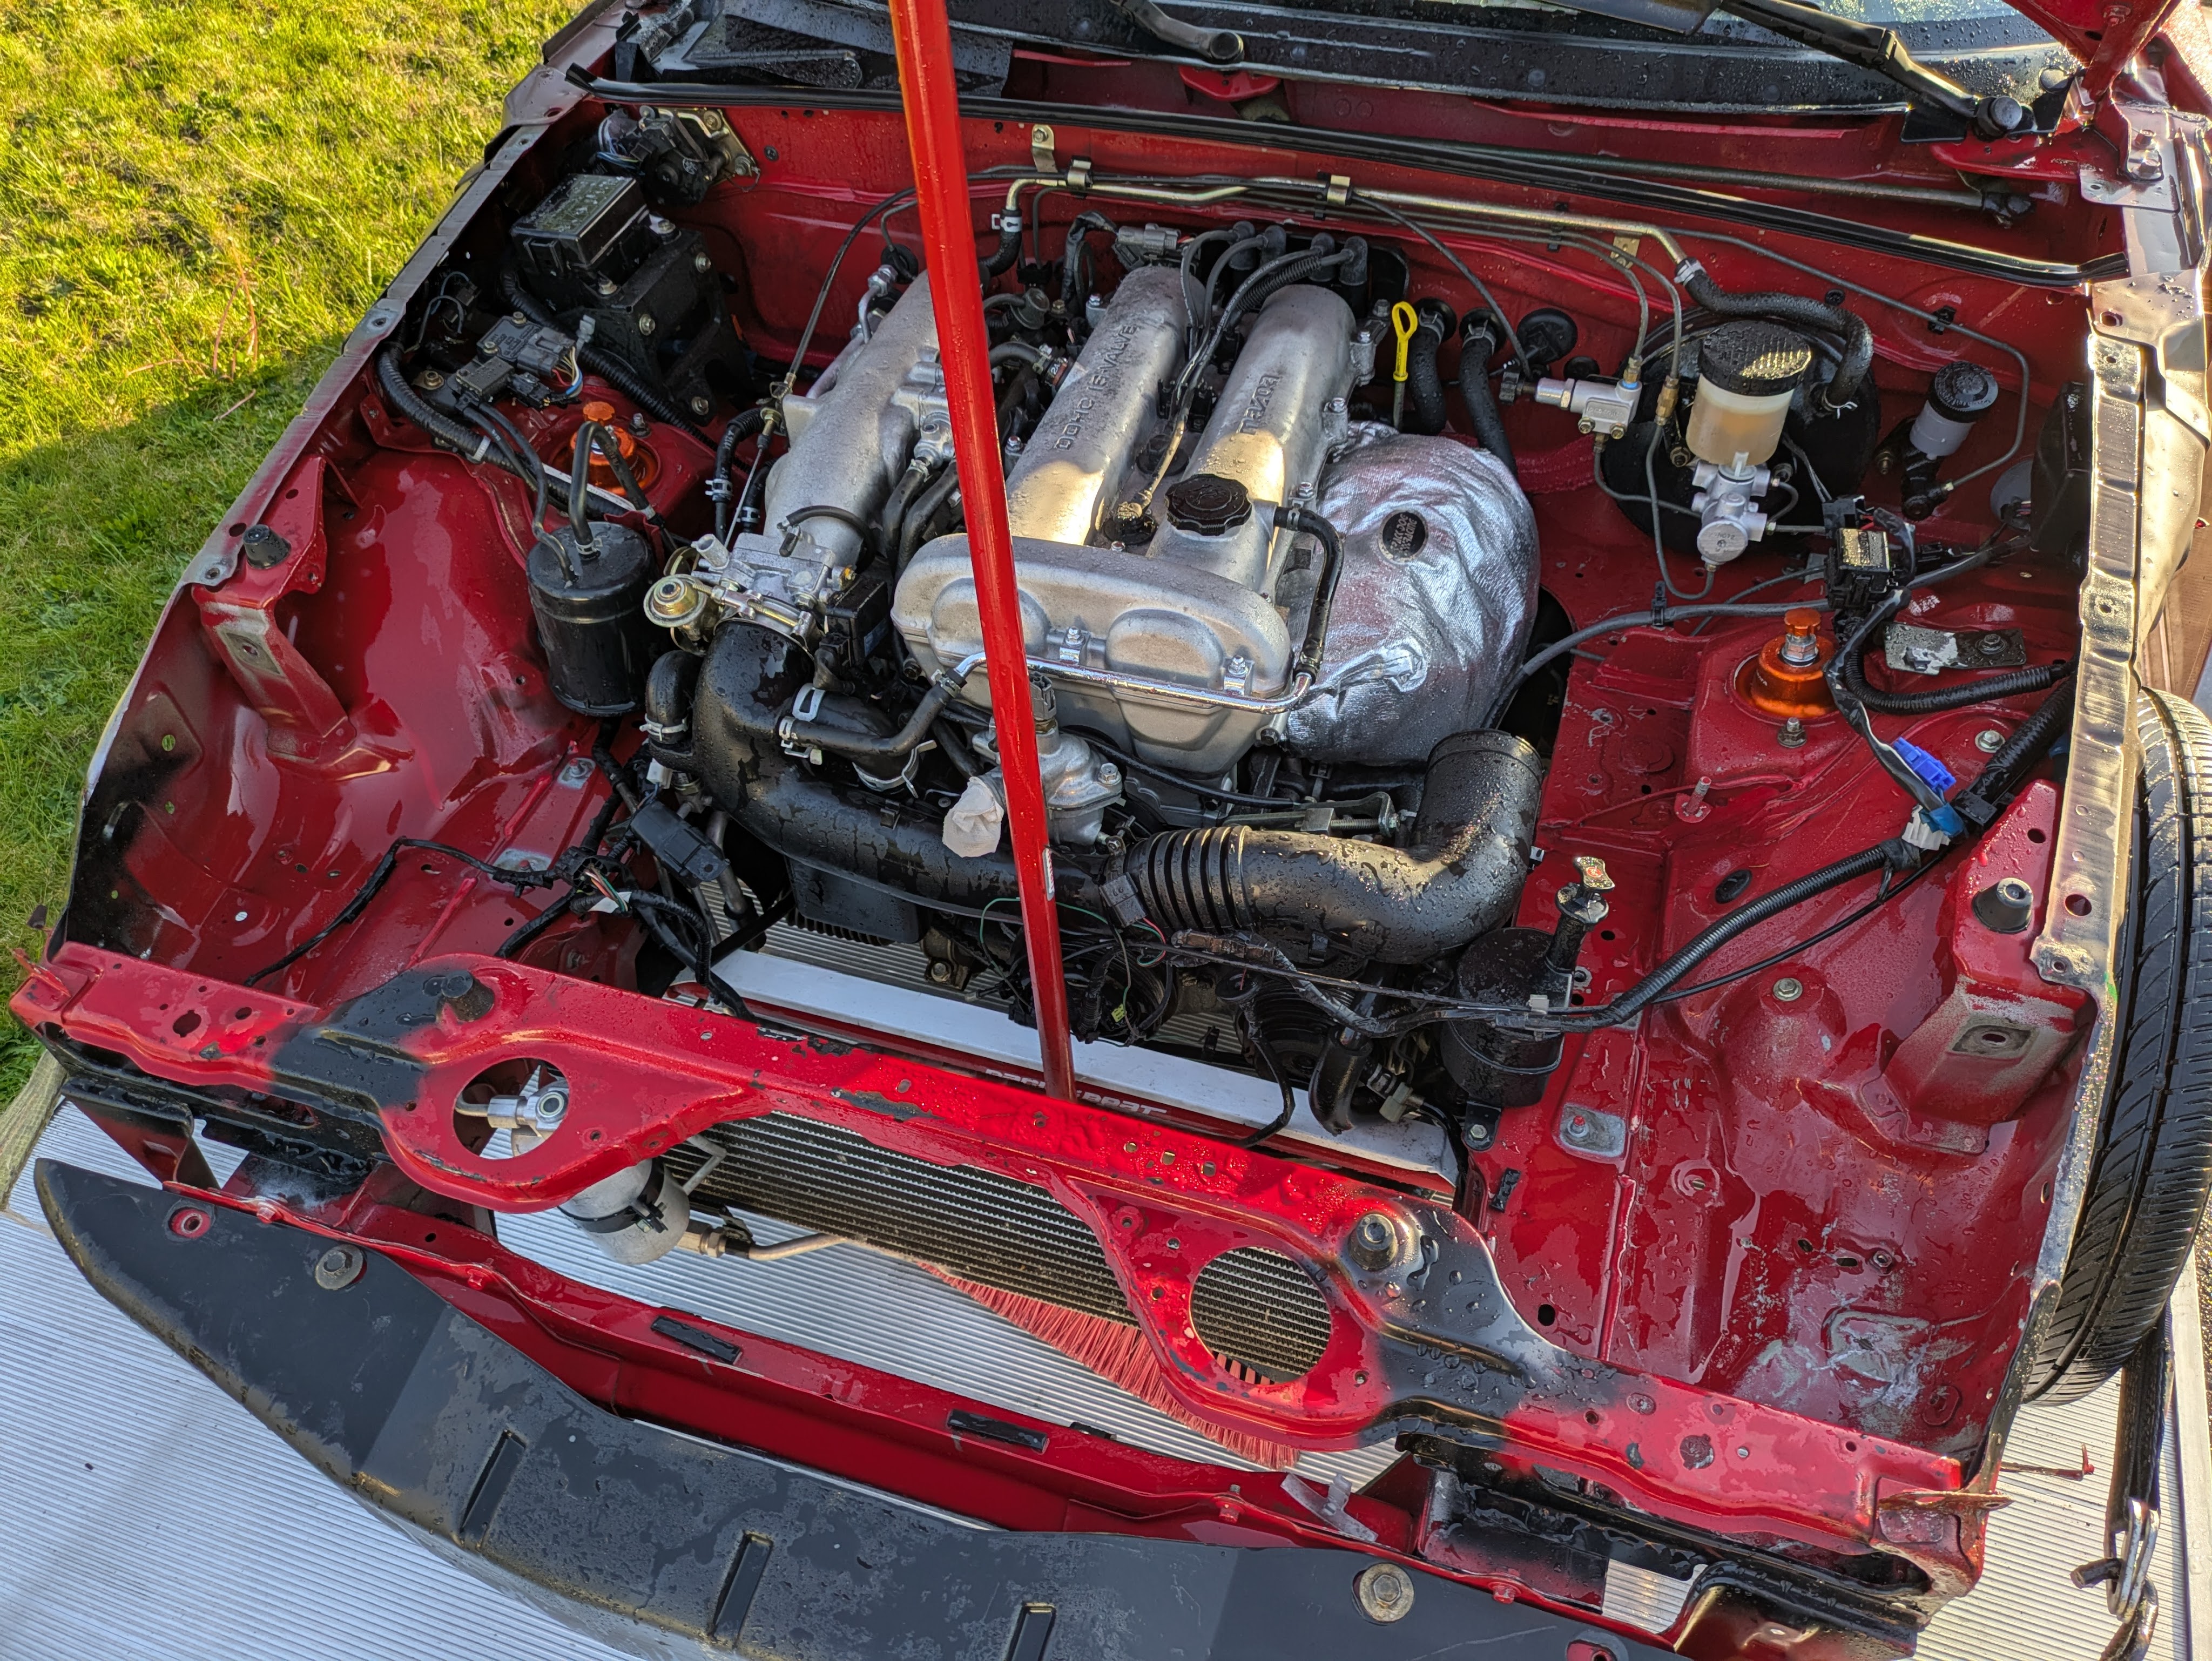
The photo above is of the driver’s side apron, which you may note if you have eyes, was not part of this crash. I knew about this damage from the previous owner (fully disclosed the reason for the rebuilt title, as well as pointed out the damage before I purchased it). Due to the severity of the core support damage, I figured that it would be an appropriate time to also improve this area. If you are familiar with Miata construction methods, there are two metal interface tabs, one that interact with the metallic bumper support, as well as a tab that intersects where the bumper and fender meet to give it some rigidity. Both of those were not aligned due to this damage.

After generating the Roadkill special cardboard list, a rough plan was established. I was to procure parts, and fund the operation, and my sister and father were to do the metal and prep work, and we would figure out paint when it came time to make it one color again.

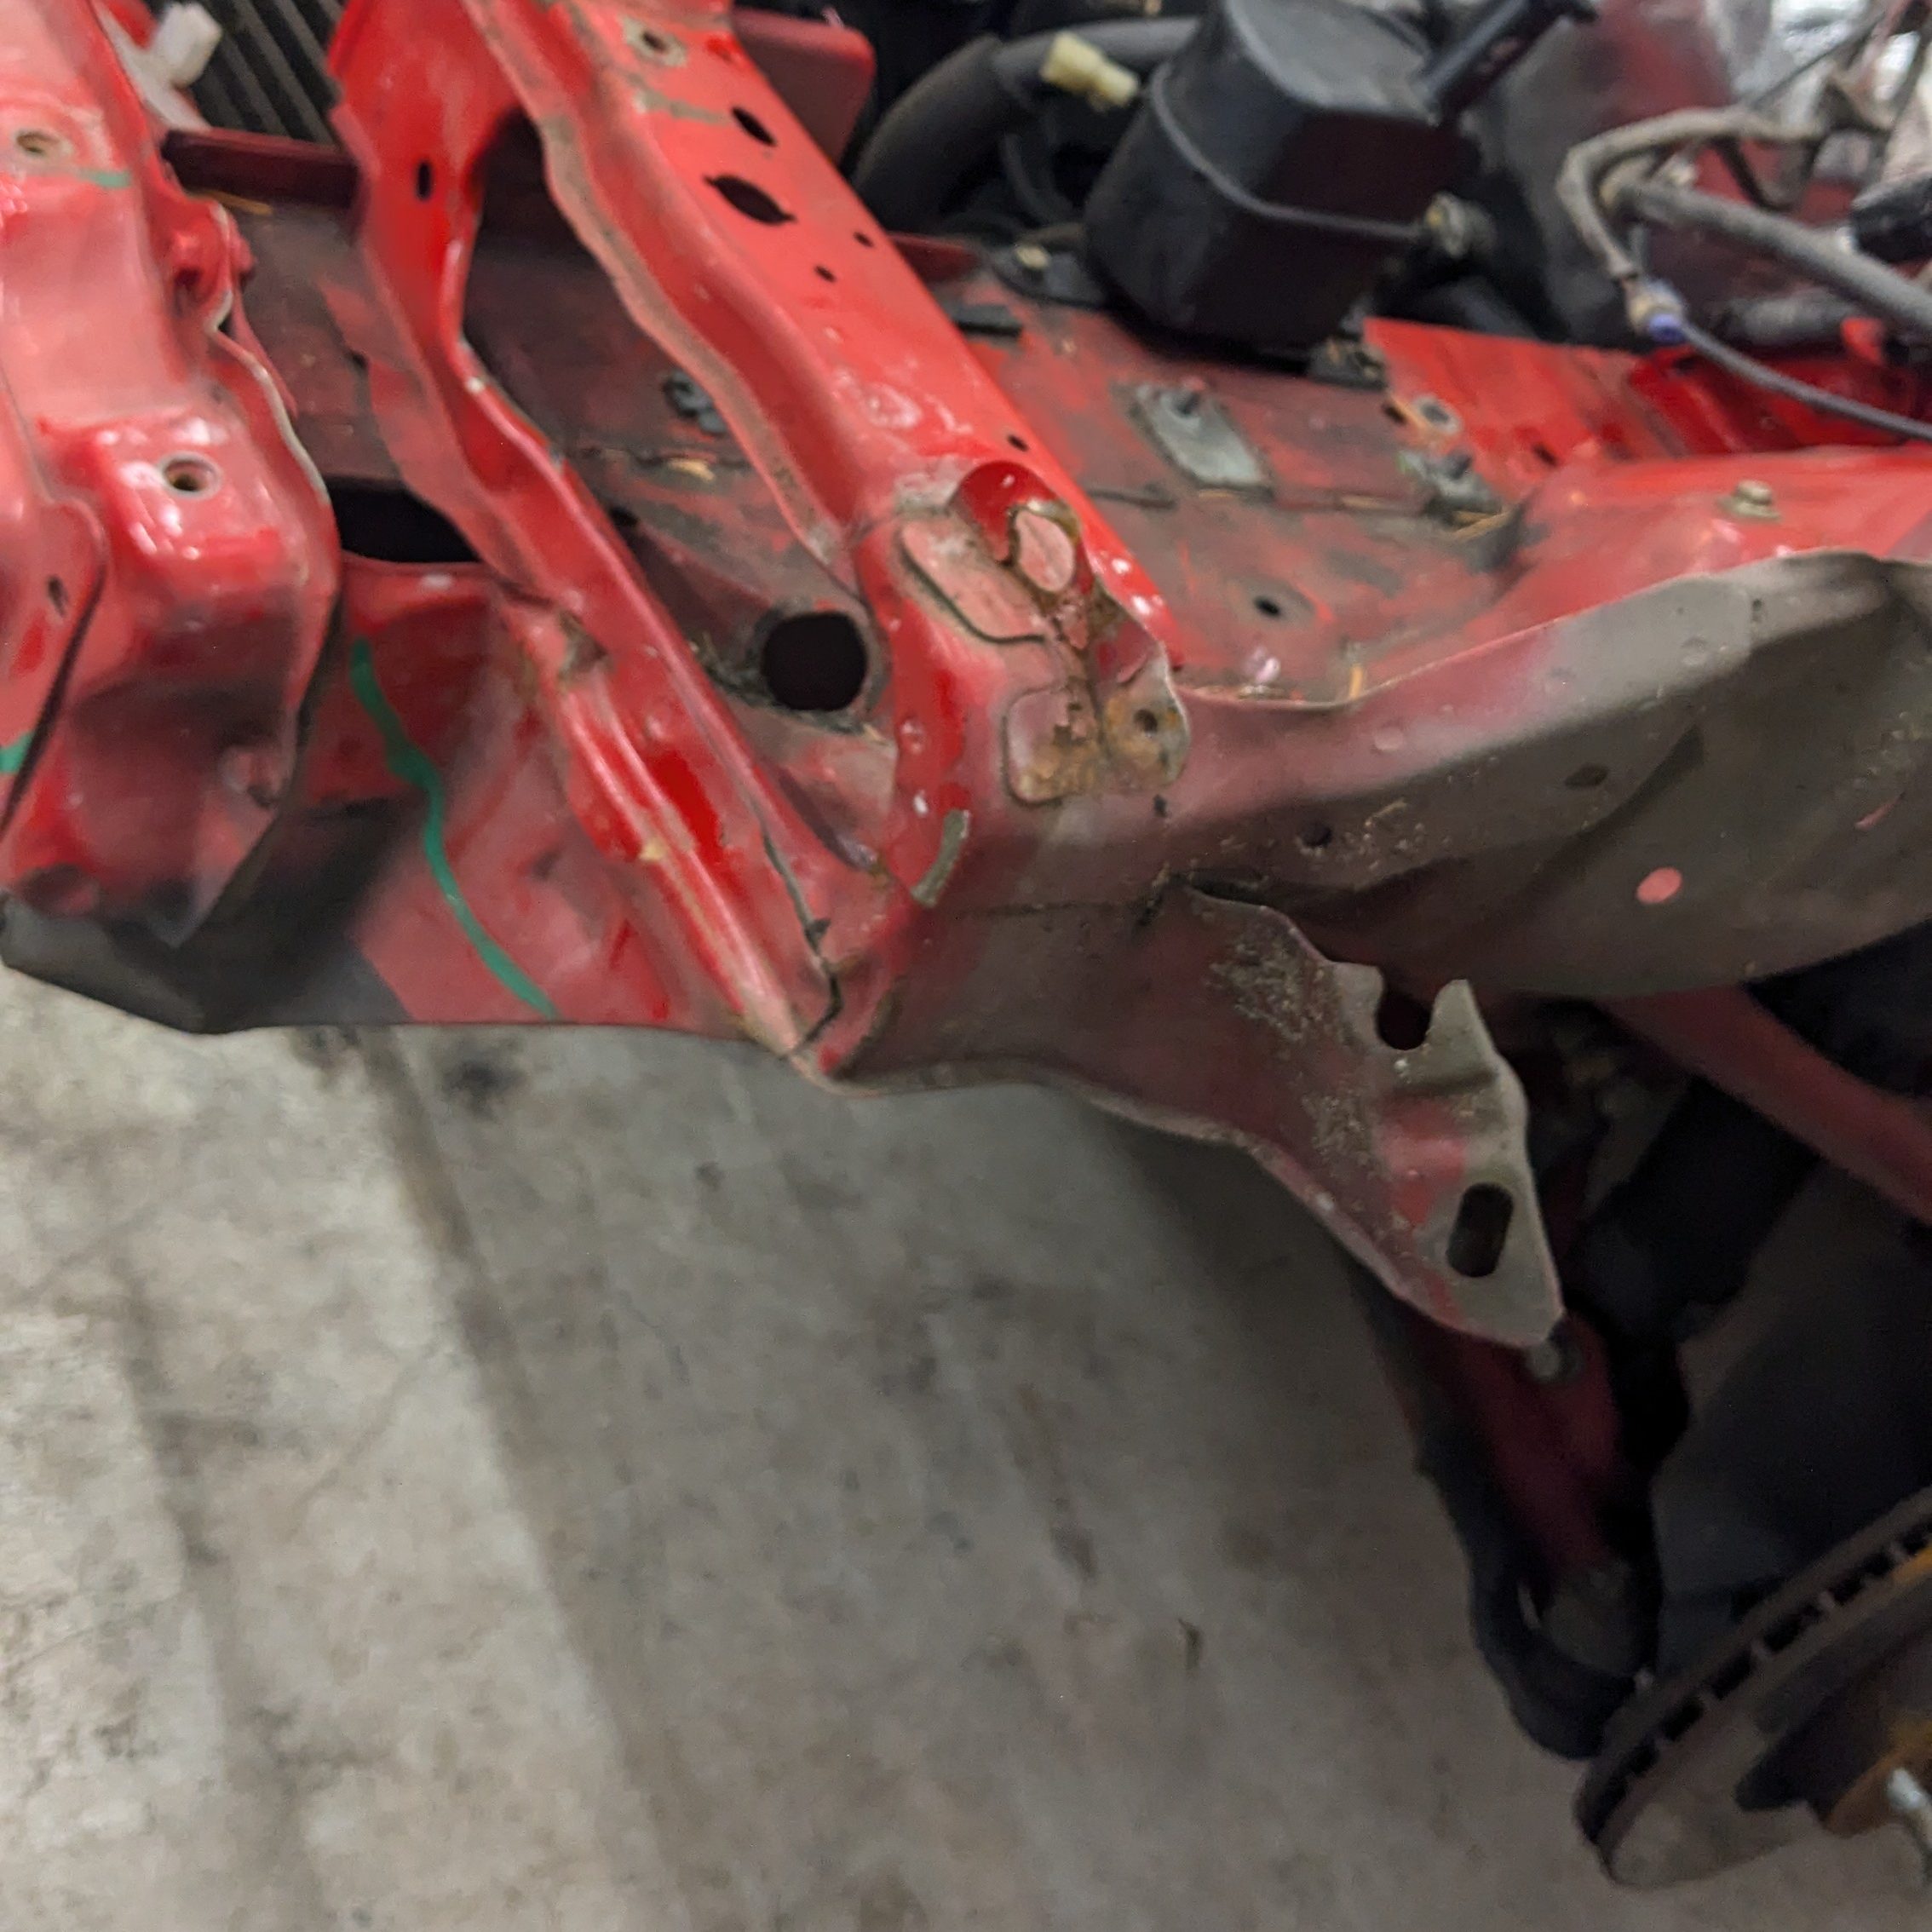
After a few weeks and some creative carpentry, Team Unemployment (my sister and father) had a large improvement over the previous damage. While some aspects of the core support were still out of plane, it was a hell of a lot better than what we started with. This, unfortunately for compounding factors, was where the project stalled at for a few months. Between life, my collarbone, and changes within the family, the Miata was backburned pretty hard. All of the parts were there, just not a whole lot of motivation, nor a clear next step. I’d even begun robbing it of some of its easily accessible parts for other projects. Poor thing.
After some time had past and I was healed, what I can only describe as an East Coast dose of Seasonal Panic was injected into me. Despite all the cars I owned, NONE of them functioned as proper cars, and I wanted to have a sorted car for the start of the driving seasons so I could go autoX or road race or just drive something that wasn’t my truck on nicer days. Luckily my roommate works in the parts department of a well known, high quality collision center, and I was able to cash in on some of his positive karma to money hammer this project forward.

As luck would have it, right when I was feeling ready to really kick this project in the ass, the collision center was having a slow few weeks, so side/supplemental work was doable. First order of buisiness was geting the core support and apron straightened so all the panels would fit correctly. One of the frame techs, Body Juan (we have to distinguish him from Paint Juan), did a 1 day repair with more than expected coverage for a very fair price. I dropped the car off Friday night and picked it up Sunday morning.

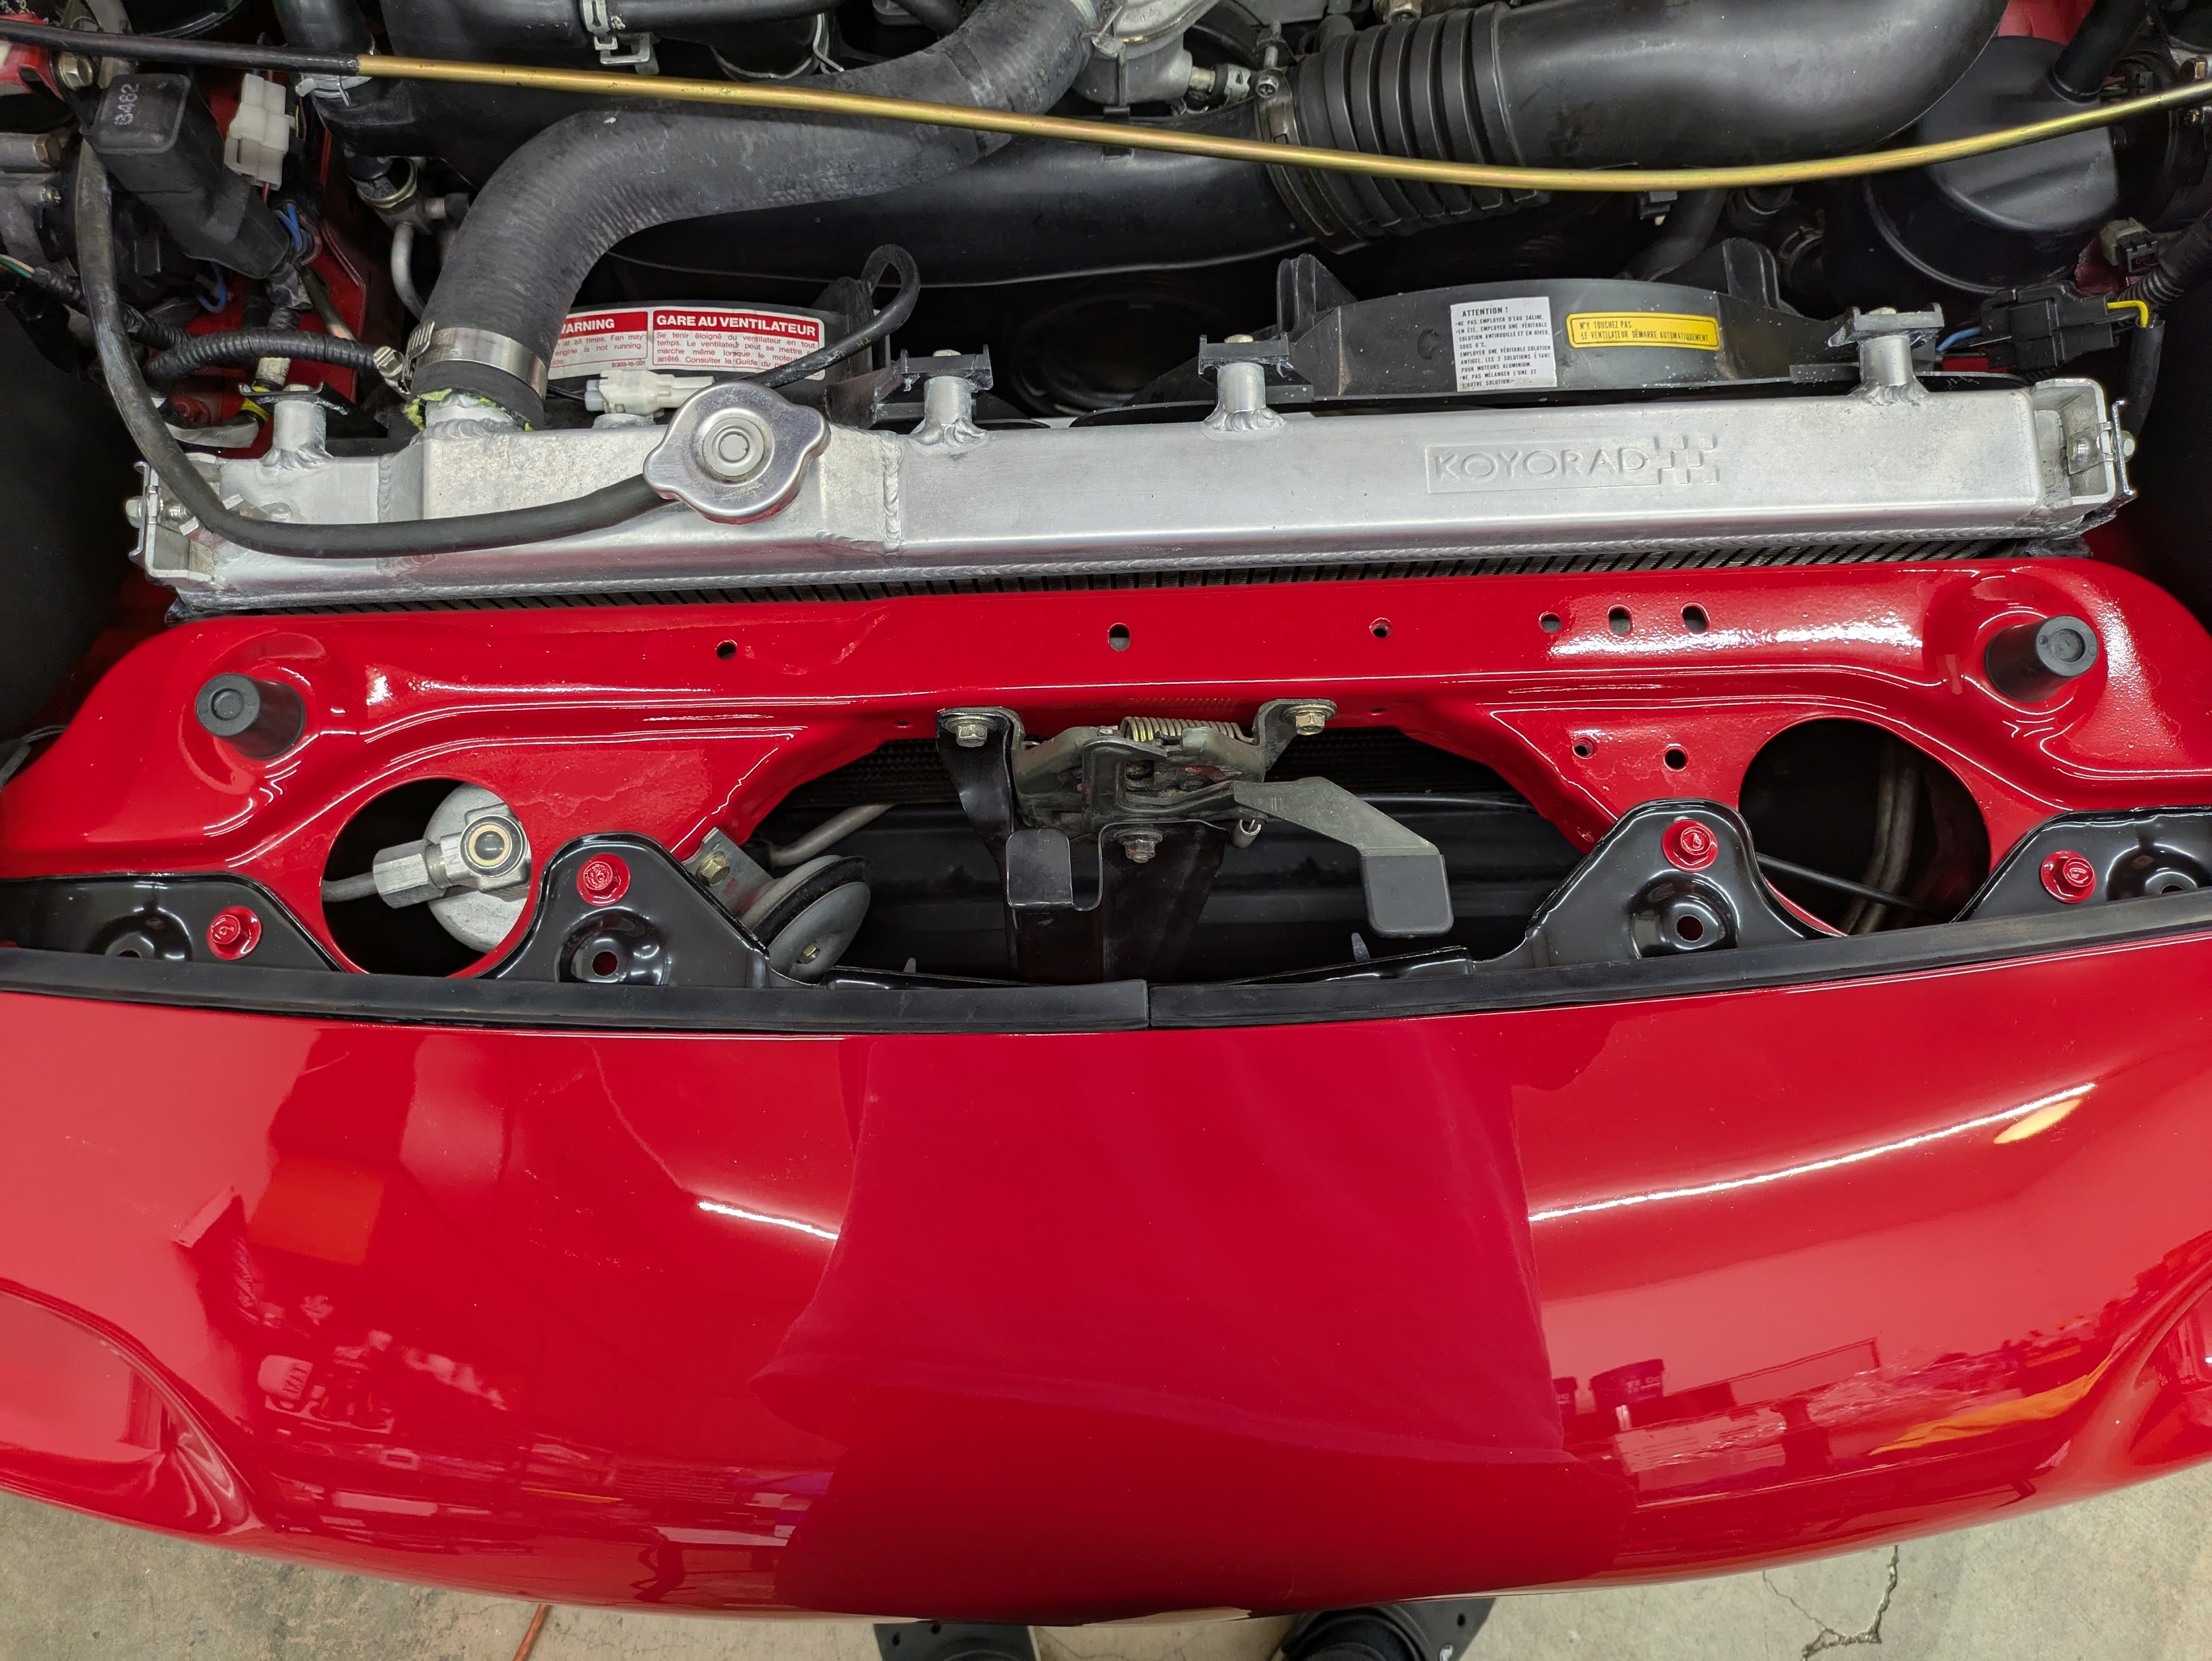
I had purchased a front cut from a local Miata dismantler (Shoutout Trevor, always a pleasure dude), along with a host of other pieces. While not the cleanest core support and aprons I’d ever seen, they were far better than what I had. Ironically, the front cut I had purchased to repair mine with had also had a core support replacement performed on it, which slowed Body Juan down a little bit, but he still got it done. The apron was properly perpendicular again, the core support was straight, and the bumper holes lined up perfectly. I was a happy camper.

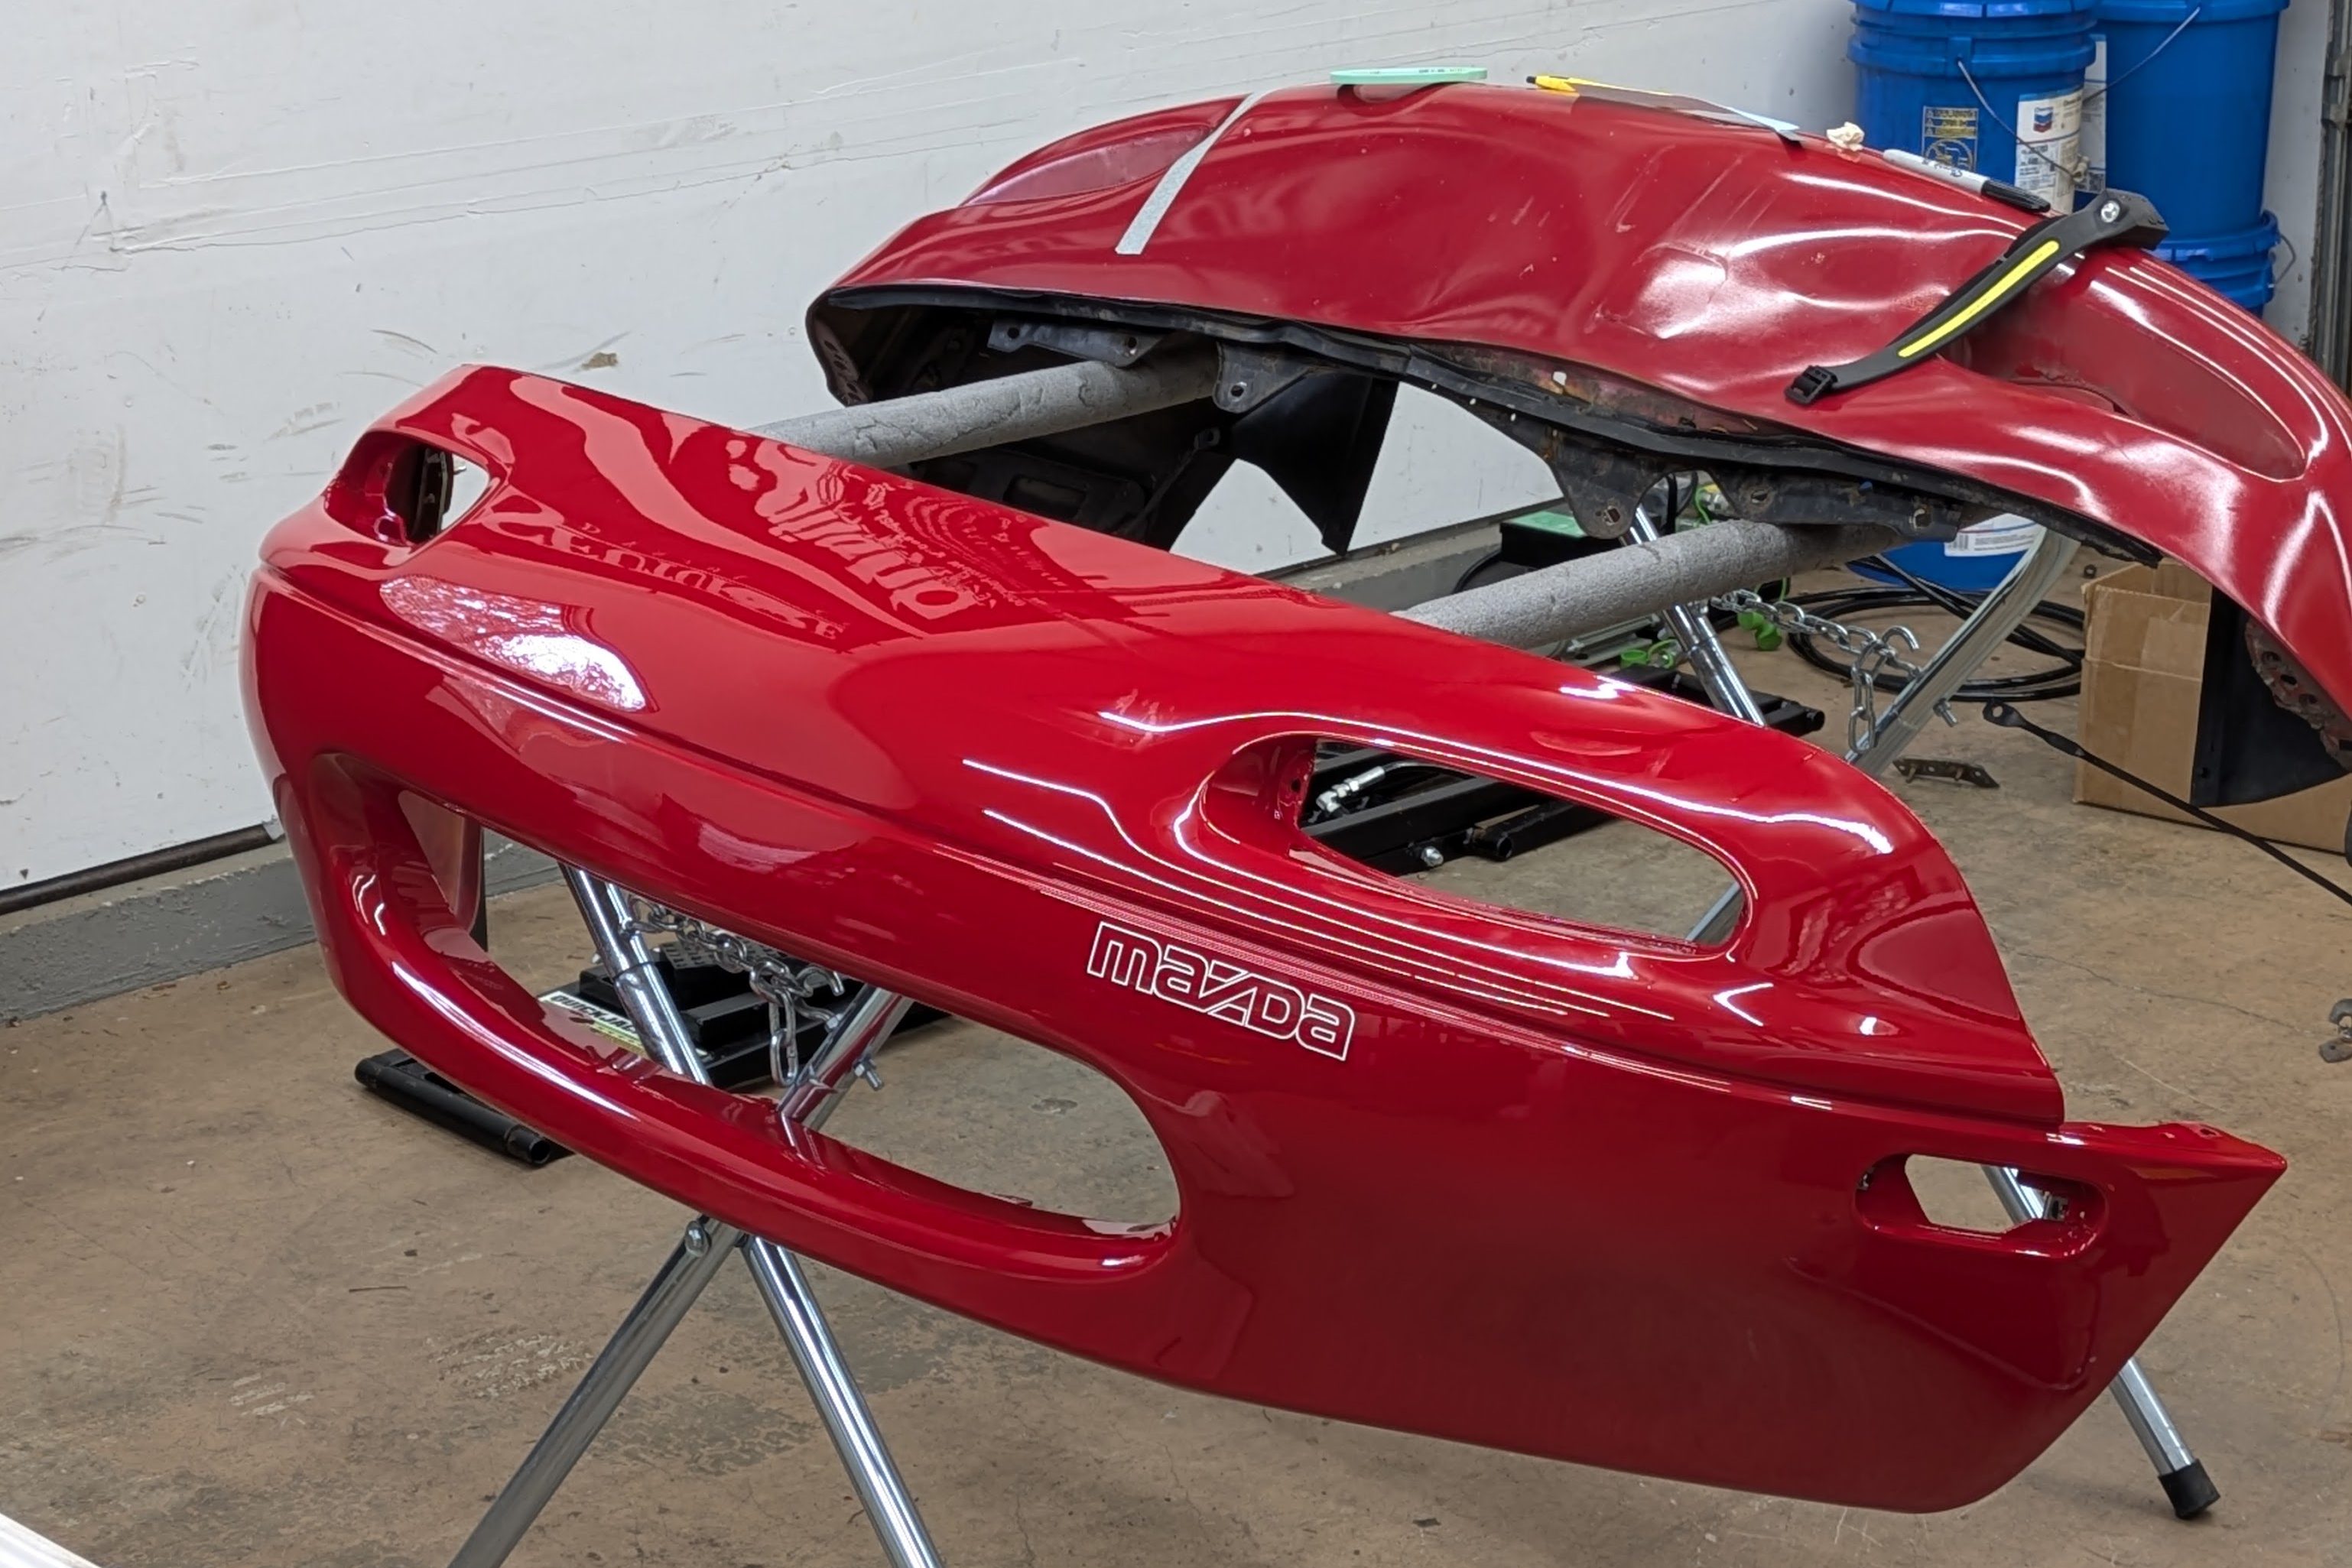
Once it was back home, it was swiftly draped in panels in preparation for paint. I had purchased brand new fenders (Tong Yangs via Summit) which actually fit really good for cheap Chinese fenders. My previous set was really hammered, and if the car is going to get painted, I want the final product to be worth all of the money invested. The bumper was a used unit from Marketplace that unfortunately had both badge holes and the classic license plate dimples. The really painful part was the bumper did not include any of the internal metal framework, and mine was both corroded and bent beyond saving in the accident, so I gave Mazda many of my hard earned shekels to replace all of that with brand new bits. Do it once, do it right. Big thanks to Joe over at Mike’s Miata Parts for help procuring all the stuff. Highly recommend them for excellent customer service, as well as product pages with highlighted OEM diagrams and descriptions of what the parts do AND where they go.

In preparation of paint, and being intimately aware of the car’s usage, I took the time to cut the fender liner tabs off the inside lip of the fenders. The car doesn’t run fender liners anymore, and they are rather unsightly even when tucked out of the way, so they were removed. (Spoiler Alert: This wasn’t enough for tire clearance, but more on that later)
Even though it felt expensive at the time, I elected to have the collision center also paint the panels. With the slow month and convenience, a totally reasonable quote was issued, and panels were sprayed in glorious SU Classic red by Paint Juan. While I have those photos in the booth, its sexier to see them on the car, so we’ll just skip to that later.
As it may be obvious at this point, I was concerned with all aesthetics of the repair, so the engine bay had to get up to snuff to match the glassy panels. After a quick degrease and scrub, I towed it back north to my parent’s house to spray the engine bay repairs.
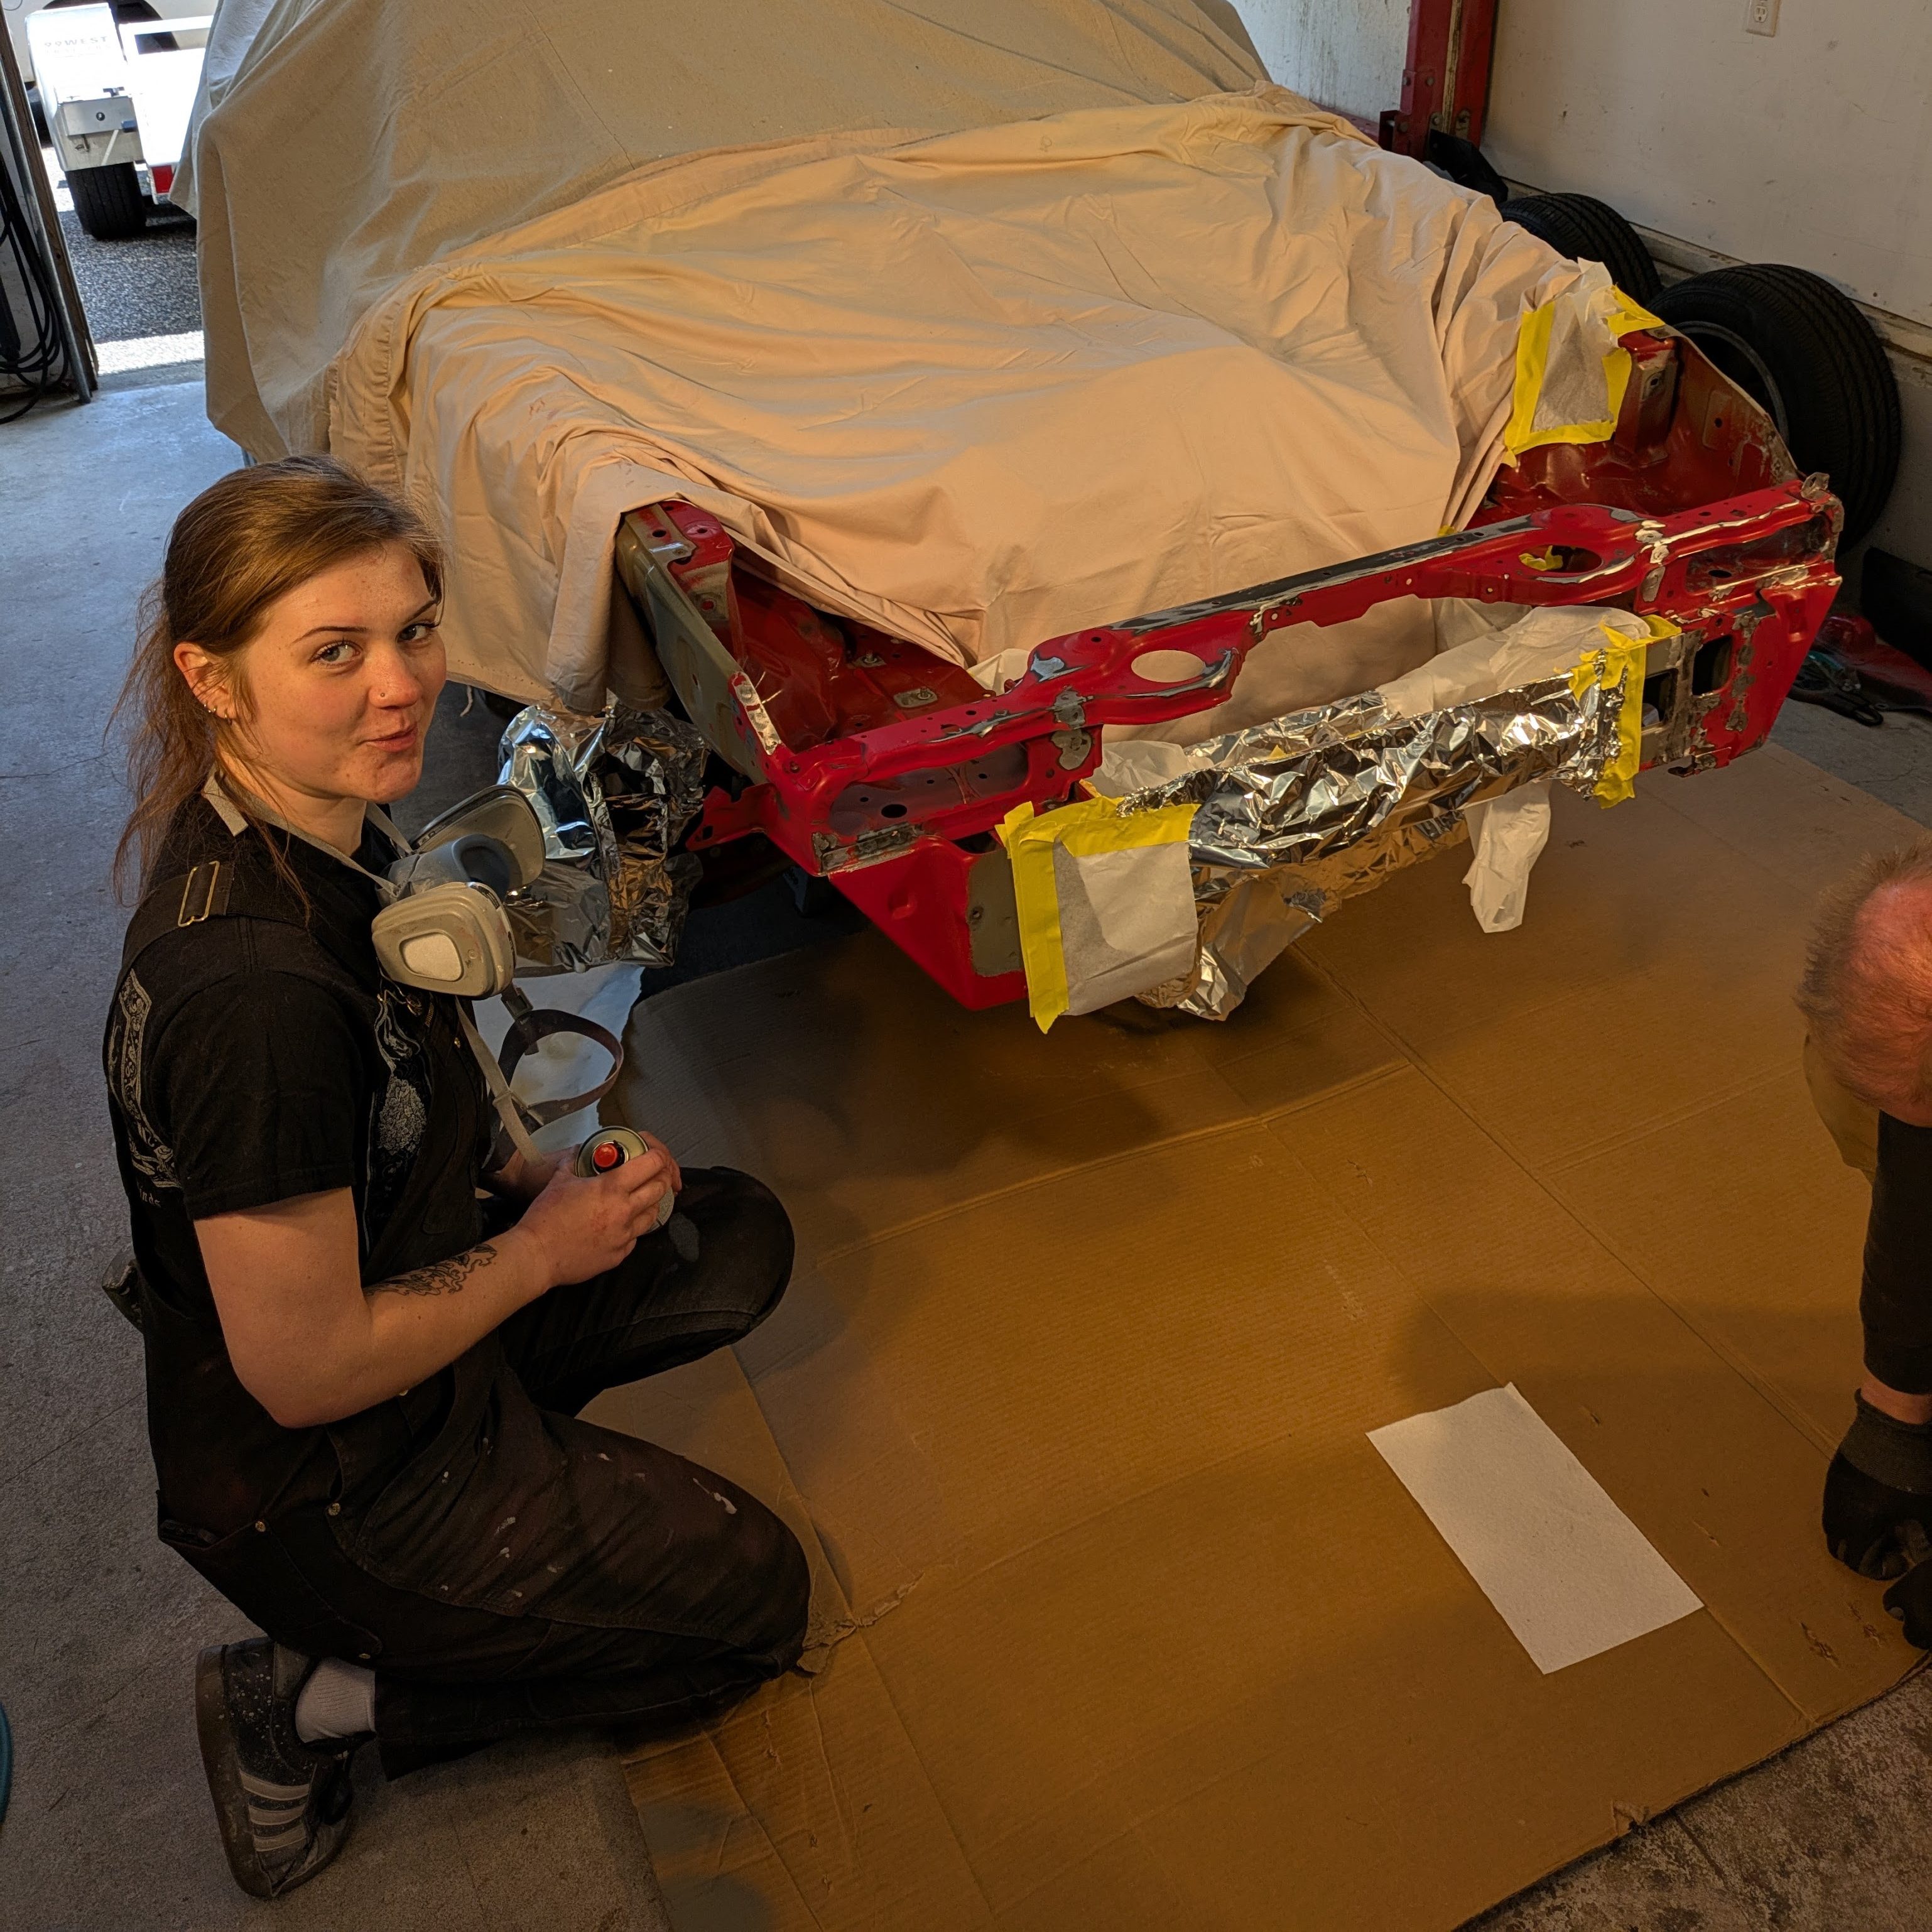
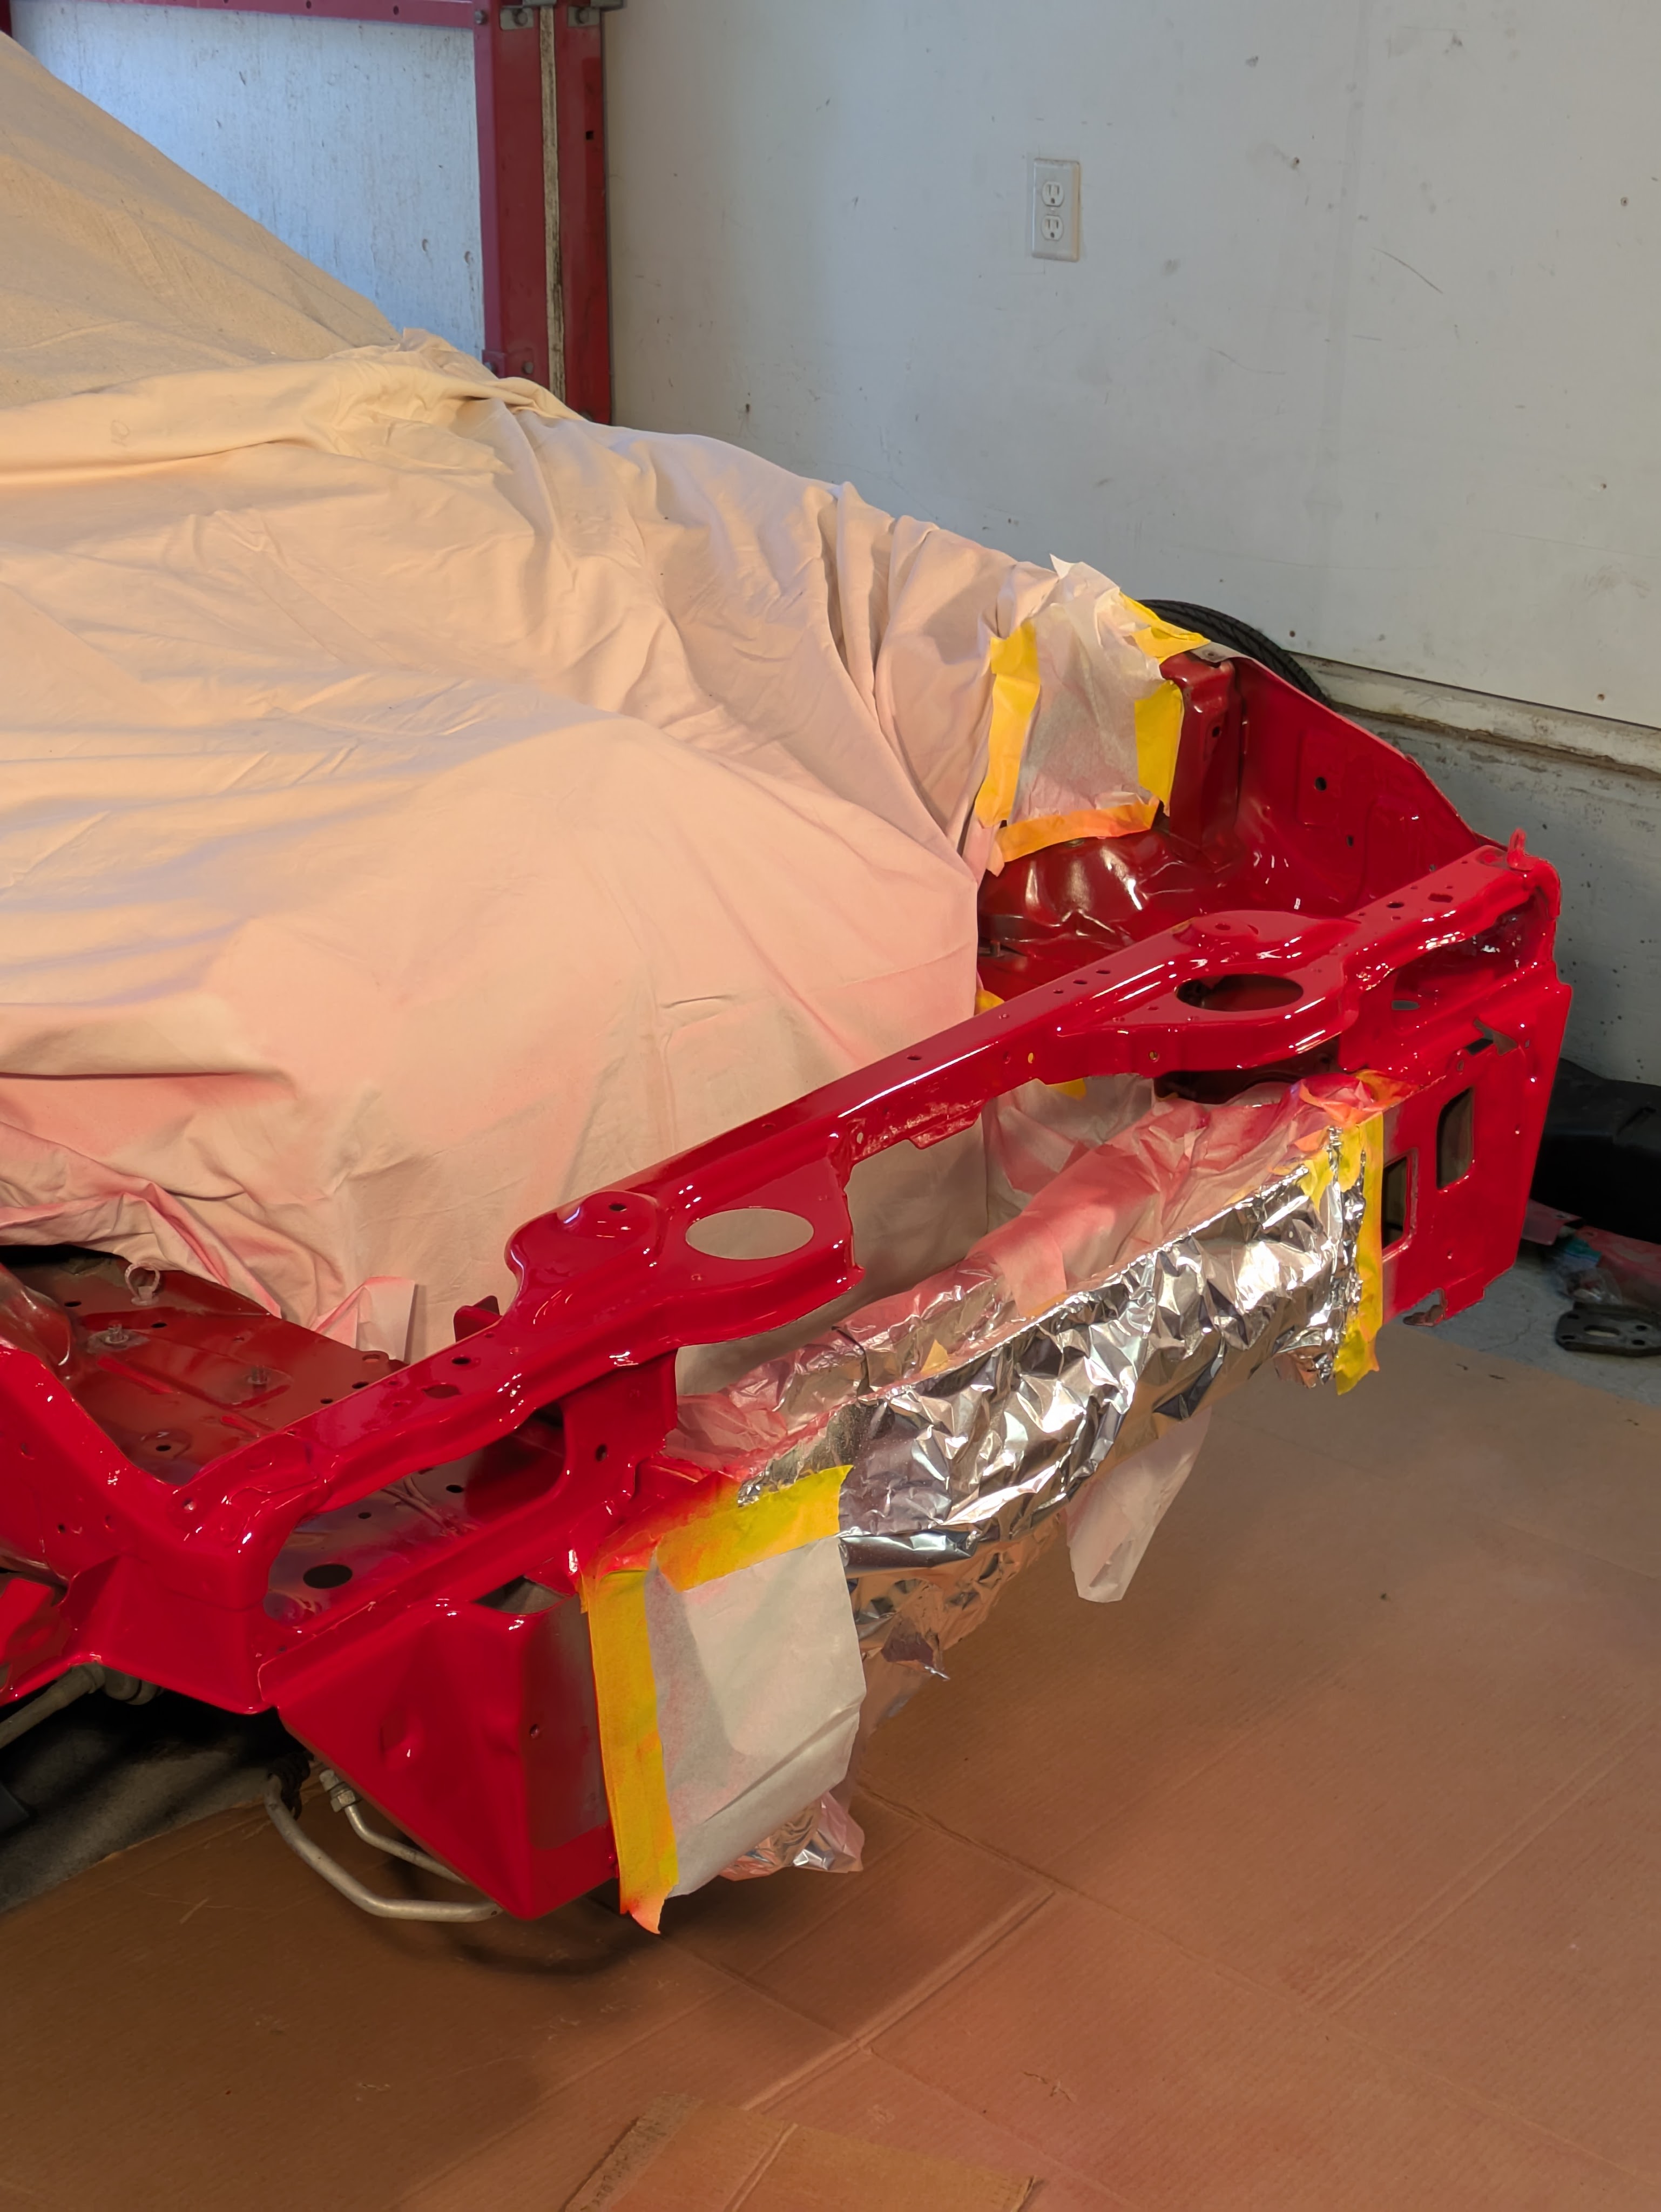
While I was away for the day (towed up Thursday, it’s now Saturday), Ed had spent time in the apron with a hammer and dolly really perfecting the already excellent work that Body Juan had done with the frame machine. Different levels of patience for little creases between the two laborers, but the combination was excellent. On top of that, my sister had come through to mask and prep the area, and I held up my part of the deal with materials.(and later food, the really important part)

Similar to how we did the fender on my S13, given the visibility and region of the car, I opted for catalyzed single stage in a can. She first layed down a 2k SprayMax Primer, which flattened out great.

After coating all the bare areas in primer, it was time to move on to paint. I ended up using a similar, but different service to one we had used on my S13, which was 66 Auto Color out of Missouri. While mainly dealing with classic American paint codes, what caught my eye is 1. that they had Mazda SU Classic Red, and 2. they were a SprayMax distributor, which is a product line I had great experience with on various past projects. The ability to get catalyzed primer and paint from the same location from the same company (so we knew they wouldn’t react to eachother) was a big sell, and their prices were very reasonable.
I opted for the Beige 2K Epoxy primer to try to match the base hue of the factory Mazda E-Coat as best I could. It turned out a bit brighter than stock, which is fine, because it matches the exterior paint very well, just not the rest of the bay. Meh, whatever.
The paint was also SprayMax, but this time a 2K Single Stage colormatched can. I knew base-clear would be a waste considering what portion of the car this is, so single stage is perfect.
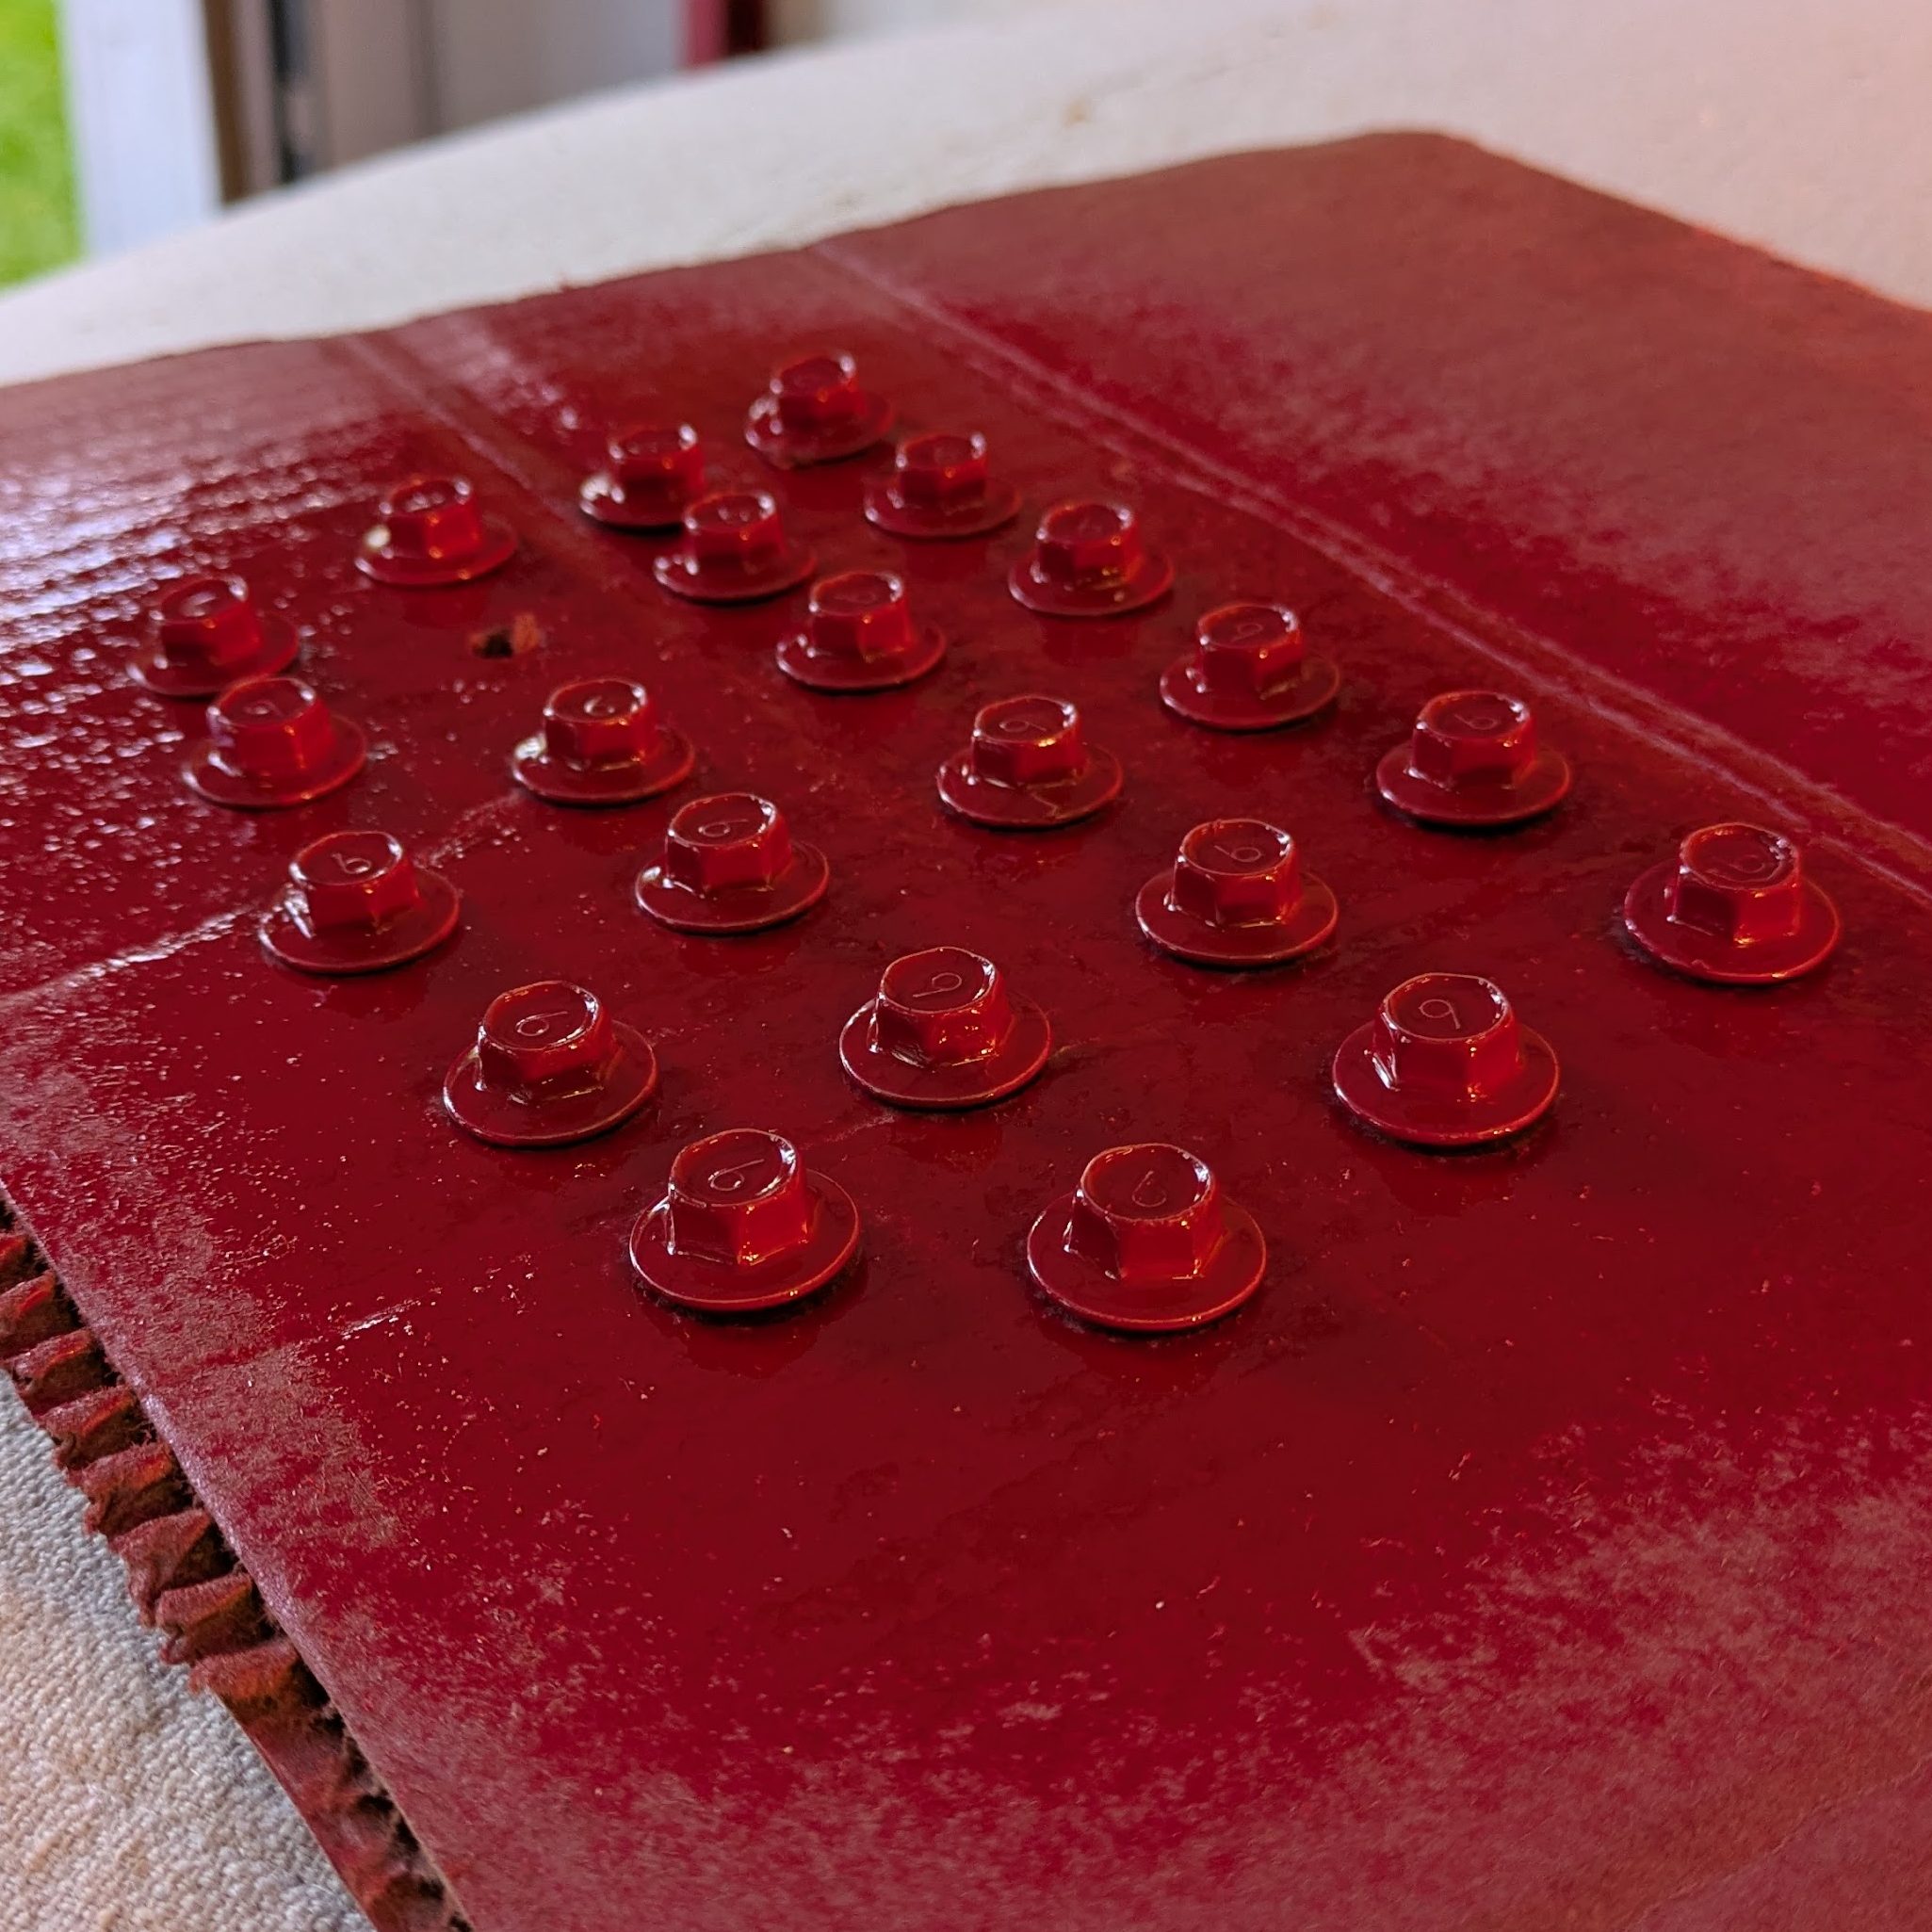
While we were busy waiting for paint to dry, a few sidequests went down, including some light PDR (Ed can’t help himself) and painting of the fender bolts as the shabby old paint would be in stark contrast to the brand new fenders.
The final step of the day was one I was anxiously awaiting. Those familiar with Miatas (and a lot of 90s cars frankly), are aware of the factory rockers being textured and painted black to hide abrasion from road sediment. While my new fenders didn’t have the texture coat below the body line in the door (probably could have had Paint Juan do this, but this job already overran what he thought it would in time and materials, and I have a lot of respect for his time and talent). What I wasn’t willing to compromise on was the visual disturbance of not having the black rocker on the new fender. However, I wanted it all to match, so that was going to involve redoing the entire rocker.
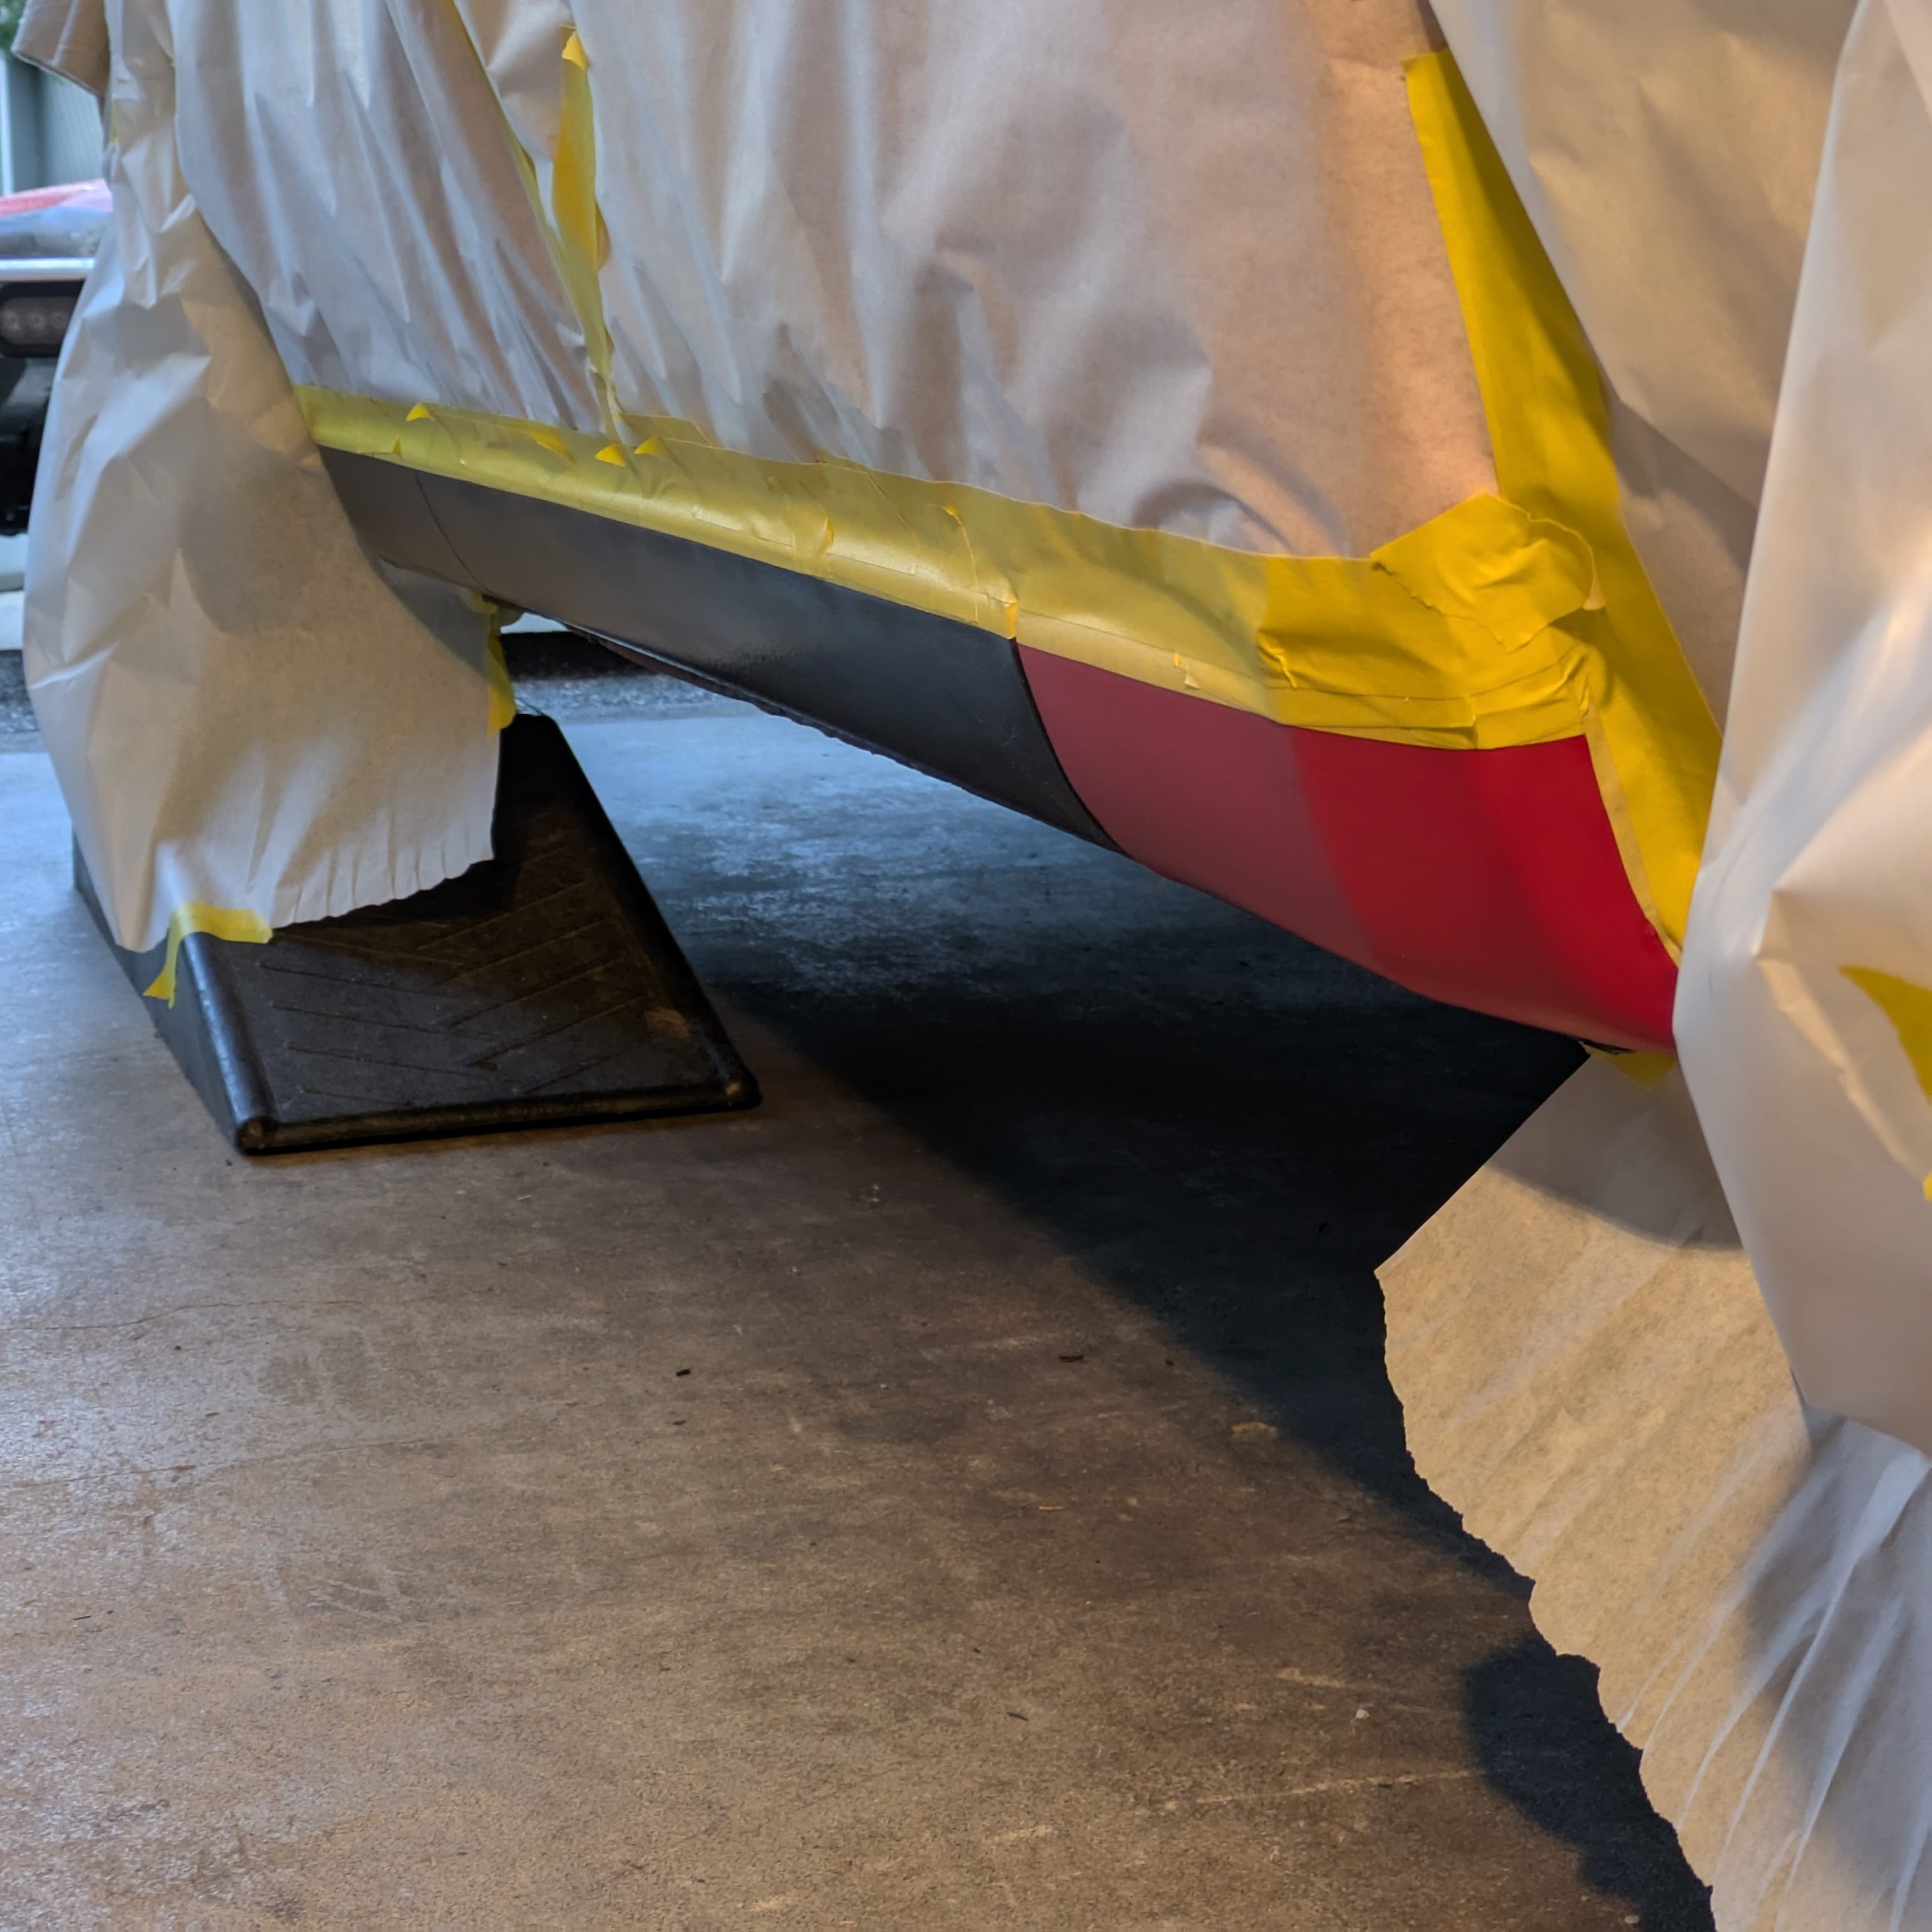
After prepping the entire rocker panel, including scuffing up my brand new baby soft paint, and a precise masking job, we were ready to spray.

Continuing on my can crusade, I found that Raptor sold a canned version of their rubberized truck bed liner. The company and product had already earned a solid reputation in the Youtube restoration community, so I had confidence in it’s finish and durability. We sprayed it on nice and thick per the directions, and…

Oh what a feeling. It laid down exactly how I had hoped it would, and looked flawless. The tape lines turned out super clean, and I had paid careful attention to the fender to door fitment before spraying it so when they were permanently installed, they would line up exactly as sprayed.

At this point, excitement was increasing for the project, and so was the momentum. Now it’s just down to me to get it all back together. I had had incredible help from very talented people to give me a hand with all of the refinishing, but the nuts, bolts, and final touches were on me.

I towed the car back to Seattle, and the car had to come more apart before it could go back together. I pulled the cowl and belt moldings to get to those tight to reach places for both polishing and cleaning, as well as to freshen them up.

Once FULLY stripped and ready for refinishing, I wheeled the car outside and gave it a decontamination wash. Not to get down a whole detailing side tangent, but I was finally ready to engage the accrued knowledge of watching Obsessed Garage for the better part of 8 years. I had been building my detailing arsenal, and this was the first car I would have the chance to go full OG spec on, which I was stoked about. My goal was not concours-level perfection, but to make the old paint match the new in terms of finish once everything was coated and back together.

I decided to hang panels before polishing the car. Half to consolidate the volume of space the car was taking up while disassembled, and so I could feel guilt free taping up less than perfect paint for the fender and hood install and refinishing after. Besides, I wanted to be able to coat the car in one shot and then enjoy my work as soon as it was cured. Enjoy the speed montage of reassembly.


Alright, rapid fire over. The next step was correcting and protecting the new and old paint. The new paint was pretty much ready to go, but the old paint was in desperate need of correction and touch up as its rather old. Through this process, I discovered the entire car had been painted at some point. Not sure when, not sure why, but it was done alright overall. I’m chosing not to insert any images of the paint correction as 1. its not that interesting, and 2. my LED lights in the garage mess with the camera making the photos rather unappealing. Needless to say, its now equally as shiny as the fresh paint.
I used either a 2 or 3 step correction on the car depending on area. The more horizontal and visible panels were more scrutinized as they are more impactful. Rupes Blue cutting compound did an excellent job of removing all of the bulky scratches and defects when paired with a Rupes microfiber cutting pad. The less visible areas were compounded with Griot’s Fast Correcting Cream on the same pad. For finish polishing regardless of compound, Sonax Perfect Finish on a yellow Rupes foam pad took out all the haze and left a clear, glassy surface. For my first complete car correction, it turned out really well, especially considering the purpose of the car.
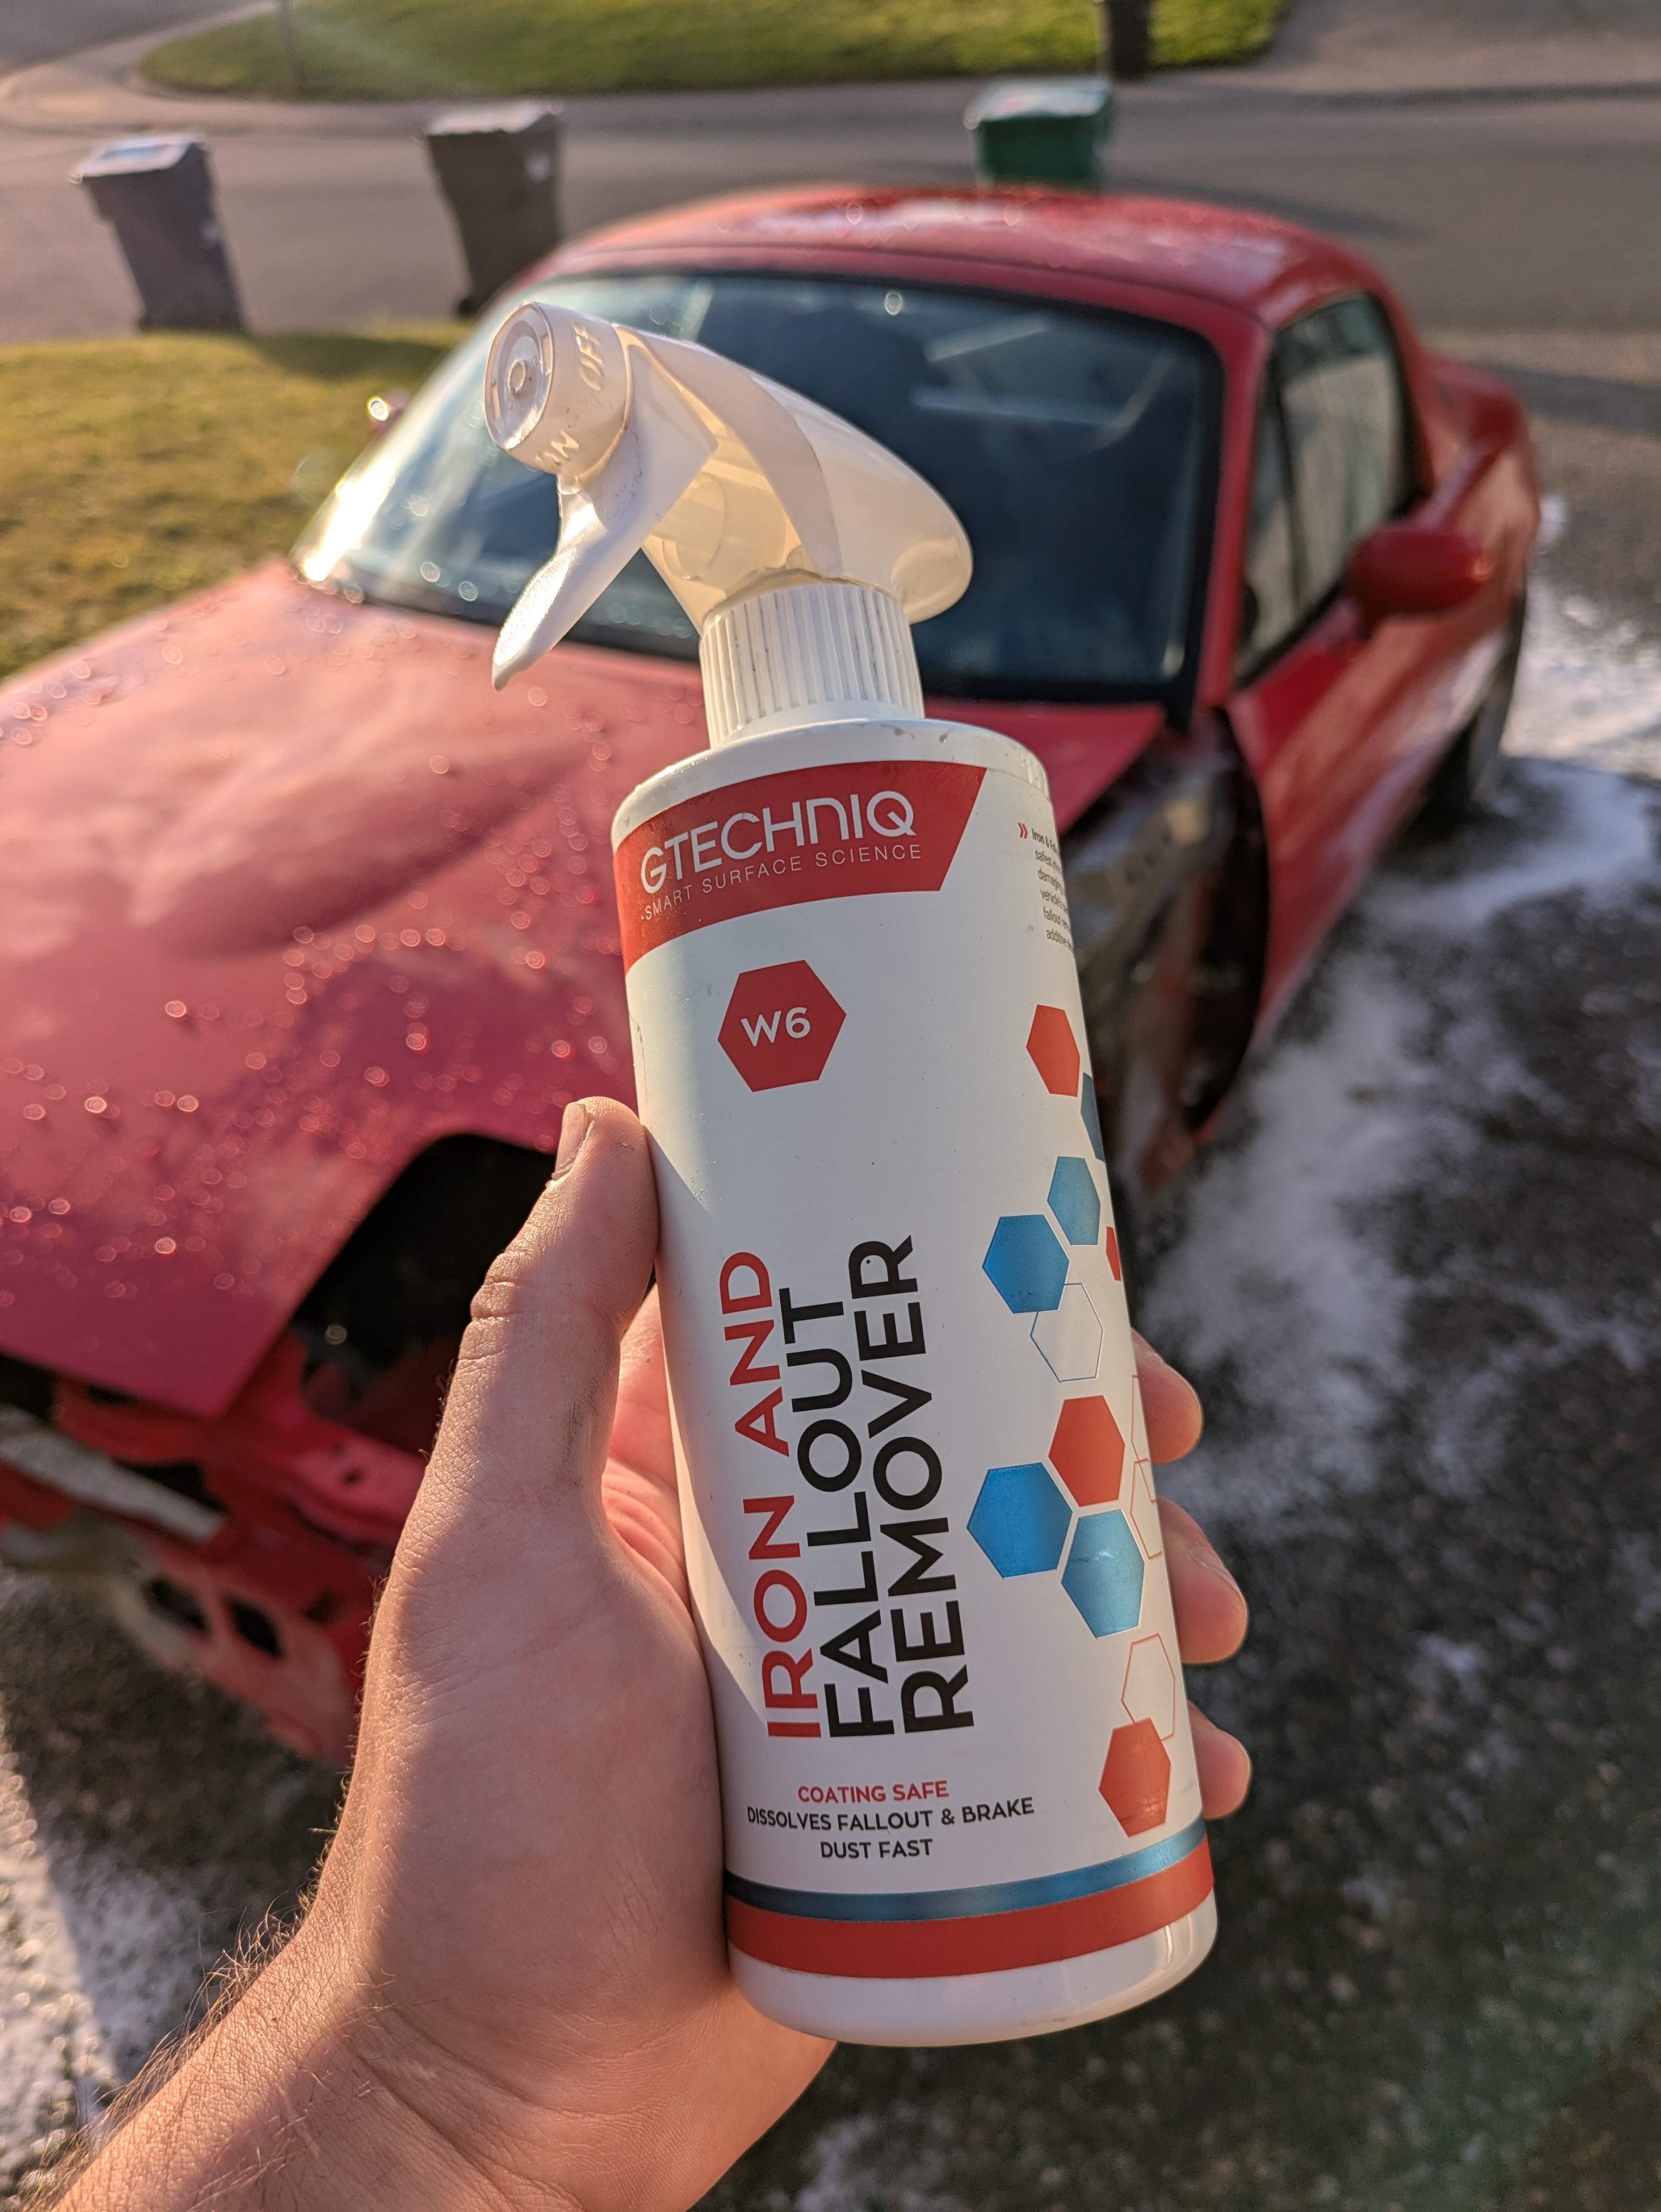
I coated the car in a single layer of Gtechniq Exo V5. While an excellent coating, and I’ve had great luck with GT products in the past, this is the one product that was a minor letdown as its really meant to be layered, at least with 2 coats. The single layer was a very intentional decision, as this car will accumulate damage over time, and I would like the ability to polish out cone marks or track rash without needing multiple coatings on hand at any given time to touch it up. I also wanted to be able to touch it up in one shot and be done. If I had to do it all over again, I would have probably used Gyeon Mohs Evo II as it seems to be an awesome single layer coating. Either way, the coating does it’s job. The car stays really clean, is pretty pleasant to wash, and looks great.
The glass was addressed as well. All exterior surfaces were coated with Griot’s Fine Glass Polish and their glass pad. While glass polishing is really just glass cleaning at a really deep level, it is a nice bit of prep before a surface treatment. I coated the glass with Wolf’s Nano Glass Sealant. Another Obsessed Garage recommendation, and it works quite well. I’ve driven the car in the rain a few times, and while not the most slick, it looks great and holds up (so I am told). This is honestly the part where I chickened out. A dedicated ceramic glass coating would be far better for objective performance, however I had two concerns:
1. I absolutely fucking hate water spots, especially on glass. Ceramic coating is known for its water spotting properties, especially with fluctuating temperatures as the substrate expands and contracts (more of an issue on paint), and I wanted a sealant that I could quickly strip and redo if needed if water spots do accumulate.
2. Due to this car’s purpose, I actually need stickers to stick to somewhere on it. The paint was out of the question for a multitude of reasons, so I needed to leave a little bit of surface grab somewhere for tech/rungroup stickers. This should strike a nice balance.
Alright back to pretty pictures of polished and coated parts. Hopefully you stuck through that wall of text.

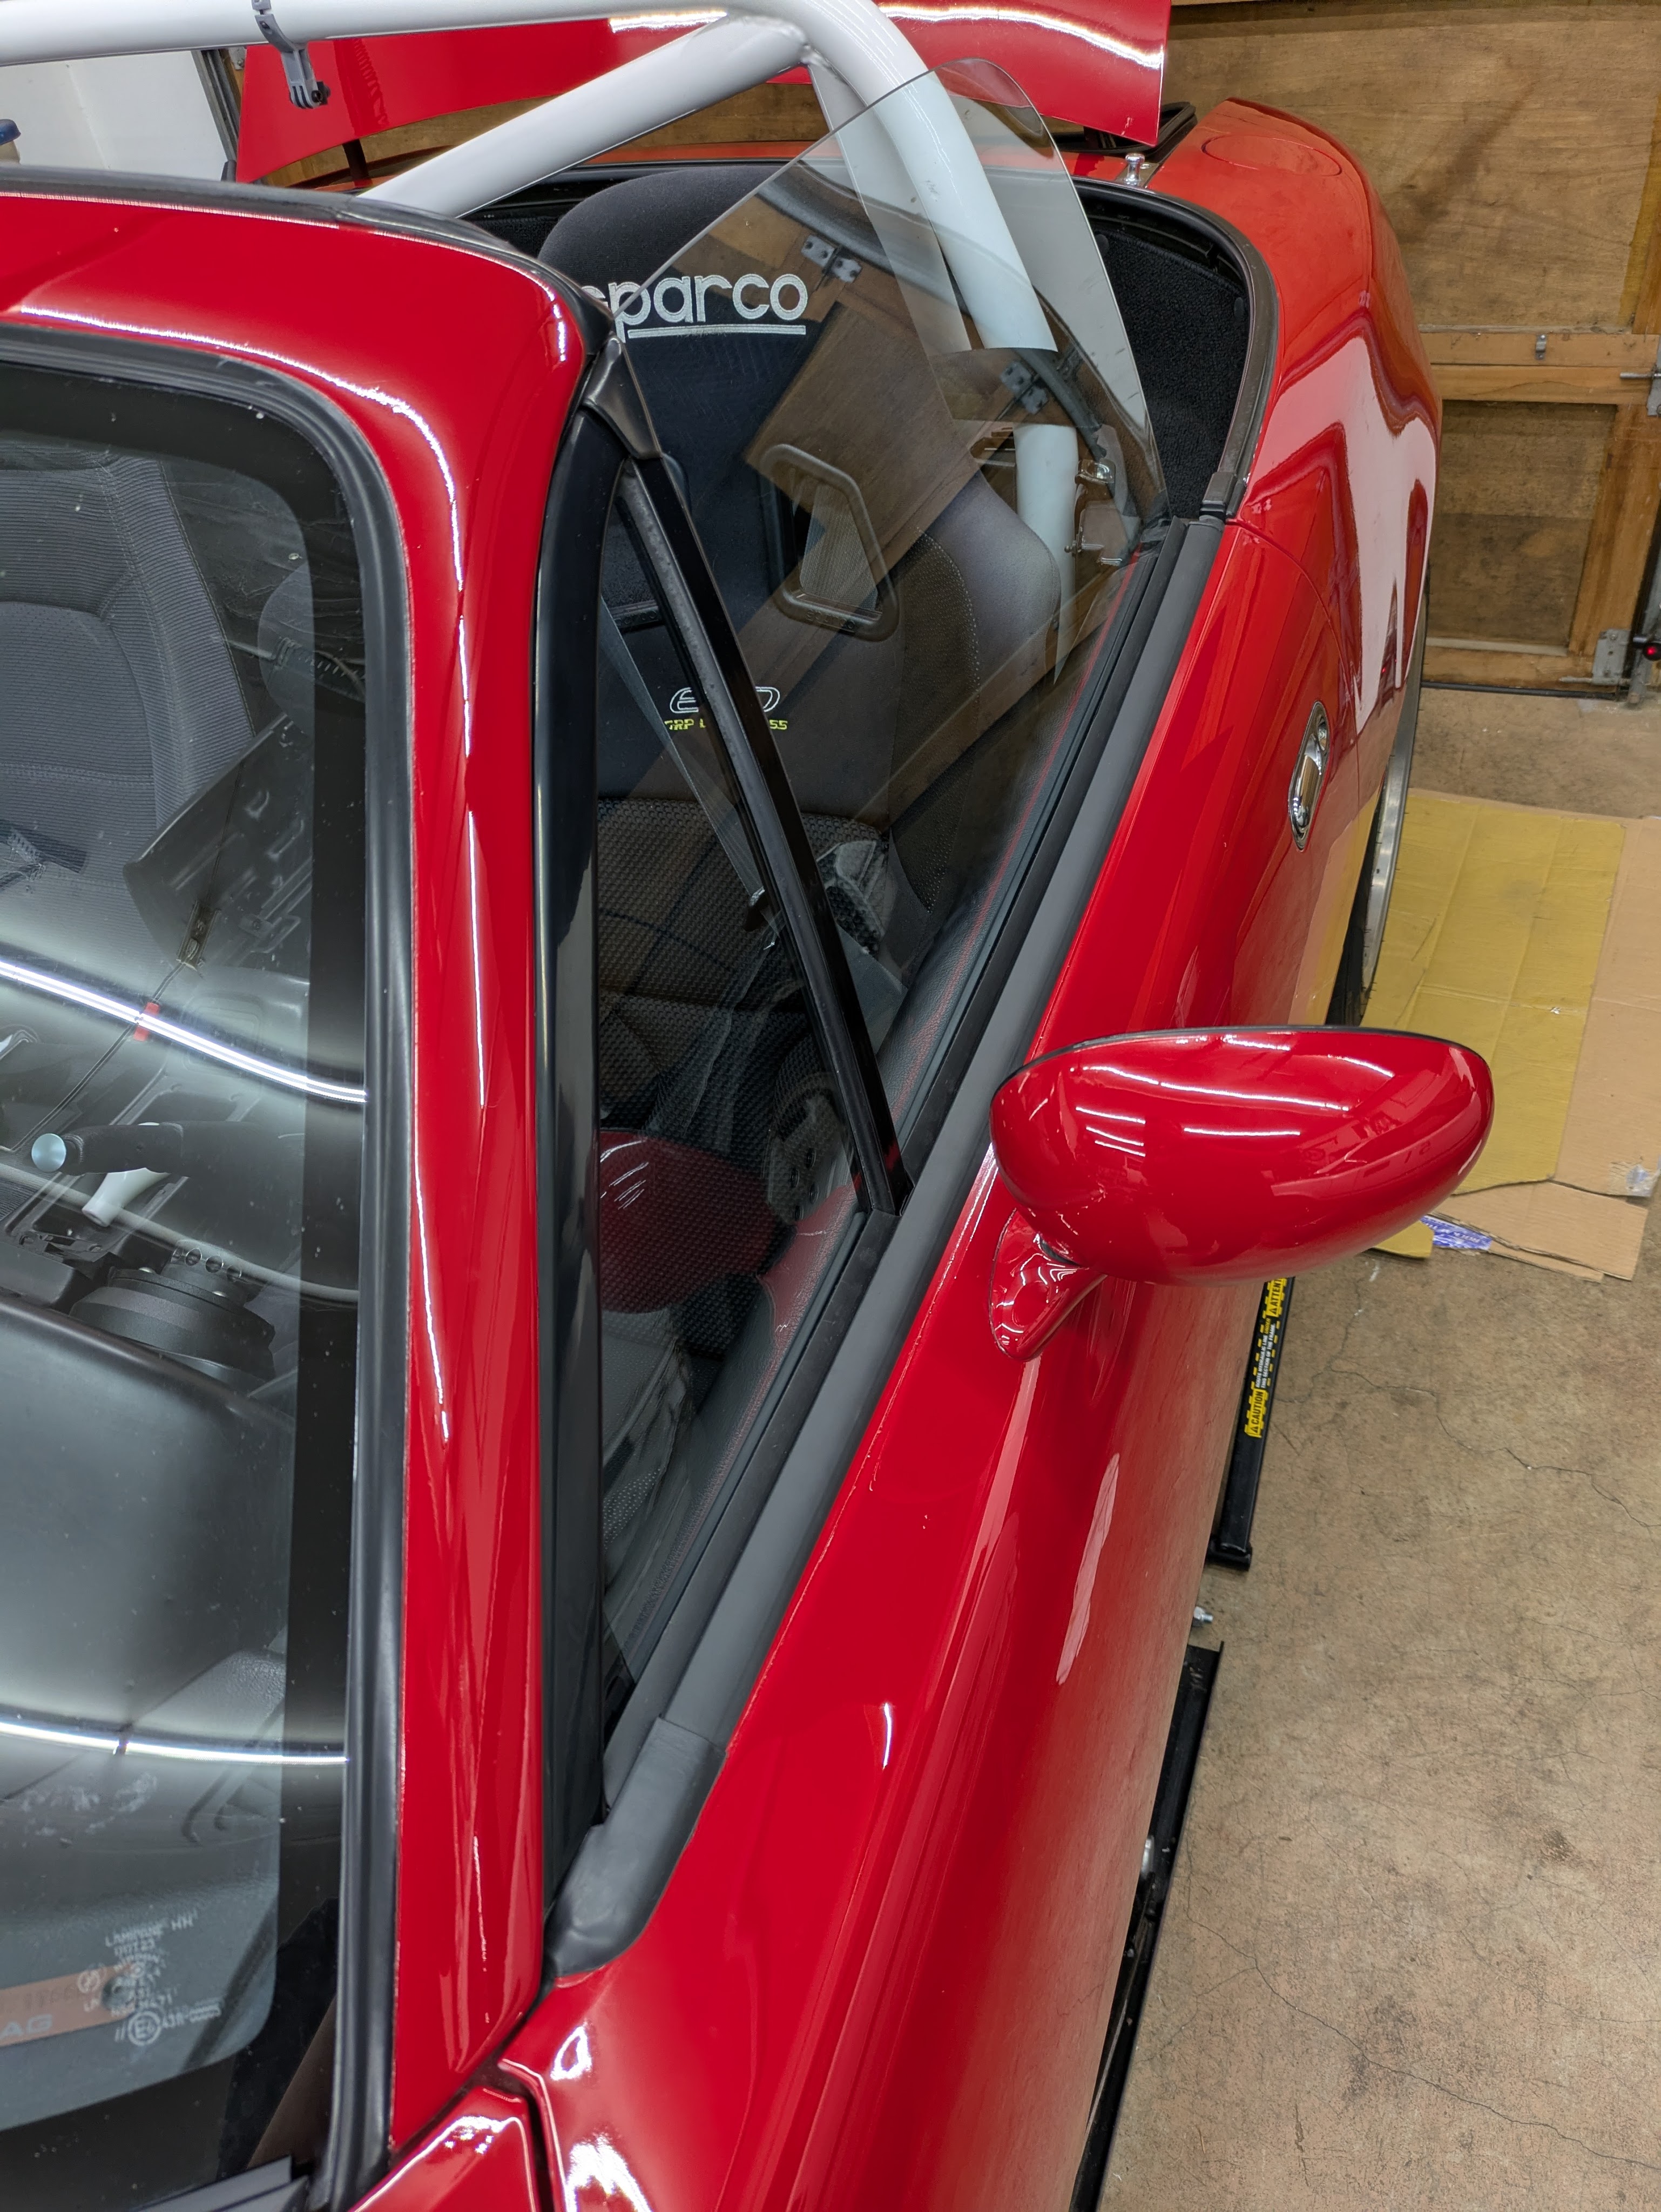
After the coating cured, it was time finish reassembly. The hardtop got new edge trip, both that runs the circumference of the hardtop, as well as the corners. While tricky and anxiety inducing to install, its one of those little touches that made a world of difference in the final product.
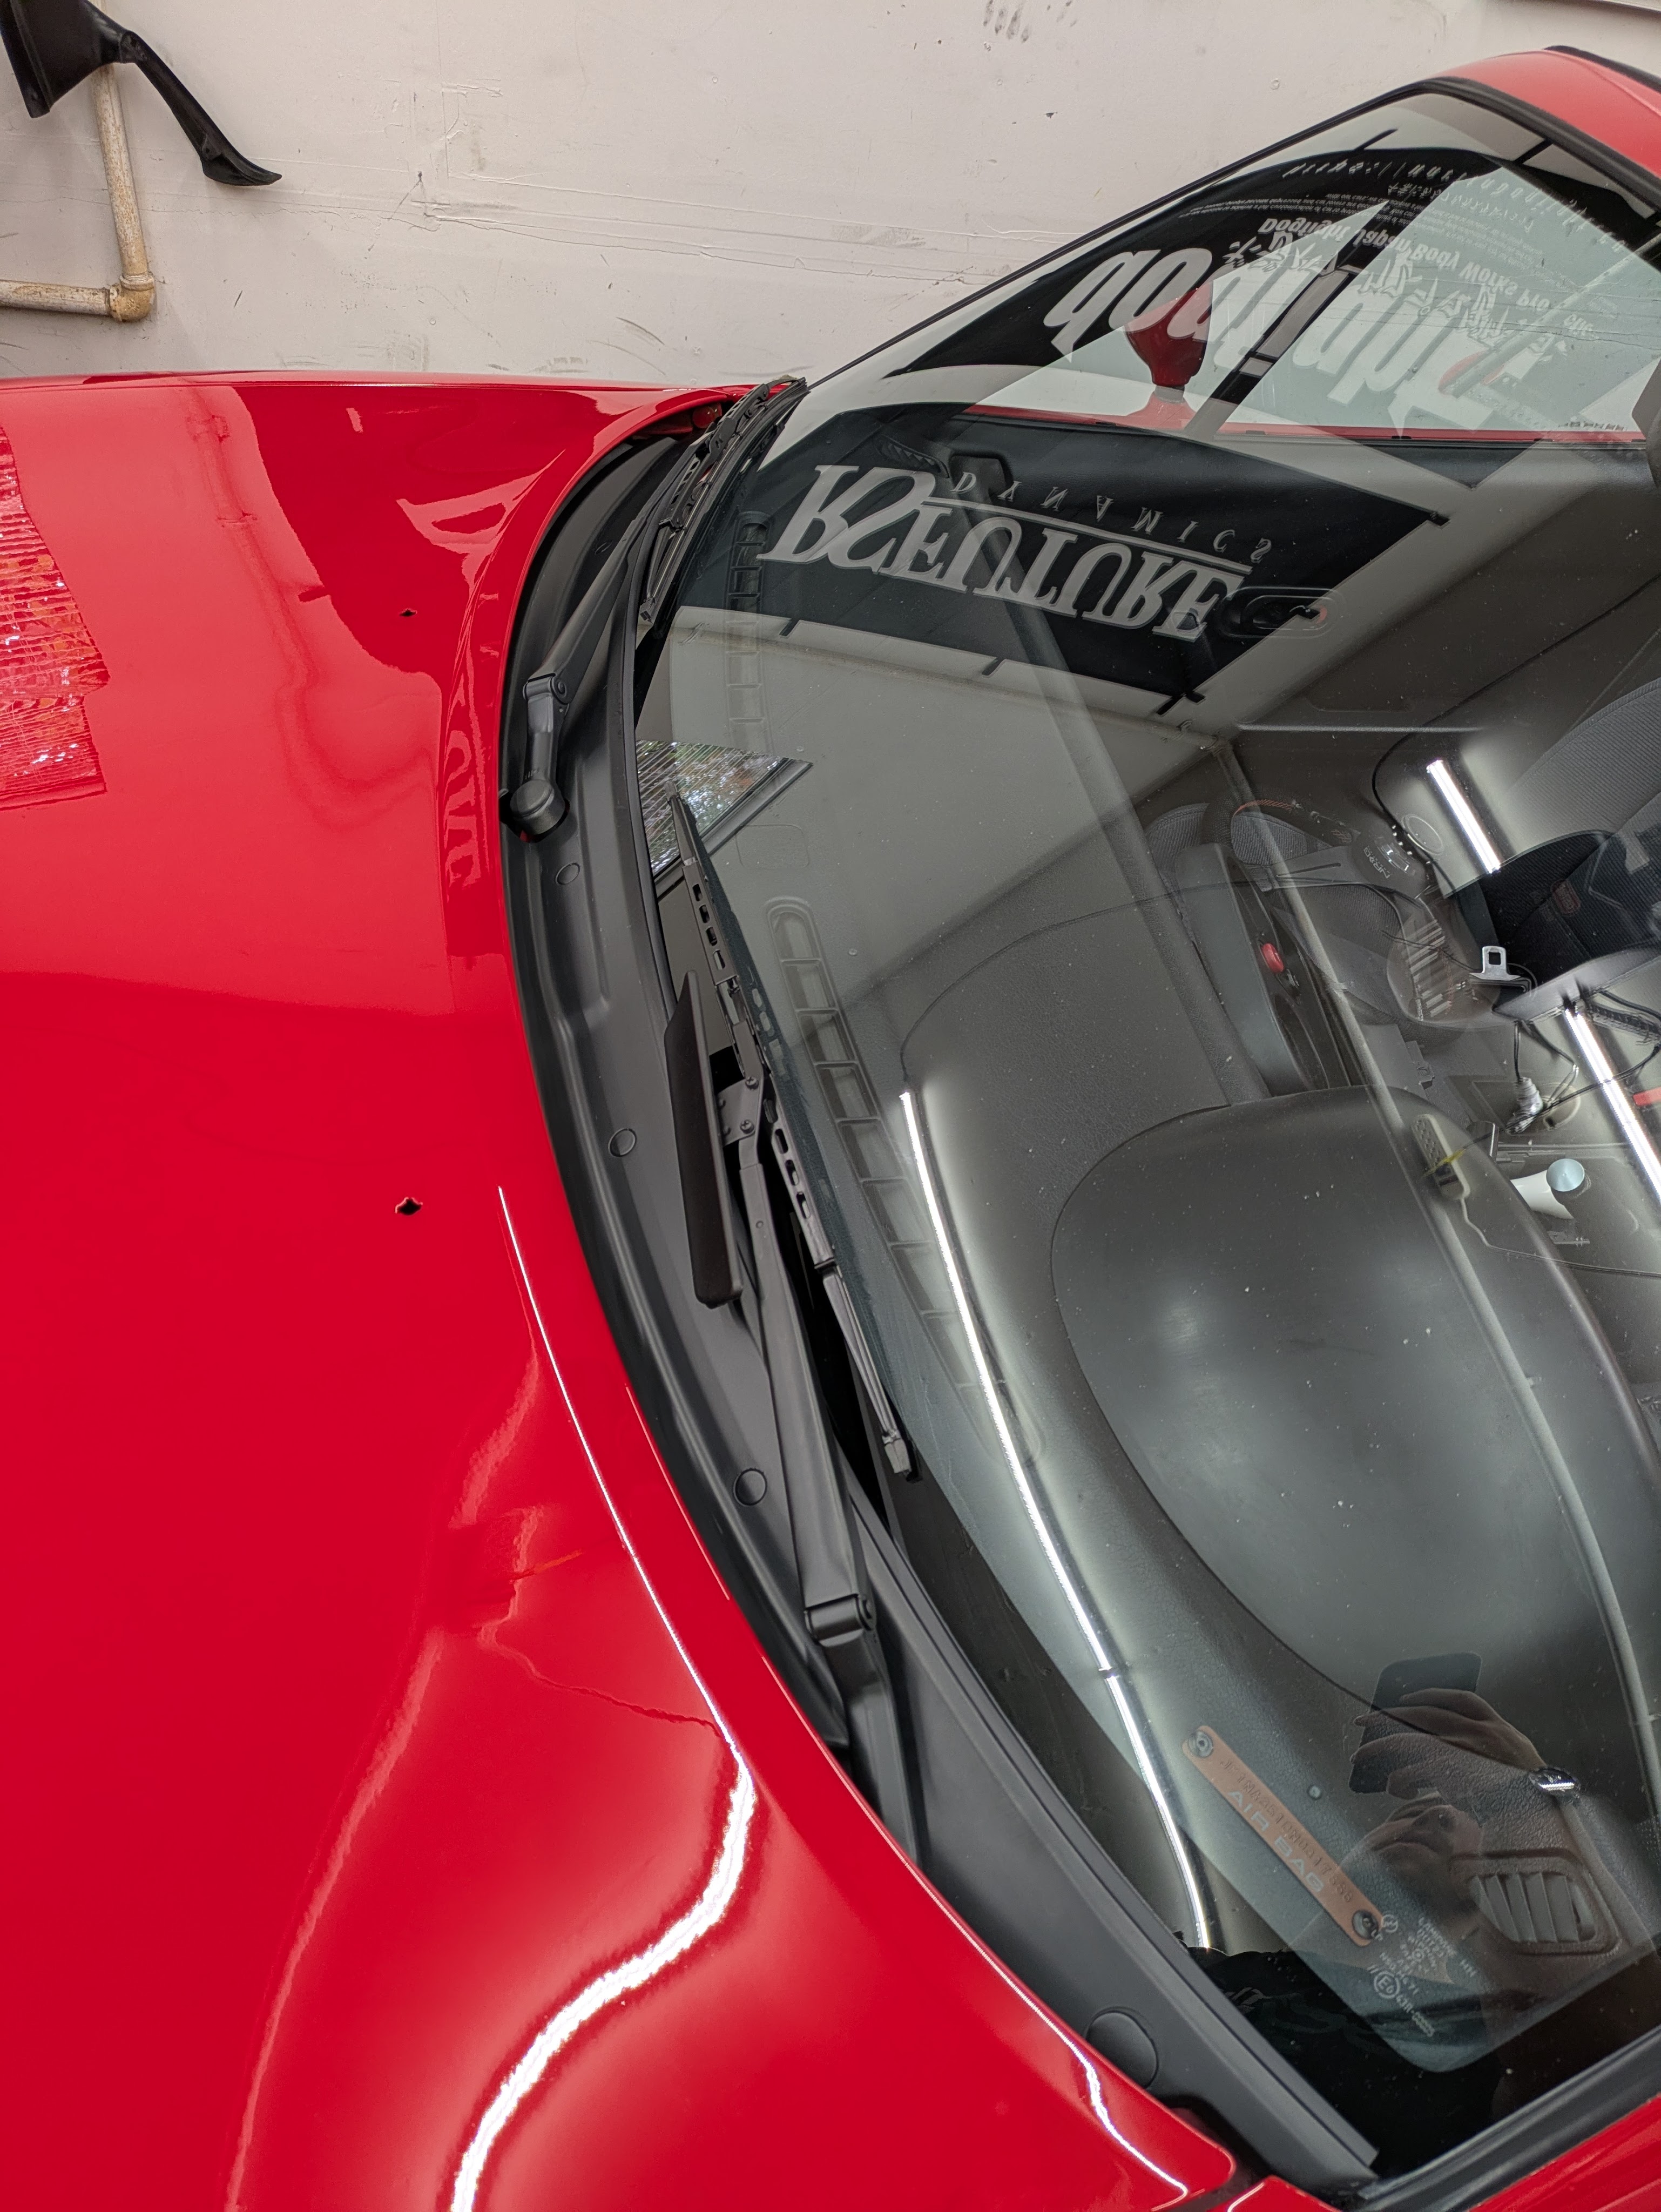
I was able to acquire an uncracked cowl off a local partout, and combined with SEM Trim Black on the cowl, wiper arms, and screw covers combined with a new edge seal, it turned out amazing.
Before final bumper assembly, one of the items I wanted to address was the faded front and rear lips I had added the previous year. Obviously both being eBay’s finest, the material did not resist the environment well, and they both turned to an shade of grey real fast. I hate painting trim, especially flexible trim near the ground, so SEM Trim Black was out. I opted to coat them with GTechniq C1 Trim Restorer (shown below), which also failed in a disappointingly short time. I have since redone it with Wipe-New, an As-Seen-On-TV product that I have used in the past and despite its position in the market, it fucking works. Has already lasted longer than the higher end stuff.


Right as assembly was concluding, a side quest item returned from a cross country adventure.

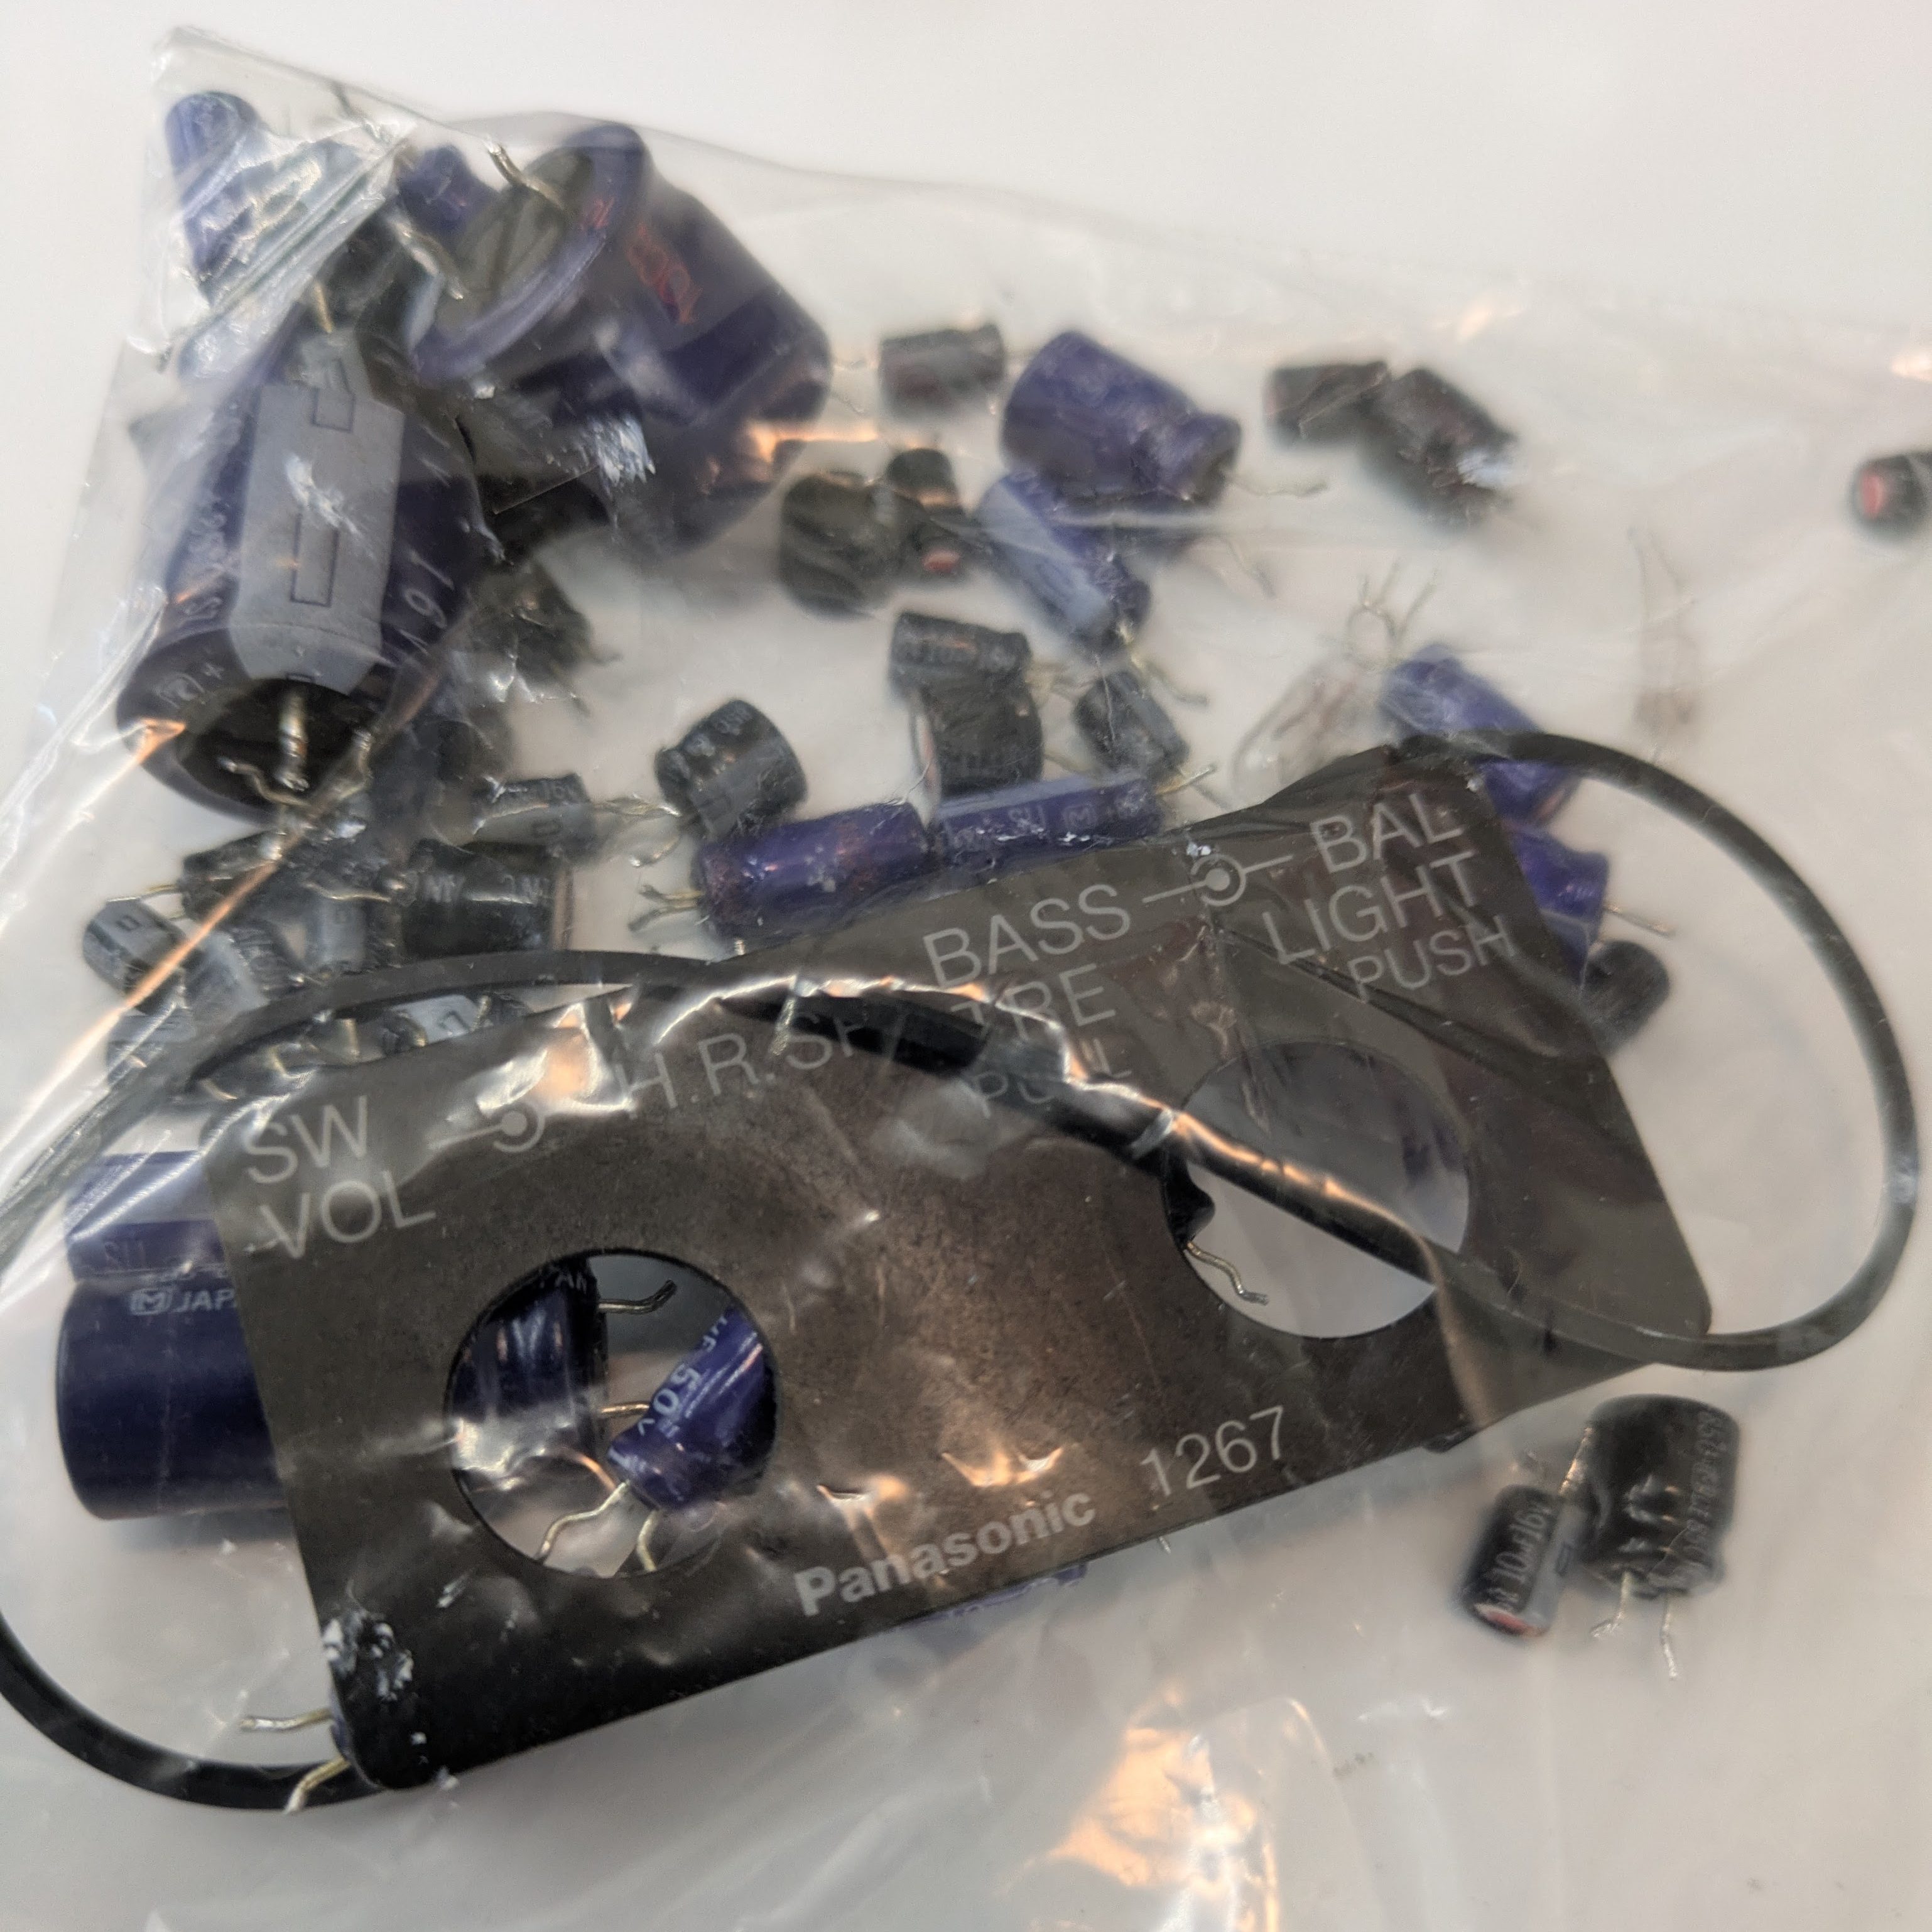
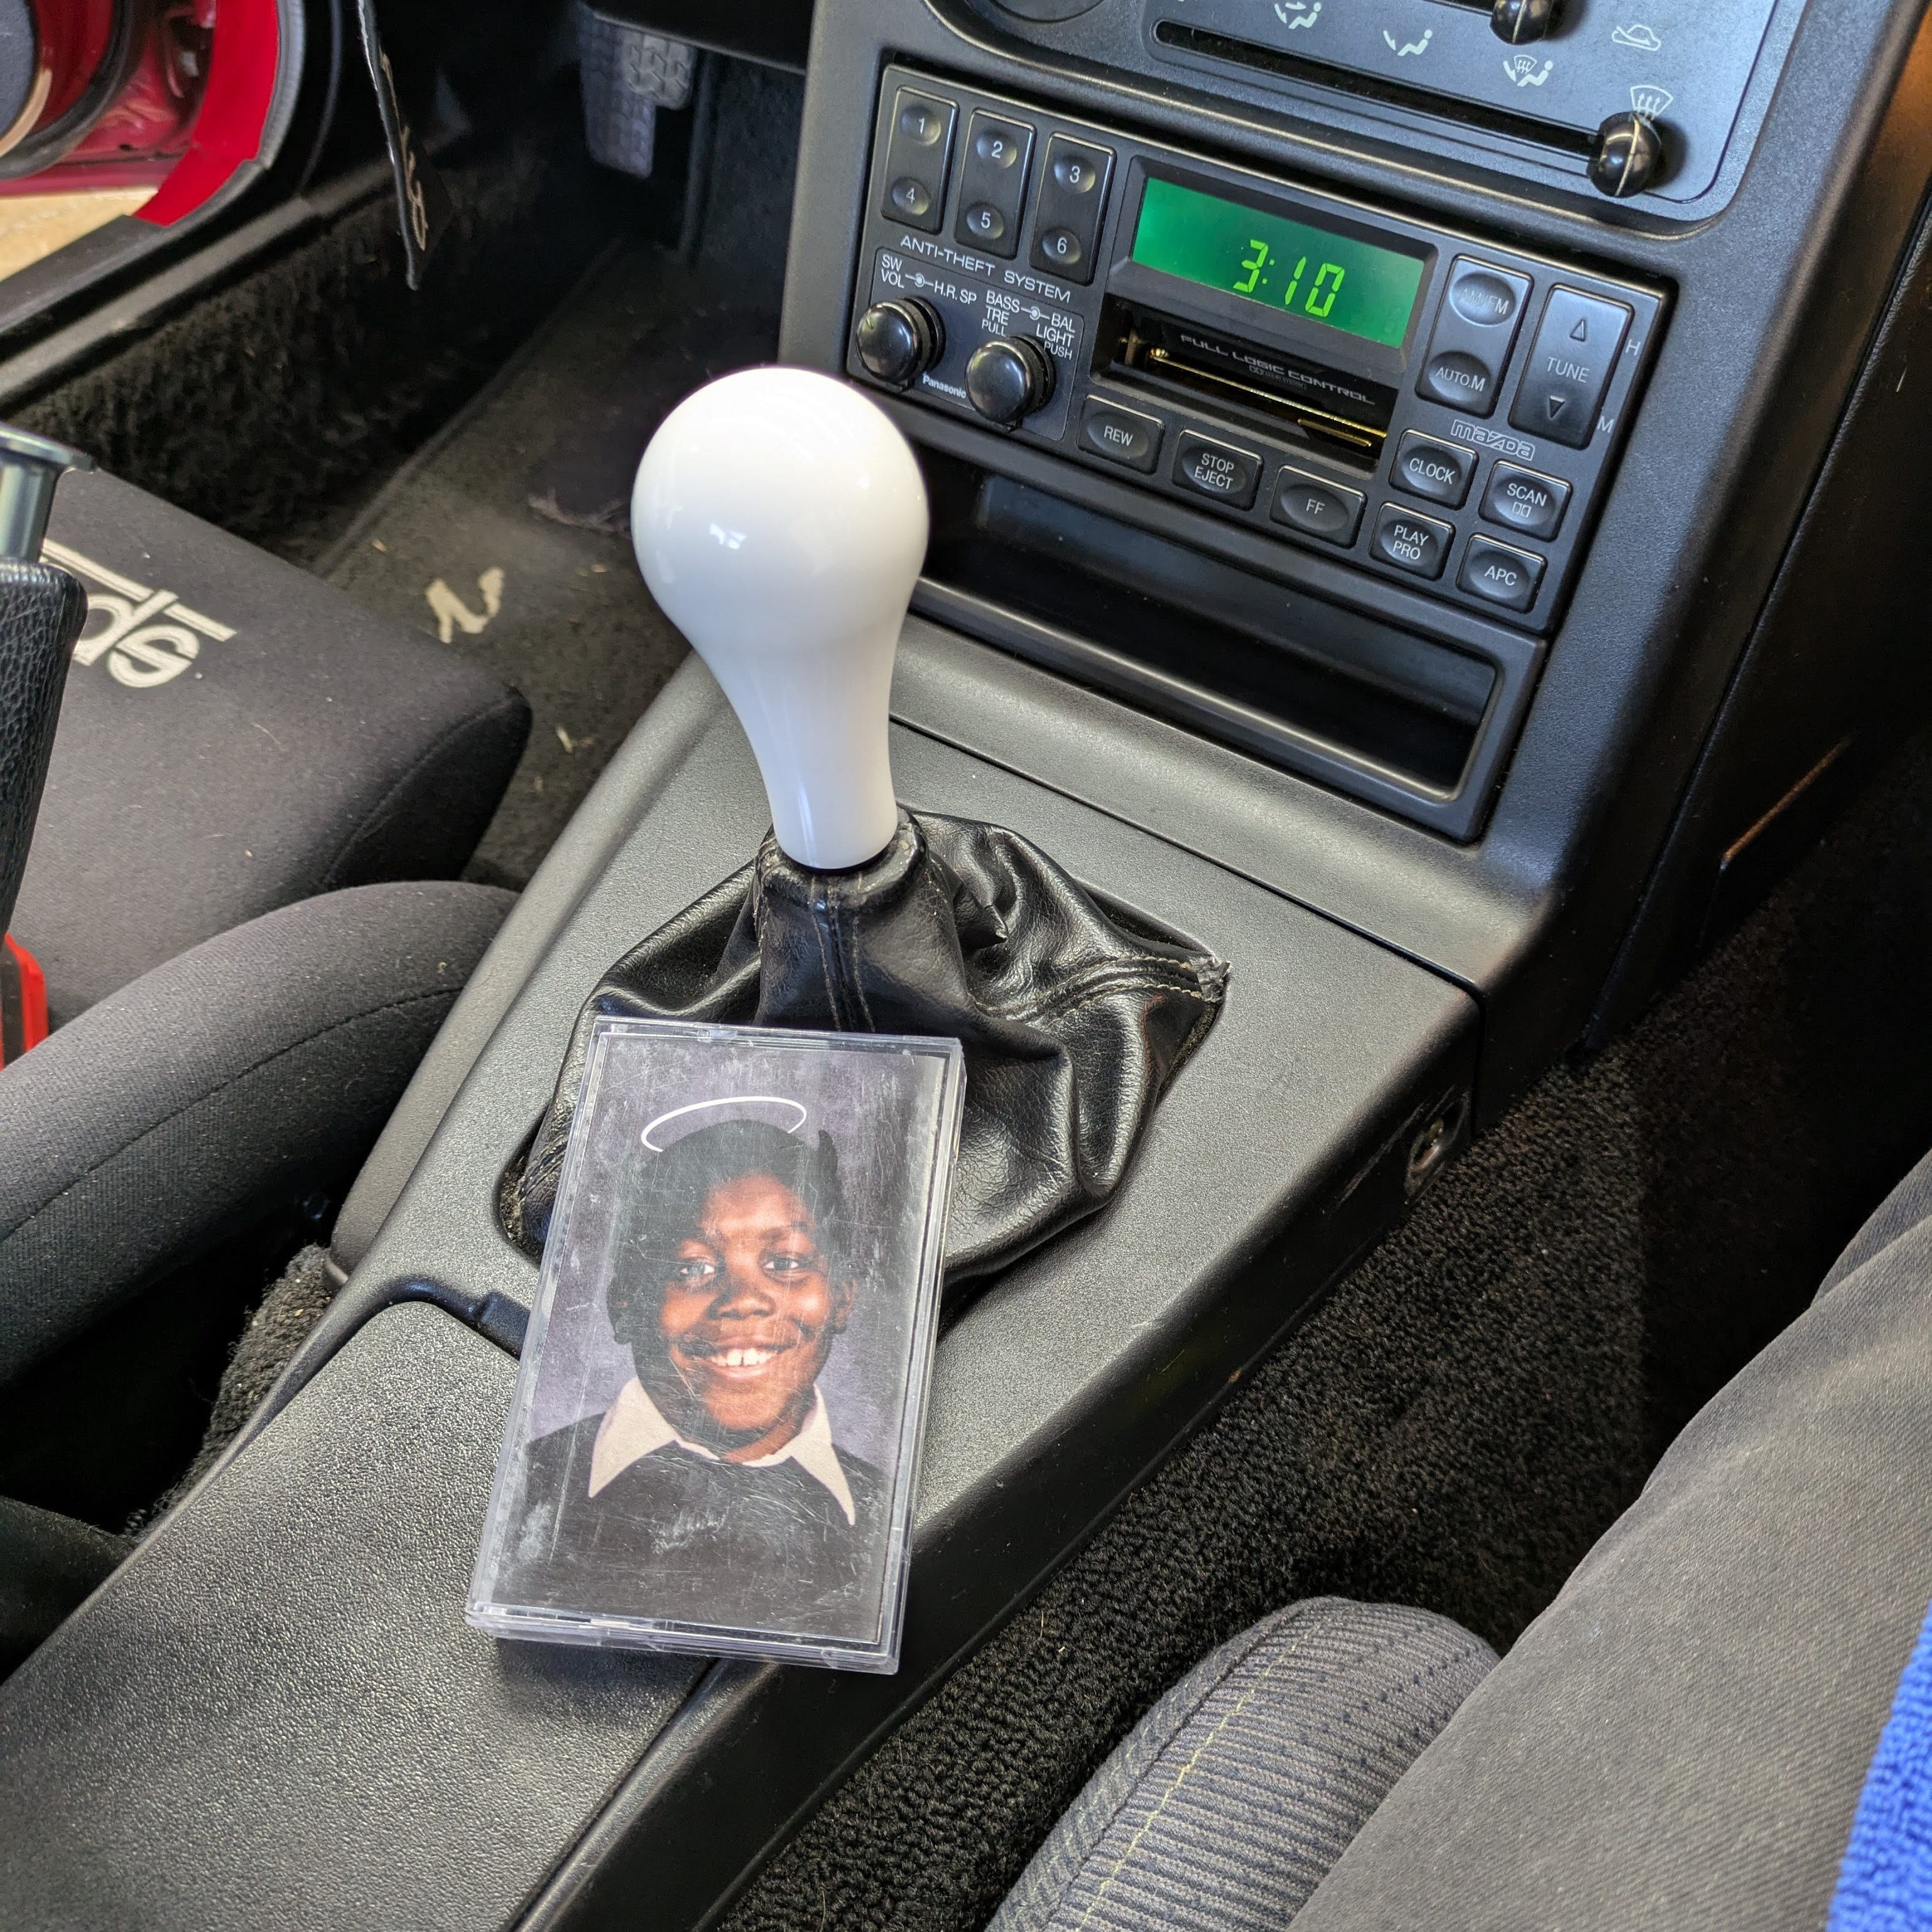
One of the coolest bits that my car had when I got it was the original Mazda-Panasonic 1267 factory head unit still in the car. While lacking features in the modern era, its fitment and consistency with the rest of the interior let it be leaps and bounds ahead of anything aftermarket. Additionally, due to the technology emerging at the time when this car came out, many of these head units were removed in favor of aftermarket ones, making an original incredibly rare, particularly in NA6s.
While I have an incredibly limited cassette collection, I got around the large annoyance of a lack of Bluetooth with a cheap Wireless Bluetooth Cassette adapter from Amazon. This was a work around, but had a few quirks:
1. The fact you had to charge it kinda sucked. It lasted a good 12 hours, but every once and a while, music is no longer available.
2. It only really outputted right channel audio. This is apparently a quirk of most cassette adapters, I just hadn’t encountered it up until this point.
3. I don’t know if this counts as a quirk, but wireless cassette adapters FUCKING OBLITERATE anything that they touch within the head unit. This is something I discovered later while researching why my head unit magically wouldn’t take a tape one day.
One day on the way home from work, quirk 3 reared it’s head. After discovering that it needed repair, I was left with a two options. Either give up and replace the head unit with something aftermarket (which was going to be expensive, since the only one I really wanted was the Blaupunkt Bremen SQR 46 DAB), or attempt to repair it.
There was a well known fella on the Miata forums by the name of Jeff Anderson. He was the guy for many years for Miata audio things, and was renowned for innovative products and services he would market on the forums. He offered a repair service with an optional 3.5mm jack that he could add into the factory unit. Unfortunately, Jeff passed away in 2022, leaving that option unavailable. RIP, literally.
Luckily for me, there was a new kid on the block, by the name of Brandon Bishop. He runs a service called Bishop’s Vintage Car Stereo Repair. He has rebooted publicly available vintage radio repair as a side hobby, with a specialization in Mazda (although he has done others). While he is very up front that he is no Jeff Anderson in terms of electrical engineering wizardry, he has gone to great lengths to keep these old belted machines going, and I love supporting those niche services. His full rebuild service includes belts, bulbs, capacitors, and any other wear items along with the necessary adjustments. He also had a batch of faceplates remade that he offers as part of his service to others to freshen up the cosmetics. While mine was in excellent shape given the miles of the car, he had two critical things I wanted: repair to have my cassette deck back, and integrated Bluetooth(!!!!!!!!!!!!!!!).
After some quick emails back and forth, I carefully wrapped my radio per his video and sent it East, where it had the full gambit of options performed for this radio. While it is expensive ($400 + shipping it there), if you are like me and like the OE stuff, it is absolutely worth the money. I won’t spoil it all, but there are touches and aspects of his service that prove that he truly cares about what he does. Overall, excellent service, and would highly recommend it to others.
And with that, it was just… kinda… done?
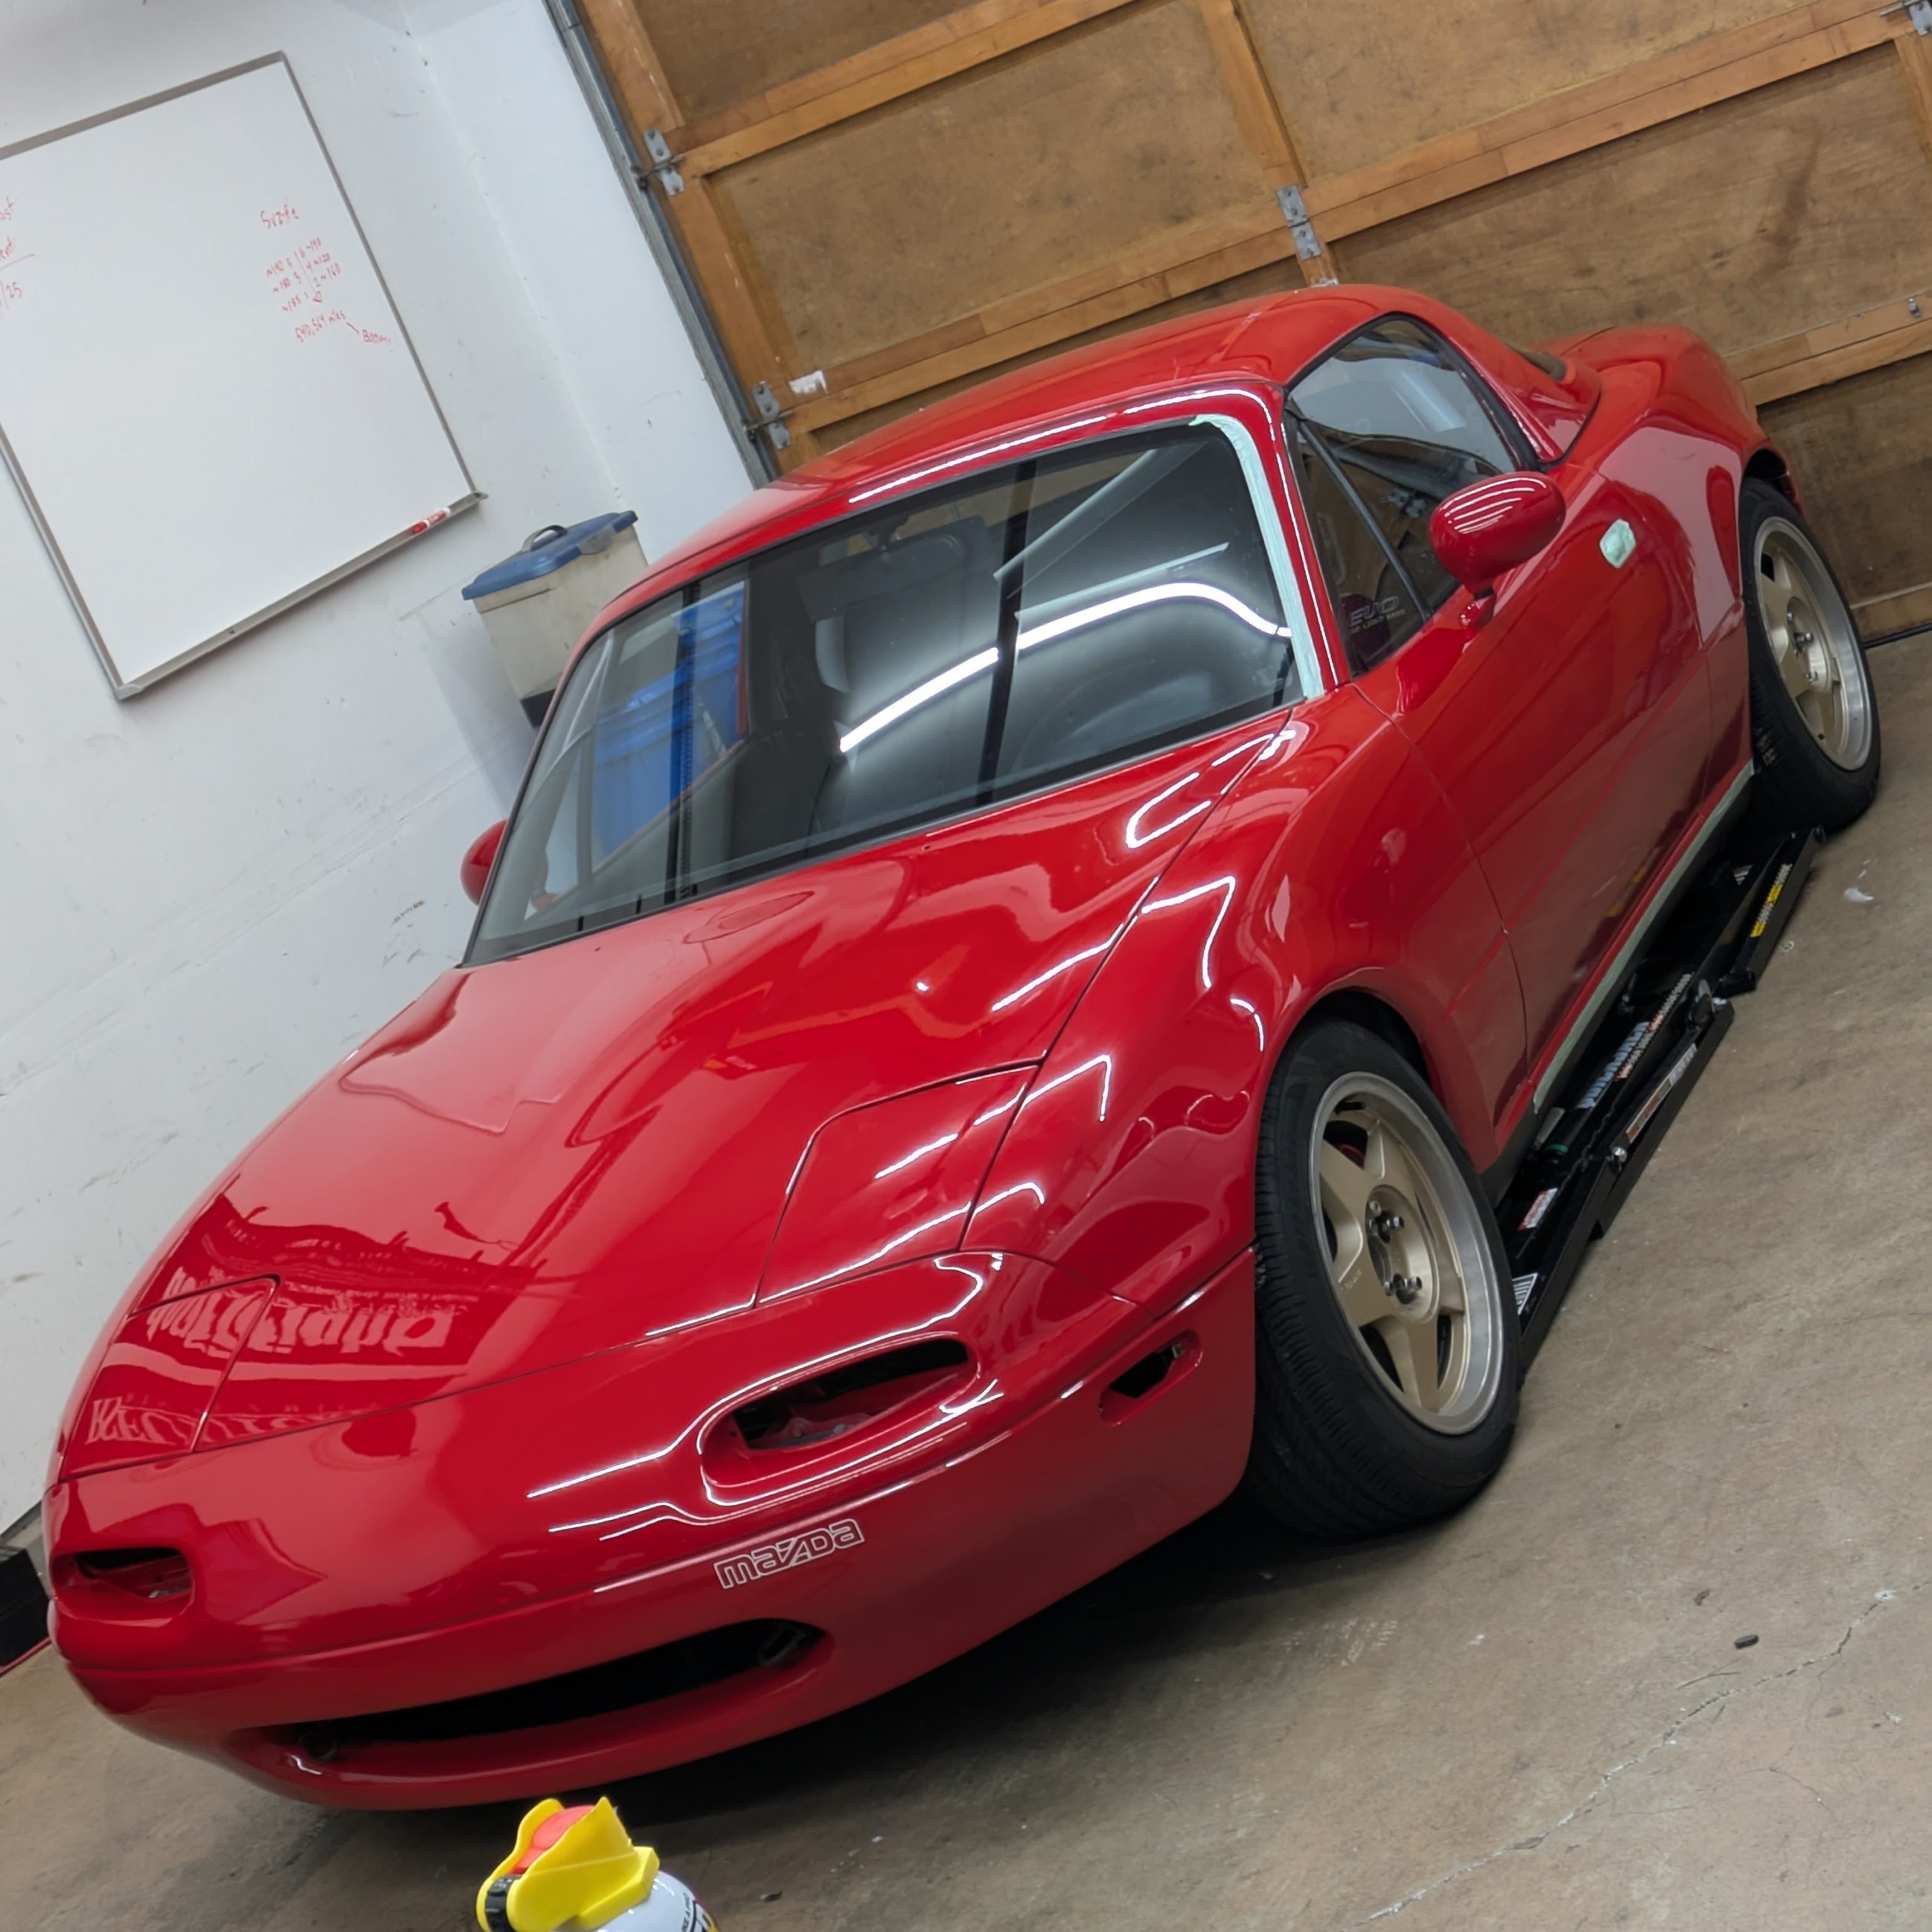
Definitely a weird feeling seeing it back outside and moving around after all of the hours that went into making it perfect again. There was still one elephant in the room, at least in the photos above: the wheels. These OZ Fittipaldis have been on indefinite loan to me for the last year, and the style and condition matched how the car was previously; they are super 90s and not perfect, which at the time, was perfect. However, I wanted a new wheel to act as a visual separator from the “old” car to the restored one.
Que: a totally played out wheel for a Miata. And frankly, I couldn’t give less of a fuck. I’ve loved P1s/K1s since forever, and have never had an excuse to own them. A fresh set of 15×7 +25 Kosei K1s were ordered and installed with a cheap set of summer tires (Petlas Imperium PT515, I jokingly call it the Turkish ECS, and its amazing for the money). Combined with a set of 10mm spacers, the car looked great and the fitment was excellent.

It was actually too excellent. Despite my careful fender trimming, I had to roll my fenders after paint, which I absolutely dreaded. Unfortunately, I couldn’t just take the spacers off as the K1s with spacers are the same effective exterior offset as my track wheels with no spacers. I knew I had to resolve it, and so a quick roll was in order.

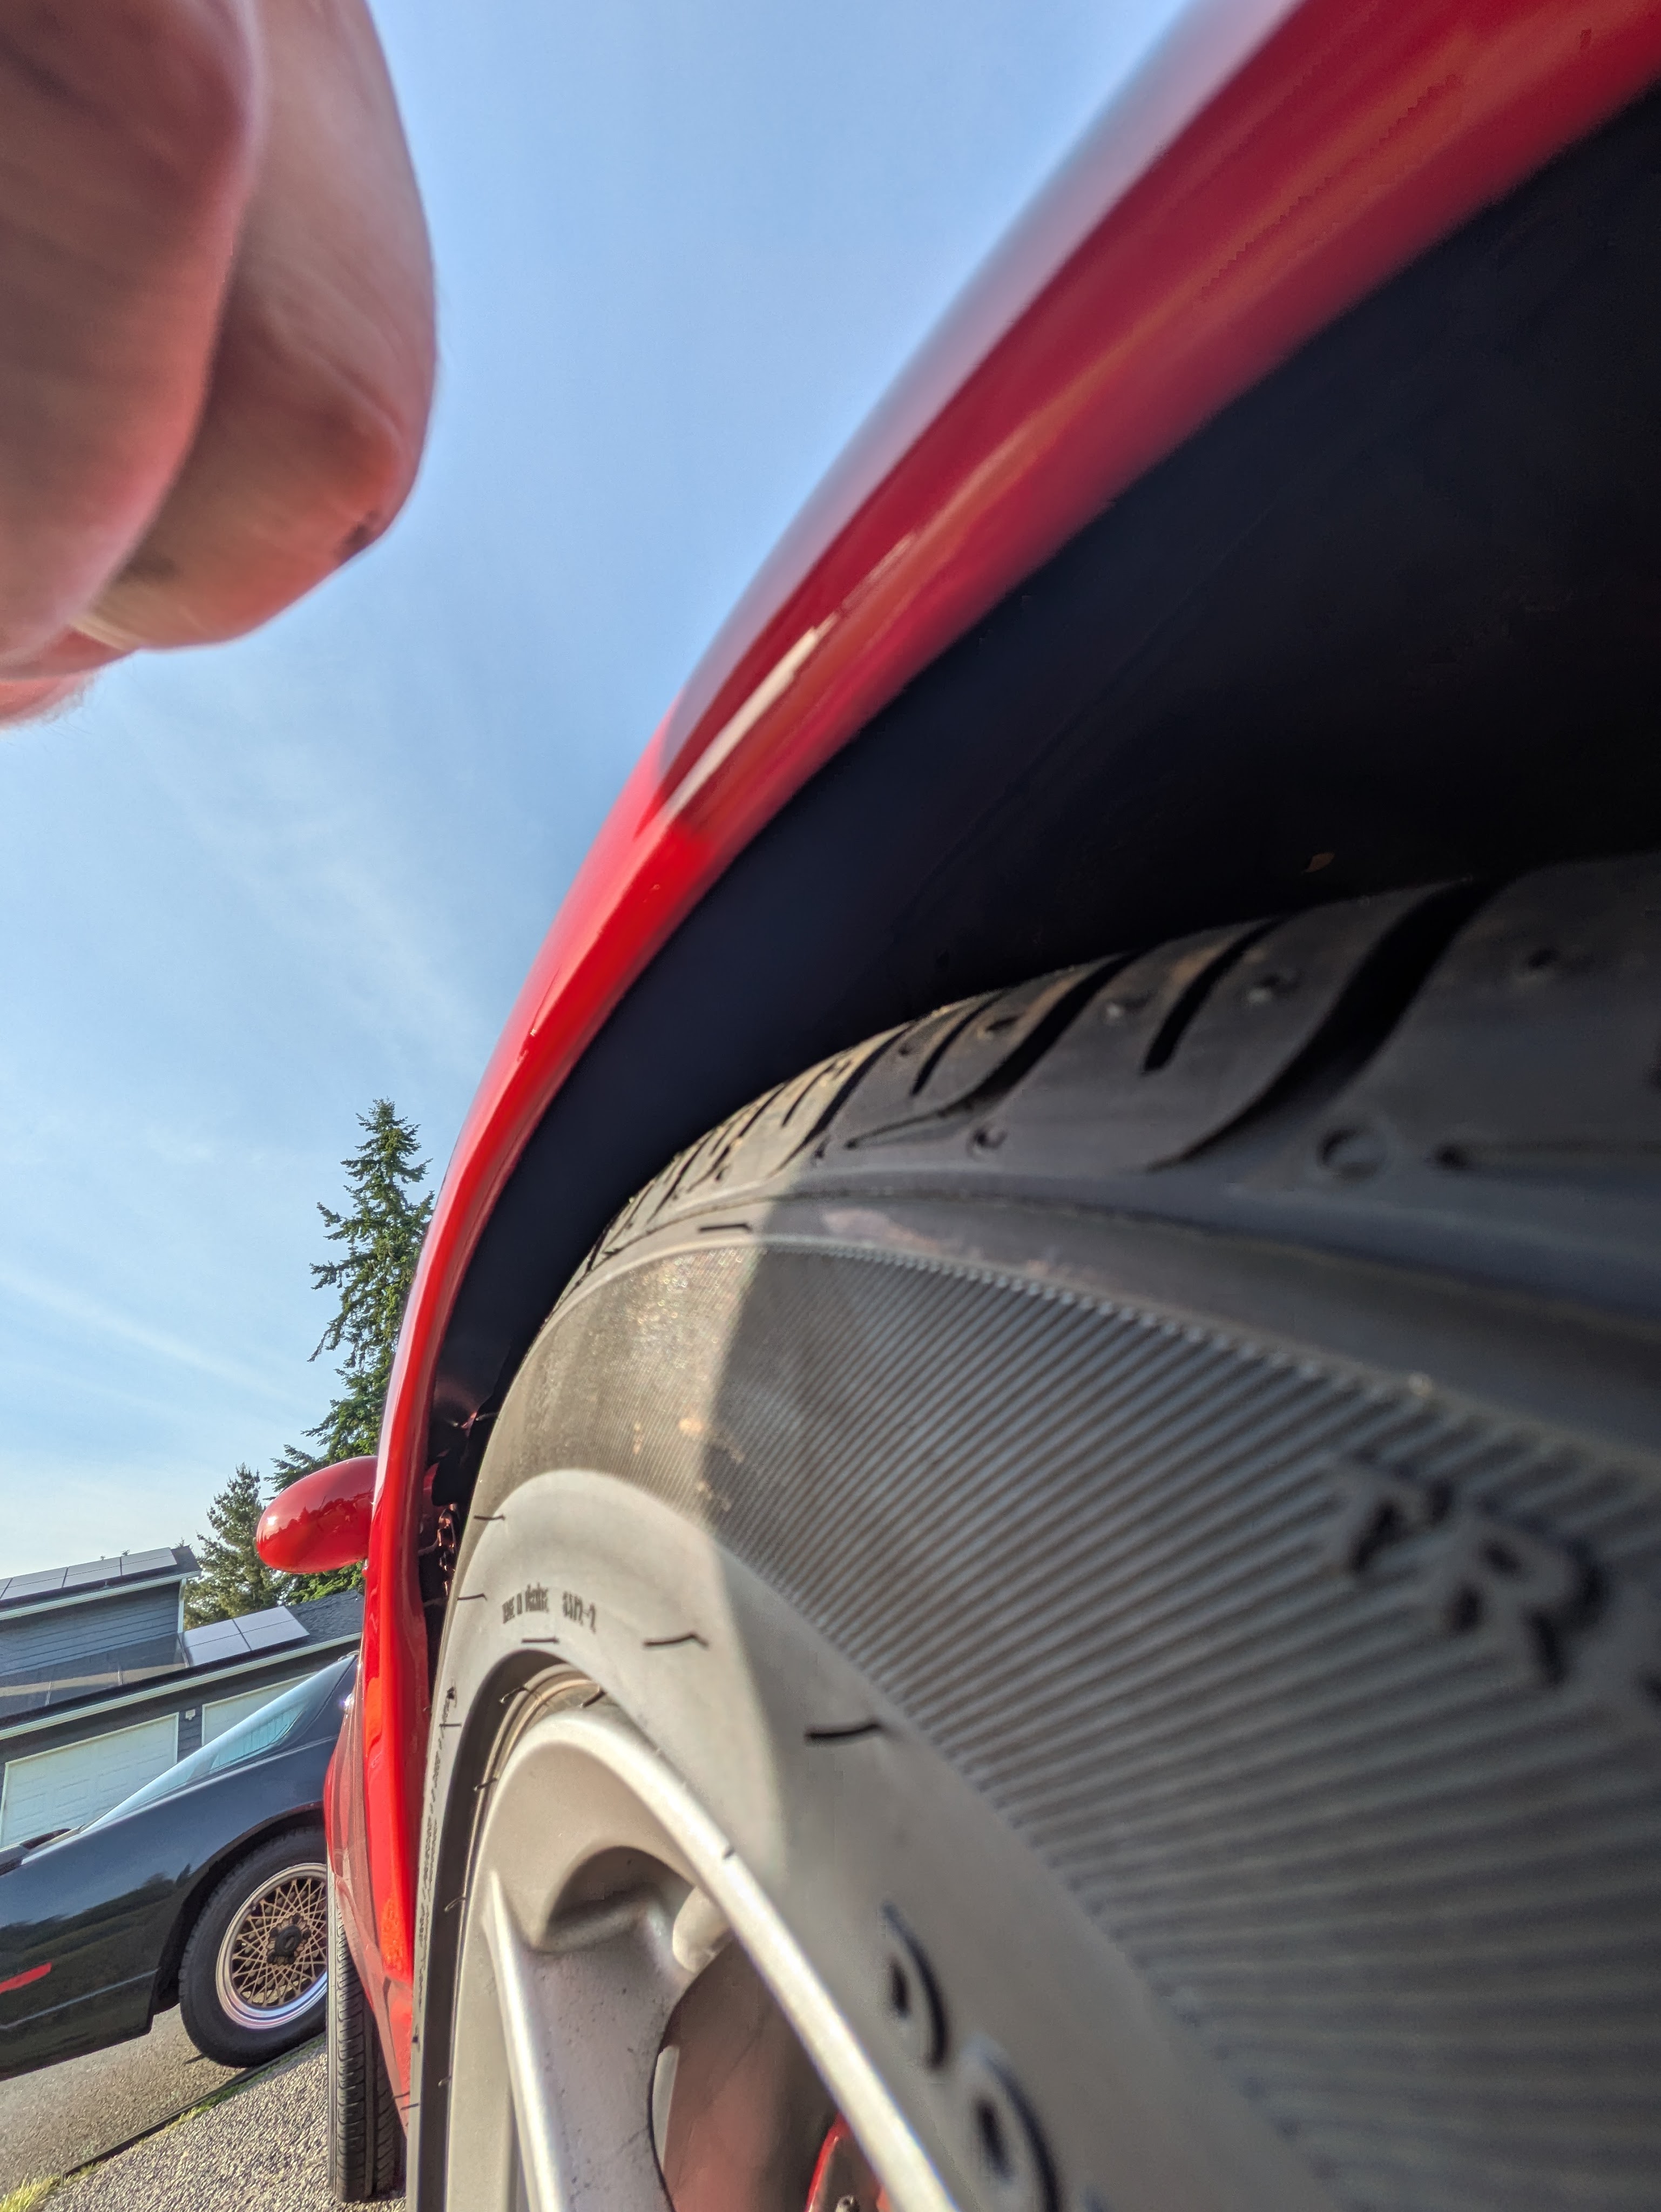
Fortunately, the roll went exceptionally well on both sides, with zero paint casualties and an even radiused roll (not smashed up against the exterior metal). The pull was minimal, and I have had zero clearance issues since.
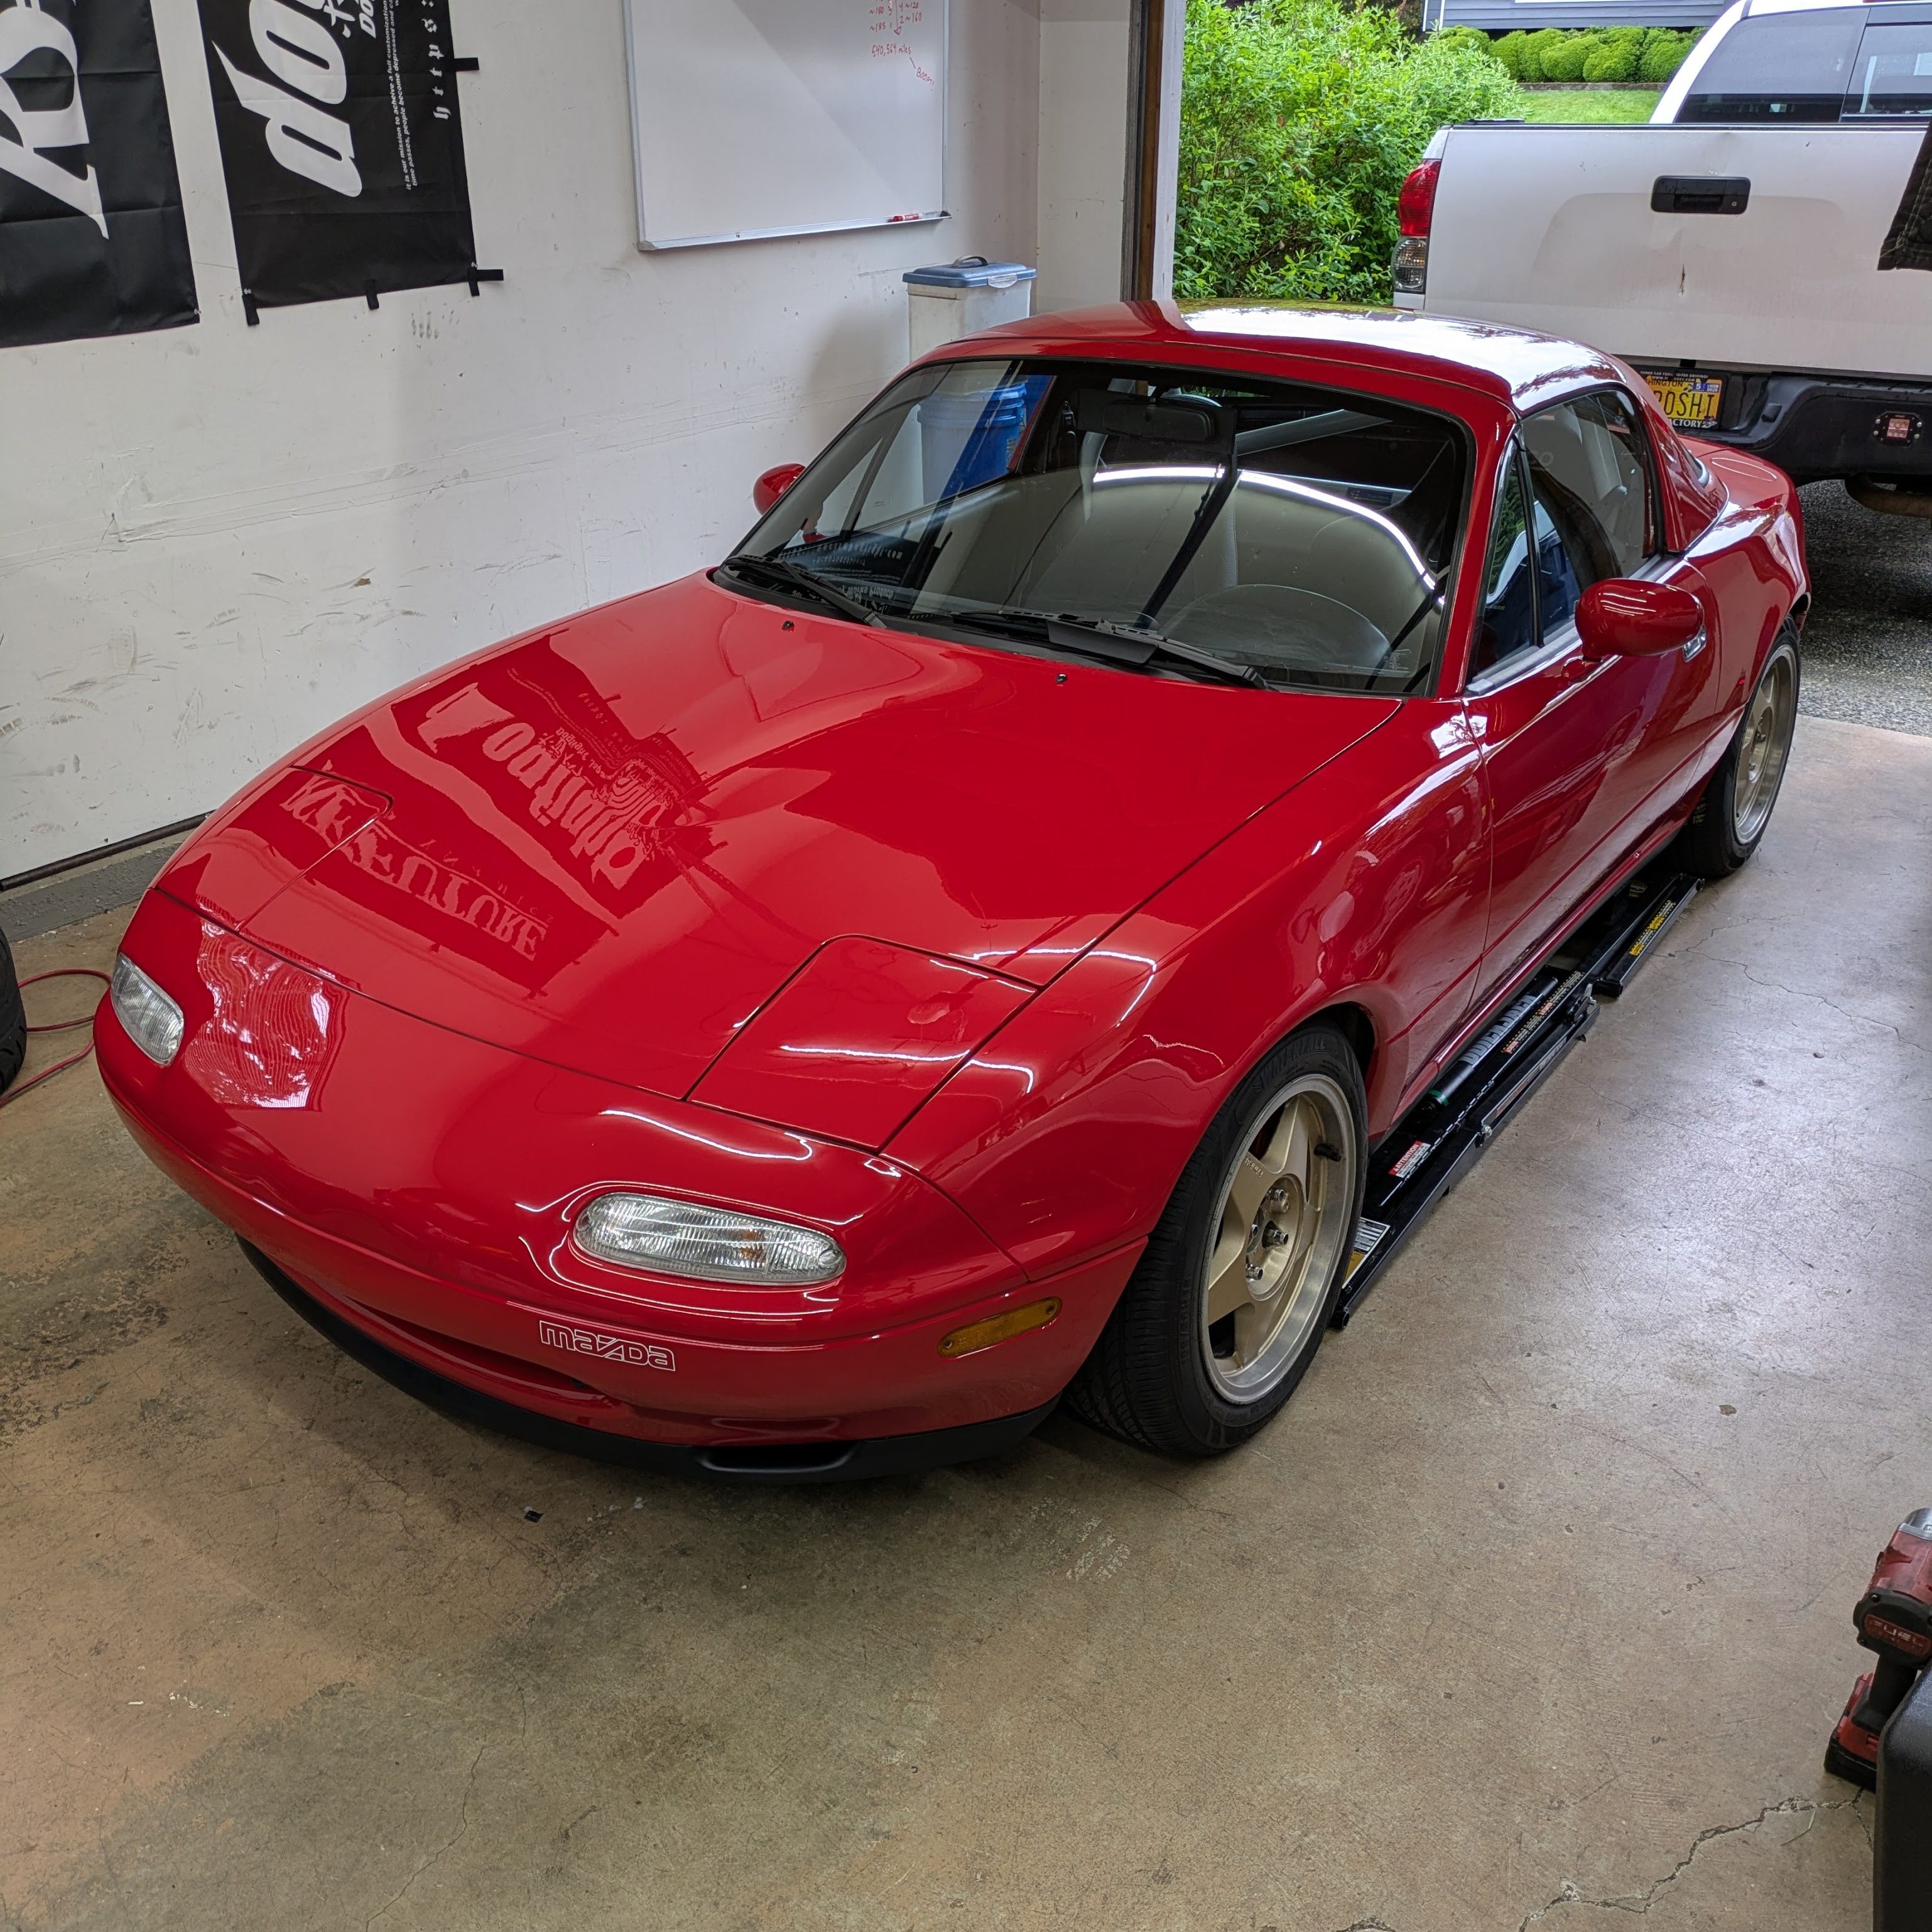
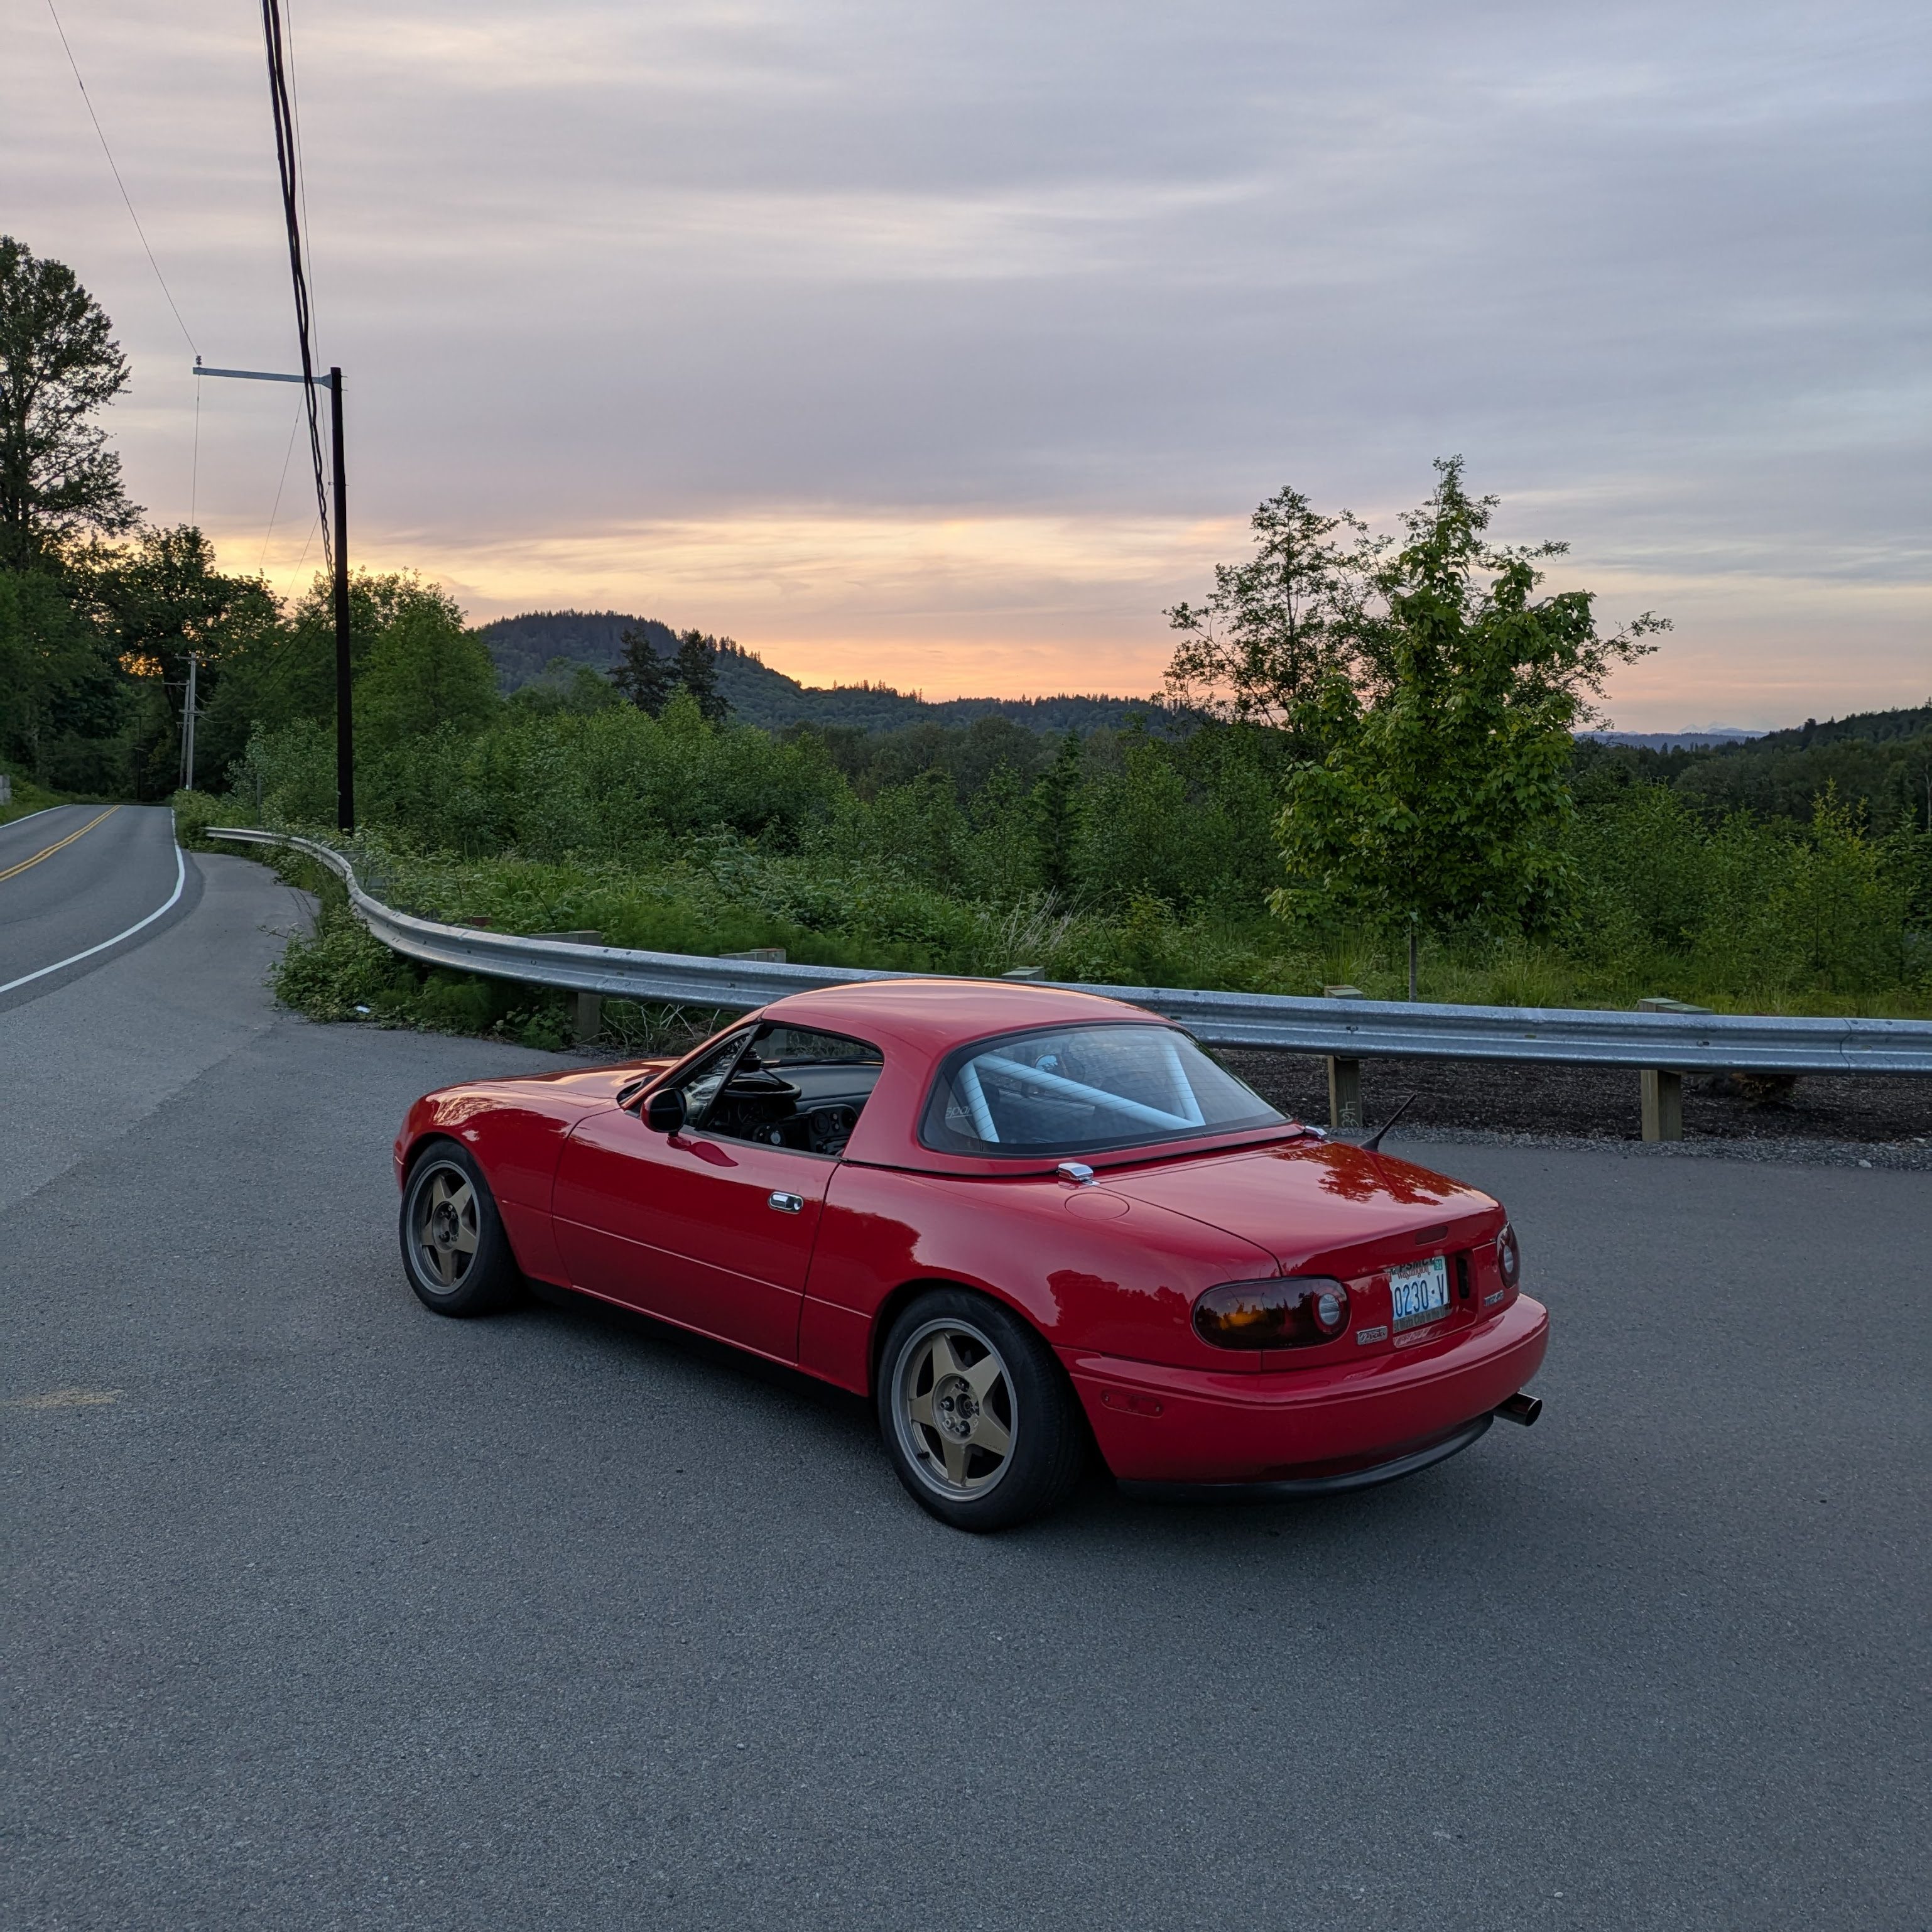
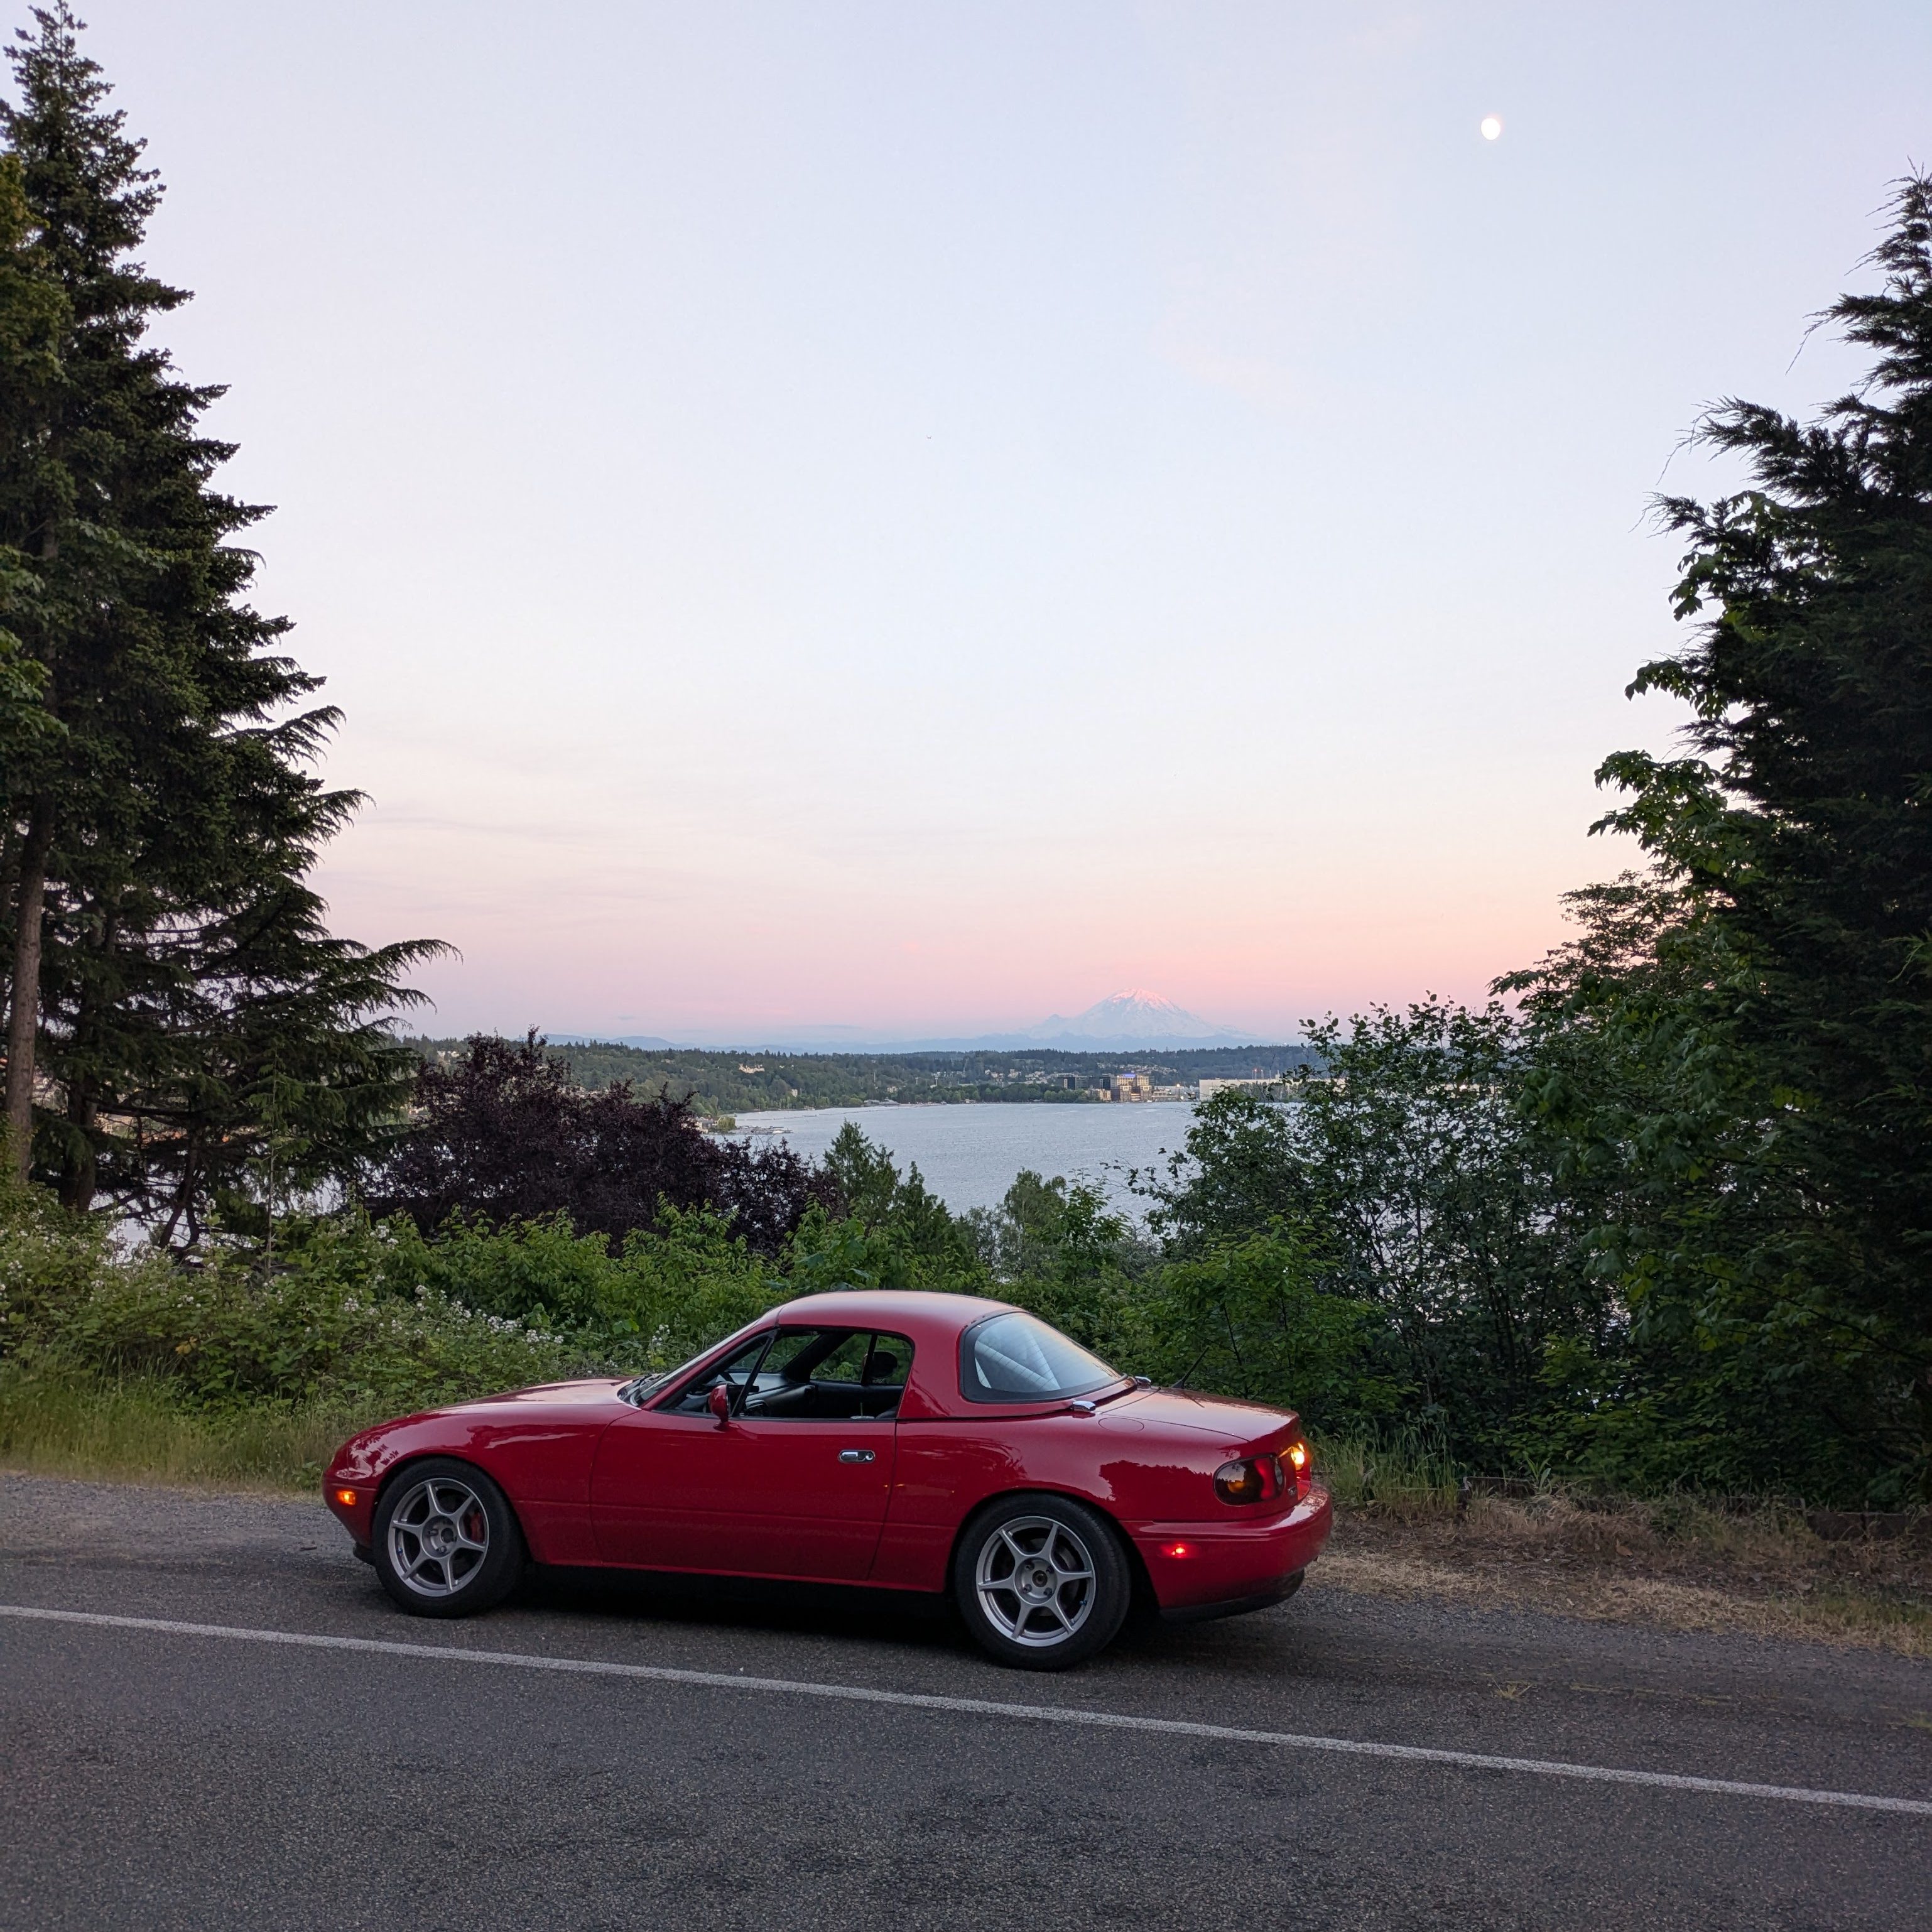
And with that, that ends the revival of my most loyal car. It is very rewarding to finally have a representation of what I am capable of in terms of a whole vehicle (exterior, interior, mechanical, performance, etc). This is without a doubt the nicest vehicle I have ever owned cosmetically, and one of the best in terms of mechanical sorting. While the process was both longer and more expensive than anticipated (read: double the money, triple the time), the car deserved that level of effort, and it now looks as good as it drives.
It’s future with me is unsure for a modicum of reasons, but that’s for another time. The restoration was more than worth it even if I don’t get the pleasure of enjoying it for long.
I’m glad to have this outlet to exercise all of these photos and thoughts that would otherwise lay dormant in my Google Photos and head respectively. Hopefully there are things to be learned, or at least enjoyed in the some 4500 words this ended up being. Sorry (not sorry).
Until next time.
